Timing Chain
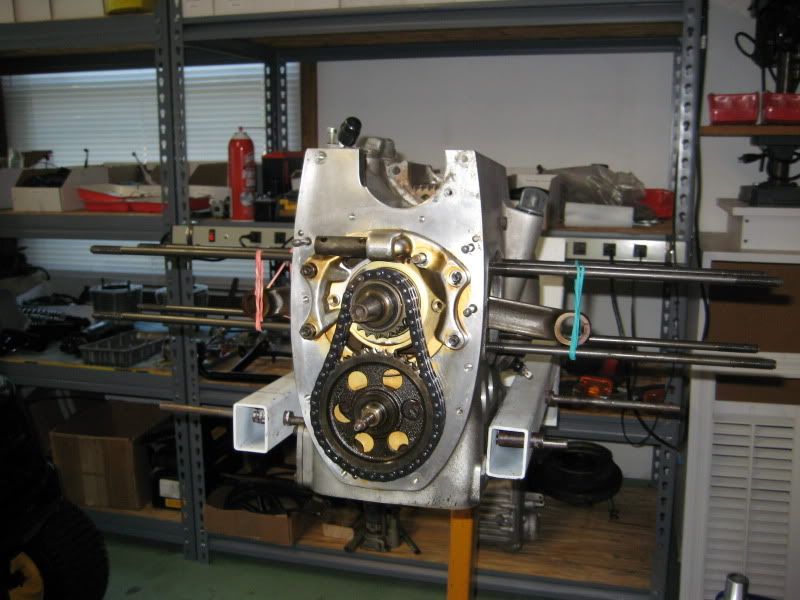
I haven't posted in awhile, but the rebuild on this R100RS has been creeping along. I do believe that I have accumulated every part, gasket, seal, bearing and everything else that I could possibly need.
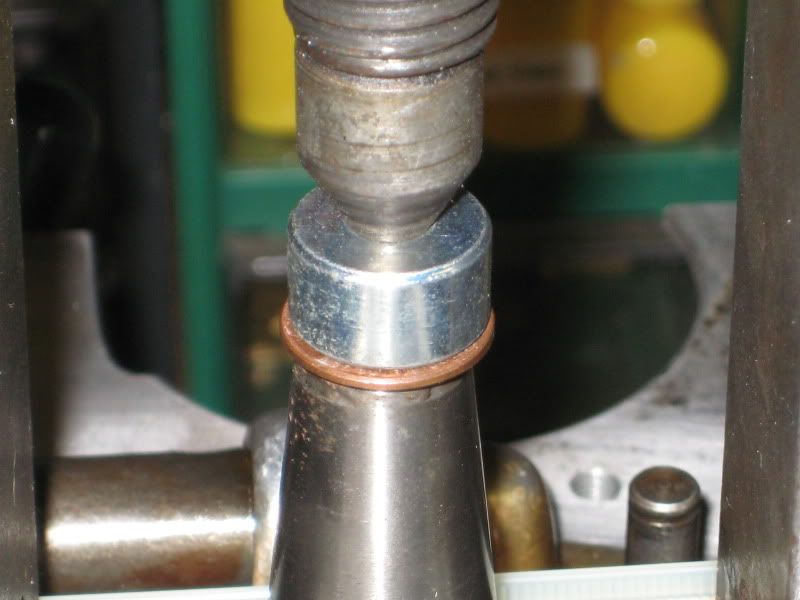
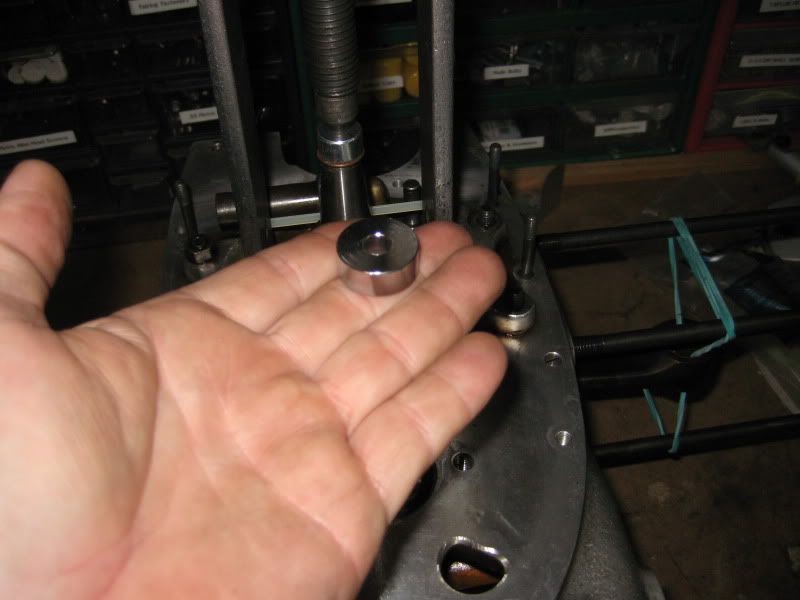
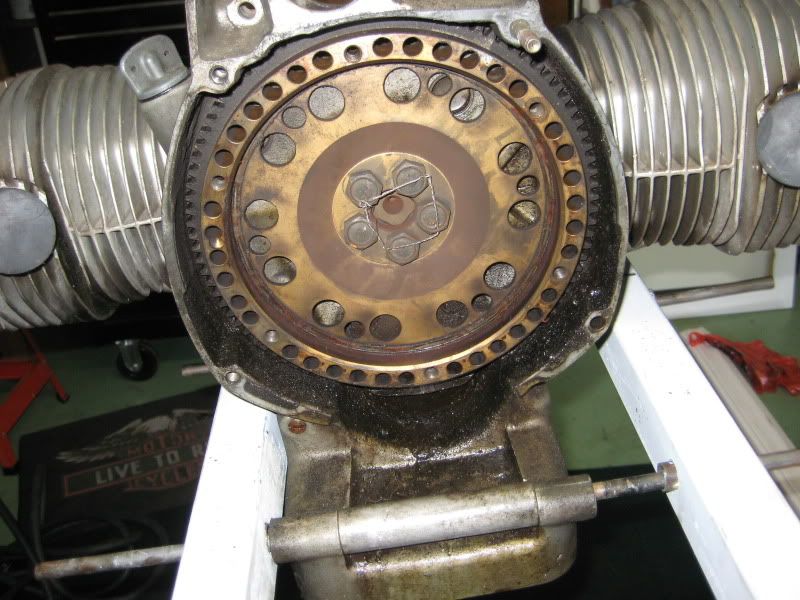
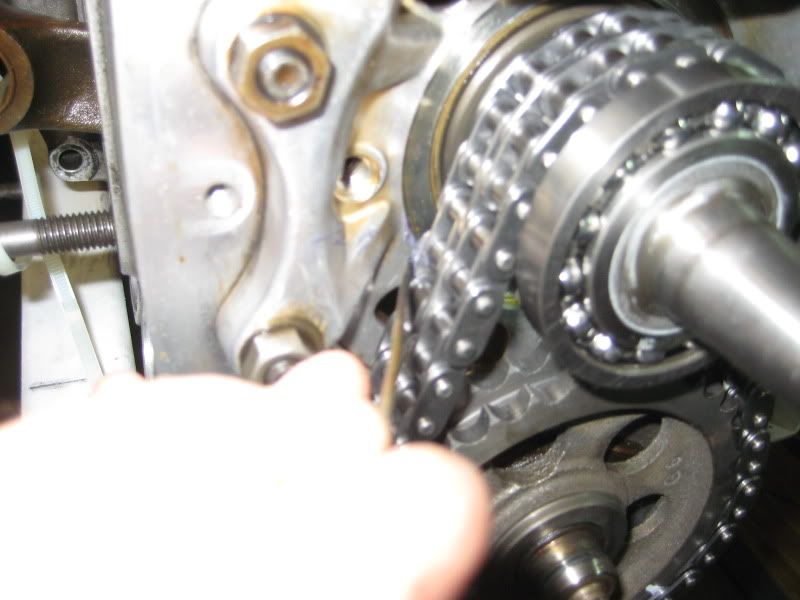
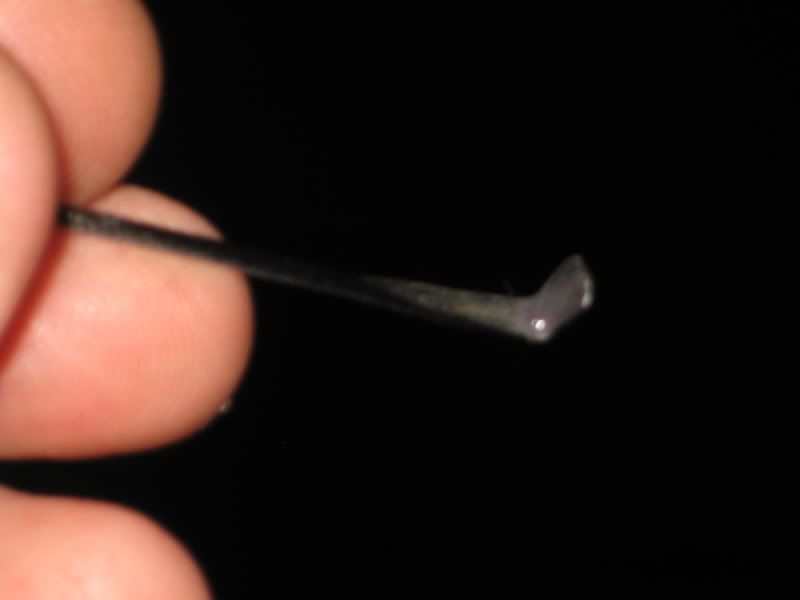
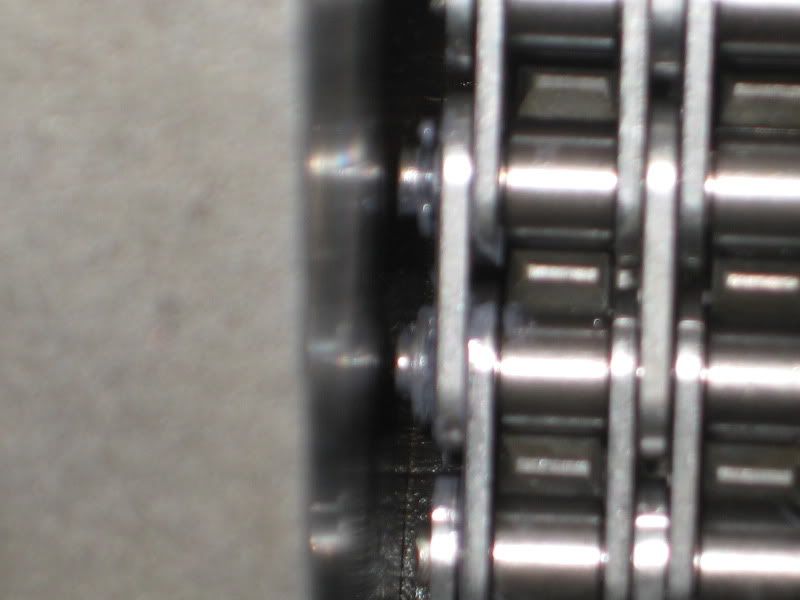
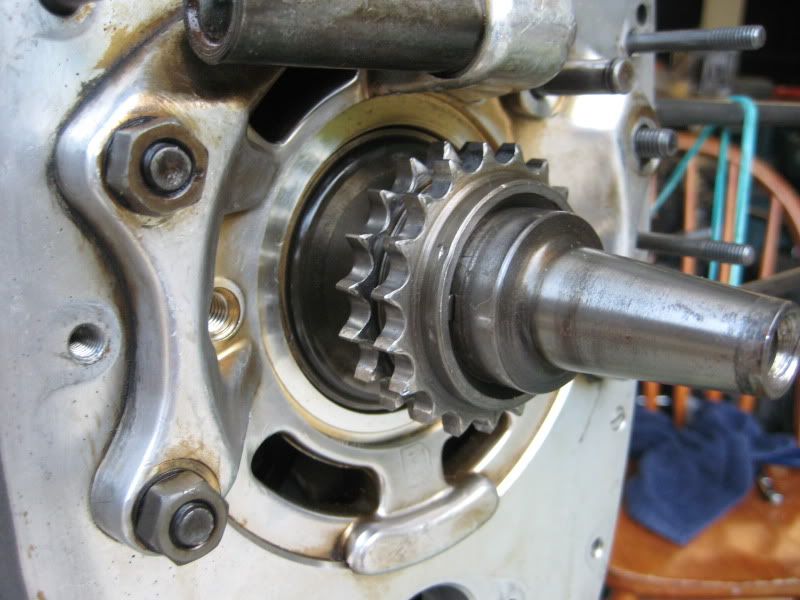
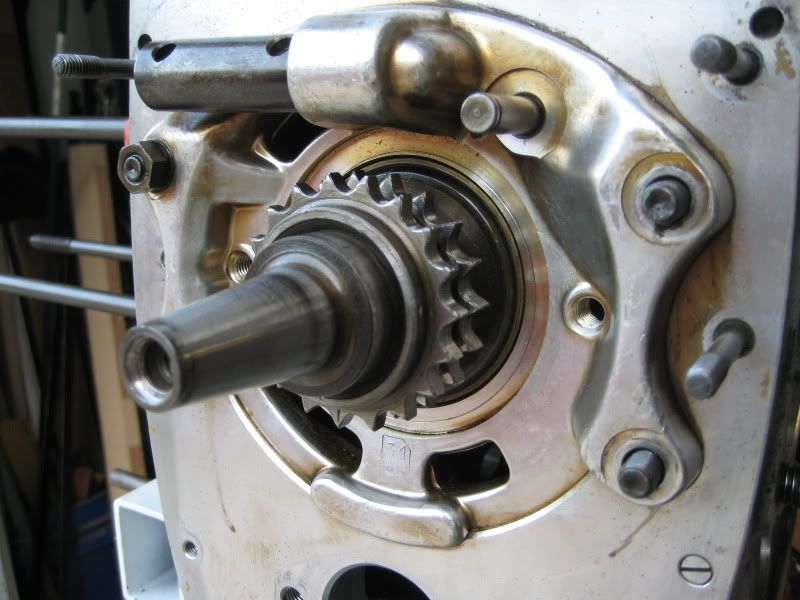
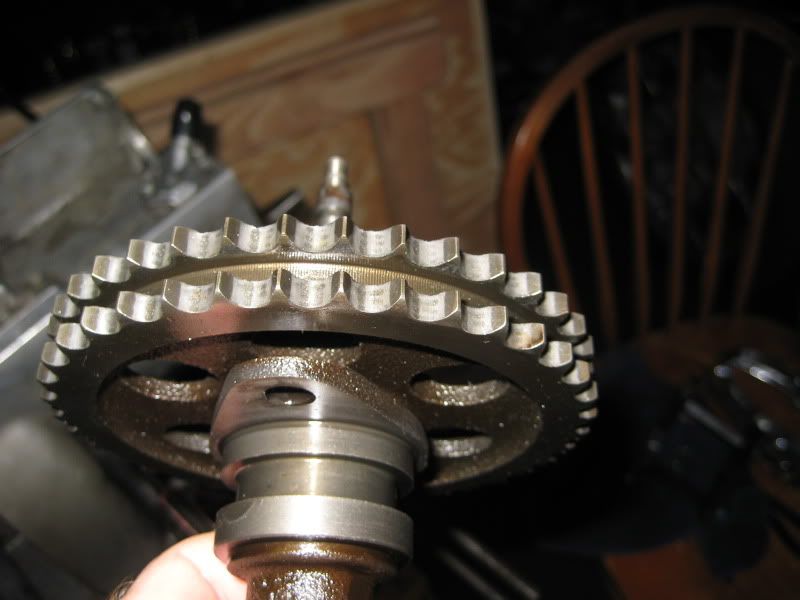
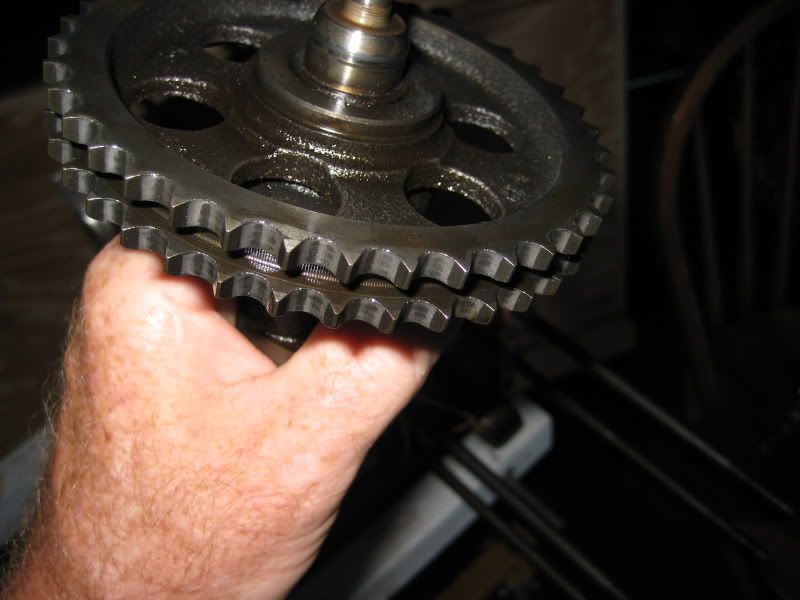
I just pulled the crank bearing last night, and now I need to pull the chain. I have new chain, crank and cam sprockets. Someone had recommended grinding off a link to remove the chain. Yea, that is possible, but I don't think I can cover the engine enough to avoid the ground metal flying about.
Has anyone used bolt cutters on this? How did it work out?
I haven't posted in awhile, but the rebuild on this R100RS has been creeping along. I do believe that I have accumulated every part, gasket, seal, bearing and everything else that I could possibly need.
I just pulled the crank bearing last night, and now I need to pull the chain. I have new chain, crank and cam sprockets. Someone had recommended grinding off a link to remove the chain. Yea, that is possible, but I don't think I can cover the engine enough to avoid the ground metal flying about.
Has anyone used bolt cutters on this? How did it work out?
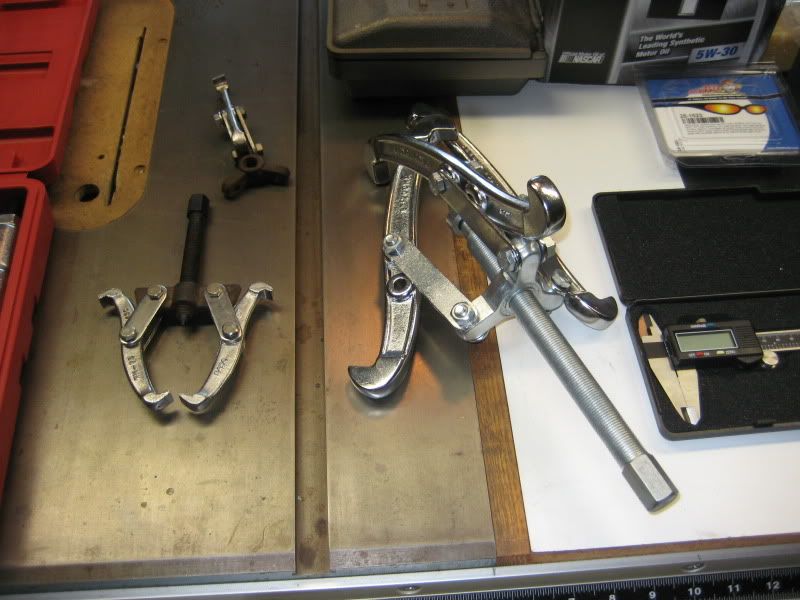
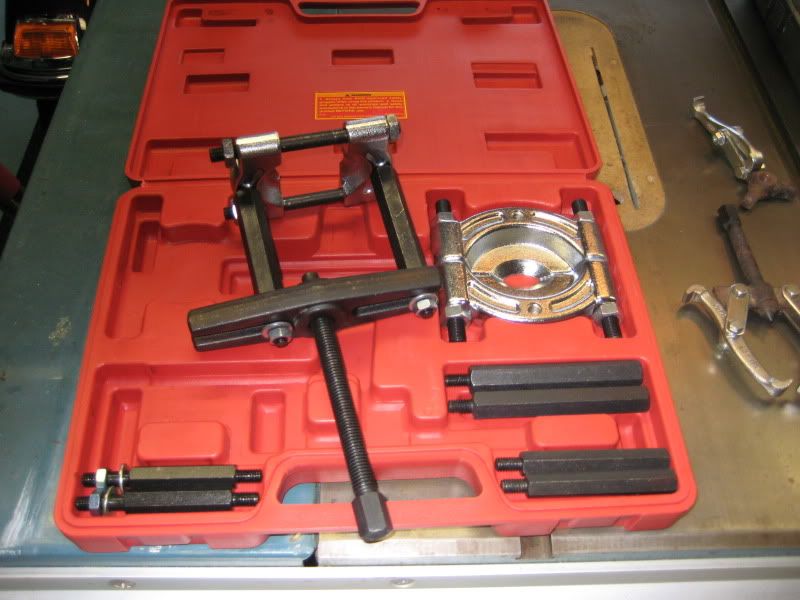
 For the price of that bearing puller, I could buy another bike. I'll keep looking around for some AMERICAN made tools.