C
criminaldesign
Guest
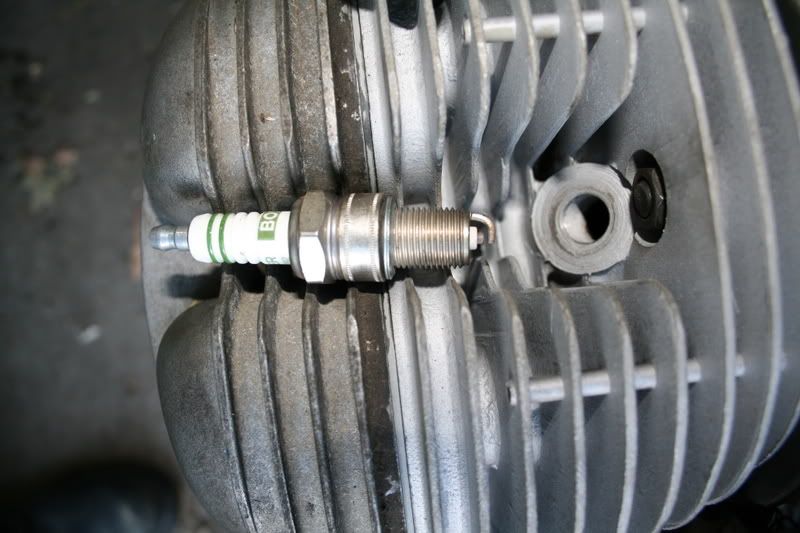
hey man, get both sparking? h
Follow along with the video below to see how to install our site as a web app on your home screen.
Note: This feature may not be available in some browsers.

Welcome! You are currently logged out of the forum. Some forum content will be hidden from you if you remain logged out. If you want to view all content, please LOG IN!
If you are not an MOA member, why not take the time to join the club, so you can enjoy posting on the forum, the BMW Owners News magazine, and all of the benefits of membership? If you click here, you have the opportunity to take us for a test ride at our expense. Enter the code 'FORUM25' in the activation code box to try the first year of the MOA on us!


Very nice! Did you see the article in Airmail about using the vacuum cleaner tube for crossover tube? Looks like a good, low cost solution. If you need additional info, let me know and I will get it for you.

I am very, very pleased.


Ha, airhead technology. You are making such very cool and great progress raising the presumed dead that I'd never have called you out on it even if I did catch it. Besides, I think you are doing everything right, not just doing it.Now do you see it? Hahah.
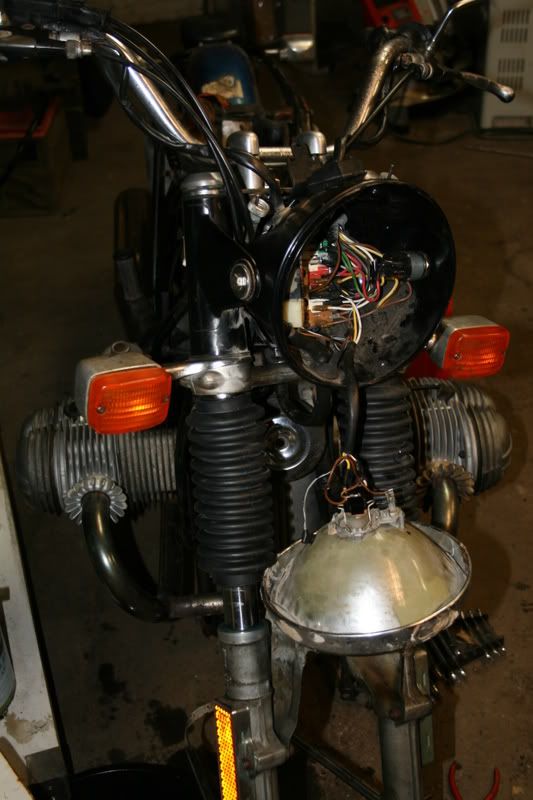
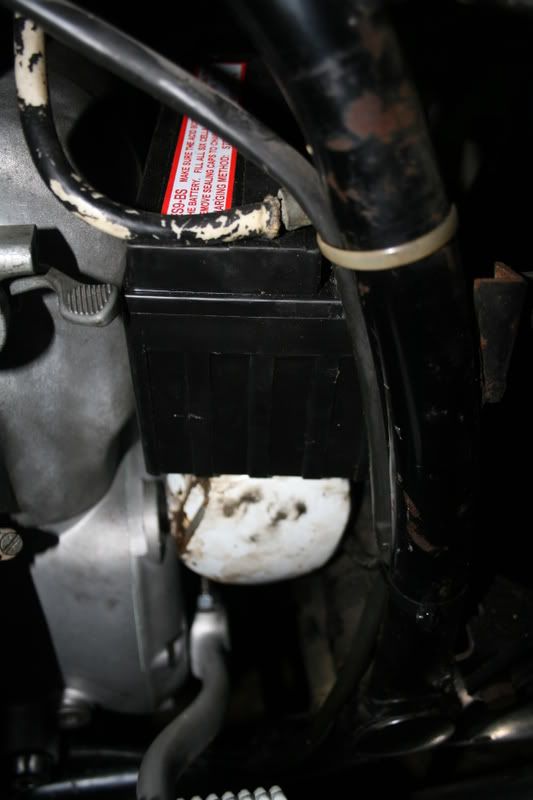
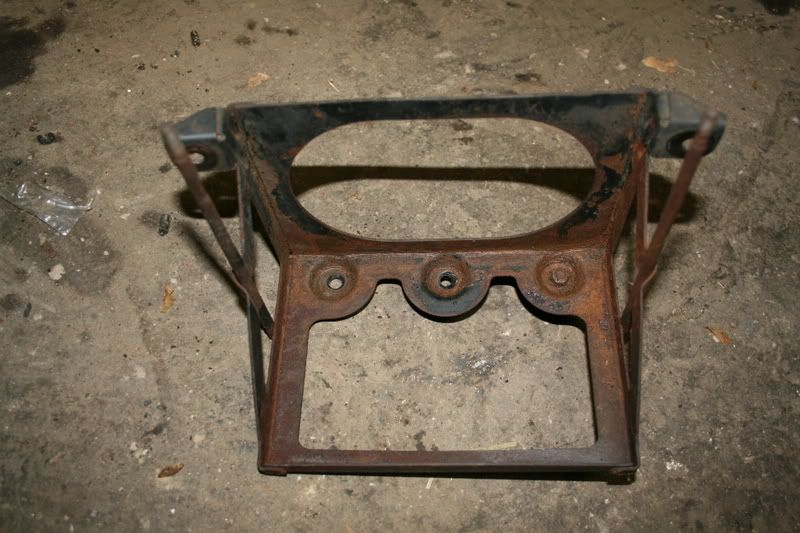
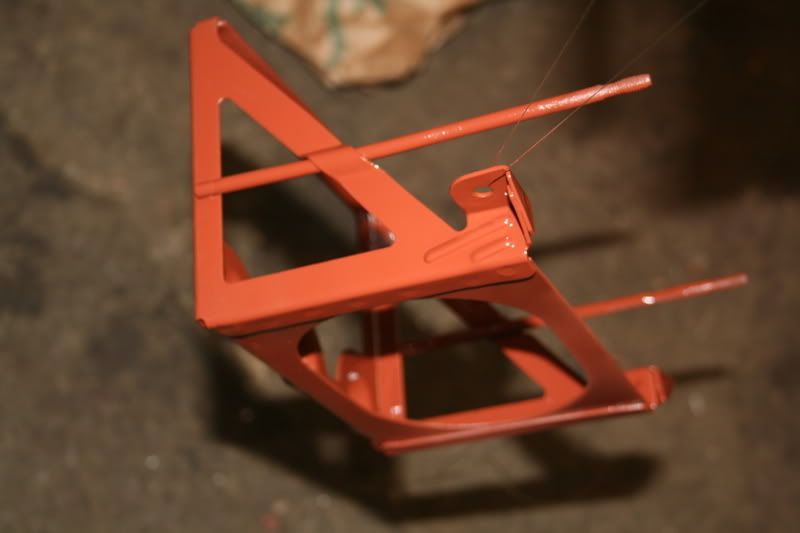
I just did my engine top cover with bumper paint from Pep Girls, its essentially flat with a very little gloss. After it had thoroughly dried, I buffed it a bit. Looks good. I've also heard that engine enamel in medium gloss works. Will it win a Best-In-Show? Nah, but most folks even up close probably wouldn't notice. On the battery tray (mine's next) I'd probably use the toughest stuff (enamel) I could find because of the sliding in of battery, minimal vibration, etc. I presume you'll get a gel battery to avoid the acid?So, on with the battery tray. It was (obviously) nasty when I got it.
...
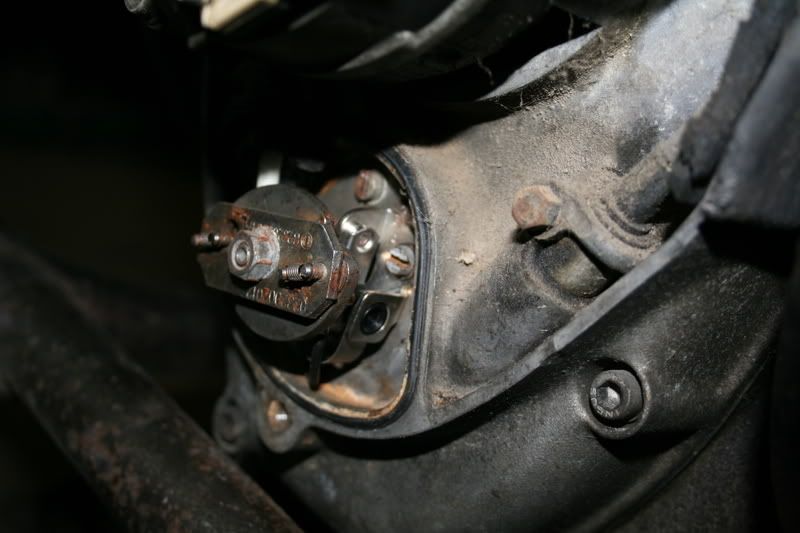
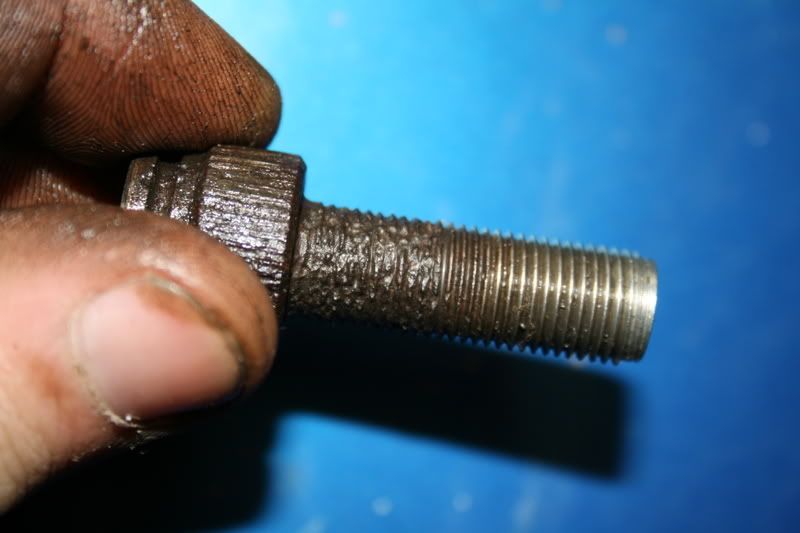
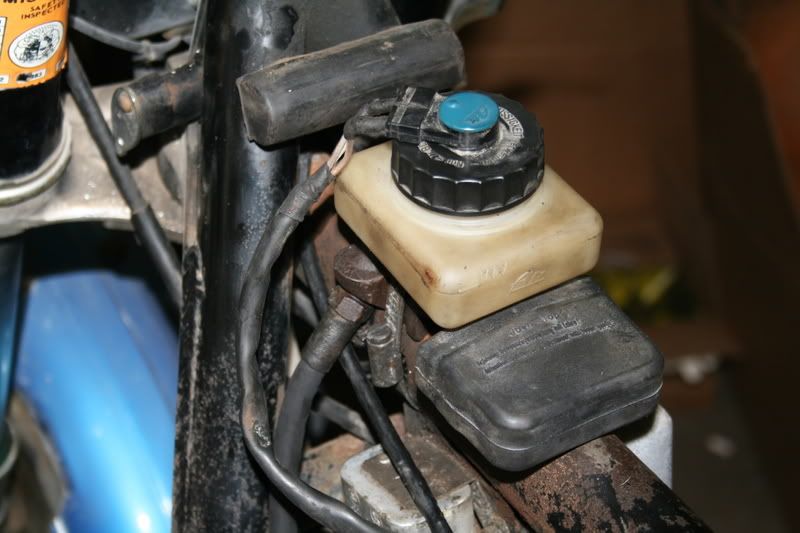
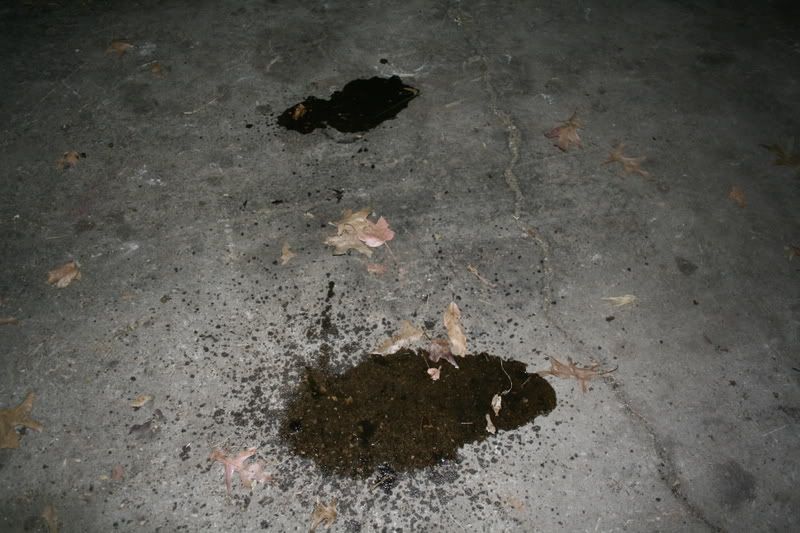
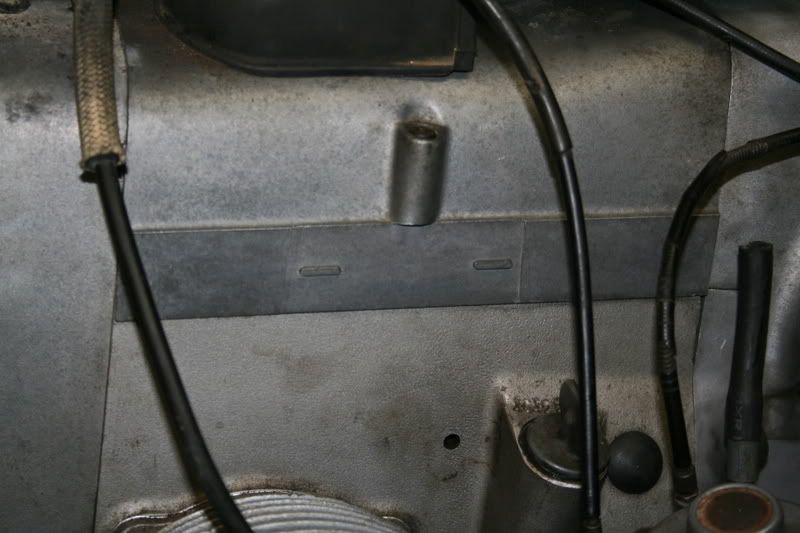
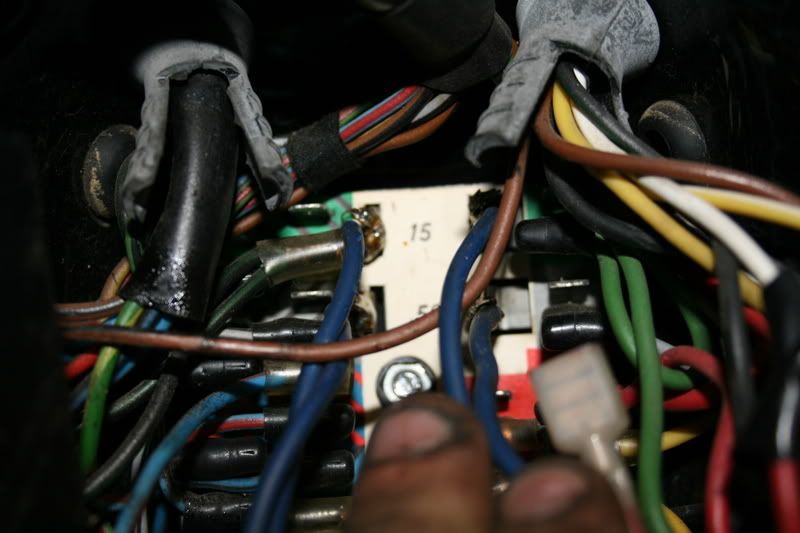
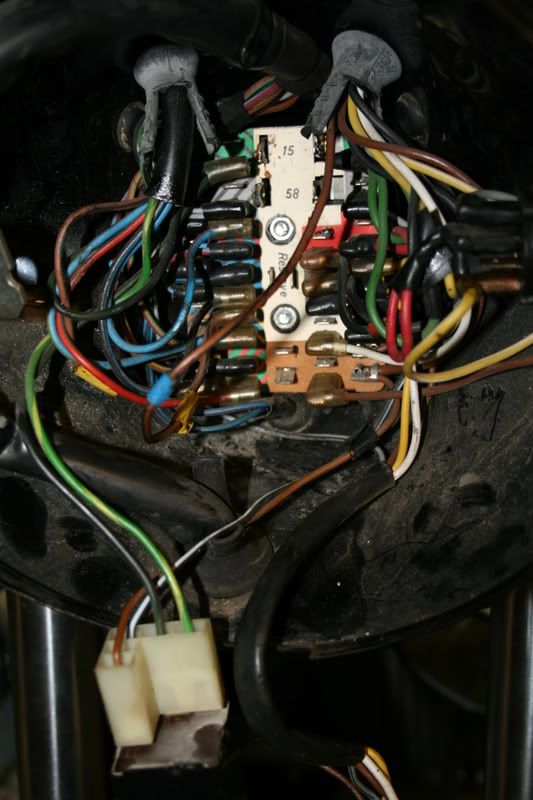
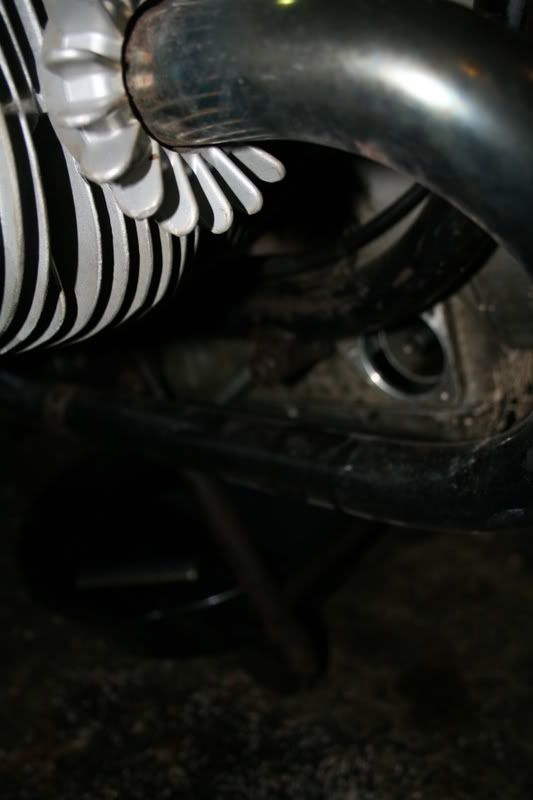
I looked around and we don't have any black spraypaint. Guess I'll go buy some, and touch up the frame under the master cylinder while I'm at it. Anyone have any suggestions as to what kind of paint?

You are making such very cool and great progress raising the presumed dead

...
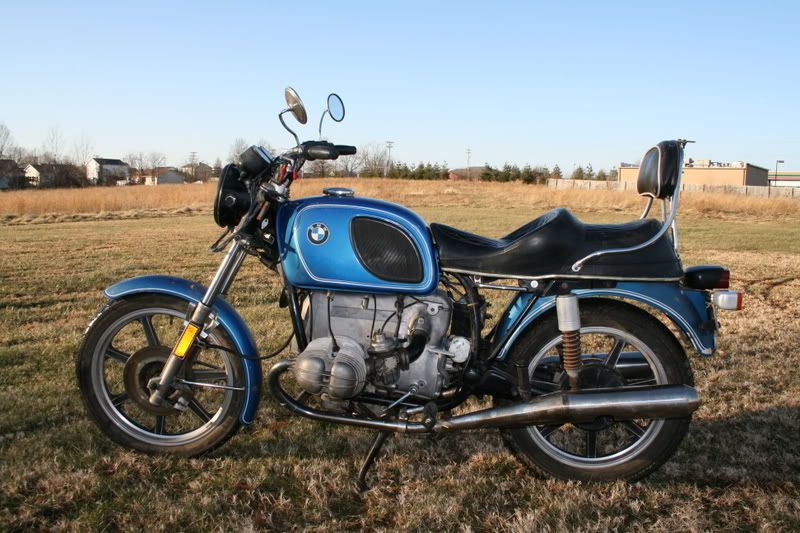
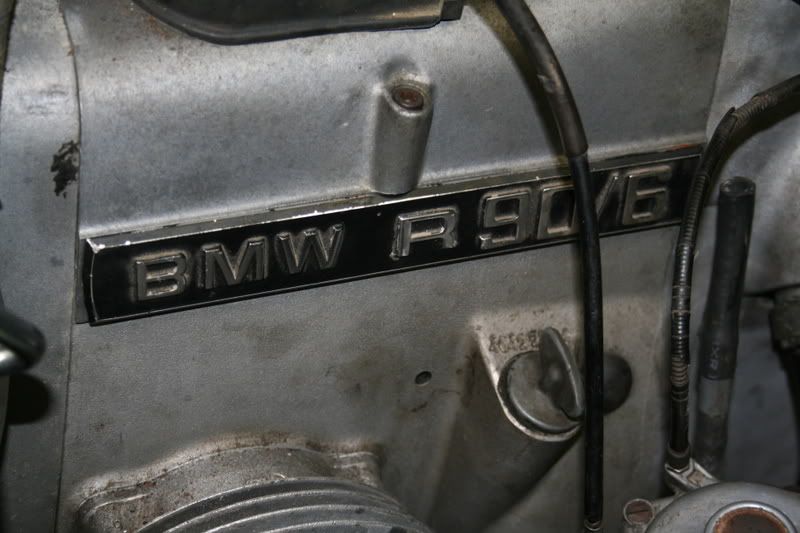
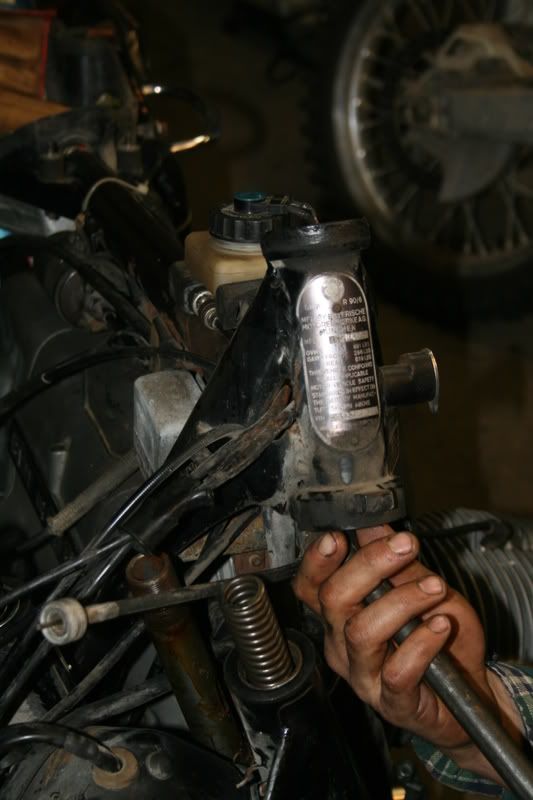
How much would someone pay for a 1974 R90/6 with ... (all that stuff)...
Probably a lot. Definitely more than I currently have in it.. and I'm still going to ride the heck out of it. Seems like a good deal to me. "This all goes without mentioning all the stuff I've learned and connections I've made in the process."
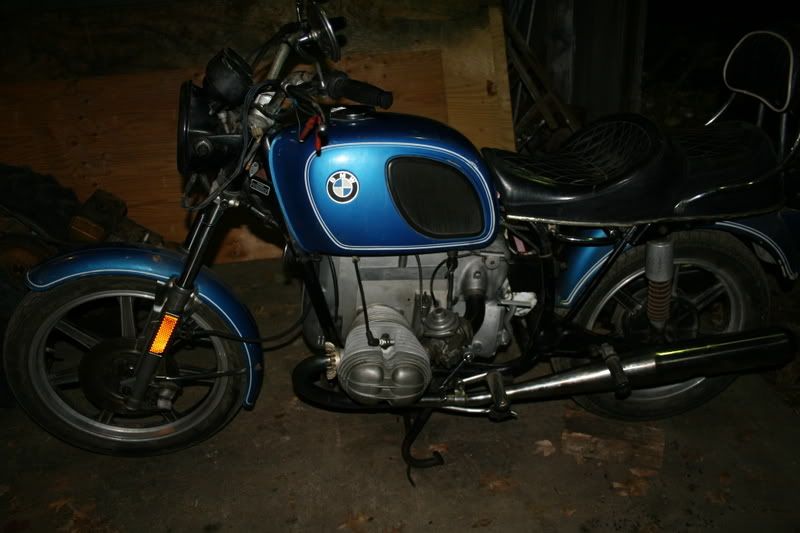
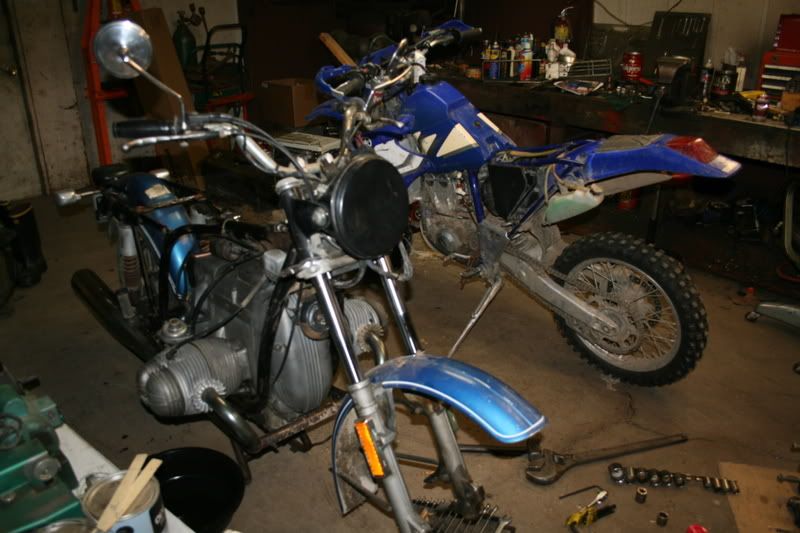
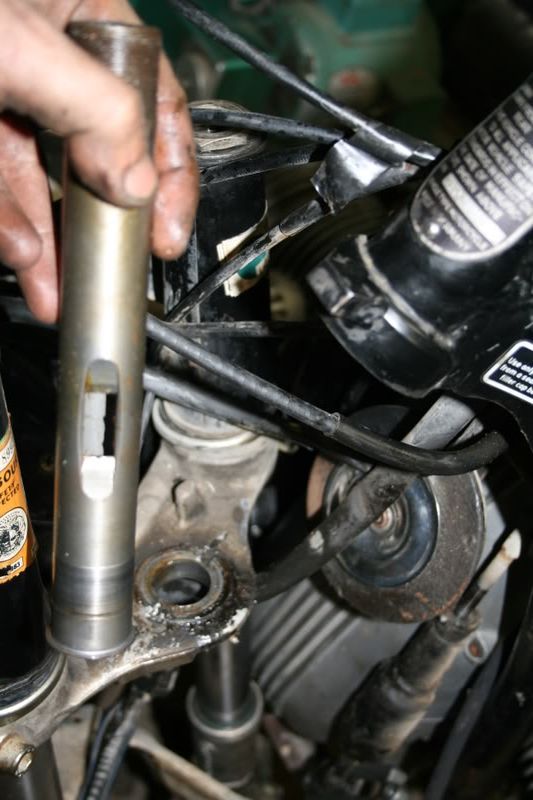
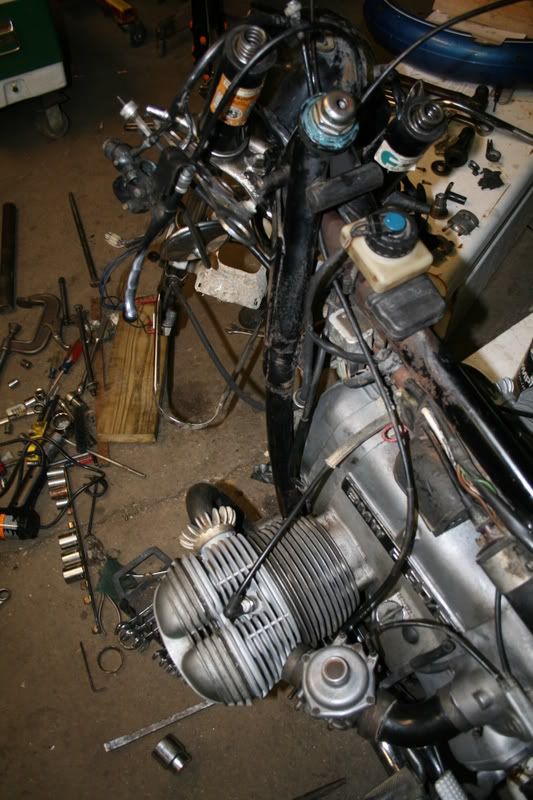
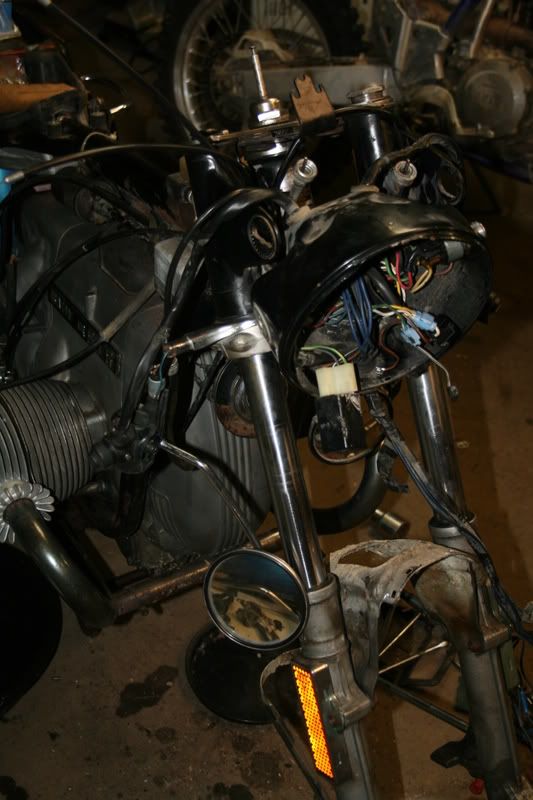
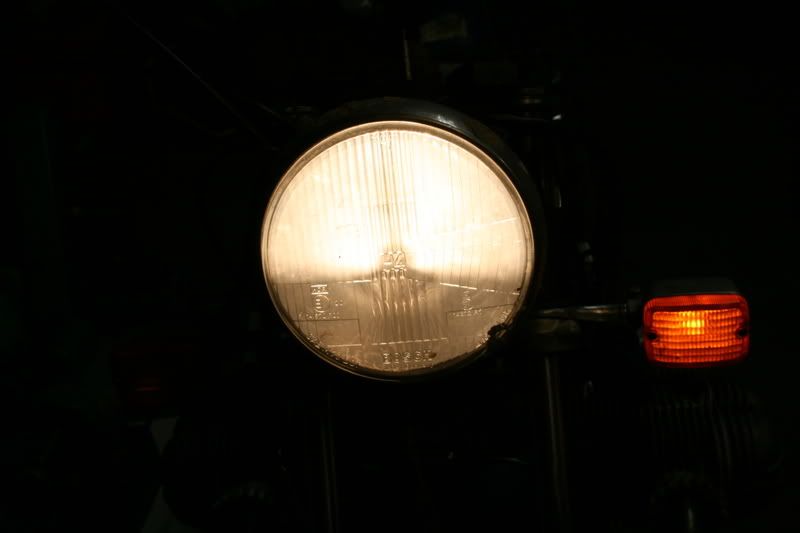
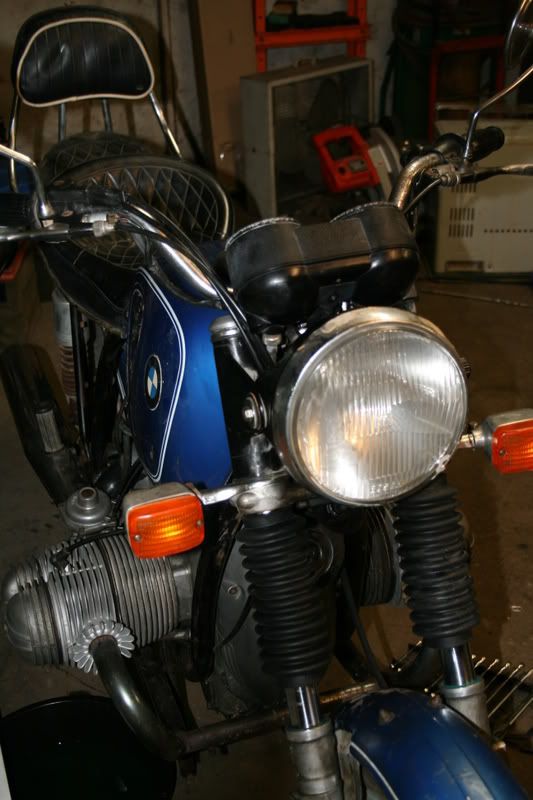
Well, woopsie! I kept on (although slow at times), and guess what? I have a complete, running BMW motorcycle now..
I respect Nathan for saving his 900. It's still an un-restored, 100,000 mile bike. In the next 50K, the con rod bearings will be showing layers, the crank journals will be out-of-round, the timing chain will be shot, the cylinders and pistons will be way out of spec.
