jimvonbaden
Kool Aid Dispenser!
It is not so common on the R1100/1150, but the front cover paint on the R1200, particularly the black, but also the silver, tends to flake and the metal underneath corrode. The R1200ST, formerly Tina's, is a perfect example. It has 55K miles on it, in all kinds of weather, and the front cover was very bad.
The GS and R are very exposed, and you might want to spend more time making it pretty. If you own an RT or ST, you may not even realize how bad this is on your bike under the plastic.
So, I decided it was time to clean it up, and protect the cover from permanent damage requiring replacement.
The following is a pictorial on how I did it. Some wont like that I did not use an aluminum primer, but the paint I used is designed to be used without primer.
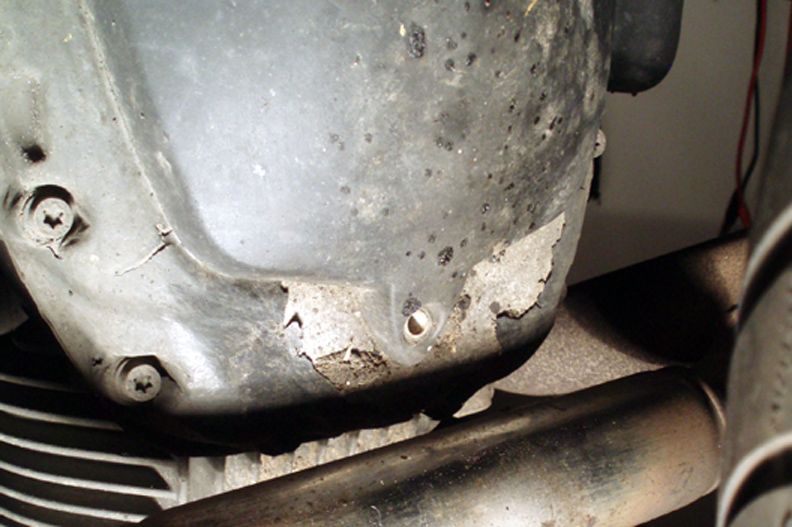
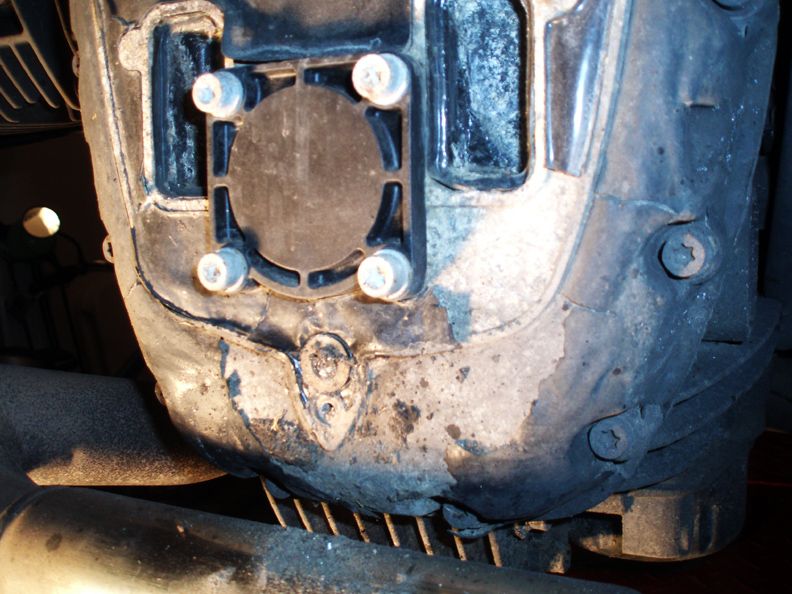
As you can see, the paint was flaking, and corrosion was under the paint everywhere.
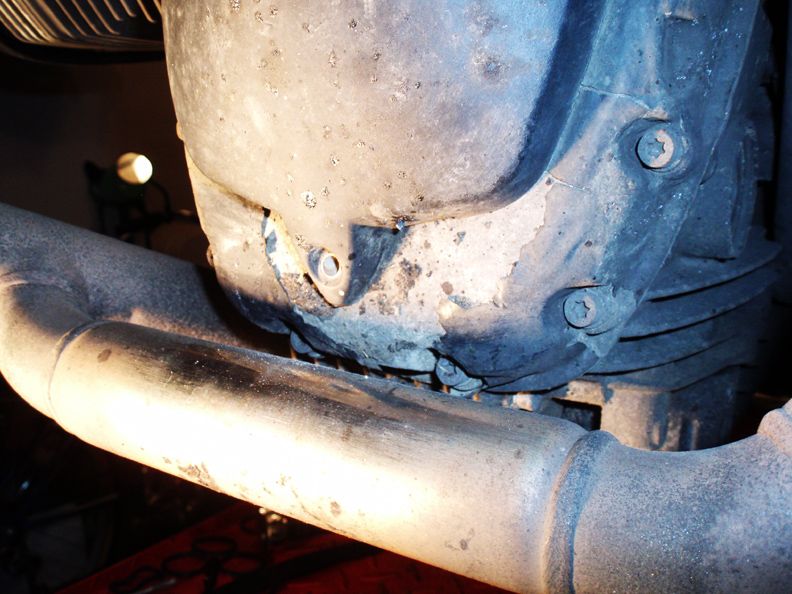
Another angle.
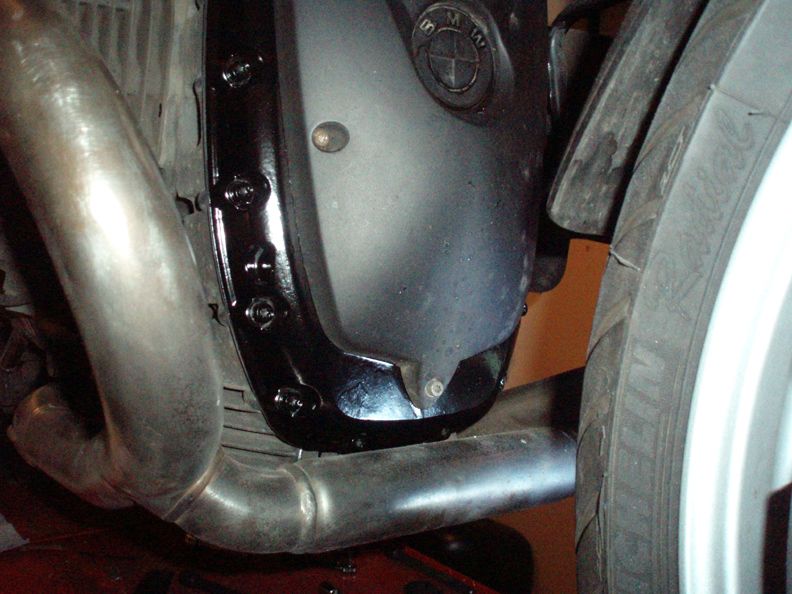
Here is with the belt cover removed.
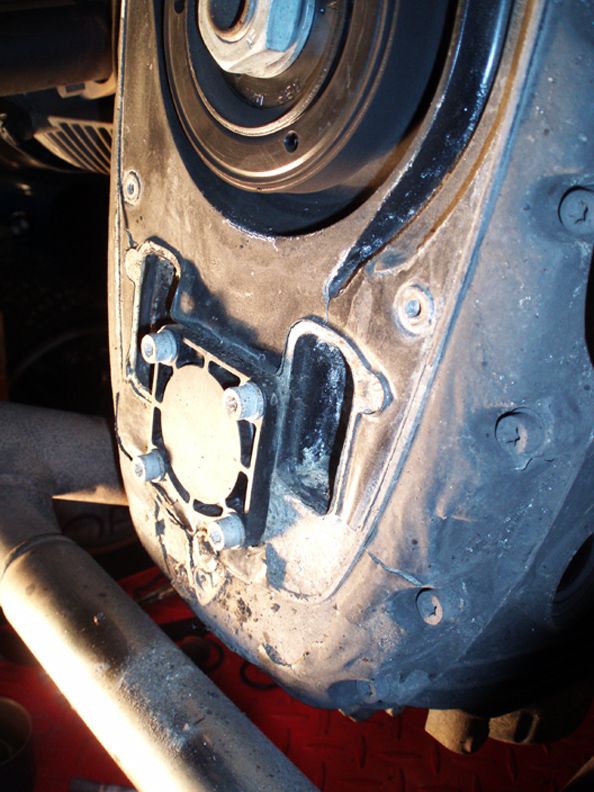
Another angle.
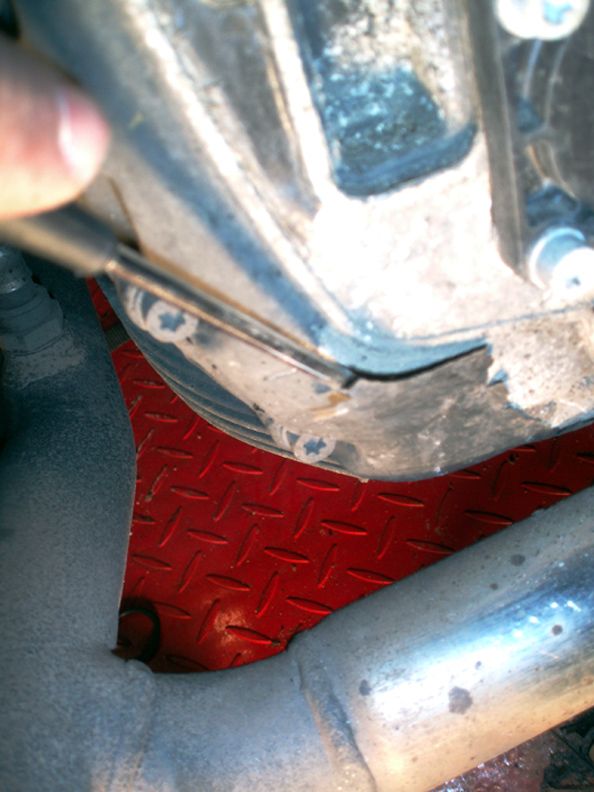
I initially used a small screwdriver to remove the loose paint. There was more than I thought, pretty much the whole cover.
You can see how much came off with just the scraping, took 5 minutes.
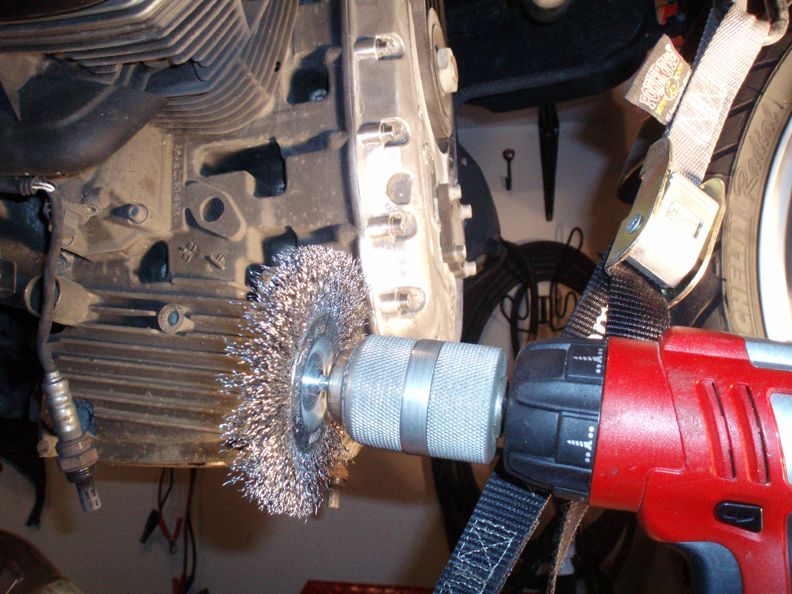
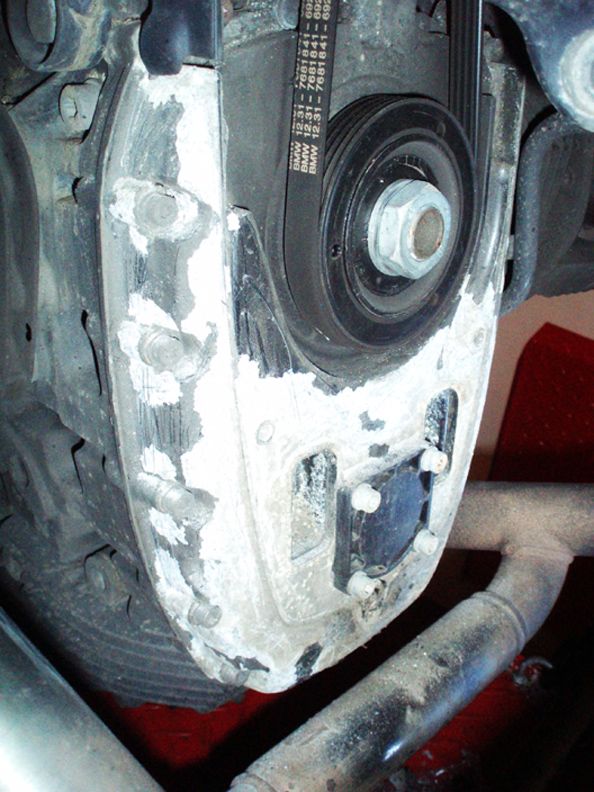
Because my goal was to protect the cover, not make it really perfect, I used a large wire brush on a drill to remove the more stubborn stuff.
As you can see, it did a good job, but did leave some gouging that some might find objectionable.
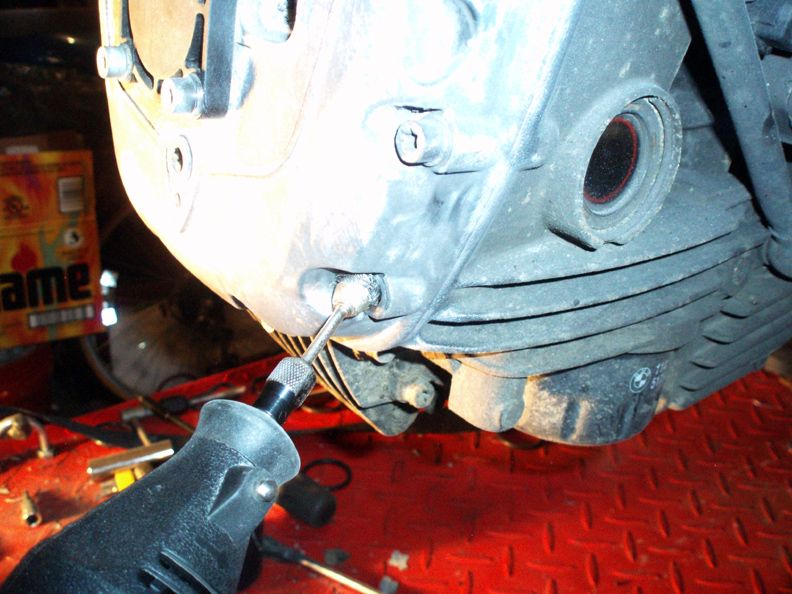
I used a Dremel with a small round wire brush and cleaned all the tight areas. I also pulled out each cover bolt one at a time and cleaned in there. Make sure you torque it properly when you put it back.
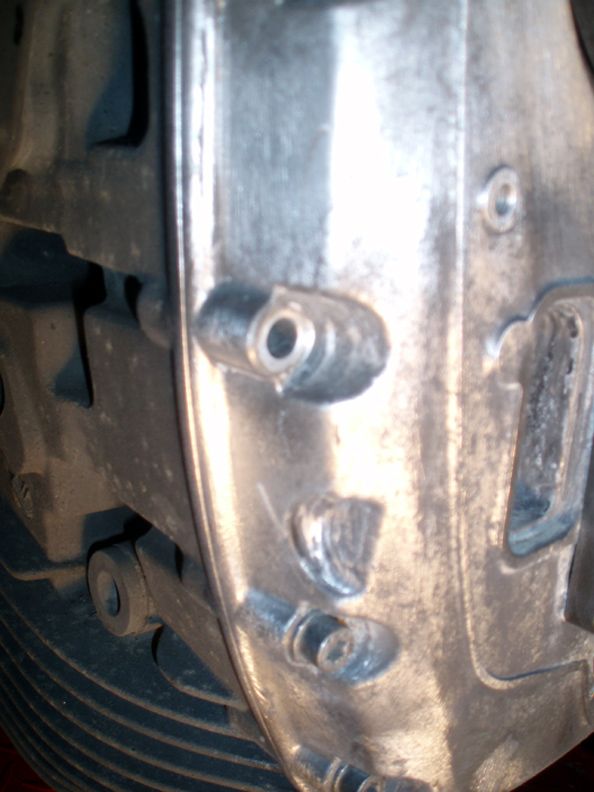
You can see how clean it got. There was a lot of corrosion in these areas.

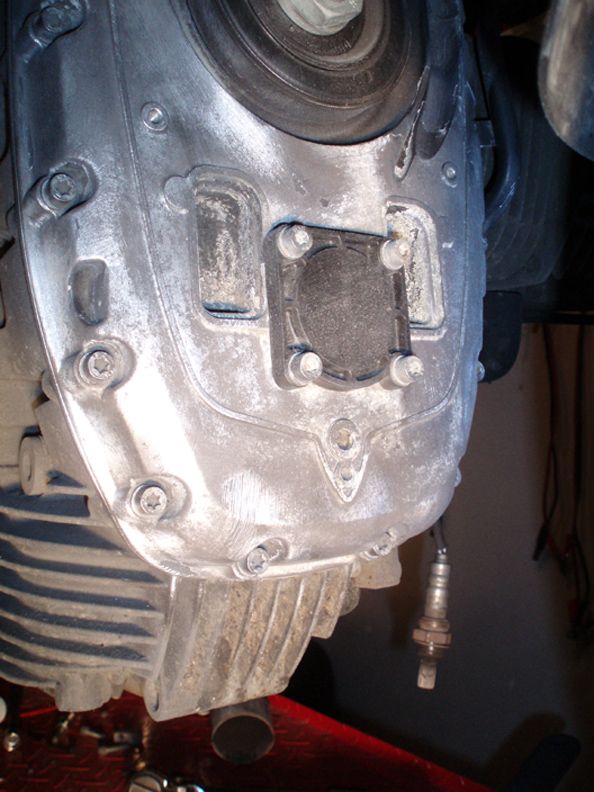
Here I have finished cleaning, and wiped it down with paint thinner. It looks blotchy, but it is very clean.
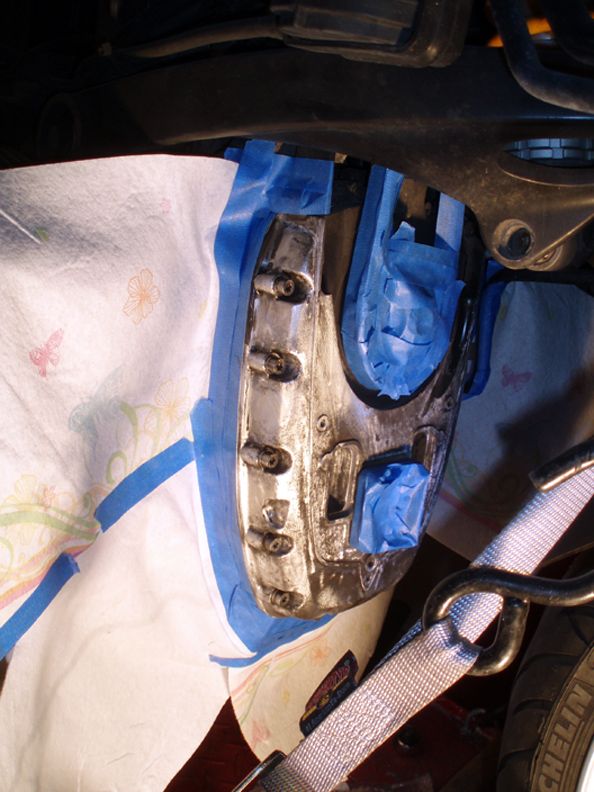
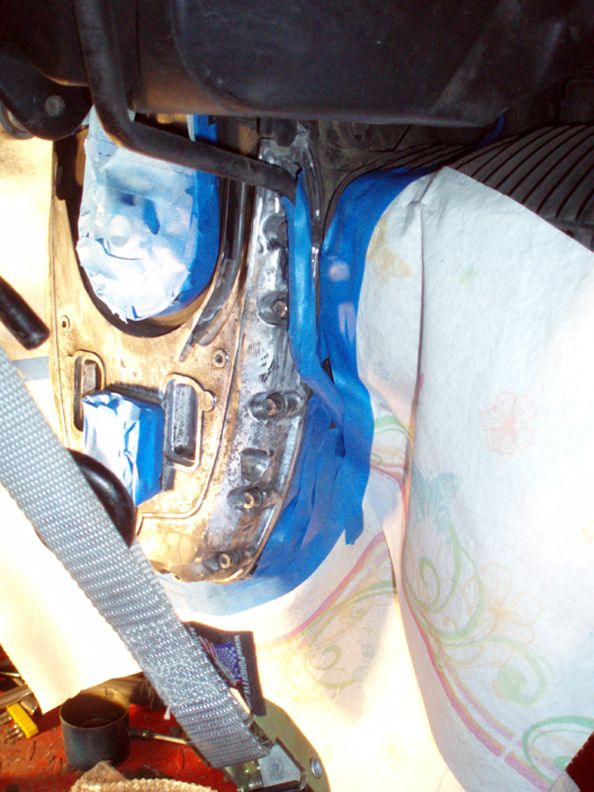
Blue Painters tape to keep the over spray down. I could have painted the whole motor to make it look good, but it is 25?? out, and it is just going to get dirty again anyhow.
Make sure you take the time to cover the belt and pulleys, you don't want to get paint on them.
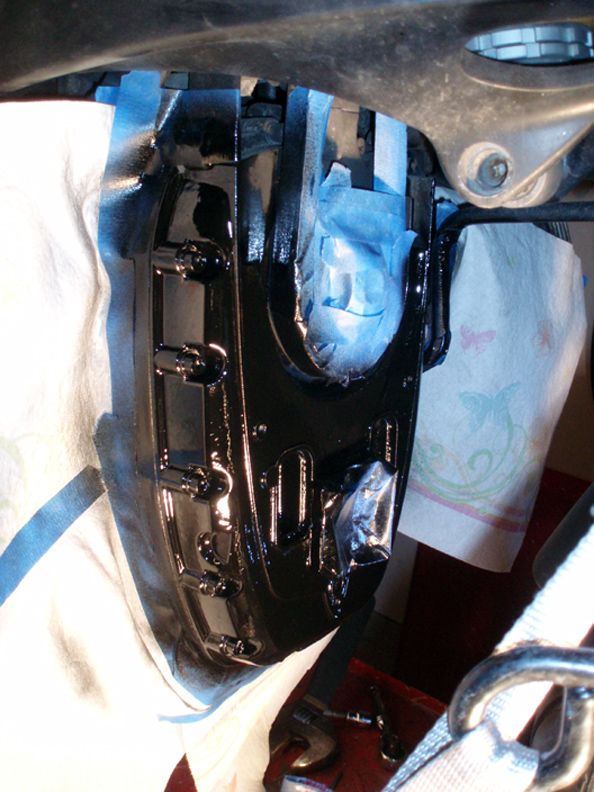
Here is the after shot. I put on two light coats ten minutes apart, then one medium coat to finish. It looks pretty good!
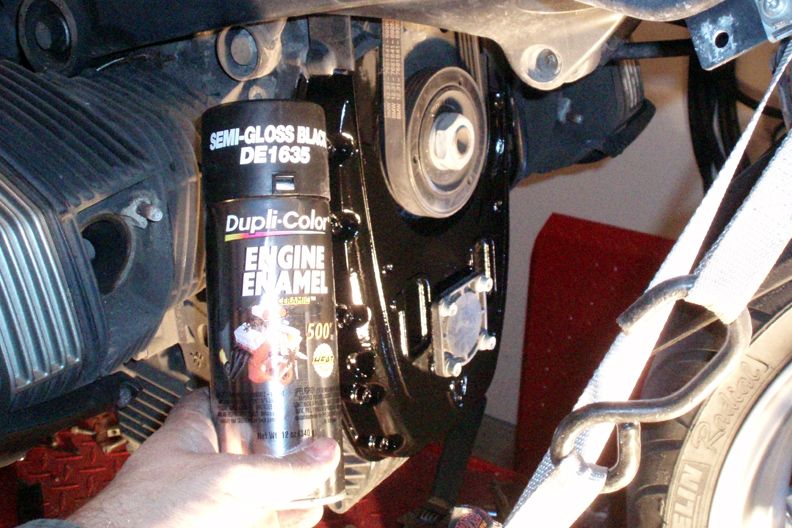
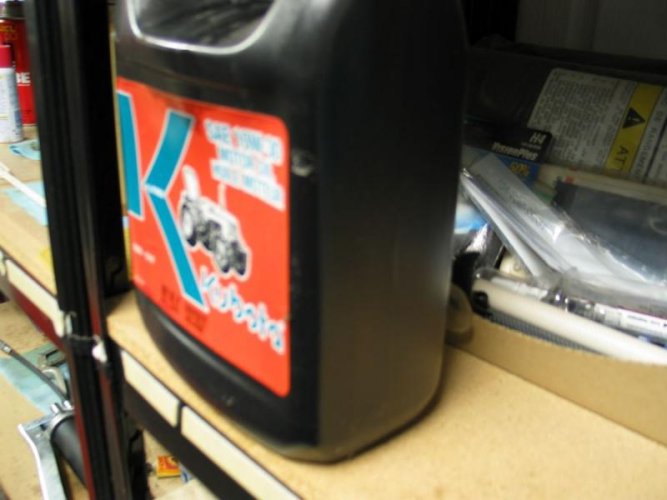
The paint I used. It is not necessary to get 500?? paint as the cover never gets that hot, but I wanted protection in the heat and stop and go traffic from the headers.

After I pulled the tape off. I let it sit 30 minutes before pulling the tape.
An hour later, after cleaning the headers of rust, I reassembled the bike. The paint was dry to the touch.
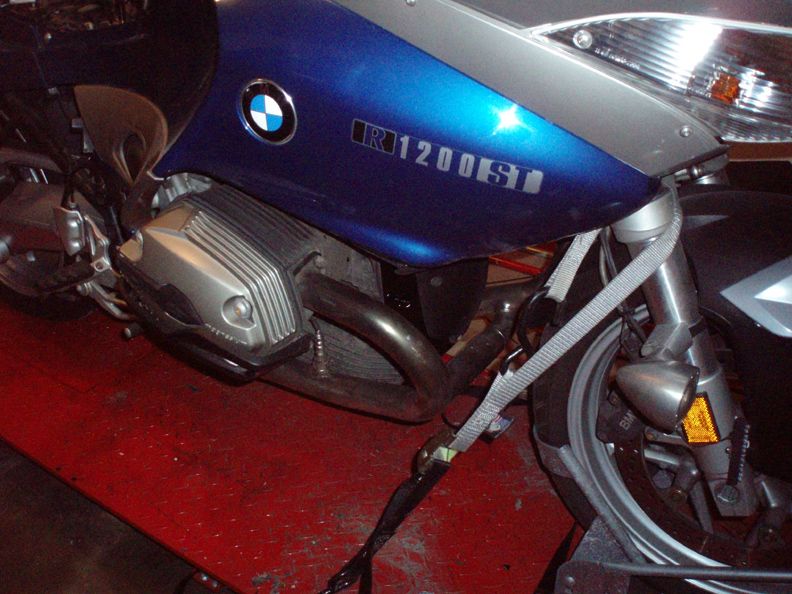
Completely assembled. Hopefully it will last at least a few years. It only took a couple hours to do, and I am very happy with the results.
Jim
The GS and R are very exposed, and you might want to spend more time making it pretty. If you own an RT or ST, you may not even realize how bad this is on your bike under the plastic.
So, I decided it was time to clean it up, and protect the cover from permanent damage requiring replacement.
The following is a pictorial on how I did it. Some wont like that I did not use an aluminum primer, but the paint I used is designed to be used without primer.
As you can see, the paint was flaking, and corrosion was under the paint everywhere.
Another angle.
Here is with the belt cover removed.
Another angle.
I initially used a small screwdriver to remove the loose paint. There was more than I thought, pretty much the whole cover.
You can see how much came off with just the scraping, took 5 minutes.
Because my goal was to protect the cover, not make it really perfect, I used a large wire brush on a drill to remove the more stubborn stuff.
As you can see, it did a good job, but did leave some gouging that some might find objectionable.
I used a Dremel with a small round wire brush and cleaned all the tight areas. I also pulled out each cover bolt one at a time and cleaned in there. Make sure you torque it properly when you put it back.
You can see how clean it got. There was a lot of corrosion in these areas.
Here I have finished cleaning, and wiped it down with paint thinner. It looks blotchy, but it is very clean.
Blue Painters tape to keep the over spray down. I could have painted the whole motor to make it look good, but it is 25?? out, and it is just going to get dirty again anyhow.
Make sure you take the time to cover the belt and pulleys, you don't want to get paint on them.
Here is the after shot. I put on two light coats ten minutes apart, then one medium coat to finish. It looks pretty good!
The paint I used. It is not necessary to get 500?? paint as the cover never gets that hot, but I wanted protection in the heat and stop and go traffic from the headers.
After I pulled the tape off. I let it sit 30 minutes before pulling the tape.
An hour later, after cleaning the headers of rust, I reassembled the bike. The paint was dry to the touch.
Completely assembled. Hopefully it will last at least a few years. It only took a couple hours to do, and I am very happy with the results.
Jim