Navigation
Install the app
How to install the app on iOS
Follow along with the video below to see how to install our site as a web app on your home screen.
Note: This feature may not be available in some browsers.
More options
-
Welcome, Guest! We hope you enjoy the excellent technical knowledge, event information and discussions that the BMW MOA forum provides. Some forum content will be hidden from you if you remain logged out. If you want to view all content, please click the 'Log in' button above and enter your BMW MOA username and password. If you are not an MOA member, why not take the time to join the club, so you can enjoy posting on the forum, the BMW Owners News magazine, and all of the discounts and benefits the BMW MOA offers?
You are using an out of date browser. It may not display this or other websites correctly.
You should upgrade or use an alternative browser.
You should upgrade or use an alternative browser.
KGT Wheel Removal (2009)
- Thread starter Semper_Fi
- Start date
Semper_Fi
Honey Badger
CRITICAL FINAL STEP
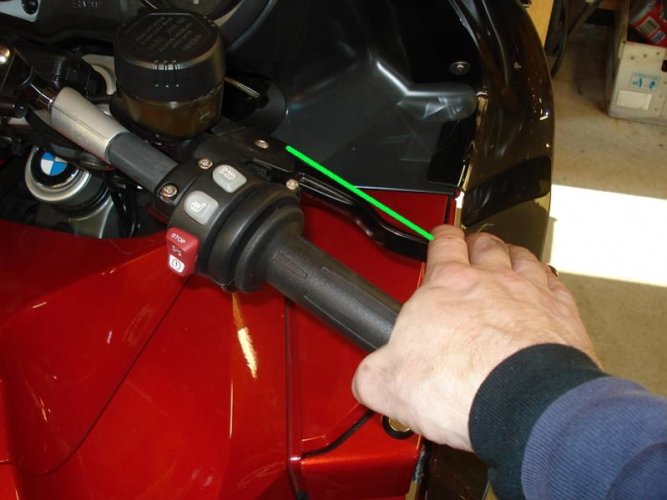
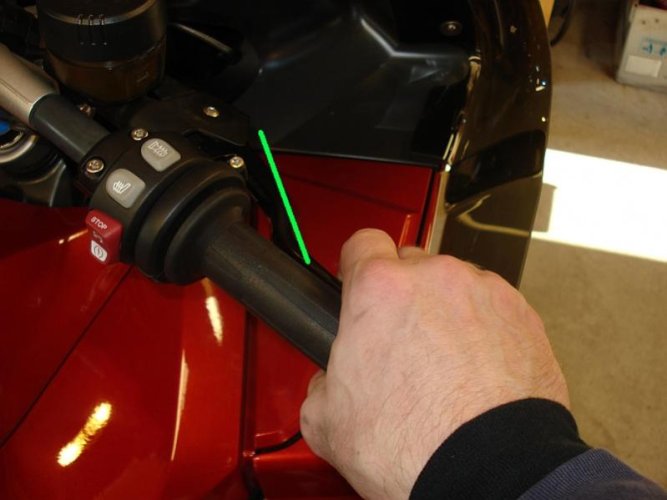
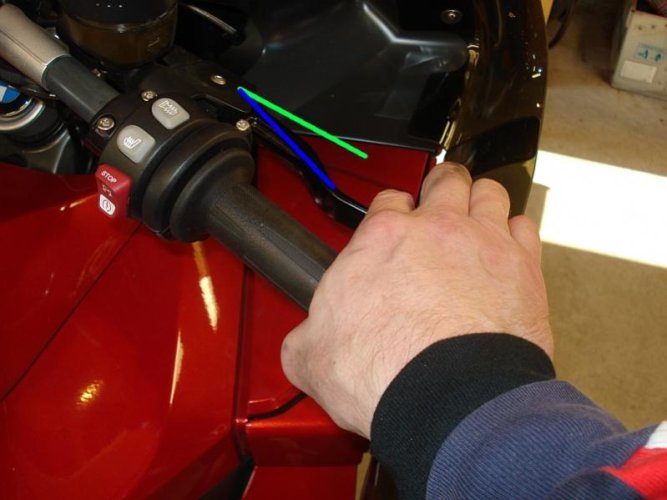
You need to pump the front brake lever to set the caliper pucks back position onto the discs for the brakes to work correctly
Shown below is the very first pump action - as you can see the brake lever is at its normal position
You need to pump the front brake lever to set the caliper pucks back position onto the discs for the brakes to work correctly
Shown below is the very first pump action - as you can see the brake lever is at its normal position
Attachments
Last edited:
Semper_Fi
Honey Badger
Semper_Fi
Honey Badger
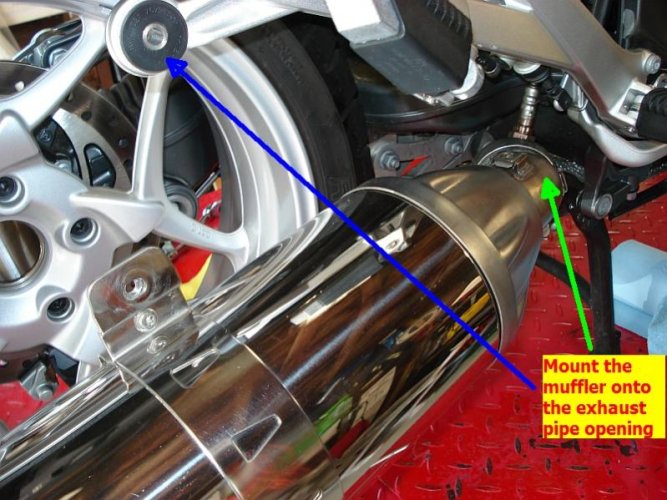
The replacement process for the rear wheel is as follows
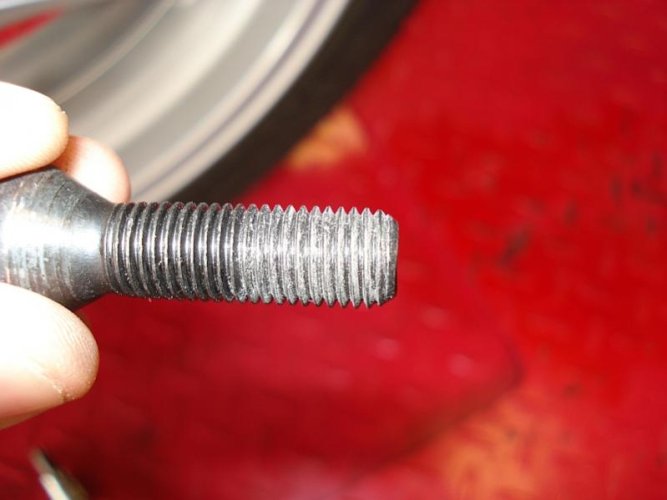
IMPORTANT NOTE - The Wheel bolts DO NOT get any lubricant or locking material applied to them, they go in dry, they come out dry
- Install wheel onto rear hub
- Install Wheel Lugs and torque to spec
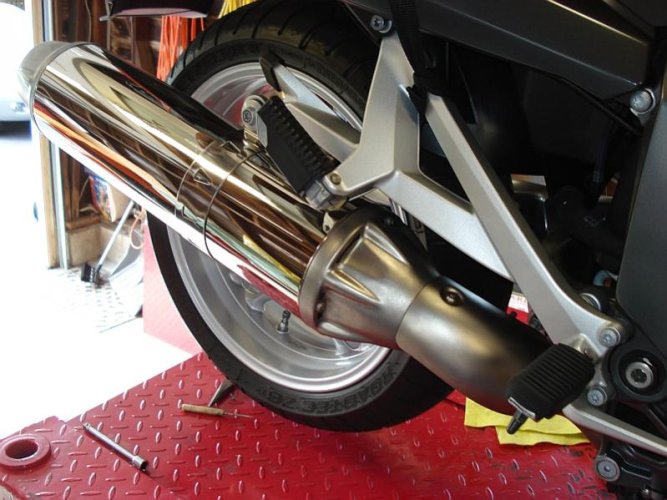
- Install muffler
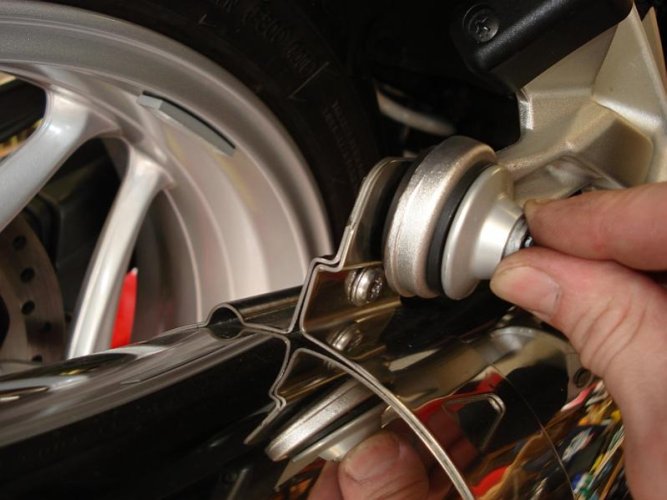
- Mount hanger
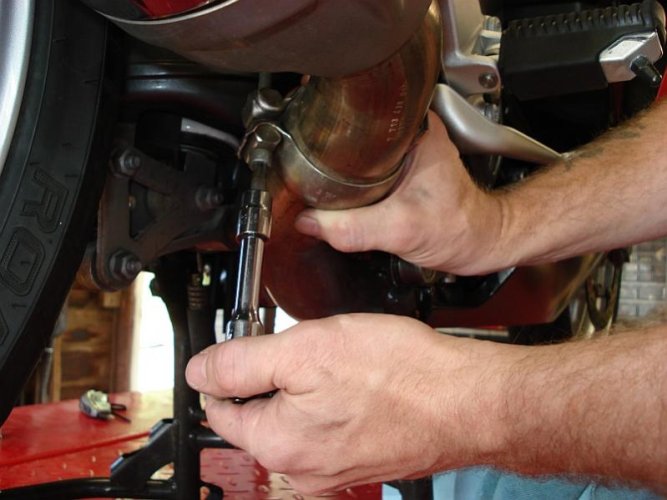
- Tighten exhaust clamp
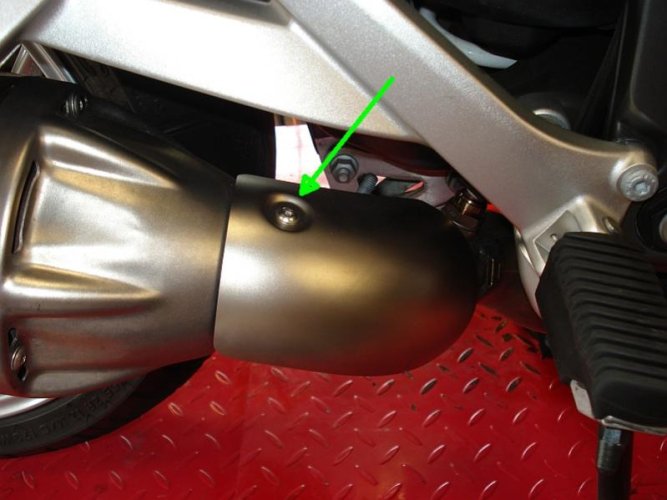
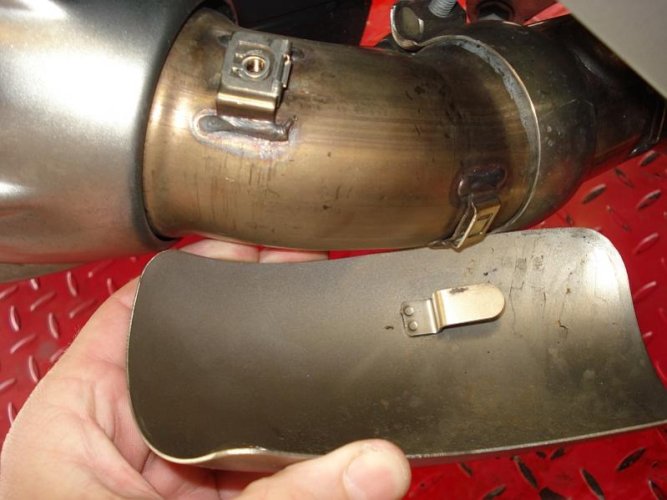
- Install exhaust cover shield
IMPORTANT NOTE - The Wheel bolts DO NOT get any lubricant or locking material applied to them, they go in dry, they come out dry
Attachments
Last edited:
Semper_Fi
Honey Badger
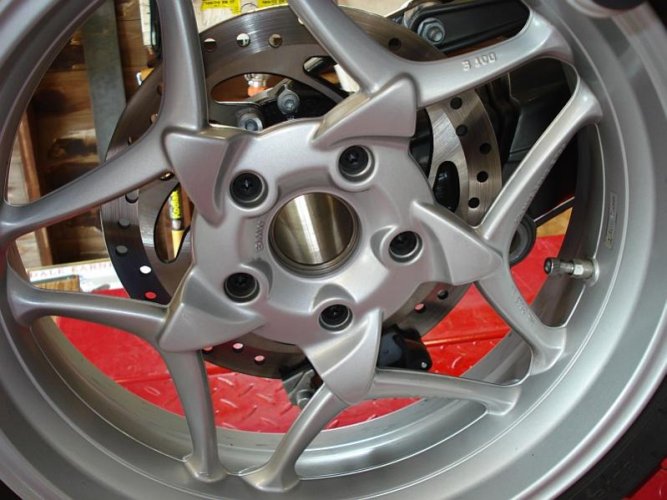
Below shows the tire mounted onto the rear hub.
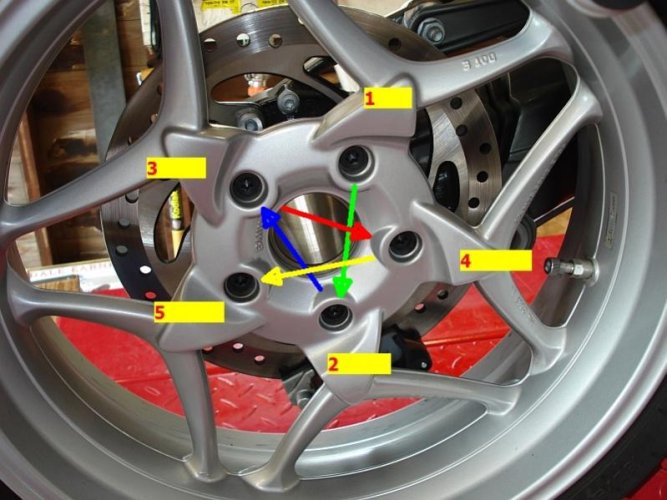
The wheel bolts have been put in, hand tight, ensuring the wheel is properly seated then torque as outlined.
The torquing sequence is a diagonal pattern shown below:
1 to 2
2 to 3
3 to 4
4 to 5
Tighten to 60Nm (44 ft-lbs)
The wheel bolts have been put in, hand tight, ensuring the wheel is properly seated then torque as outlined.
The torquing sequence is a diagonal pattern shown below:
1 to 2
2 to 3
3 to 4
4 to 5
Tighten to 60Nm (44 ft-lbs)
Attachments
Last edited:
Semper_Fi
Honey Badger
Similar threads
- Replies
- 15
- Views
- 4K
- Replies
- 43
- Views
- 14K
- Replies
- 9
- Views
- 8K
- Replies
- 29
- Views
- 14K

