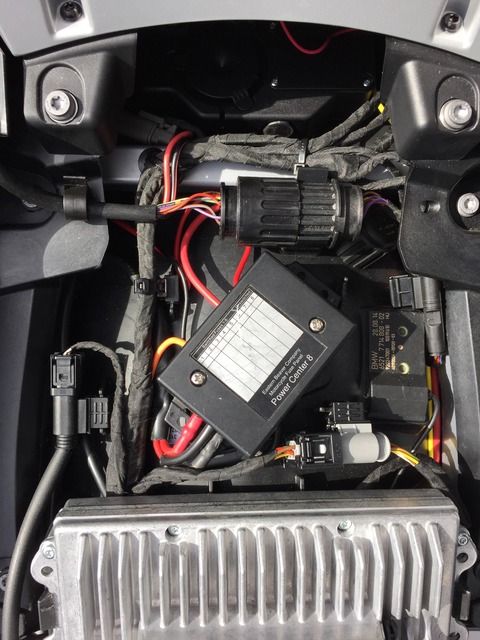
OK, I'm ignorant. I am installing a PDM60 to power driving lights and a First gear heated jacket liner. Perfect mounting place, top of the rear fender. Ground wire no problem. My issue being mostly electronically dumb is I cannot determine a good trigger wire. I assumed one of the tail light wires would work but not understanding how the Canbus system triggers circuits I can'T determine which wire. I will get a voltage surge and then back to 1 volt on two of the wires. I do not know if either of these would work. I have a 2014 R1200RT
Basically, HELP!!!
Basically, HELP!!!