glenfiddich
TravelsWithBarley.com
Same decals but with Tulliver added to the memorial. Our graphic designer retired but was kind enough to gift us her filesLooks great Pete!
Have you ordered the decals yet? Anything new?
OM
Follow along with the video below to see how to install our site as a web app on your home screen.
Note: This feature may not be available in some browsers.

Welcome! You are currently logged out of the forum. Some forum content will be hidden from you if you remain logged out. If you want to view all content, please LOG IN!
If you are not an MOA member, why not take the time to join the club, so you can enjoy posting on the forum, the BMW Owners News magazine, and all of the benefits of membership? If you click here, you have the opportunity to take us for a test ride at our expense. Enter the code 'FORUM25' in the activation code box to try the first year of the MOA on us!
Same decals but with Tulliver added to the memorial. Our graphic designer retired but was kind enough to gift us her filesLooks great Pete!
Have you ordered the decals yet? Anything new?
OM
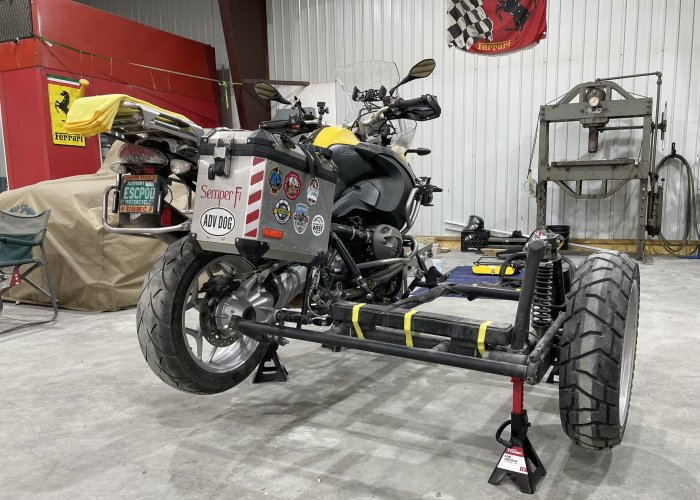
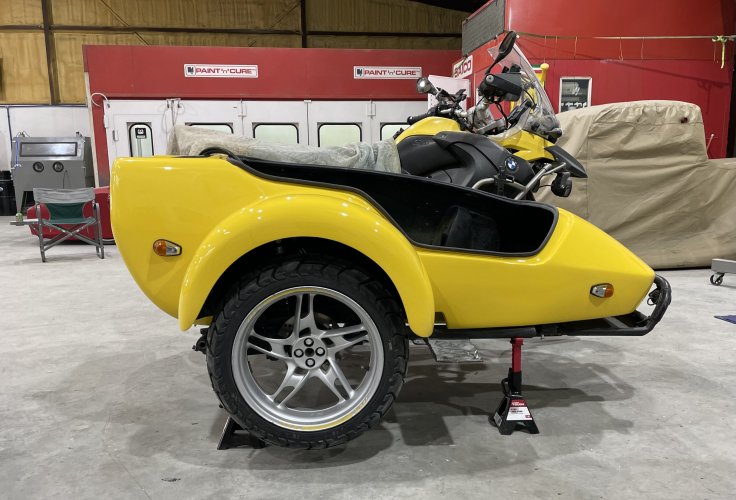
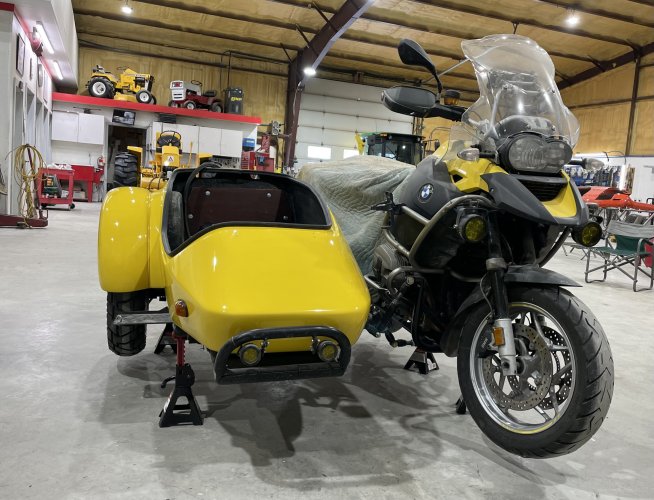
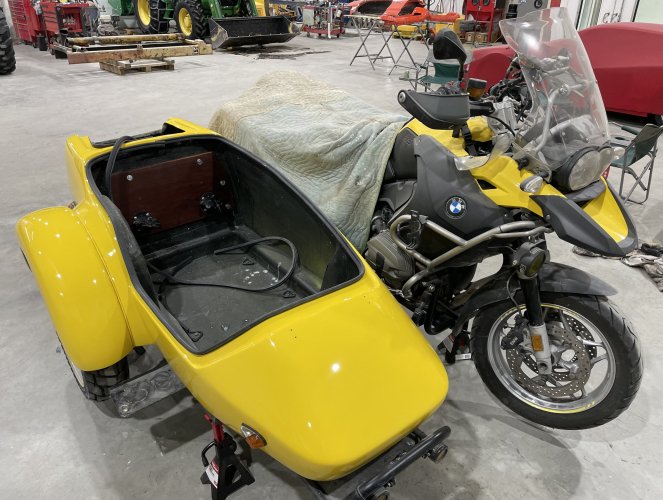
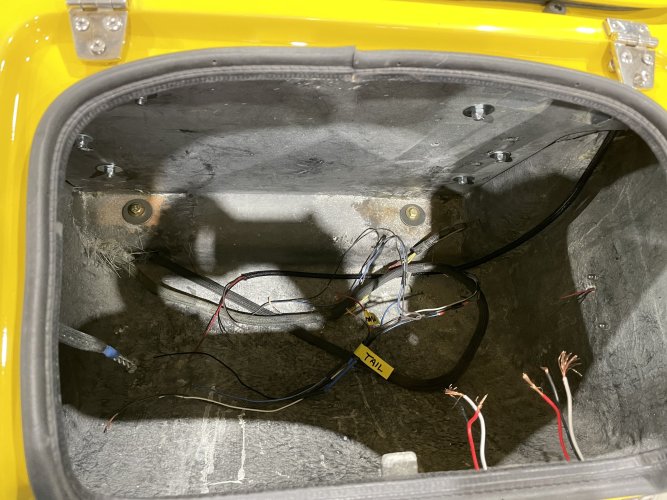
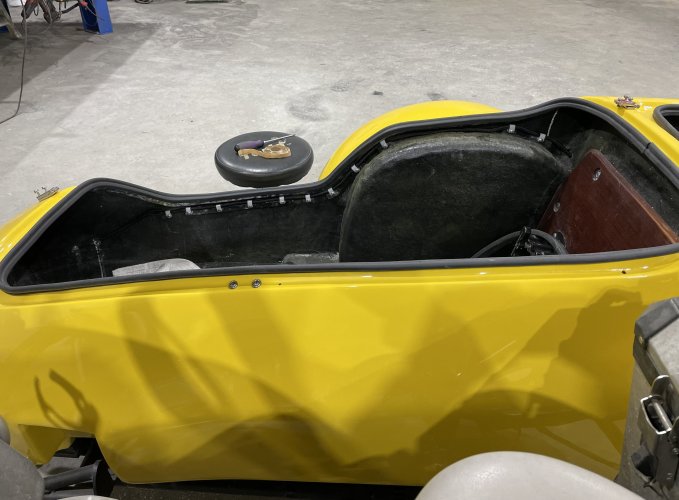
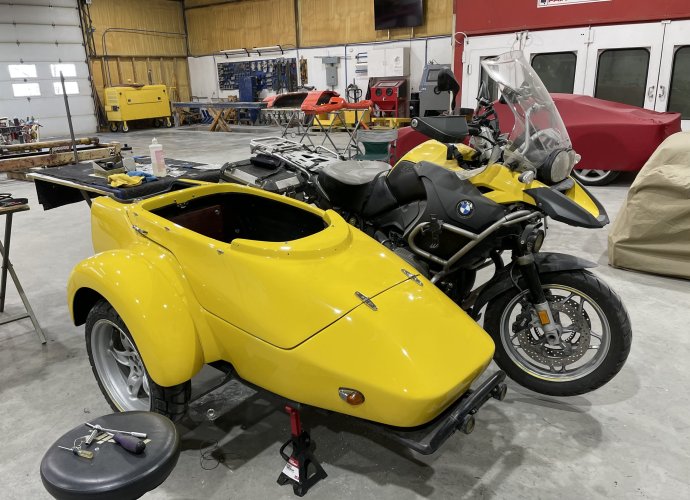
Wiring is not much fun. I’m getting pretty good at soldering in good lighting with proper ergonomics, but spending hours bent over trying to make decent connections with my head inside a cramped, poorly lit trunk quickly becomes an ordeal.
View attachment 97422
Brake and side marker lights installed, I began sorting through the chaos of wires in the trunk making connections
View attachment 97423
The front marker connections were made and the harness neatly tacked under the rim of the tub safe from accidental snagging by dog claws. I powered up the bike and the light failed to work. Crap! I was so anxious to finish the job I’d failed to check parts being reused. The marker was removed and I discovered the heads of the screws used to access the bulb were completely stripped out! Got them out with a combination of a screwdriver, small vice grips, and vulgarities. Then learned the bulb was an oddball not available locally. An online search disclosed that it was a size commonly used in Honda and Suzuki motorcycles. I’ll check dealers tomorrow when I visit the Big City.
I had always found it odd that the front marker doubled as a turn signal but the rear marker had no signal. So off came the rear marker for closer inspection with magnifying glasses. Turns out that just like the front marker, the rear had three wires. The third wire had been cut off flush with the socket! Ugh! So the socket was disassembled, a six inch pigtail soldered onto the stub, and the socket reassembled.
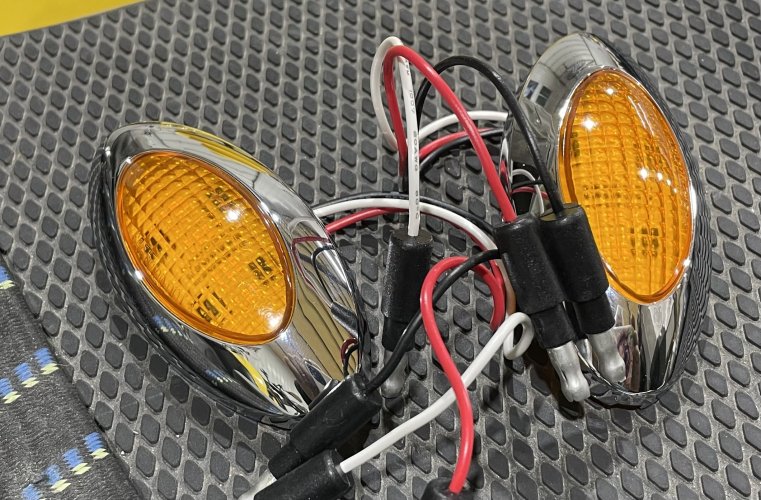
Both marker assemblies were showing their age so I didn’t reinstall them yet. While in Burlington tomorrow I’ll check a few stores to see if I can find a matching set of LED side marker turn signal lights. The thought of not having to deal with burnt out bulbs has a lot of appeal
View attachment 97424
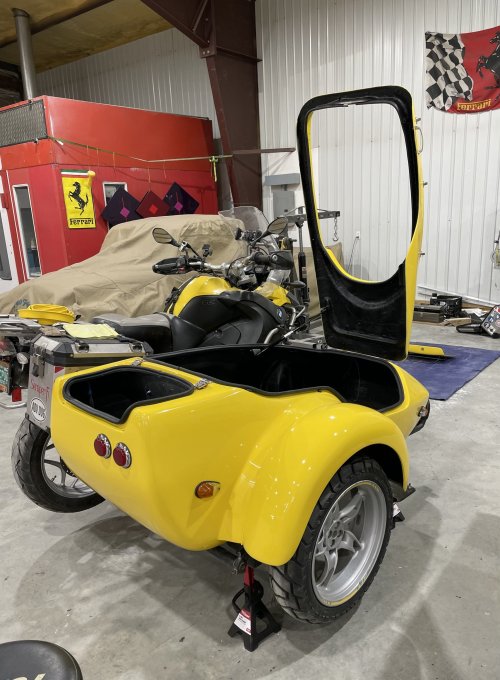
Sometimes you need to just sit down and stare at the nearly finished rig. That always makes me feel better!
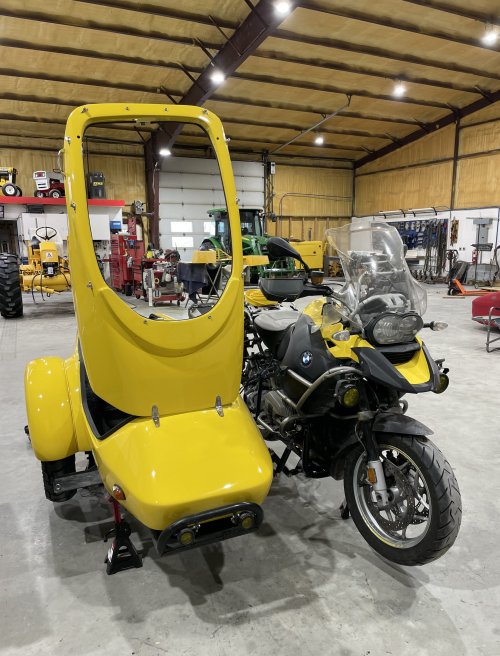
I prefer Posi-Links as in order to change bulbs in my marker lights the assembly has to be removed from the tub. Removing the Posi-Link lets me pull the thin wire ends through a small hole in the fiberglass. If I could find an aesthetically pleasing LED marker/turn signal that would be a moot point as bulbs would not need replacement.You mentioned soldering connections in an earlier post. I have learned that it’s not necessary and not recommended for a primary connection.
Should you solder wires on boat?
If you're still wondering if soldering is better, remember that American Boat & Yacht Council Standards exclude solder as the sole means of electrical connection for wire terminations. If you're the belt-and-suspenders sort, you can solder after crimping. However, when using high-quality materials, it's not necessary.Mar 22, 2013
A well crimped connector, preferably with the heat shrink glue in the ends, will work just fine and perhaps save you some time.
The theory is the soldered connection becomes solid and inflexible making it prone to fracture especially when the soldered connector is on anything prone to a pounding.
Looking good Pete,
Gary
Perhaps https://www.posi-products.com/positwist.htmlThe sections I solder are those that don’t work with Posi-Locks, like where one wire branches into two. The single wire fits fine, but the pair are too big for that kind of connector. So I do a Western Union join then wrap the third wire around it and solder in place. But I’ll check their website to see if they’ve developed a new connector that fits the bill.
A yes here, for posi-products. Western union splice
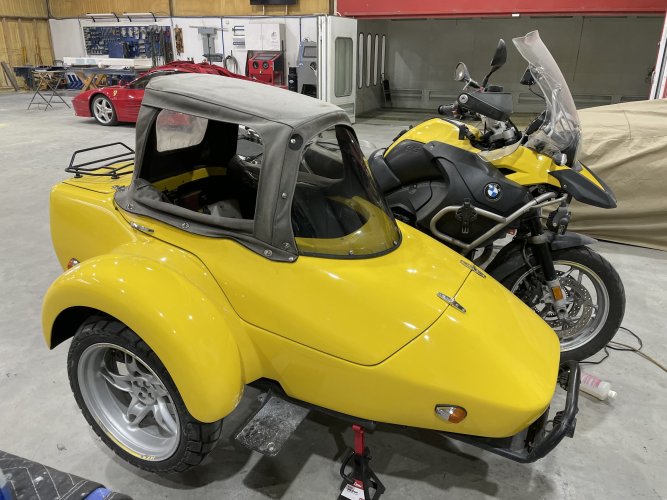
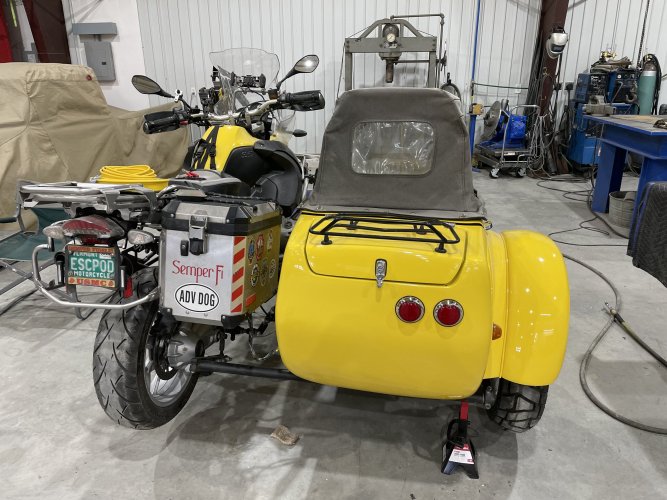
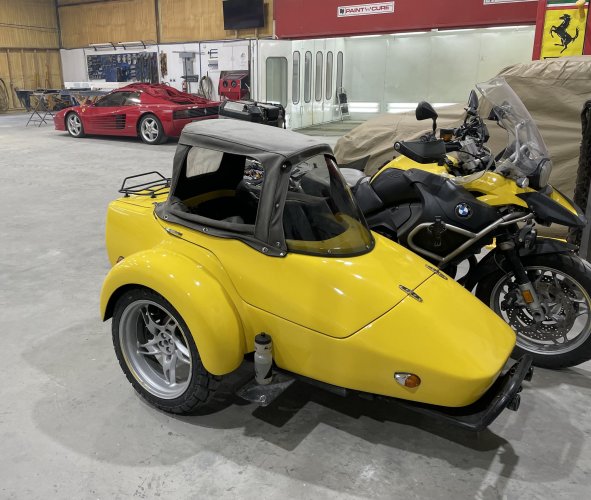
Four years and 36,000 miles till the kamikaze hit us, and she came out worse than us!Great job. Let's hope this one lasts longer than the last one!
This thread is a little over four months in the making. Did you track the man hours spent in this restoration?Four years and 36,000 miles till the kamikaze hit us, and she came out worse than us!
Just shy of 200 hours, but split between my repairs/mods and helping rebuild a 1961 Allis-Chalmers forklift.This thread is a little over four months in the making. Did you track the man hours spent in this restoration?
Imagine the cost if a shop had to do that and it wouldn’t be as good as your work… Looking very very nice indeed!Just shy of 200 hours, but split between my repairs/mods and helping rebuild a 1961 Allis-Chalmers forklift.
The job kept me cheerfully busy over our long winter

