b25bsaboy
New member
Good afternoon,
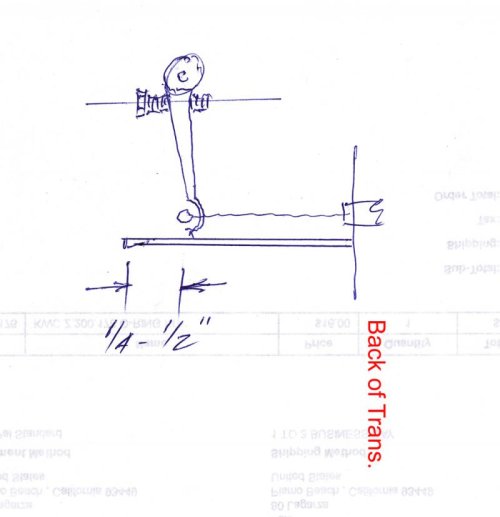
I am in the process of adjusting my new clutch cable on my 76 R75/6. Just watched the YouTube of Chris harris and he does it with an 8" long coat hanger wire that butts up to the back of the transmission that attach's to the engine casing. Went and did this, but found that the coat hanger wire, there is about 1/4 - 1/2" that goes past the clutch cable arm. Everything is slack, meaning that the clutch lever has about a 1/2" end play.
Would someone give me some direction and guidance or have I missed something?