88bmwjeff
SF Bay Area
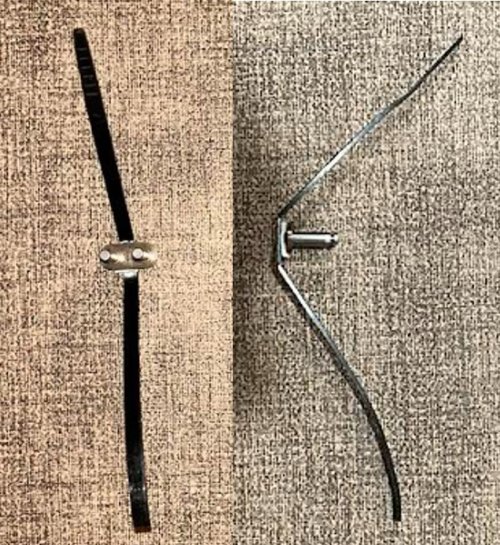
Today was the day I replaced my timing chain. (I already had removed the old timing chain on a previous day, but not the crankshaft sprocket.) Today was removing and replacing the crank sprocket and bearing, replacing the chain, tensioner, etc. Cycle Works tools worked great and made the job (my first) really easy. I had read that replacing the master link was a royal PITA, and was it. I watched videos from Brook Reams and Boxer2Valve, but after trying at least a dozen times if not two dozen times, I was extremely frustrated. Then I got an idea, I took some two-side foam tape and stuck the master link to a zip tie. This allowed me to position it really easy and it seemed like it only took 60 seconds to get the master link in. I did have to wait until the clip was on to peel off the tap on the backside, but that was 1,000 time easier than the failed attempts that proceeded it. See photos-I recreated what I did with the old link.
Now I'm off to clean off the old gasket material on the block and timing to make sure that both sides are clean. Any suggestions here? Most of the gasket material is removed, but there are a few areas where it's hard to remove.
Now I'm off to clean off the old gasket material on the block and timing to make sure that both sides are clean. Any suggestions here? Most of the gasket material is removed, but there are a few areas where it's hard to remove.