anotherbmw
New member
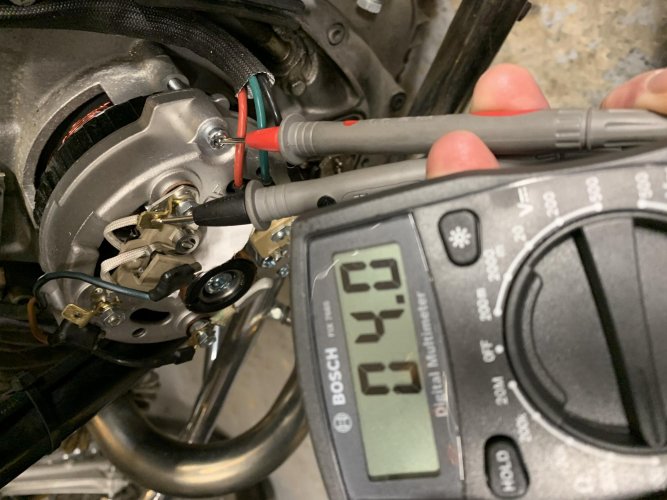
Guenther, see photo attached. Only 4 Ohms between the post and the stator frame (Voltmeter set to 200 Ohms)! Brushes are not connected to the rotor, because I put some cardboard in between the brushes and the rotor. This tells me I better should not connect the plus cable from the battery there at this point.
Boxerbruce, when I started trouble shooting on Friday I called EME at 5:00 p.m and they were very helpful, one of the guys even gave me his cell to call him over the weekend. I didn't do that, wanted to first try myself (with y'alls help") )
)
Steven, I am pretty sure I have assembled things correctly, but what do I know!
Brook, I love your write-ups and videos. They are an amazing source of information! At this point I am pretty sure my problem is what you list under 7.) below. I will take the stator frame and stator off and take a look. Whatever I find I will report back.
Cheers!
Boxerbruce, when I started trouble shooting on Friday I called EME at 5:00 p.m and they were very helpful, one of the guys even gave me his cell to call him over the weekend. I didn't do that, wanted to first try myself (with y'alls help
)Steven, I am pretty sure I have assembled things correctly, but what do I know!
Brook, I love your write-ups and videos. They are an amazing source of information! At this point I am pretty sure my problem is what you list under 7.) below. I will take the stator frame and stator off and take a look. Whatever I find I will report back.
Cheers!