
zekeq
New member
After dealing with my overheating 2002 R1150 GSA during the eclipse traffic last spring, I’ve been noodling on how to add auxiliary radiator fans. In August I tested using two 60x60x25mm fans on an idling/still bike, and got good results.
Post in thread 'Air/oil cooled camhead oil cooler fan':
https://forums.bmwmoa.org/threads/air-oil-cooled-camhead-oil-cooler-fan.105496/post-1331338
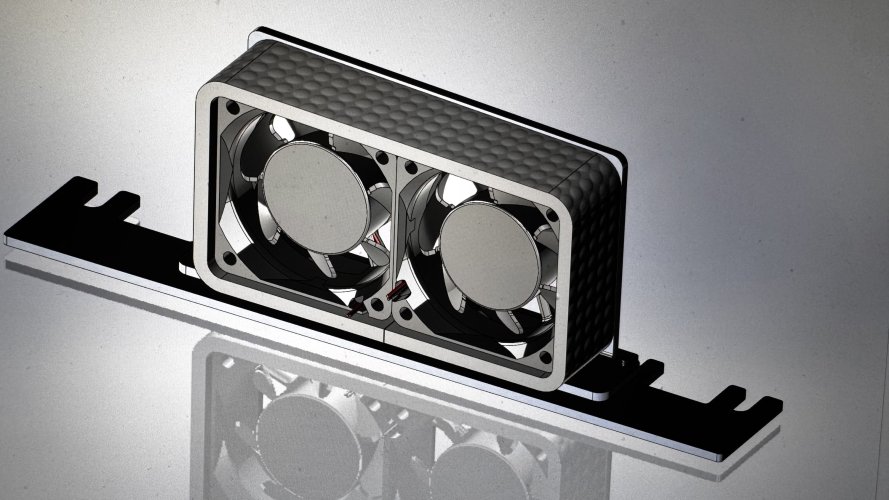
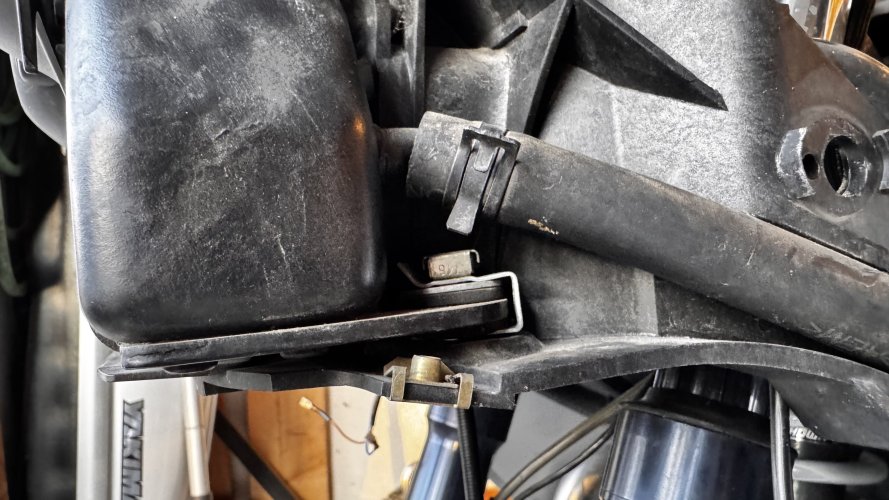
Today I modeled a mount design and did a cardboard fit check prototype (it fit!).
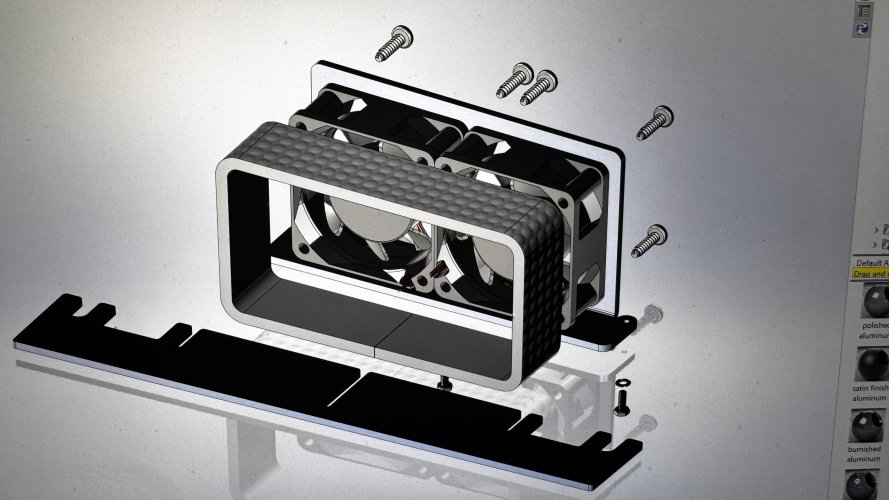
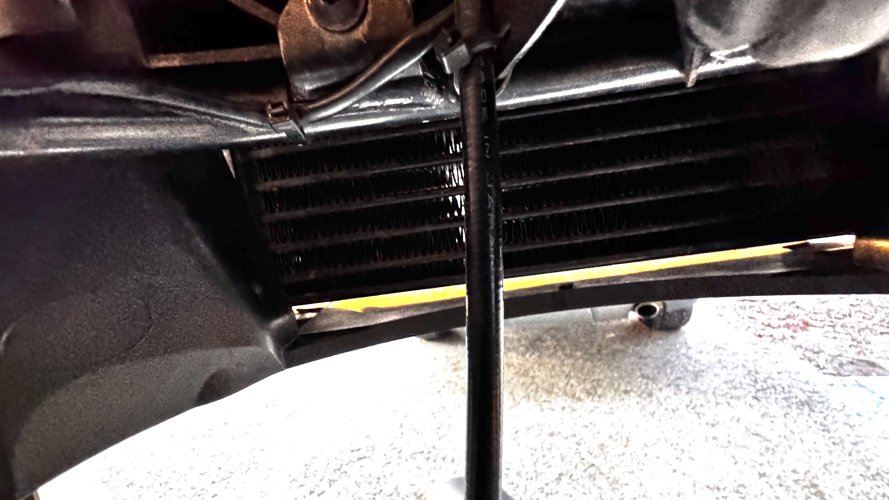
The design is two metal parts of 3mm thick aluminum, two fans, and an adhesive backed fiberglass/aluminum foil air duct to prevent the fan bodies, which are plastic, from directly contacting the cooling fins. The flat plate slides under the radiator and will be sandwiched between the radiator and the large plastic housing which supports the headlights. The second metal part is an L bracket with three M3 tapped holes. It will be slid in from underneath/behind and r then the flat plate will slide under it and the M3’s secured. Then the radiator bolts will be retightened and the beak trim reassembled. The cooling hoses will remain attached during assembly. I also will not be drilling any holes or making any permanent modifications to the bike.
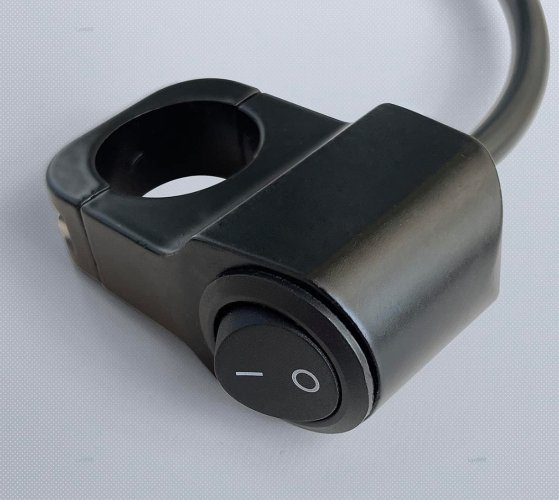
I bought an automatic thermostat, but for now I’m going to keep it simple and use a rocker switch tapping the headlight 12V line, which has plenty of capacity as I switched the headlights to LED earlier this year. I wanted the fans to be stealth, which is why I opted not to do an easier front mounted design. After I verify functionality I can consider speed controls and thermostatic engagement.
I’ll post the CAD models and bill of materials once I’ve successfully built and installed the system. For now here are a few shots of the project in progress.
Happy December!
To be continued…
Post in thread 'Air/oil cooled camhead oil cooler fan':
https://forums.bmwmoa.org/threads/air-oil-cooled-camhead-oil-cooler-fan.105496/post-1331338
Today I modeled a mount design and did a cardboard fit check prototype (it fit!).
The design is two metal parts of 3mm thick aluminum, two fans, and an adhesive backed fiberglass/aluminum foil air duct to prevent the fan bodies, which are plastic, from directly contacting the cooling fins. The flat plate slides under the radiator and will be sandwiched between the radiator and the large plastic housing which supports the headlights. The second metal part is an L bracket with three M3 tapped holes. It will be slid in from underneath/behind and r then the flat plate will slide under it and the M3’s secured. Then the radiator bolts will be retightened and the beak trim reassembled. The cooling hoses will remain attached during assembly. I also will not be drilling any holes or making any permanent modifications to the bike.
I bought an automatic thermostat, but for now I’m going to keep it simple and use a rocker switch tapping the headlight 12V line, which has plenty of capacity as I switched the headlights to LED earlier this year. I wanted the fans to be stealth, which is why I opted not to do an easier front mounted design. After I verify functionality I can consider speed controls and thermostatic engagement.
I’ll post the CAD models and bill of materials once I’ve successfully built and installed the system. For now here are a few shots of the project in progress.
Happy December!
To be continued…


")
 Absolutely genius and brilliantly executed Sir! I’m looking forward to hearing your long term review on this project.