rxcrider
New member
I was able to locate the aligning hole and lock in place today before I reinstalled the head. I had a choice to leave the sprocket on the chain in the same position I zip tied it or move it, I chose to keep it in it's original place. The head was at it's top, but I couldn't see OT in the window. It's either too low, or springs past.
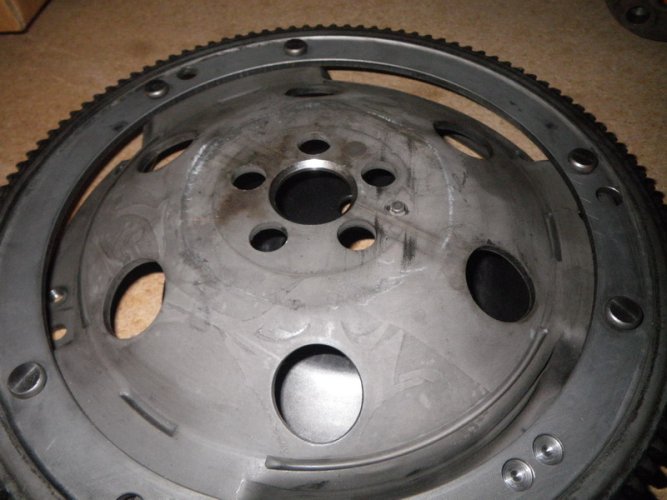
The locking pin goes in the hole in the bell housing, through the hole in the clutch housing (flywheel) and seats securely in a blind hole in the engine case. Once it is locked, there is nowhere near enough play to have OT move out view.
With the locking pin in place, it should look like this
https://rxcrider.smugmug.com/Moto-Bike/2002-R1150RS/i-8nCsJDJ
Additional thought - where are you located? Just in case one of us is in your area