• Welcome, Guest! We hope you enjoy the excellent technical knowledge, event information and discussions that the BMW MOA forum provides. Some forum content will be hidden from you if you remain logged out. If you want to view all content, please click the 'Log in' button above and enter your BMW MOA username and password.

    If you are not an MOA member, why not take the time to join the club, so you can enjoy posting on the forum, the BMW Owners News magazine, and all of the discounts and benefits the BMW MOA offers?

  • Beginning April 1st, and running through April 30th, there is a new 2024 BMW MOA Election discussion area within The Club section of the forum. Within this forum area is also a sticky post that provides the ground rules for participating in the Election forum area. Also, the candidates statements are provided. Please read before joining the conversation, because the rules are very specific to maintain civility.

    The Election forum is here: Election Forum

Rox Risers on a Wethead: Install Pictorial

jimvonbaden

Kool Aid Dispenser!
So, I got a couple sets of ROX Risers, a 1.5" up and back fixed set, and a 2" Anti-Vibe Adjustable set, and thought I would show the install process. Later I will review their effectiveness. (Note, most risers will install the same way.)

01%201.5%20inch%20Fixed%20Riser.jpg

02%201.5%20inch%20Fixed%20Riser.jpg

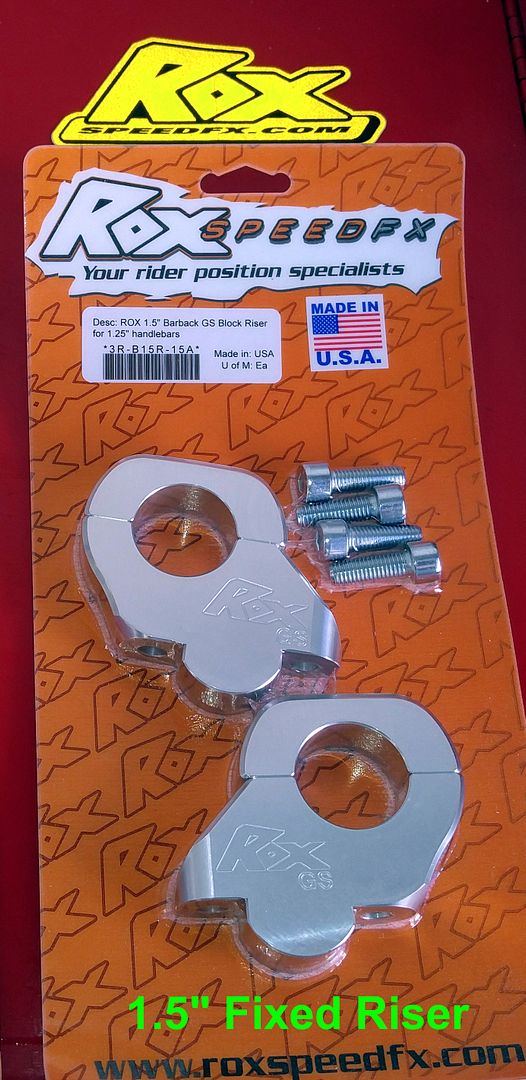
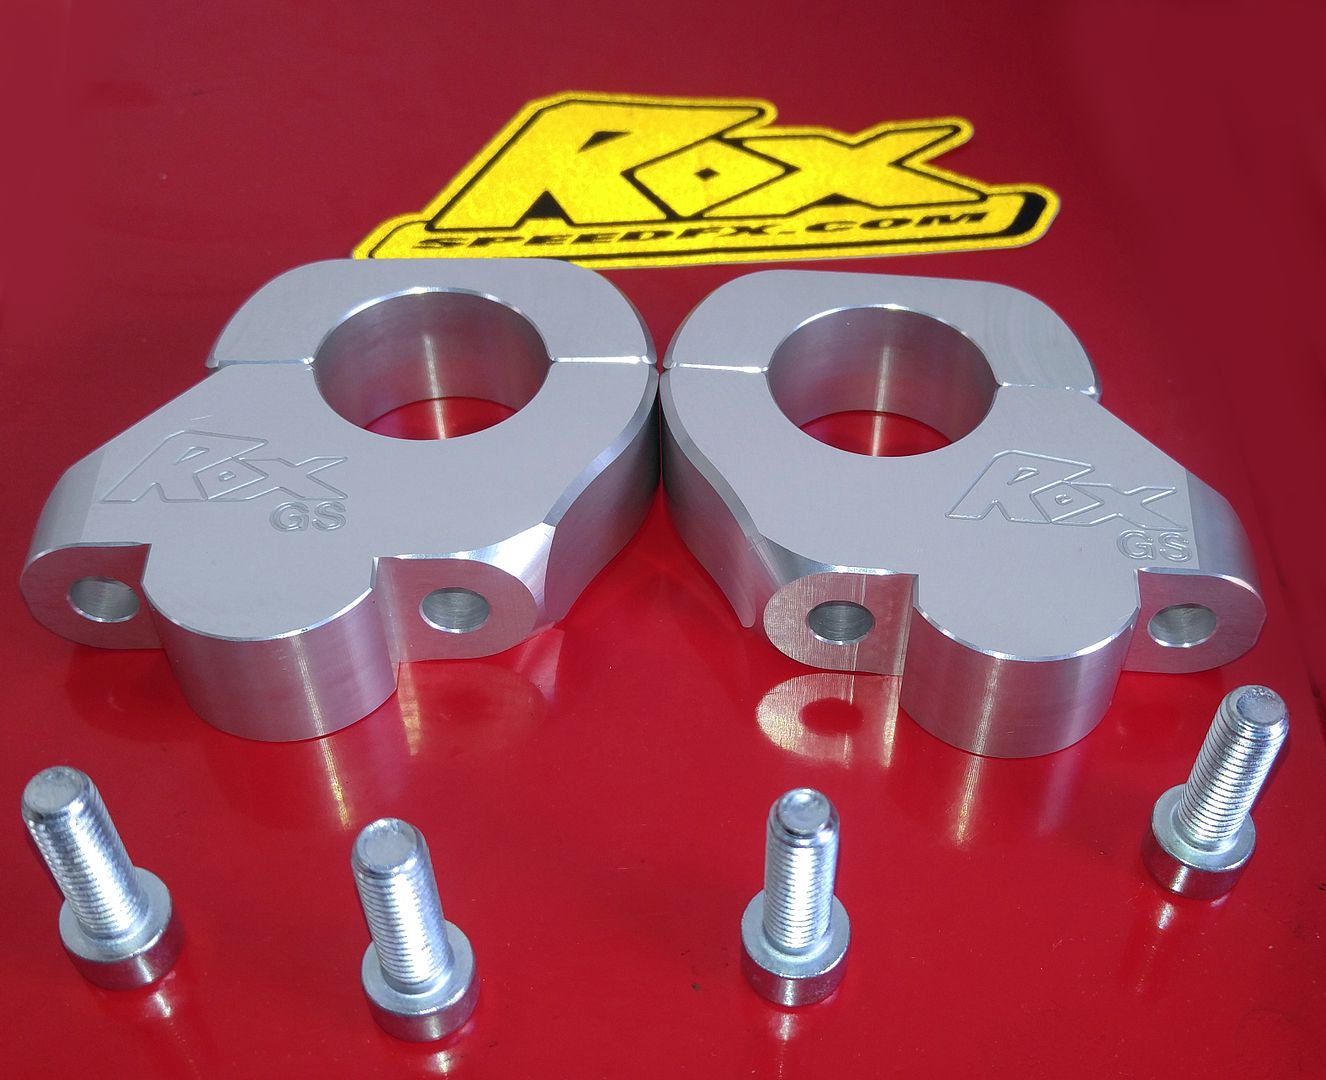
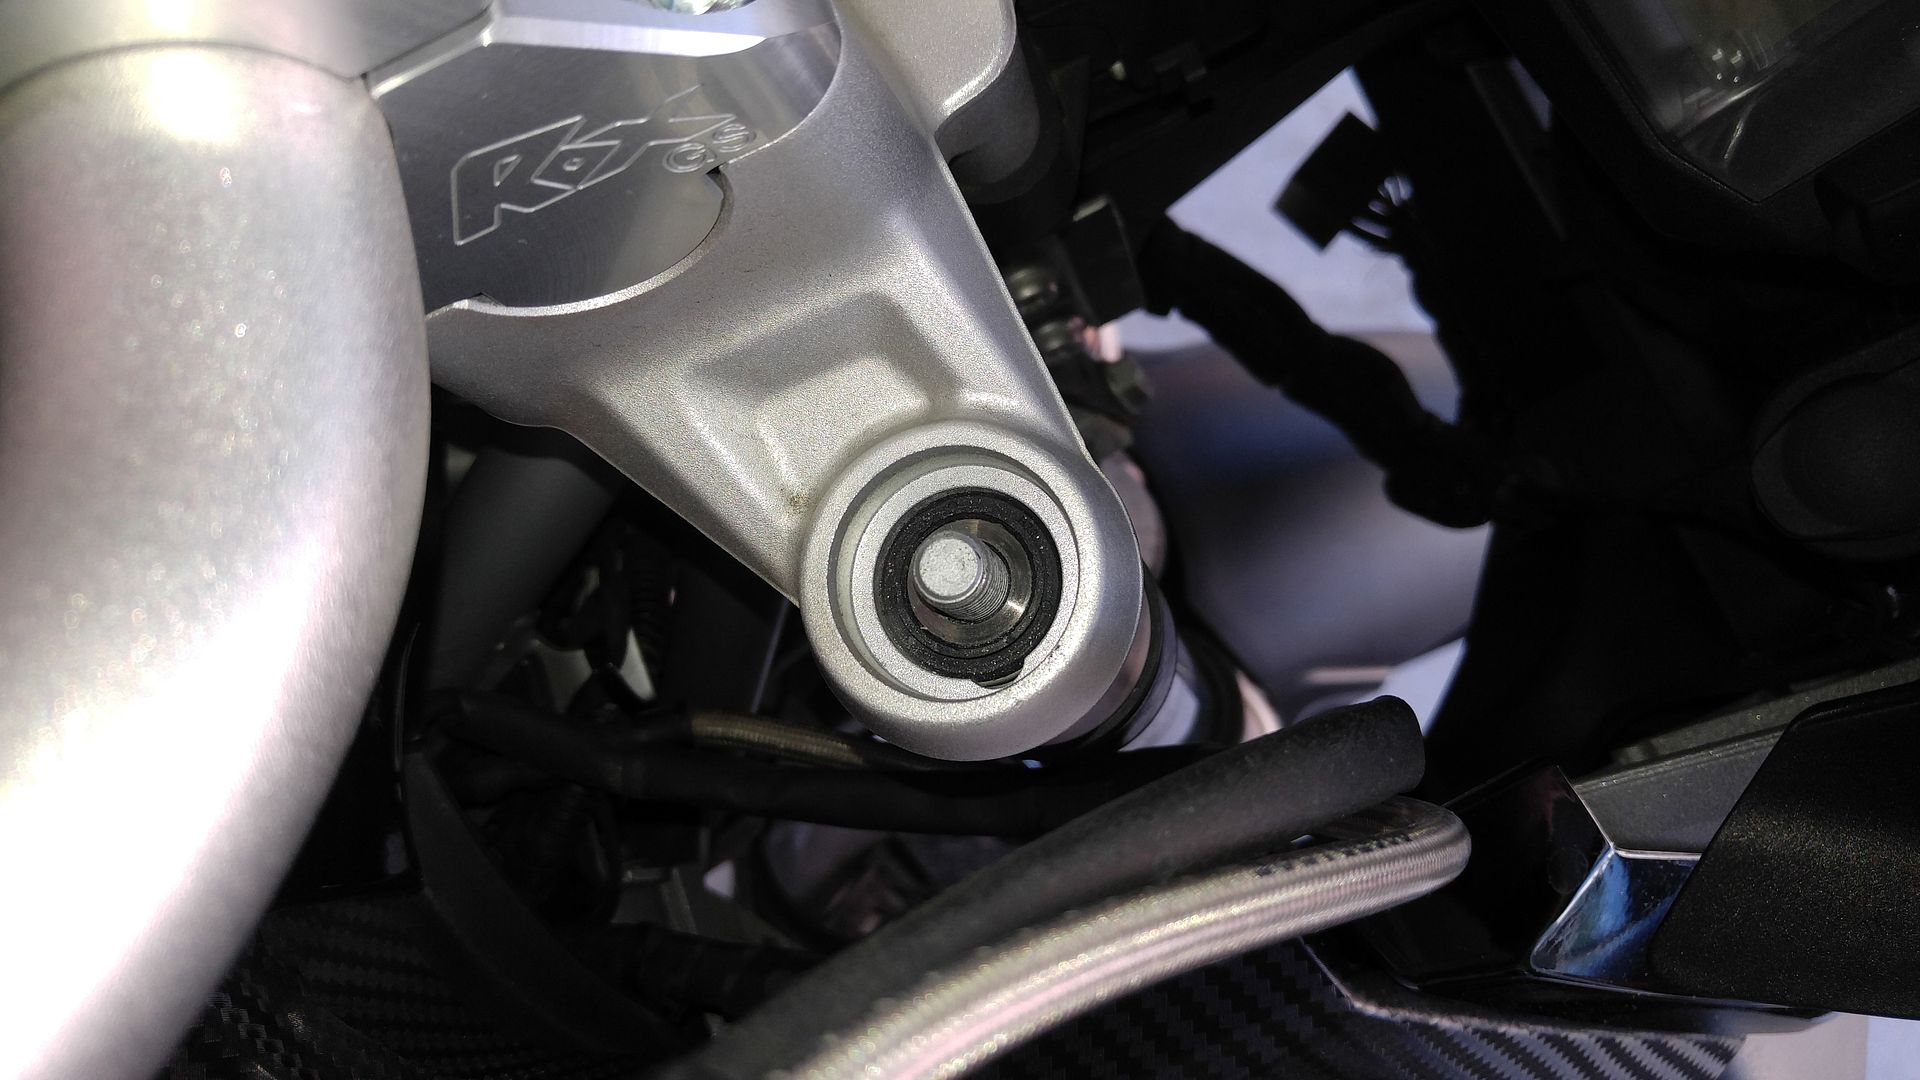
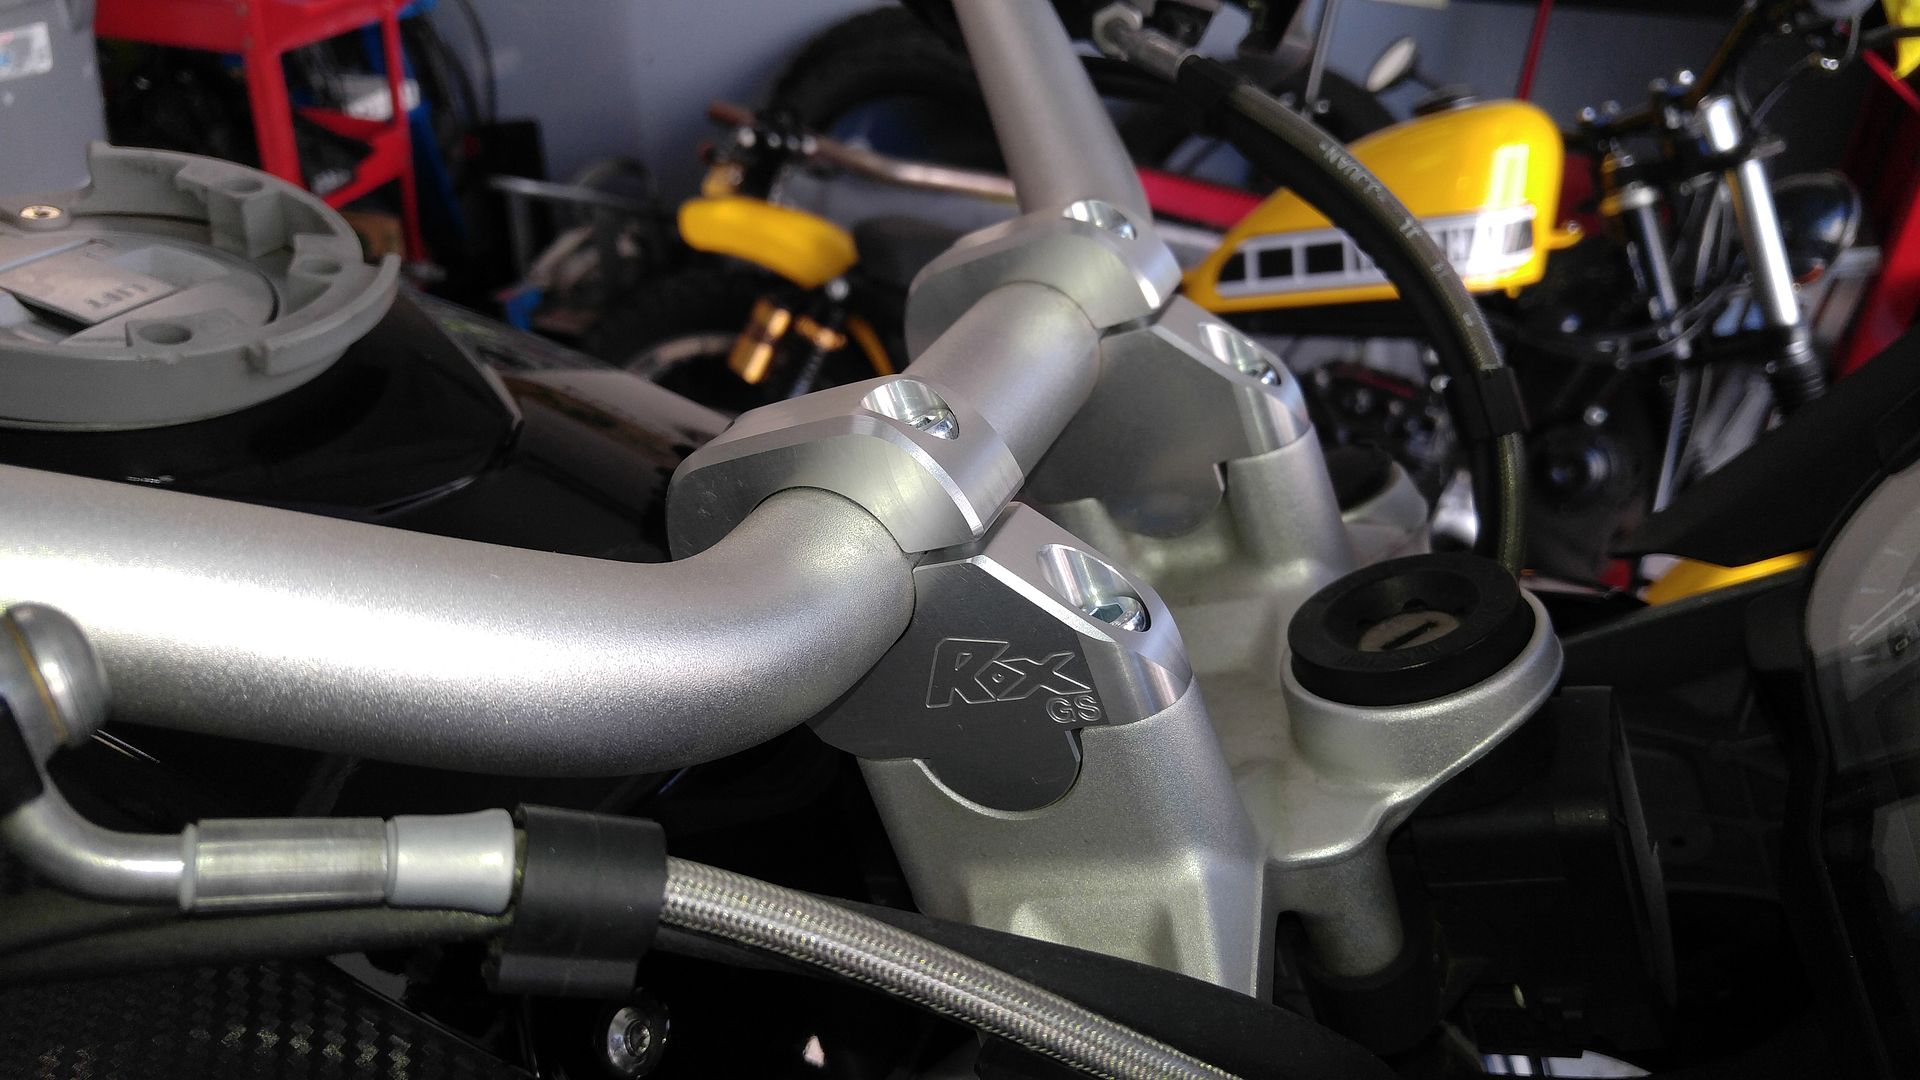
Very nicely machined, and comes with new caps as well.

04%201.5%20inch%20Fixed%20Riser_1.jpg

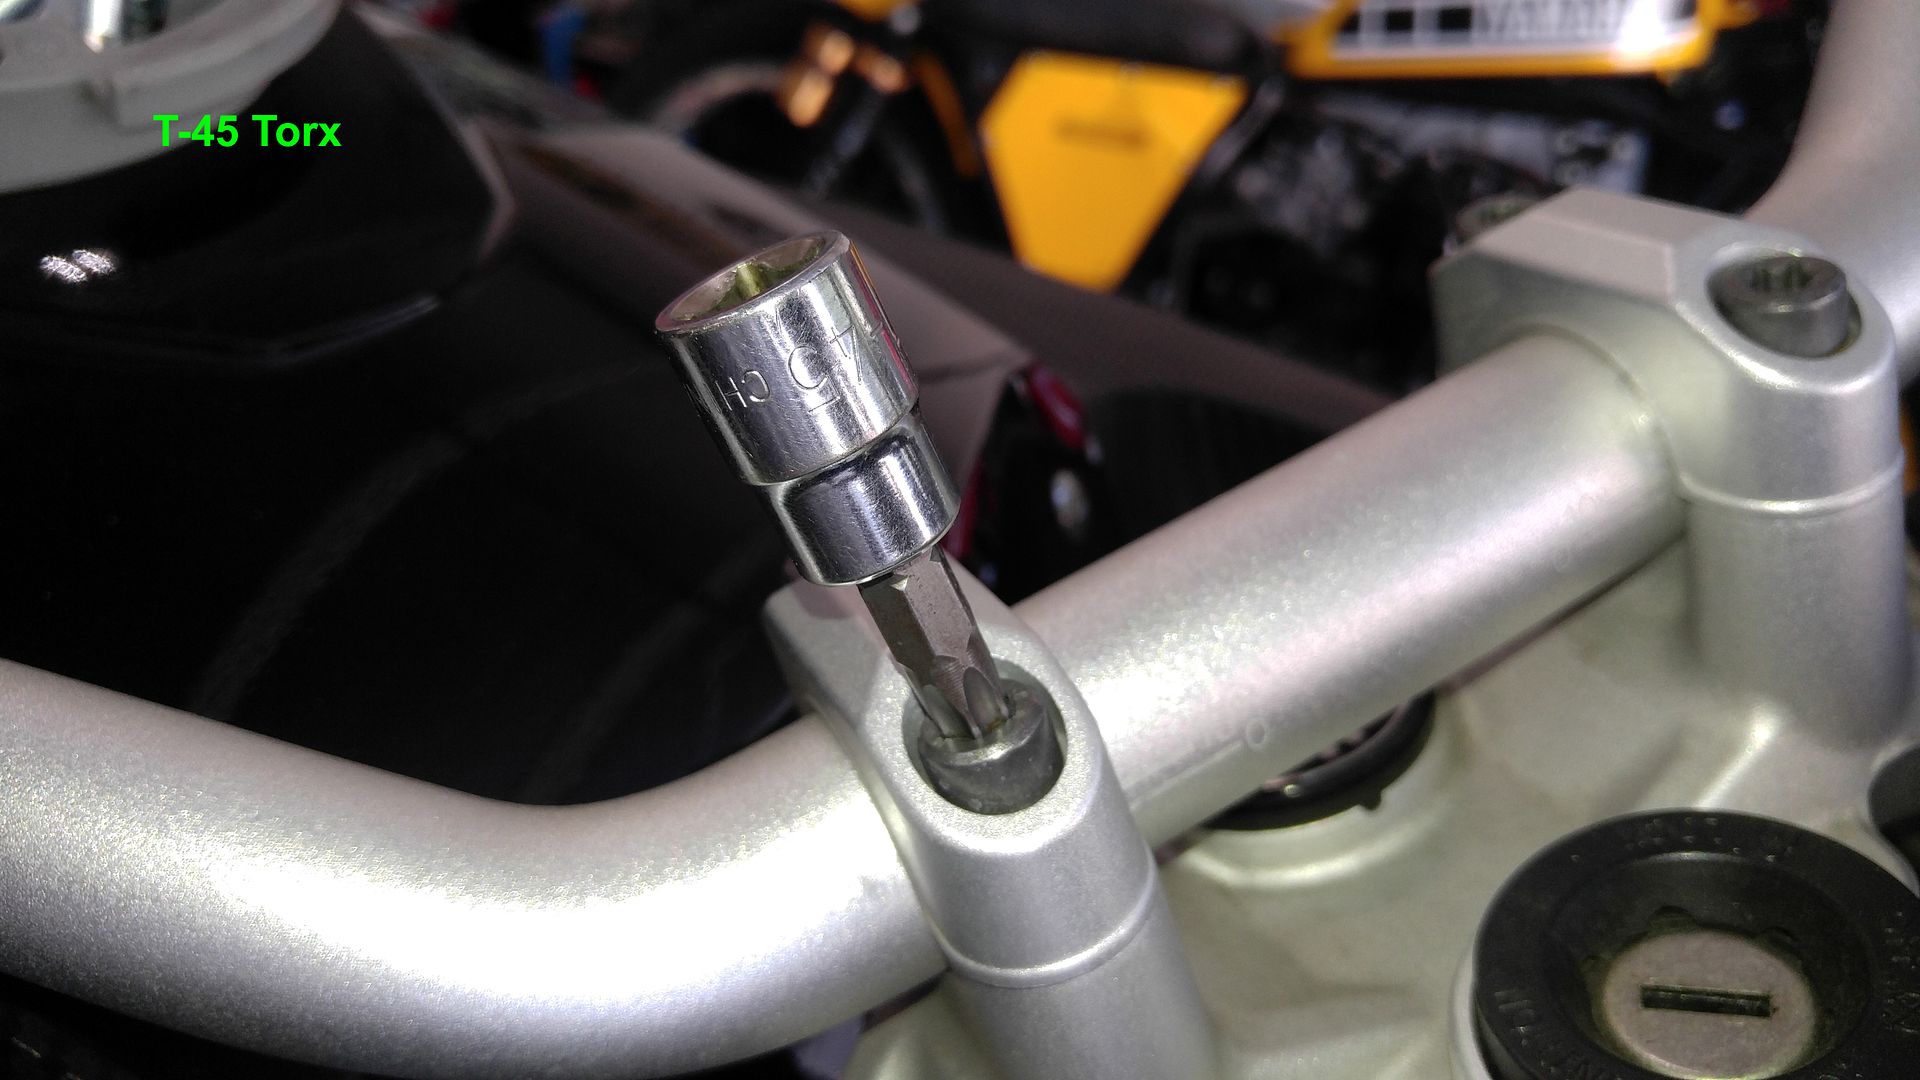
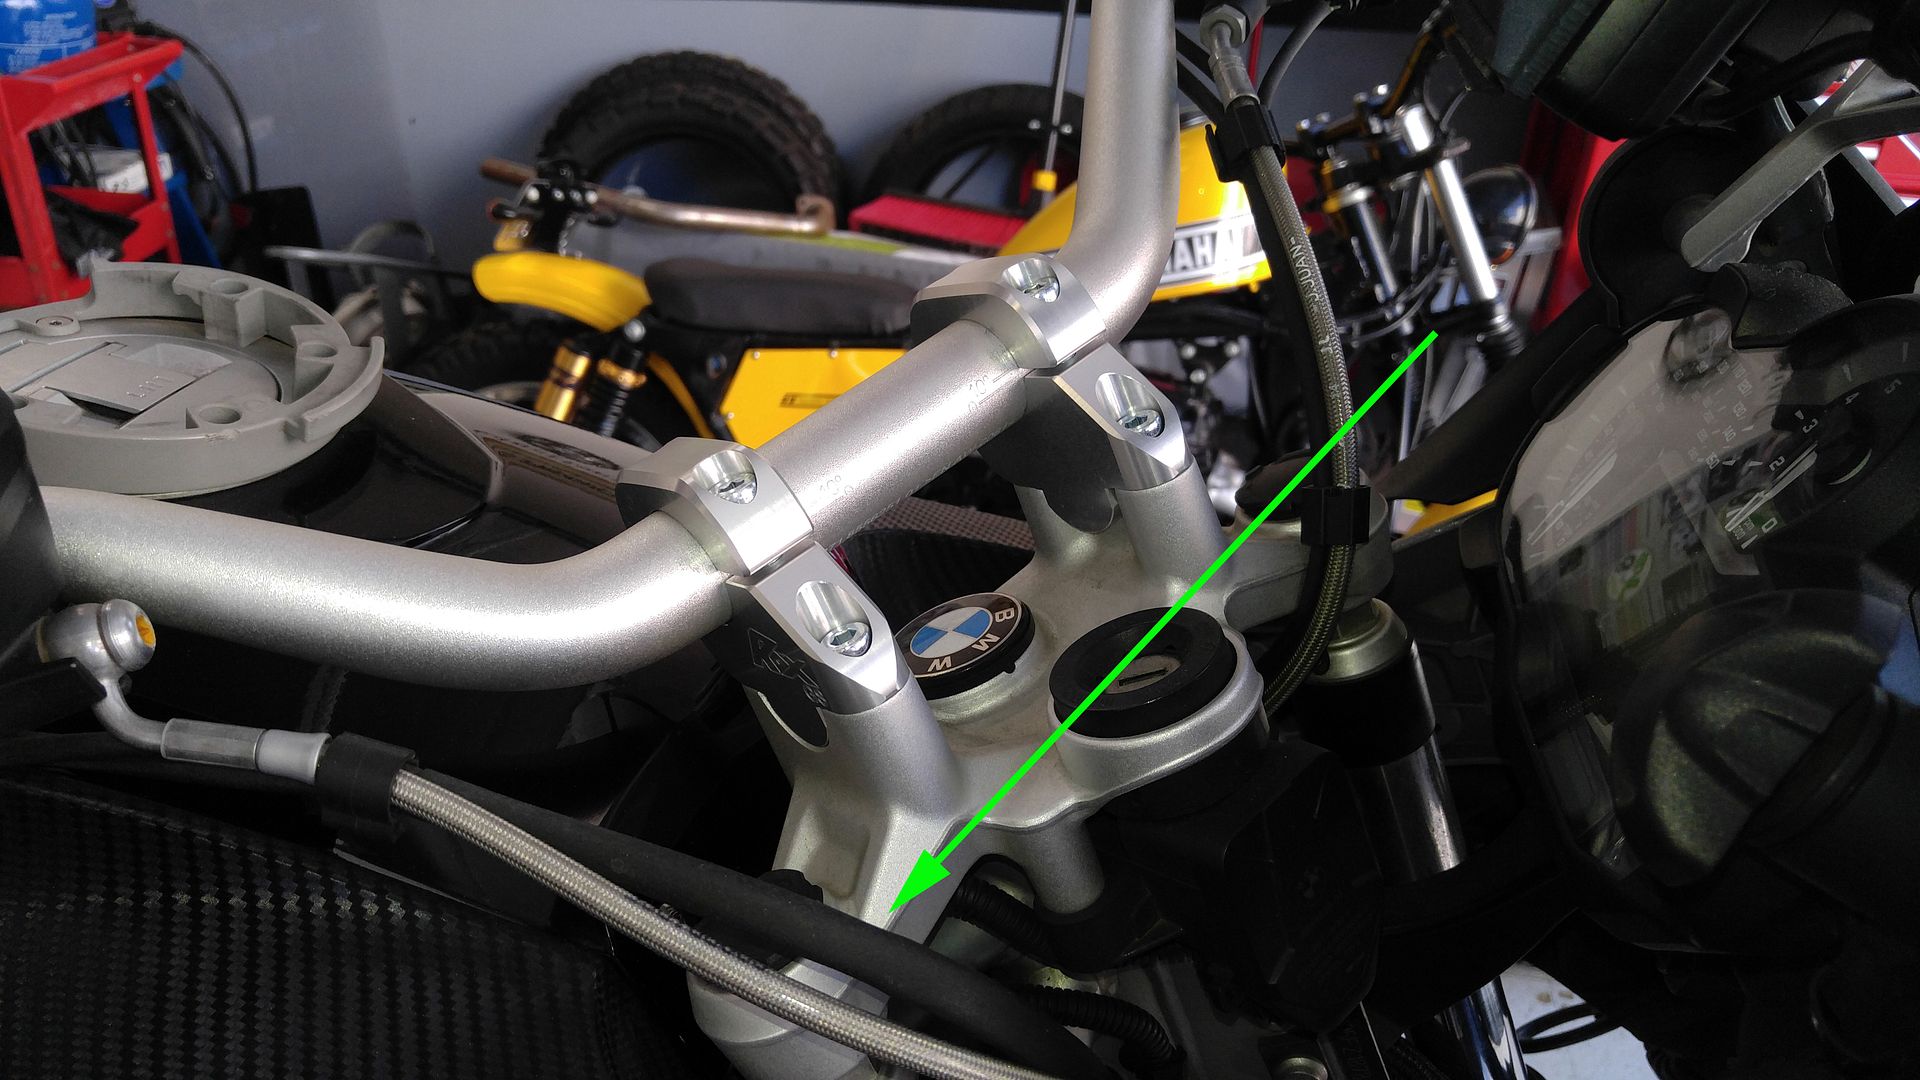
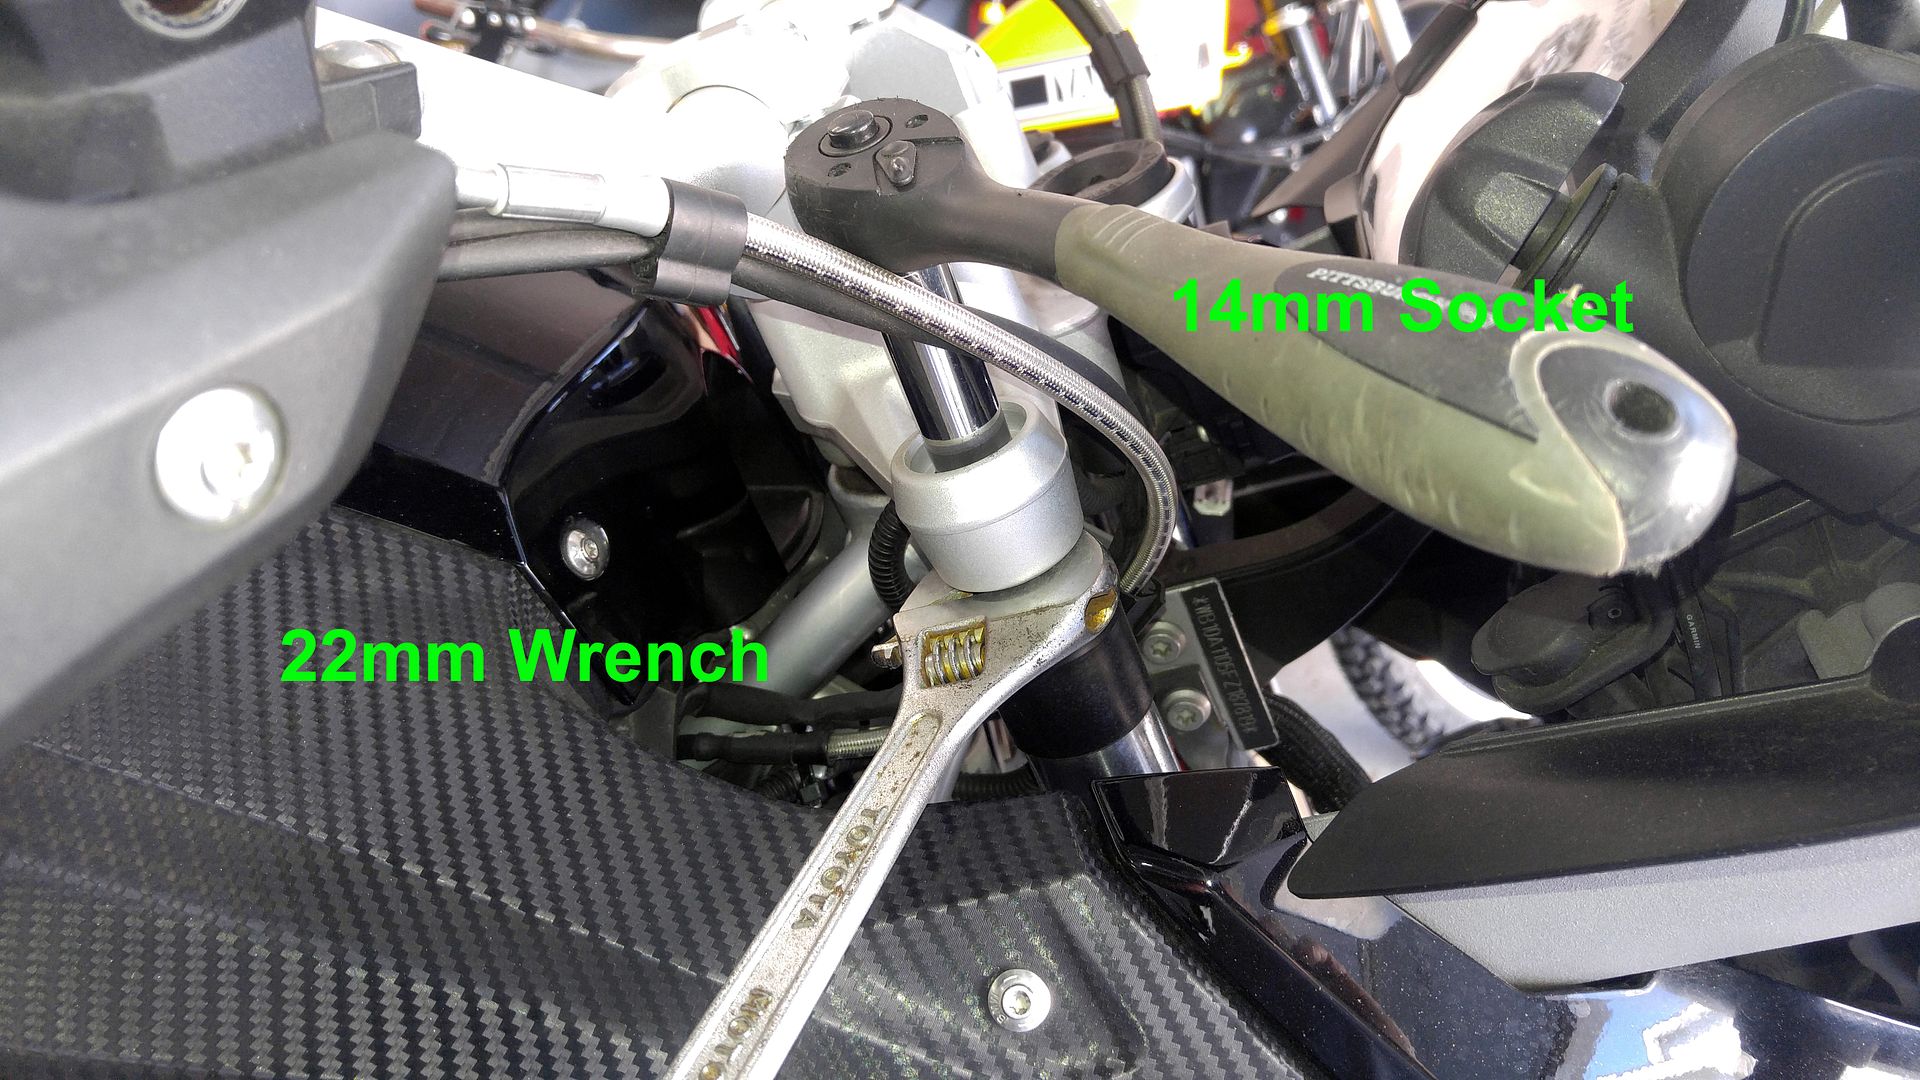
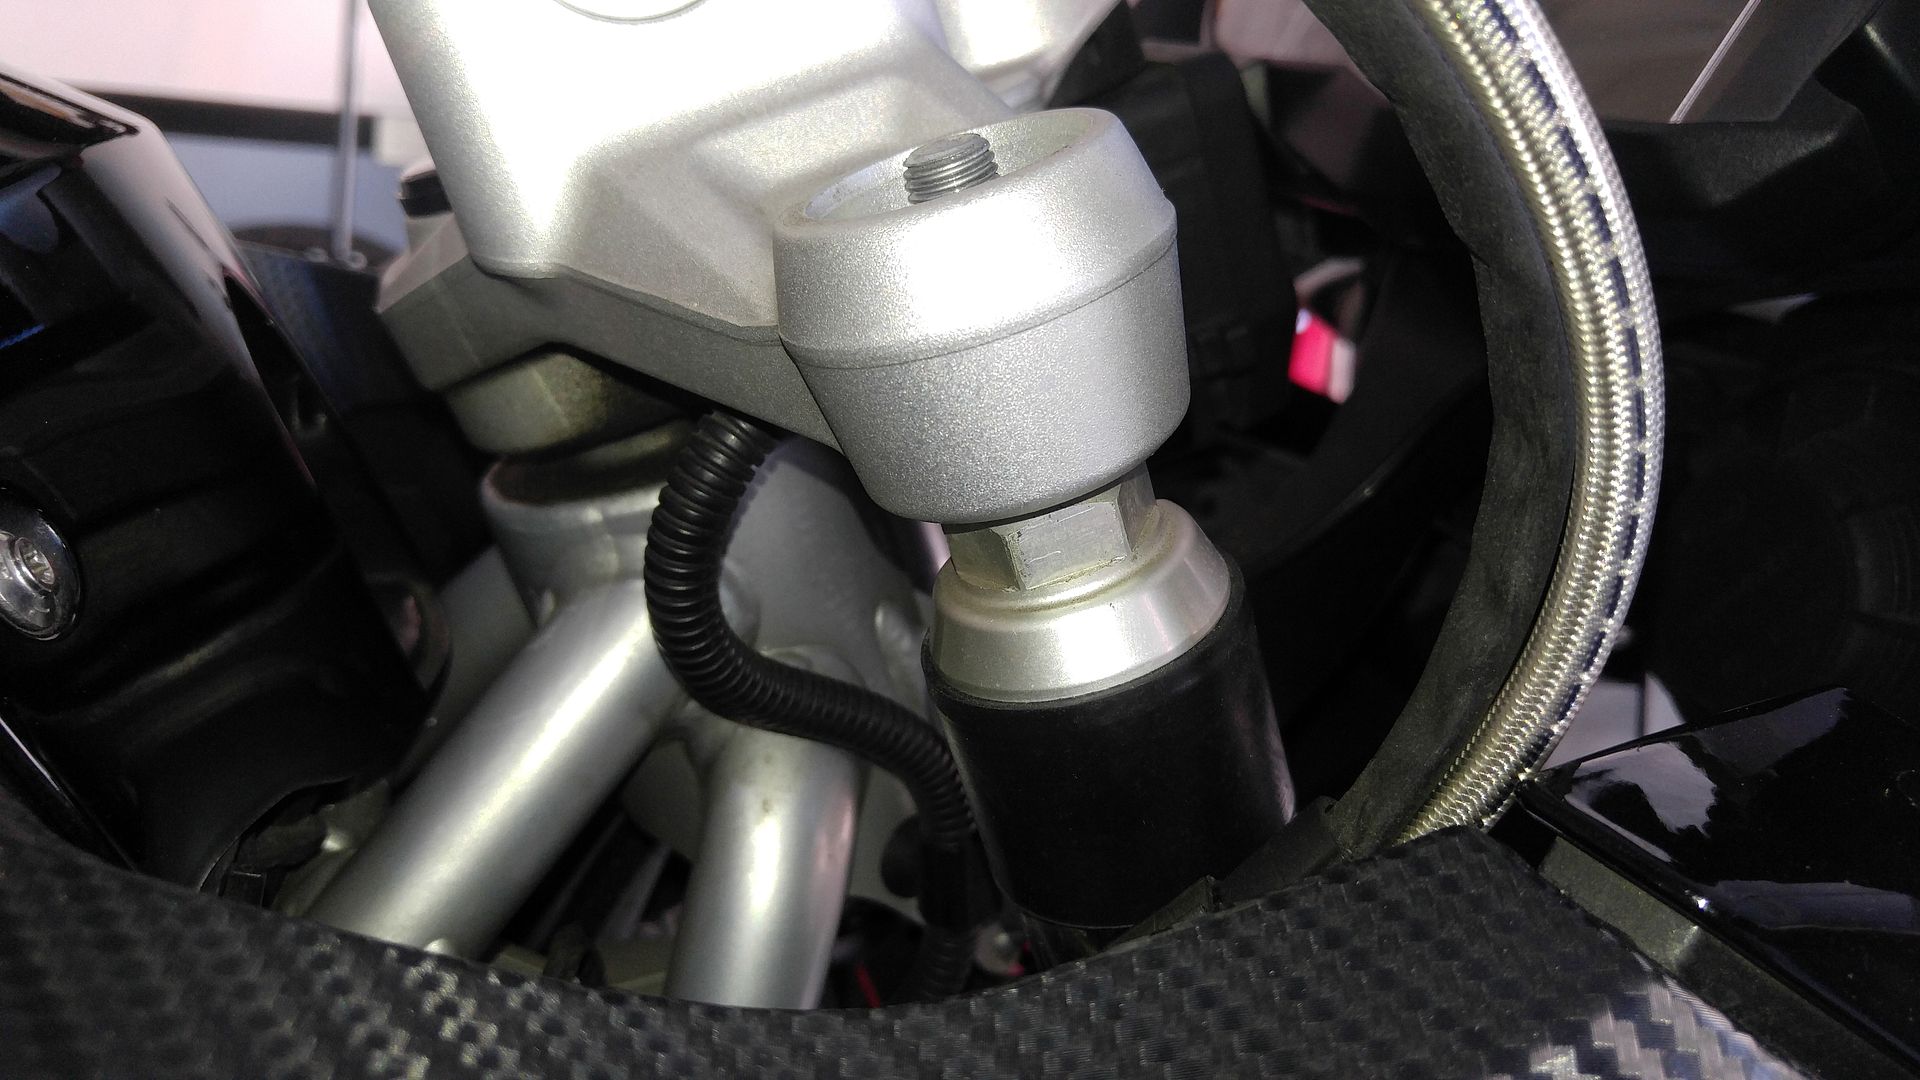
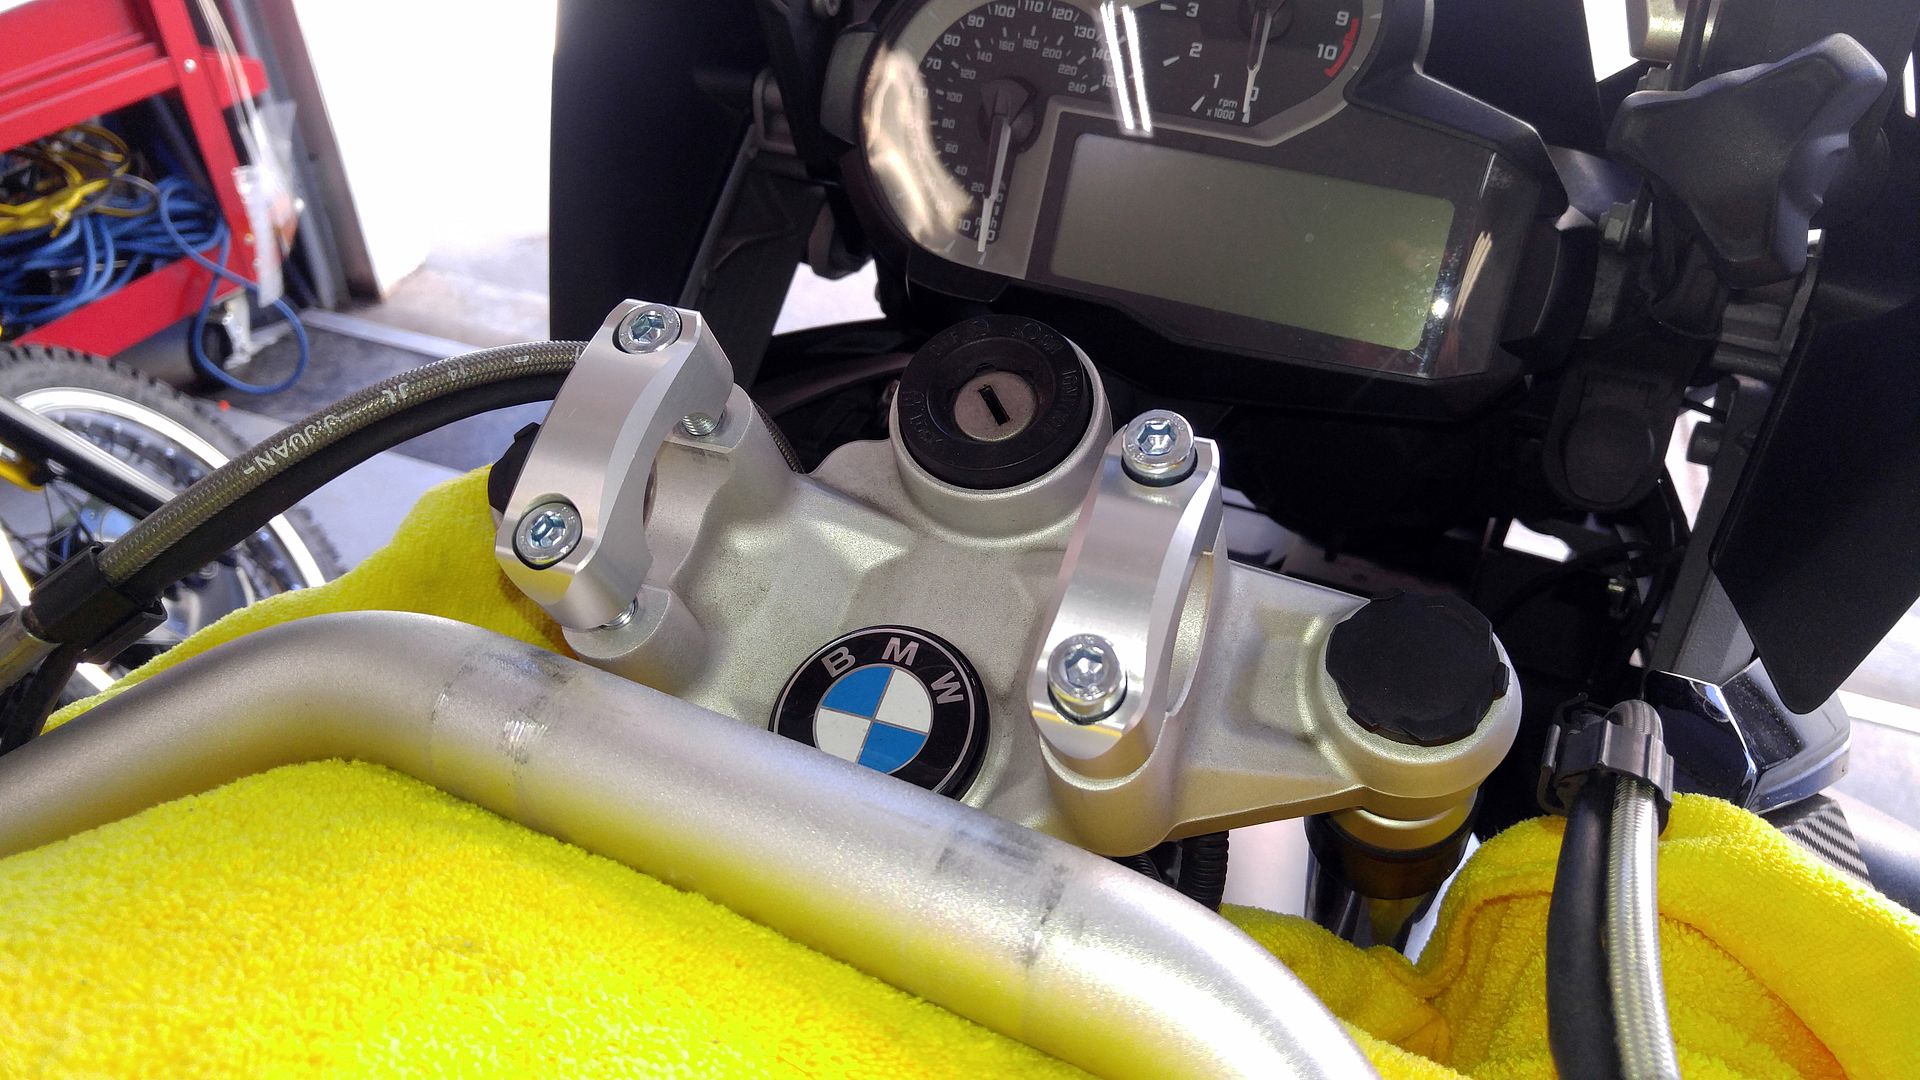
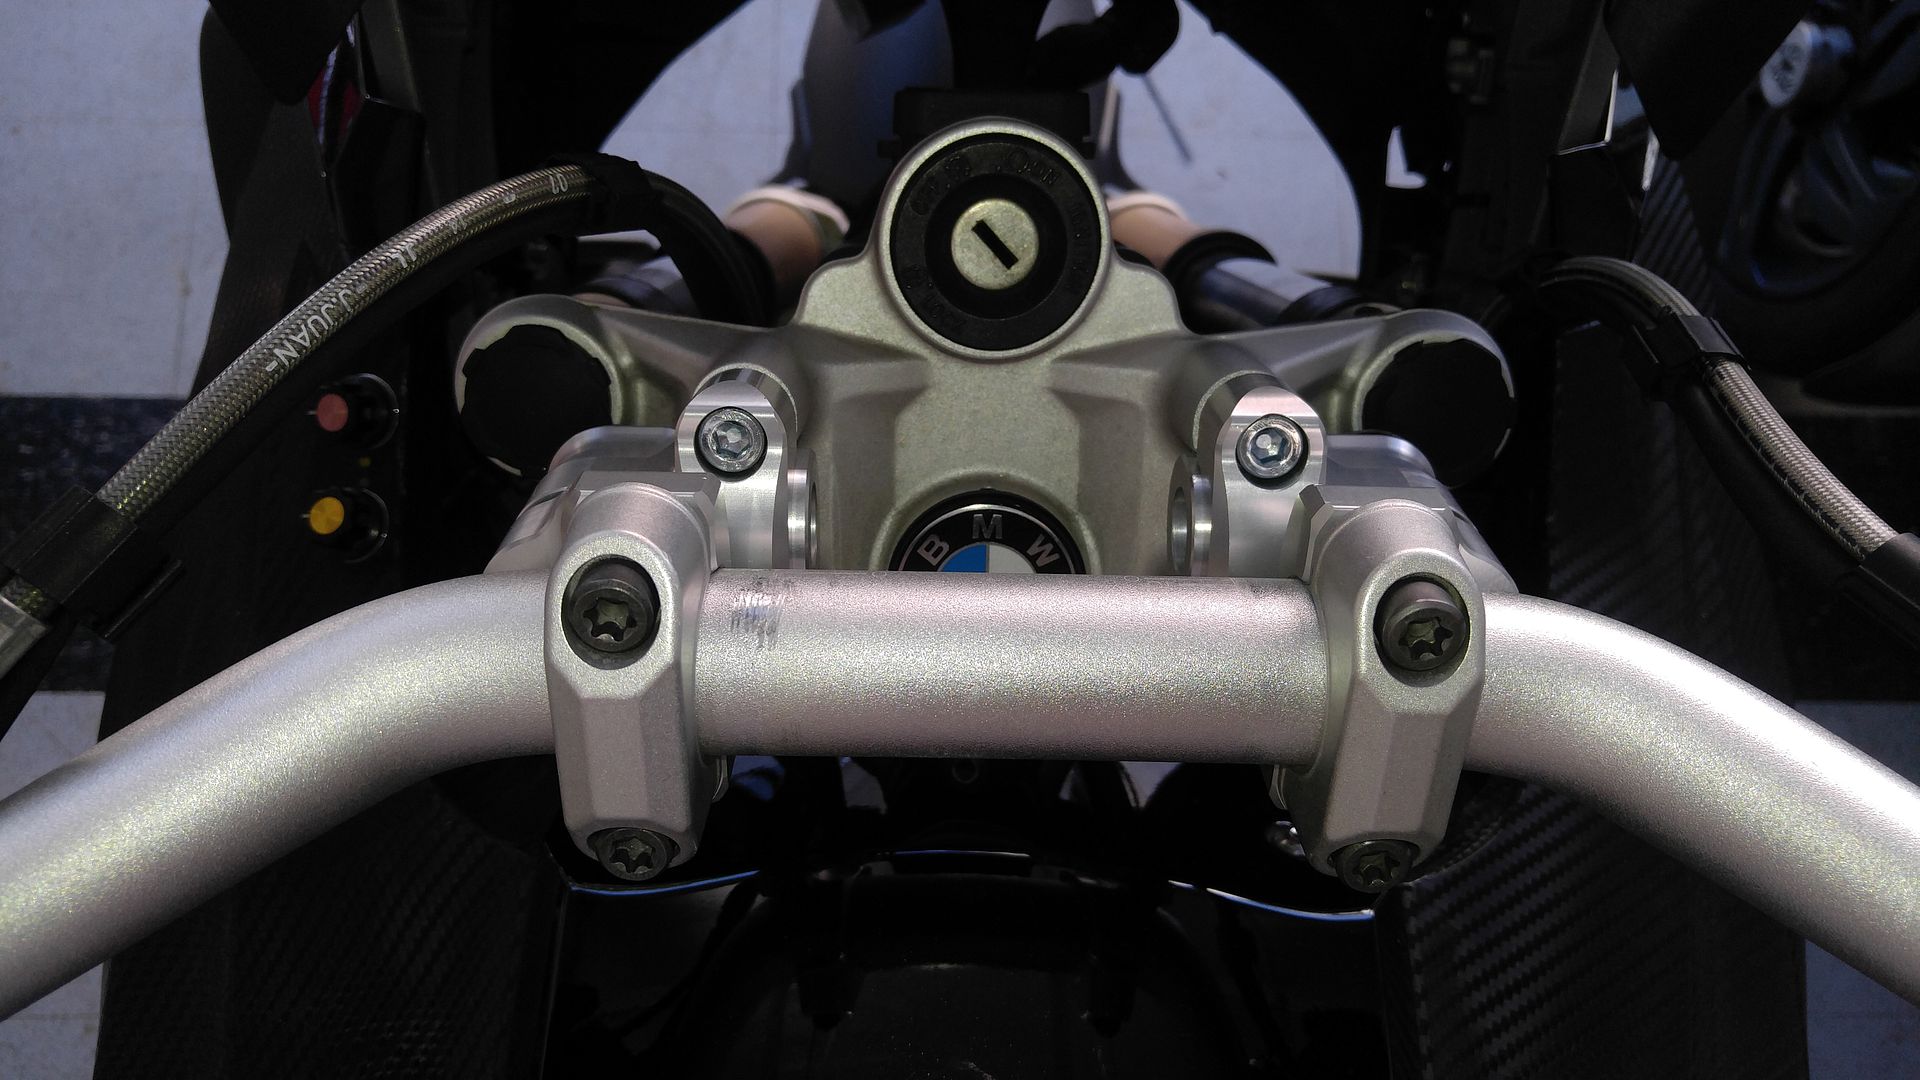
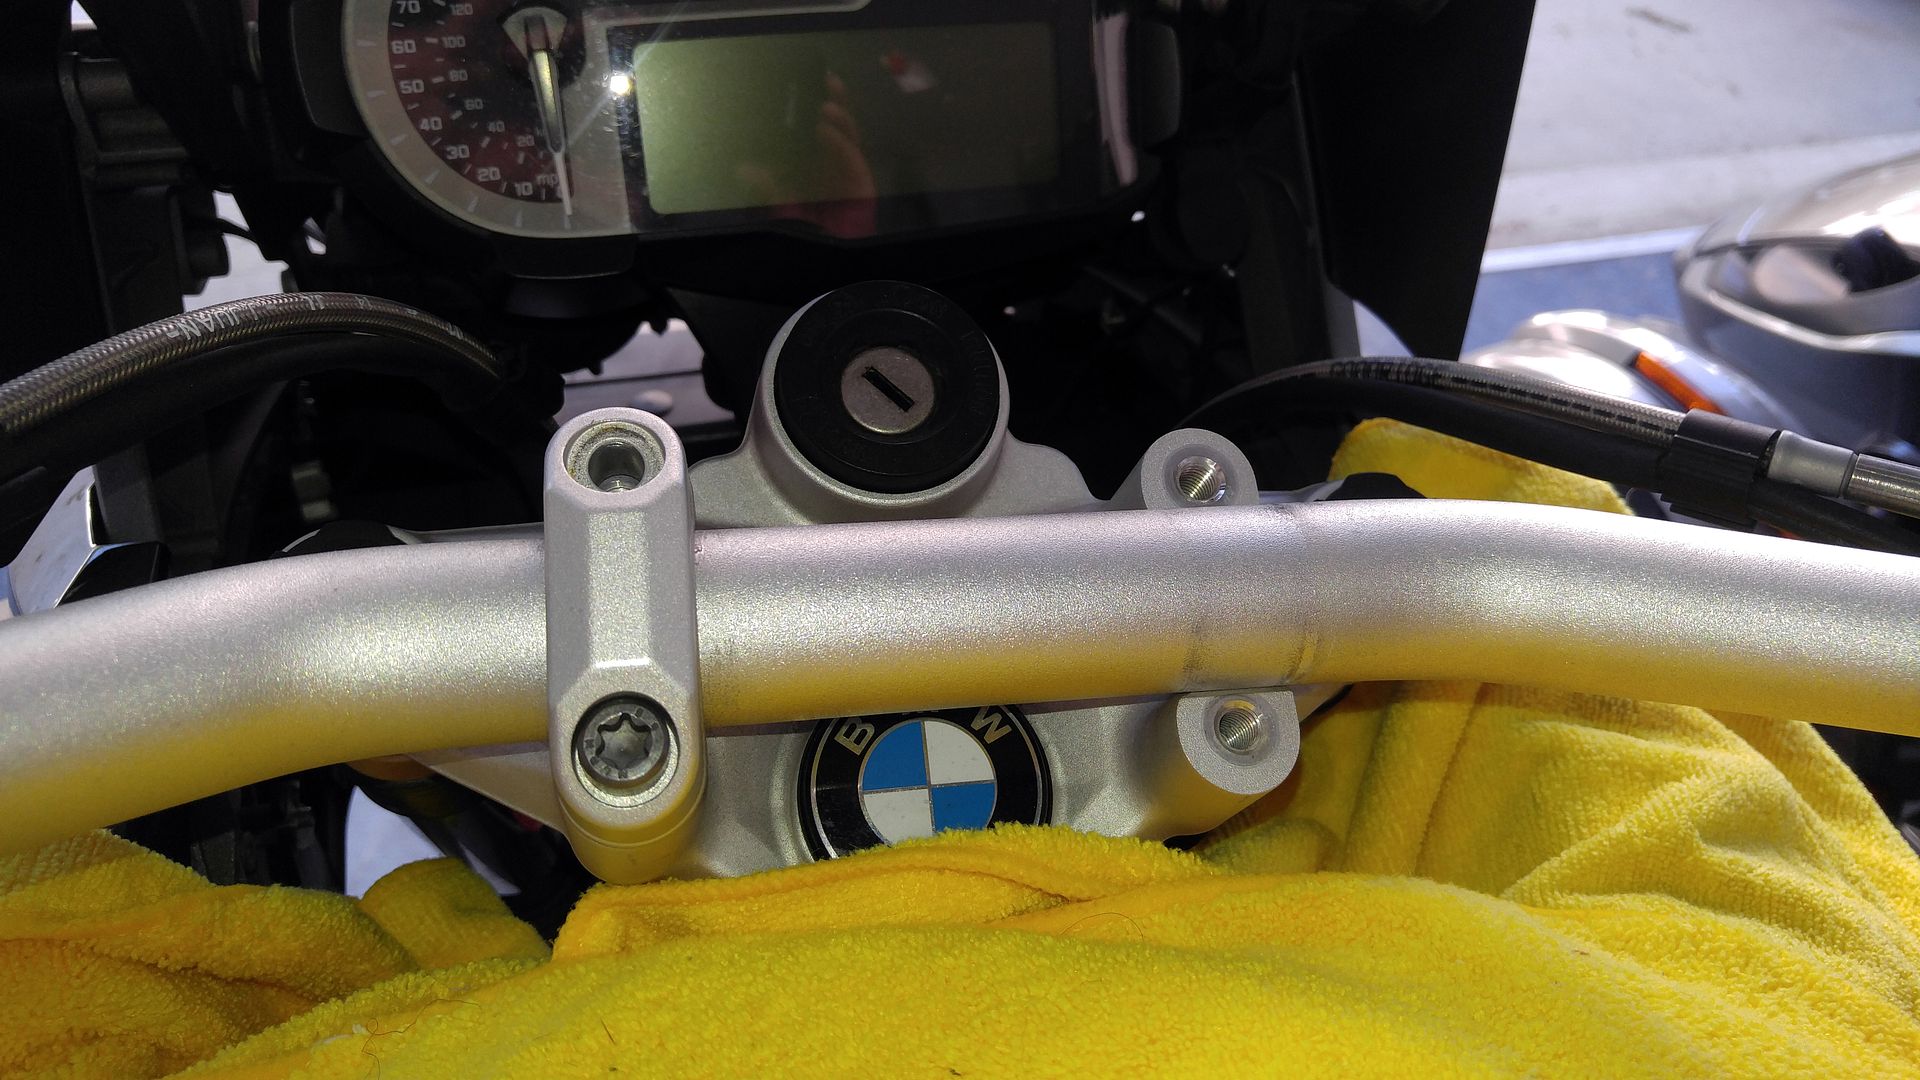
First, bike on the centerstand, then pull 3 of four of the cap bolts, and remove one cap.


05%201.5%20inch%20Fixed%20Riser.jpg

06%201.5%20inch%20Fixed%20Riser.jpg

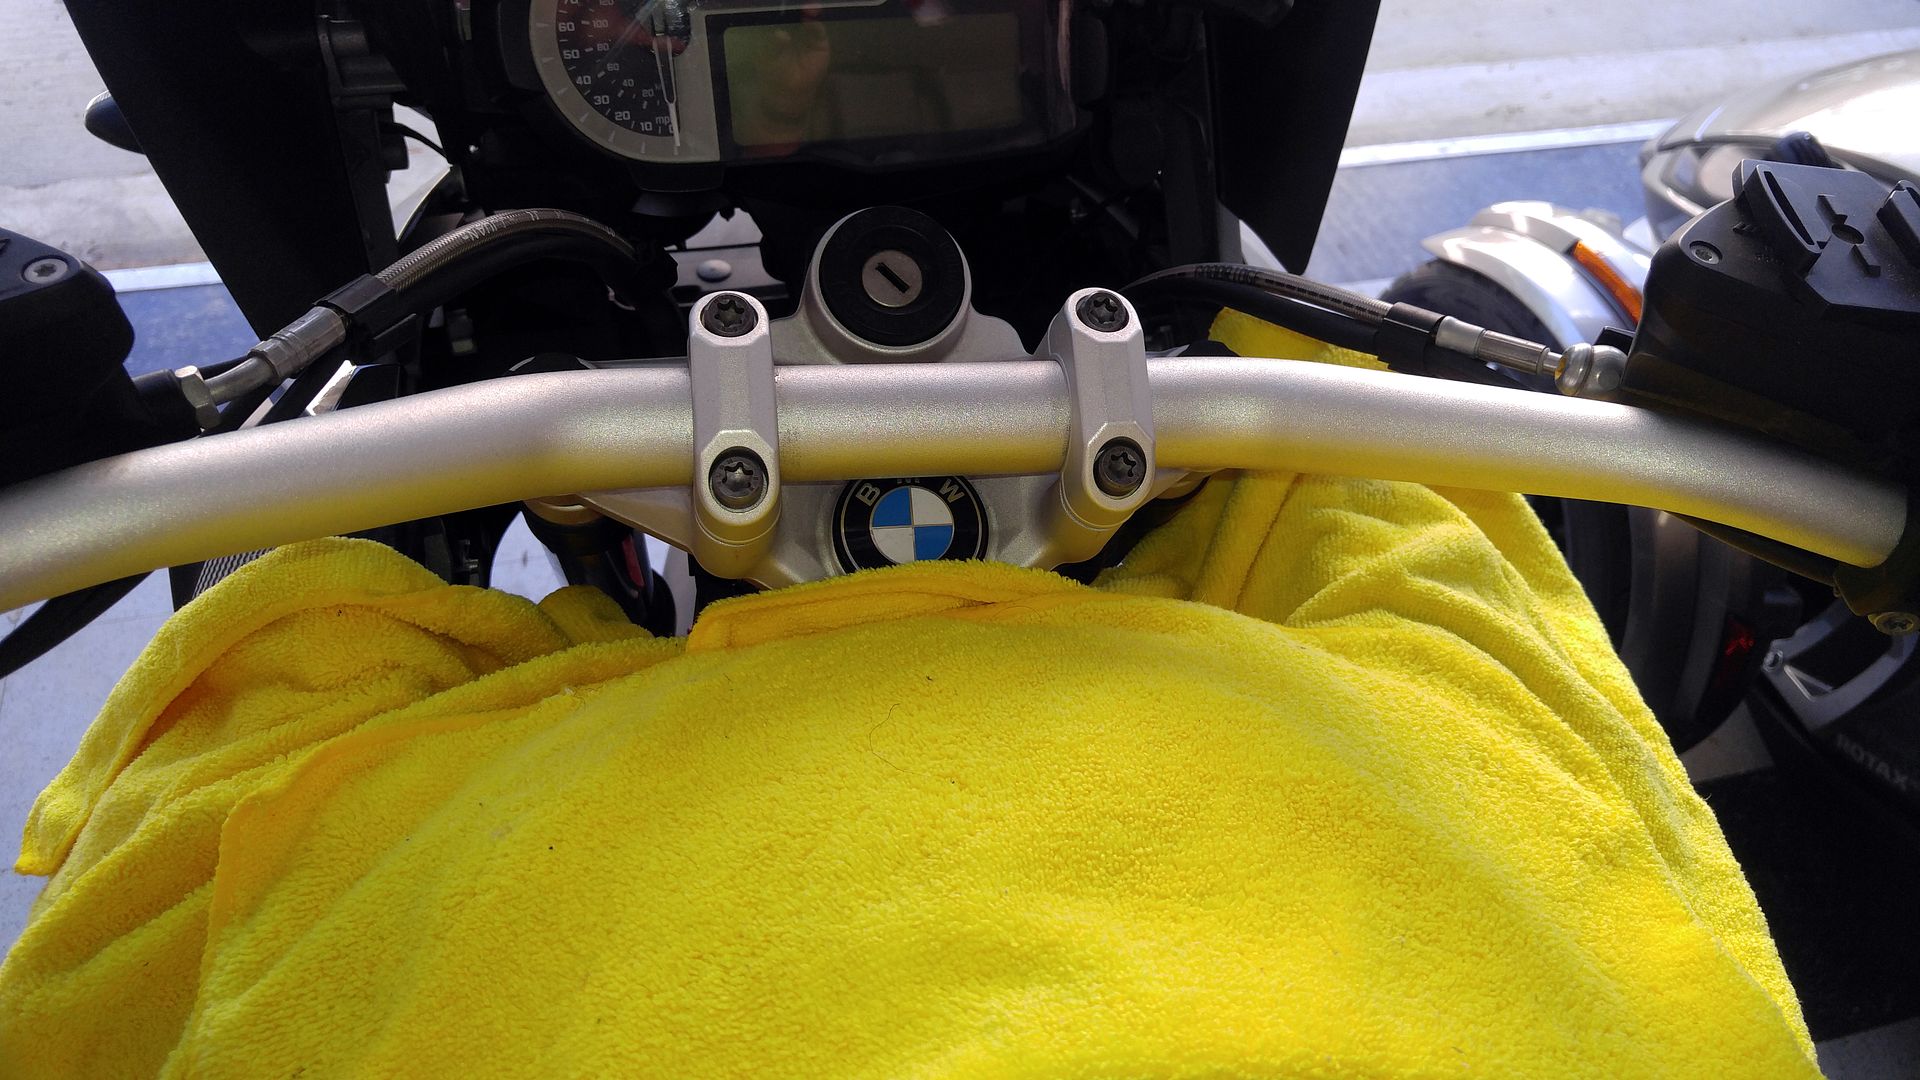
Lay down towels to protect your paint, and give you a soft place to put the handlebars.

07%201.5%20inch%20Fixed%20Riser.jpg

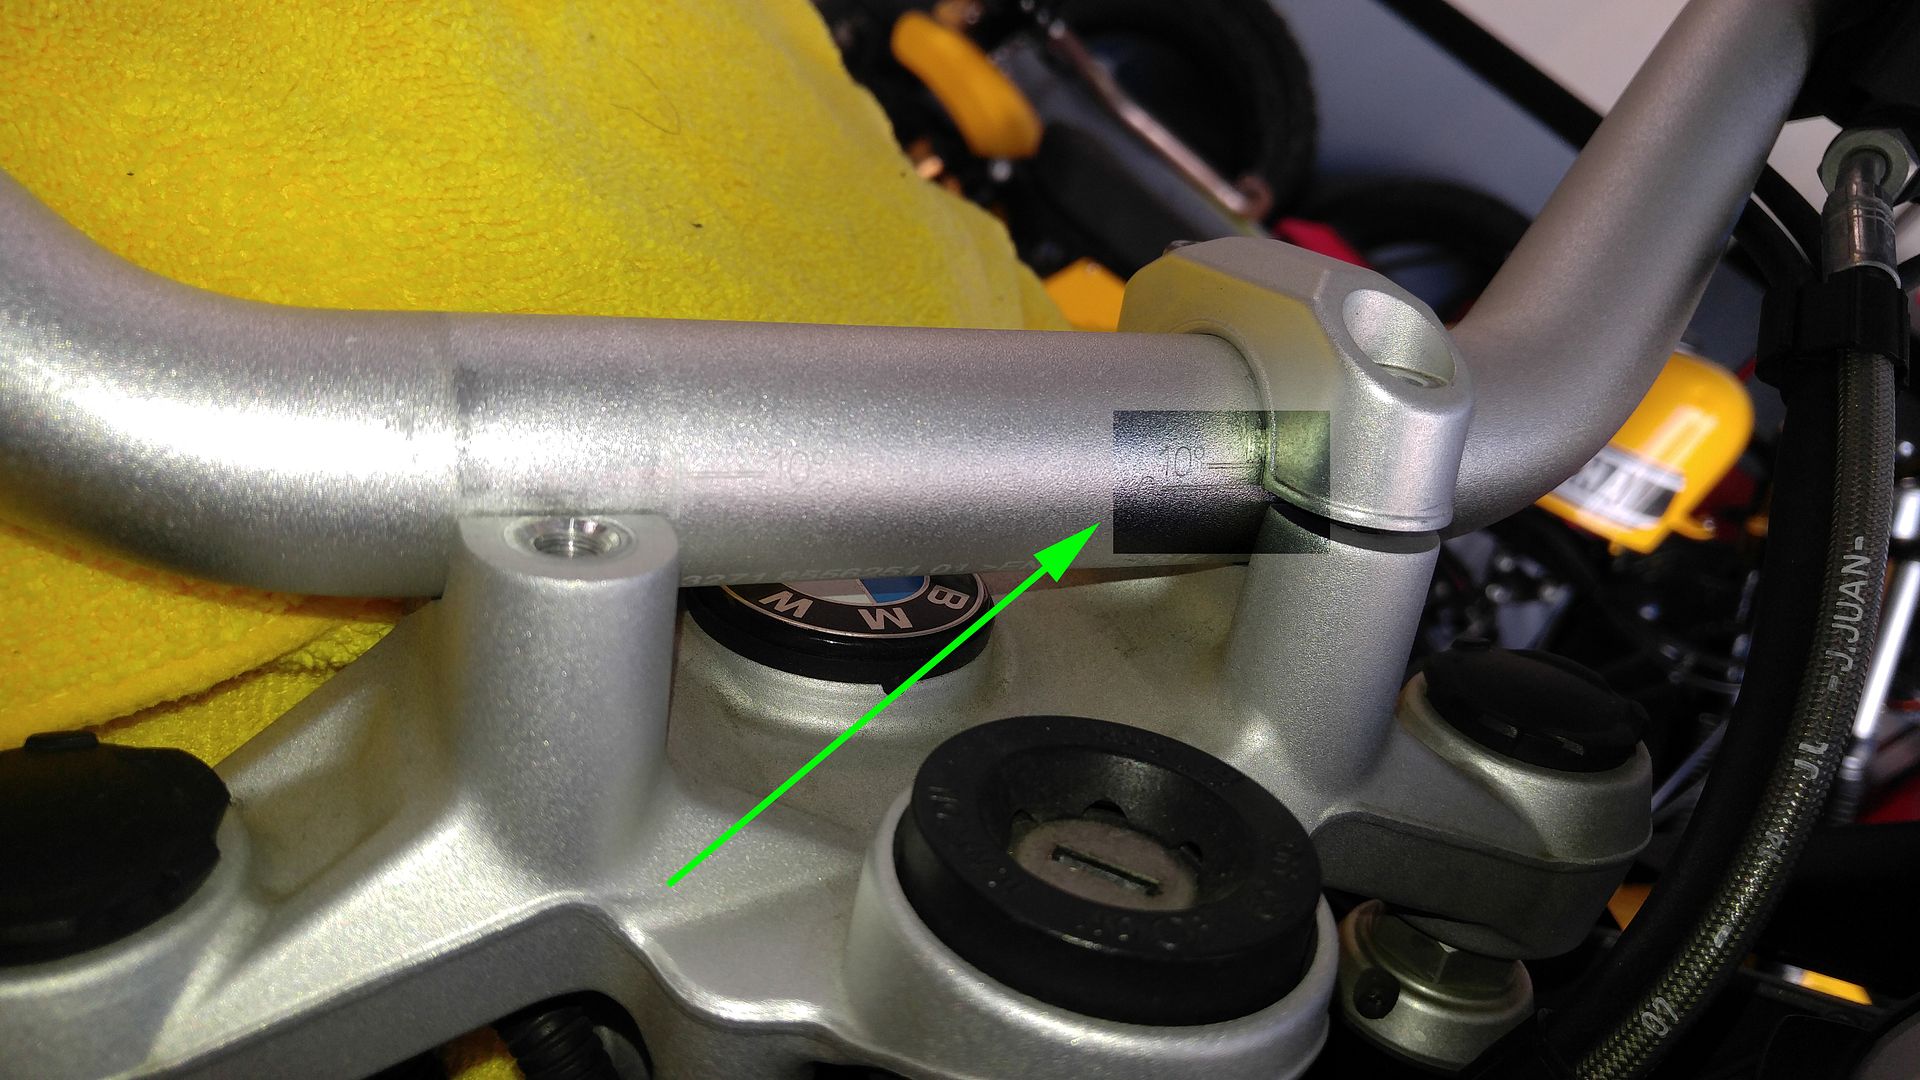
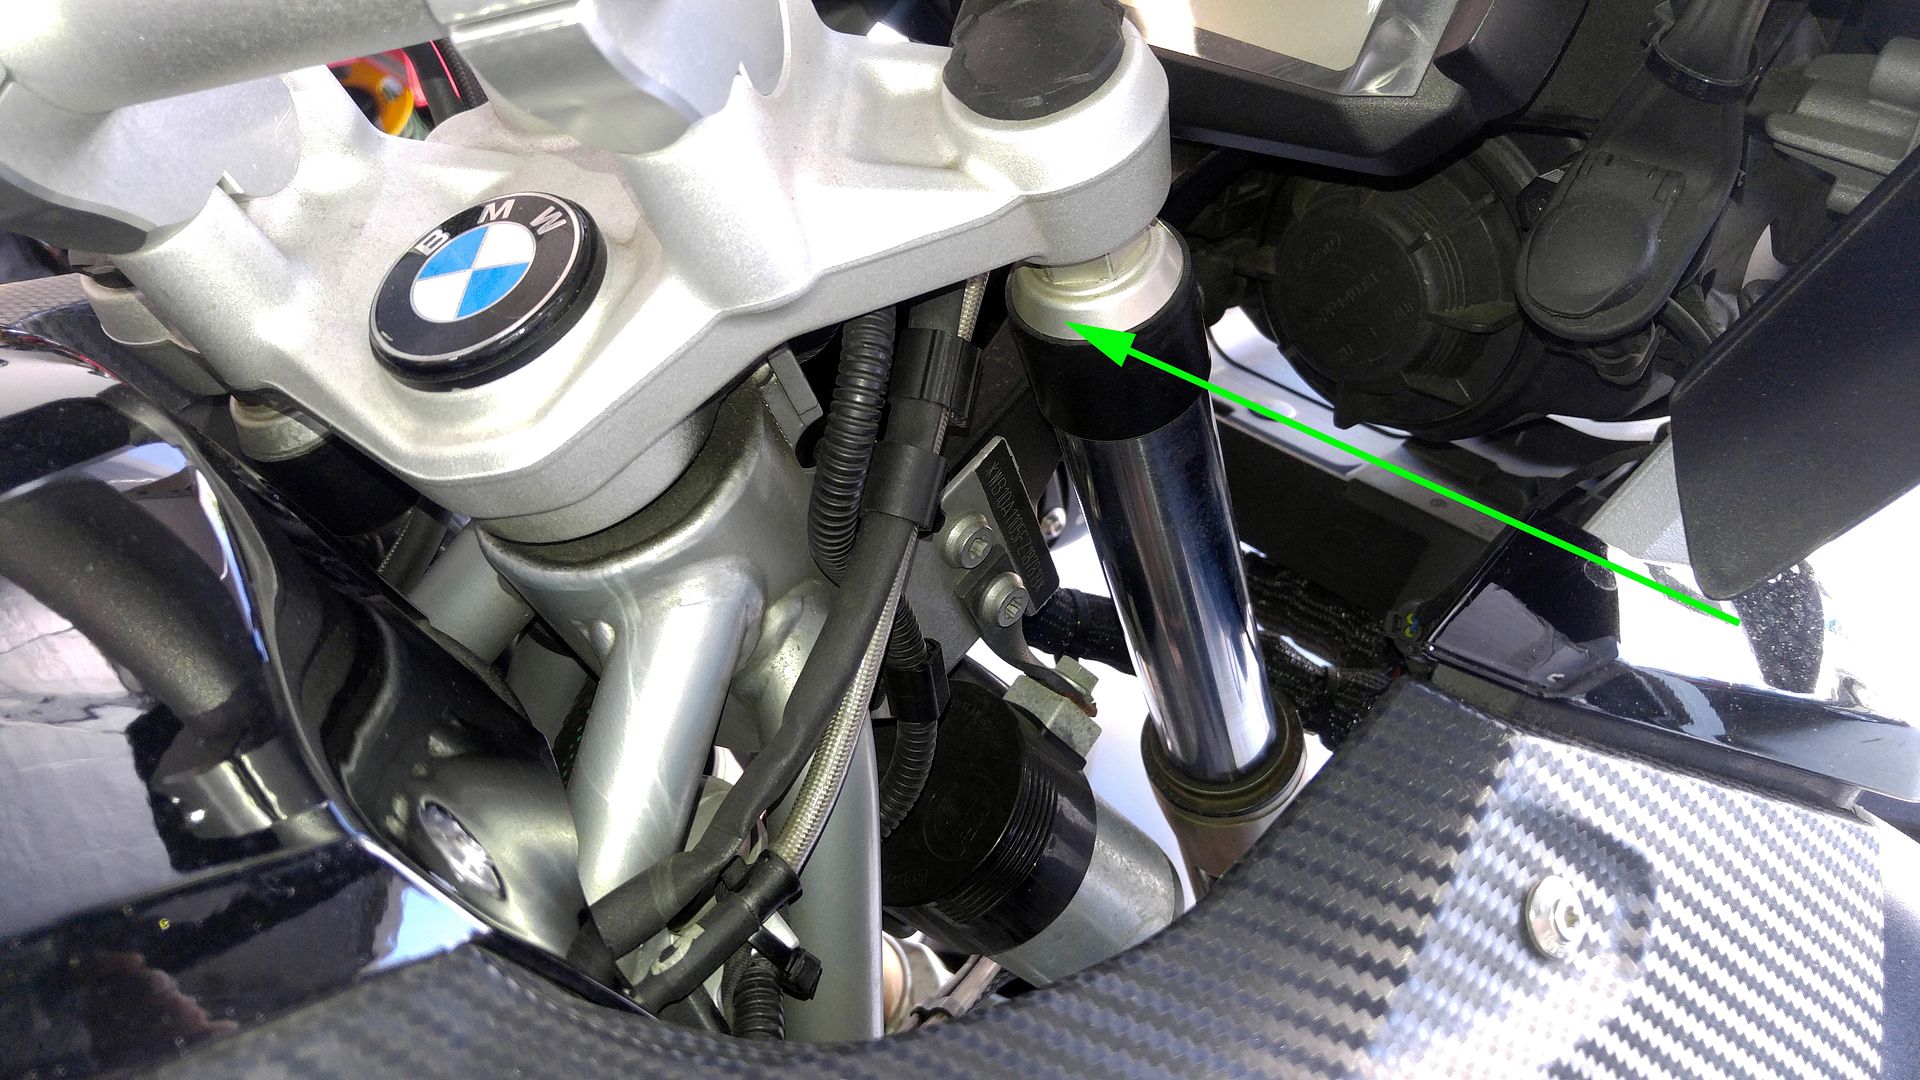
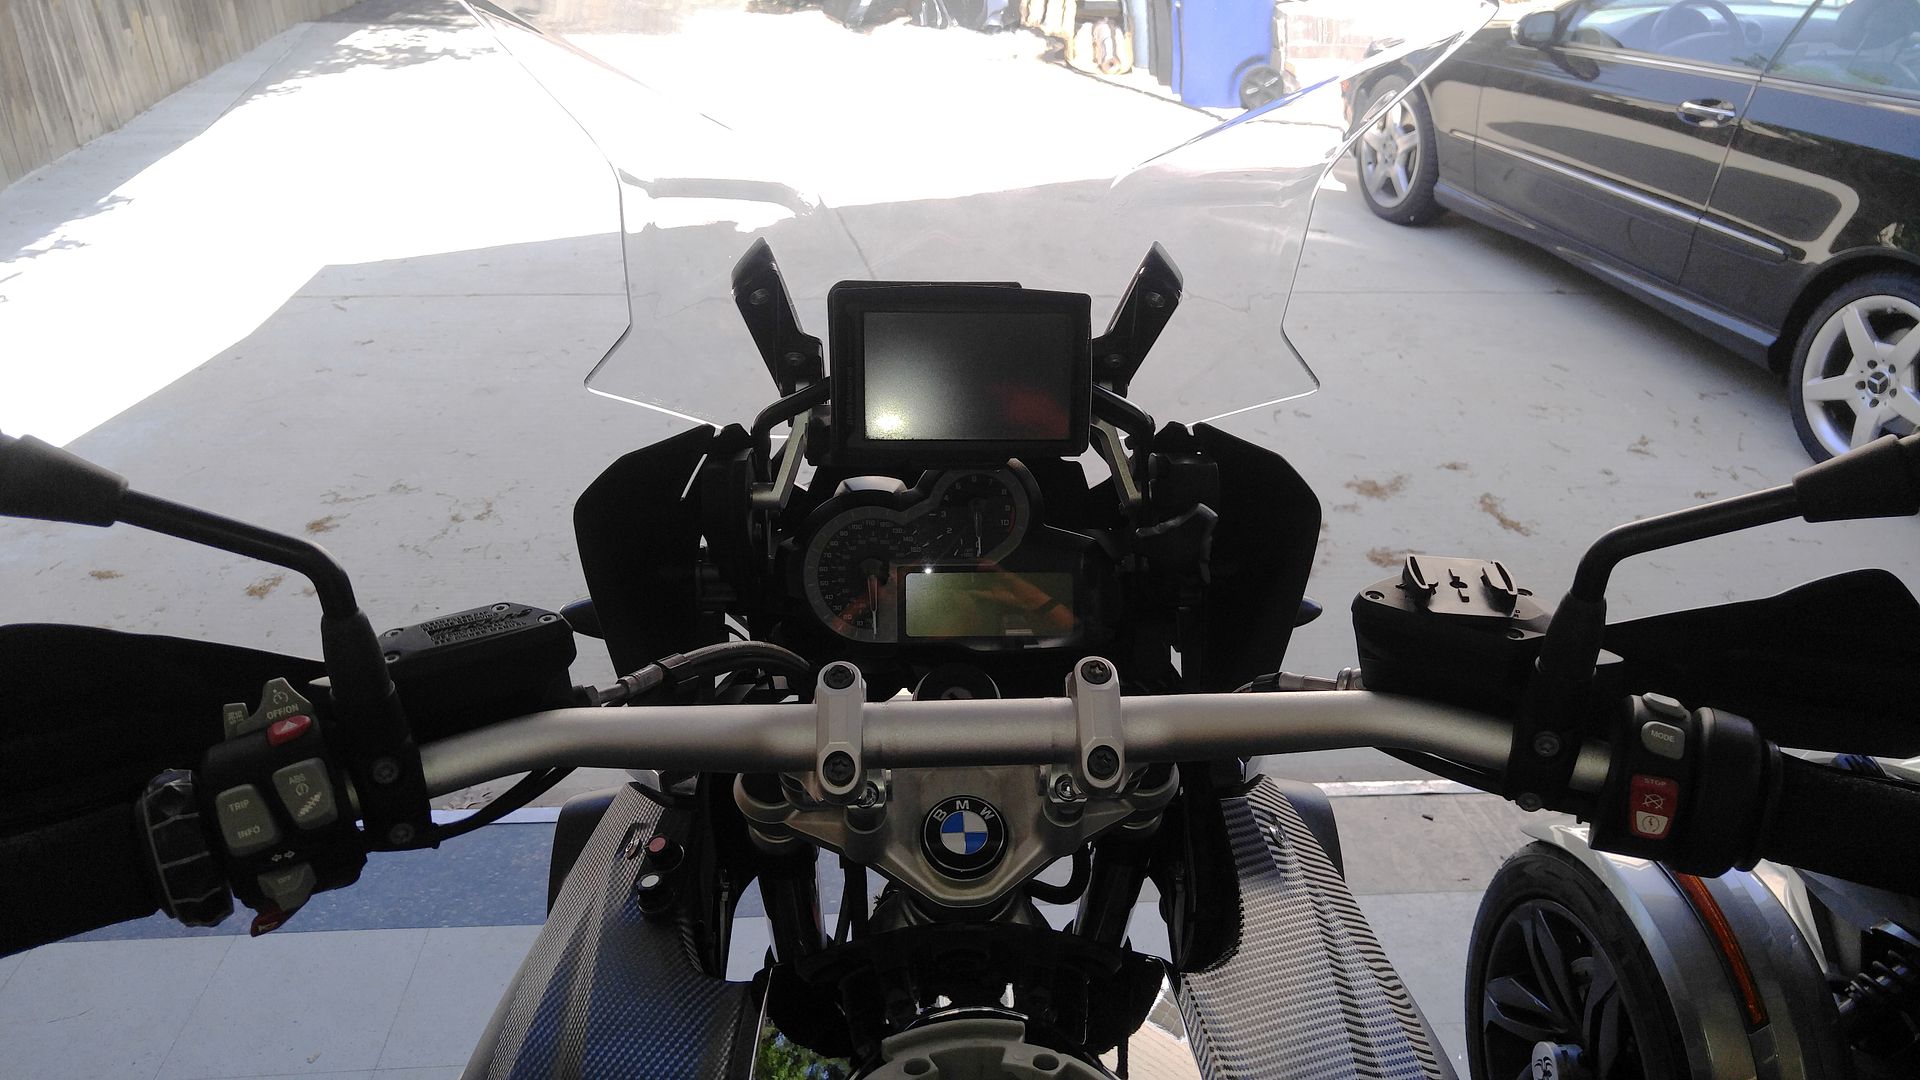
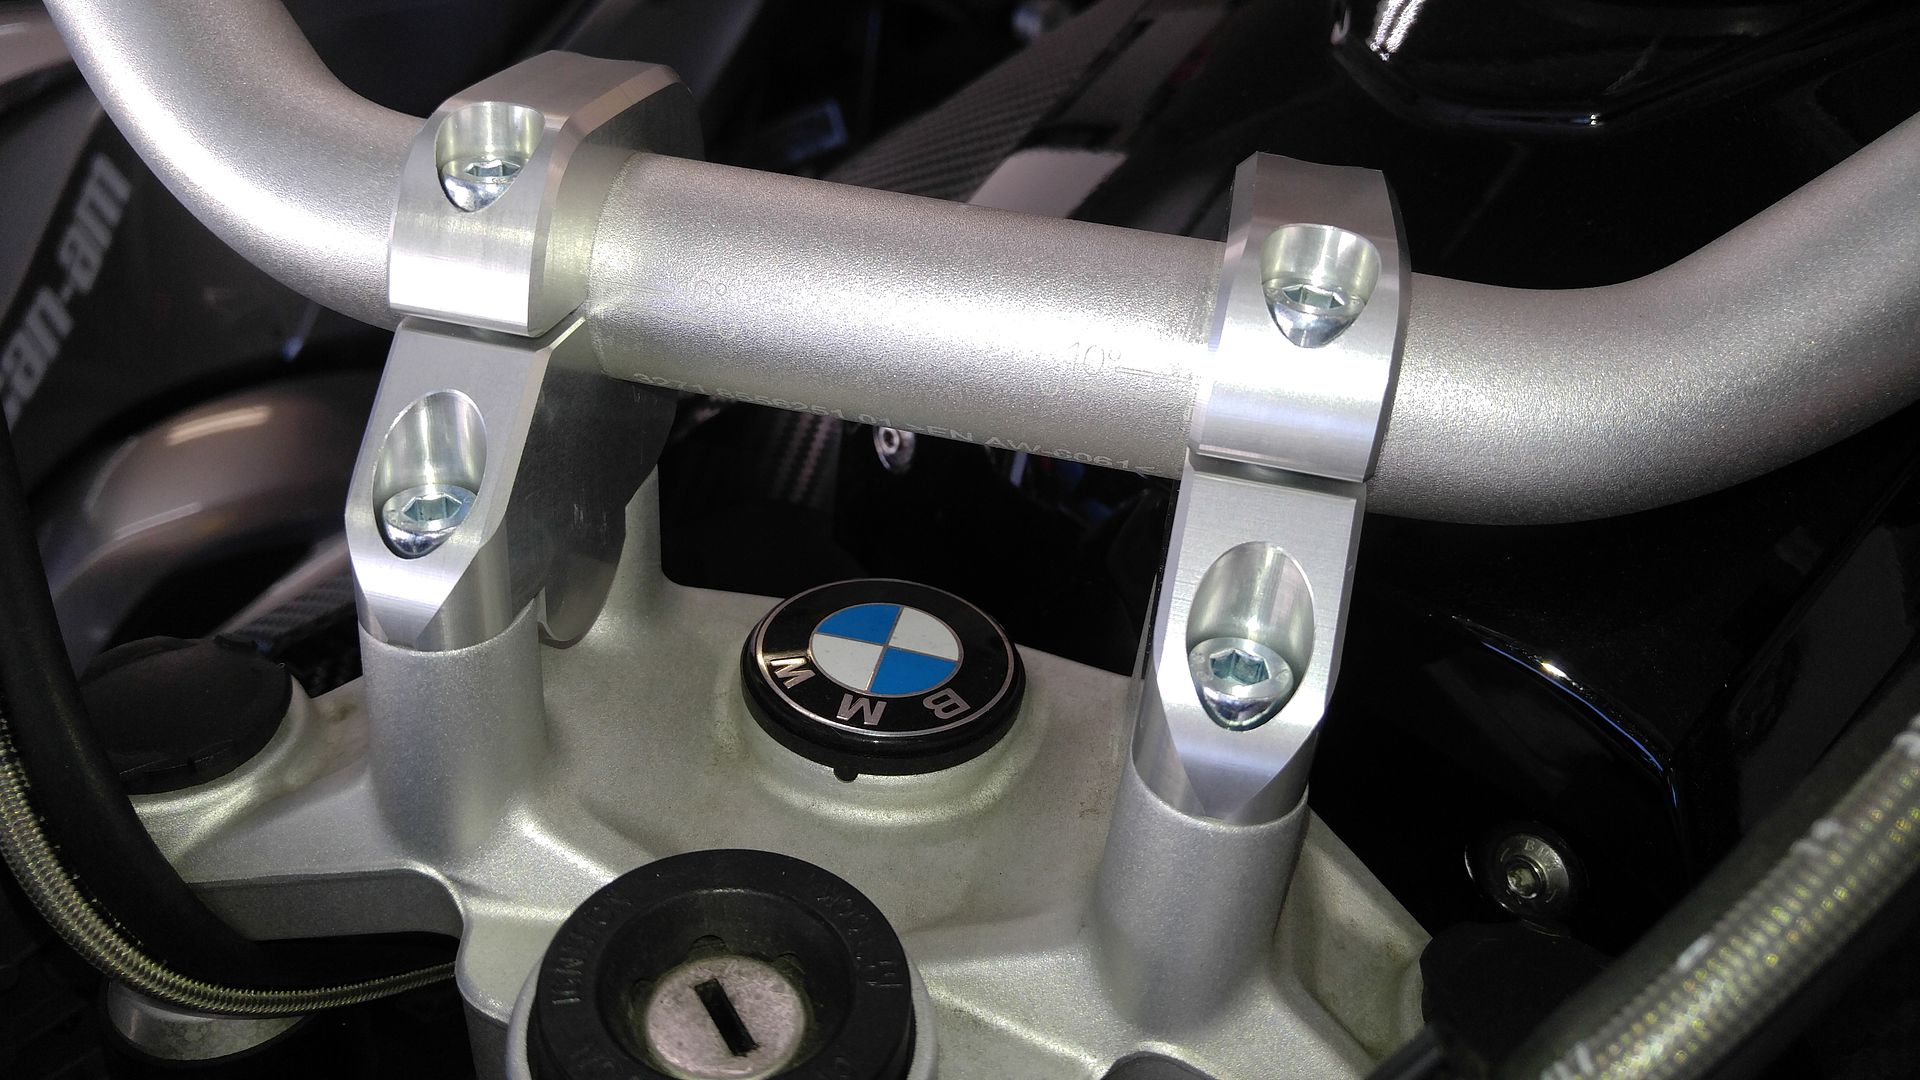
Take note of the angle of the bars stock. You may want to use this as a guide to position them after the new risers are on.

09%201.5%20inch%20Fixed%20Riser.jpg

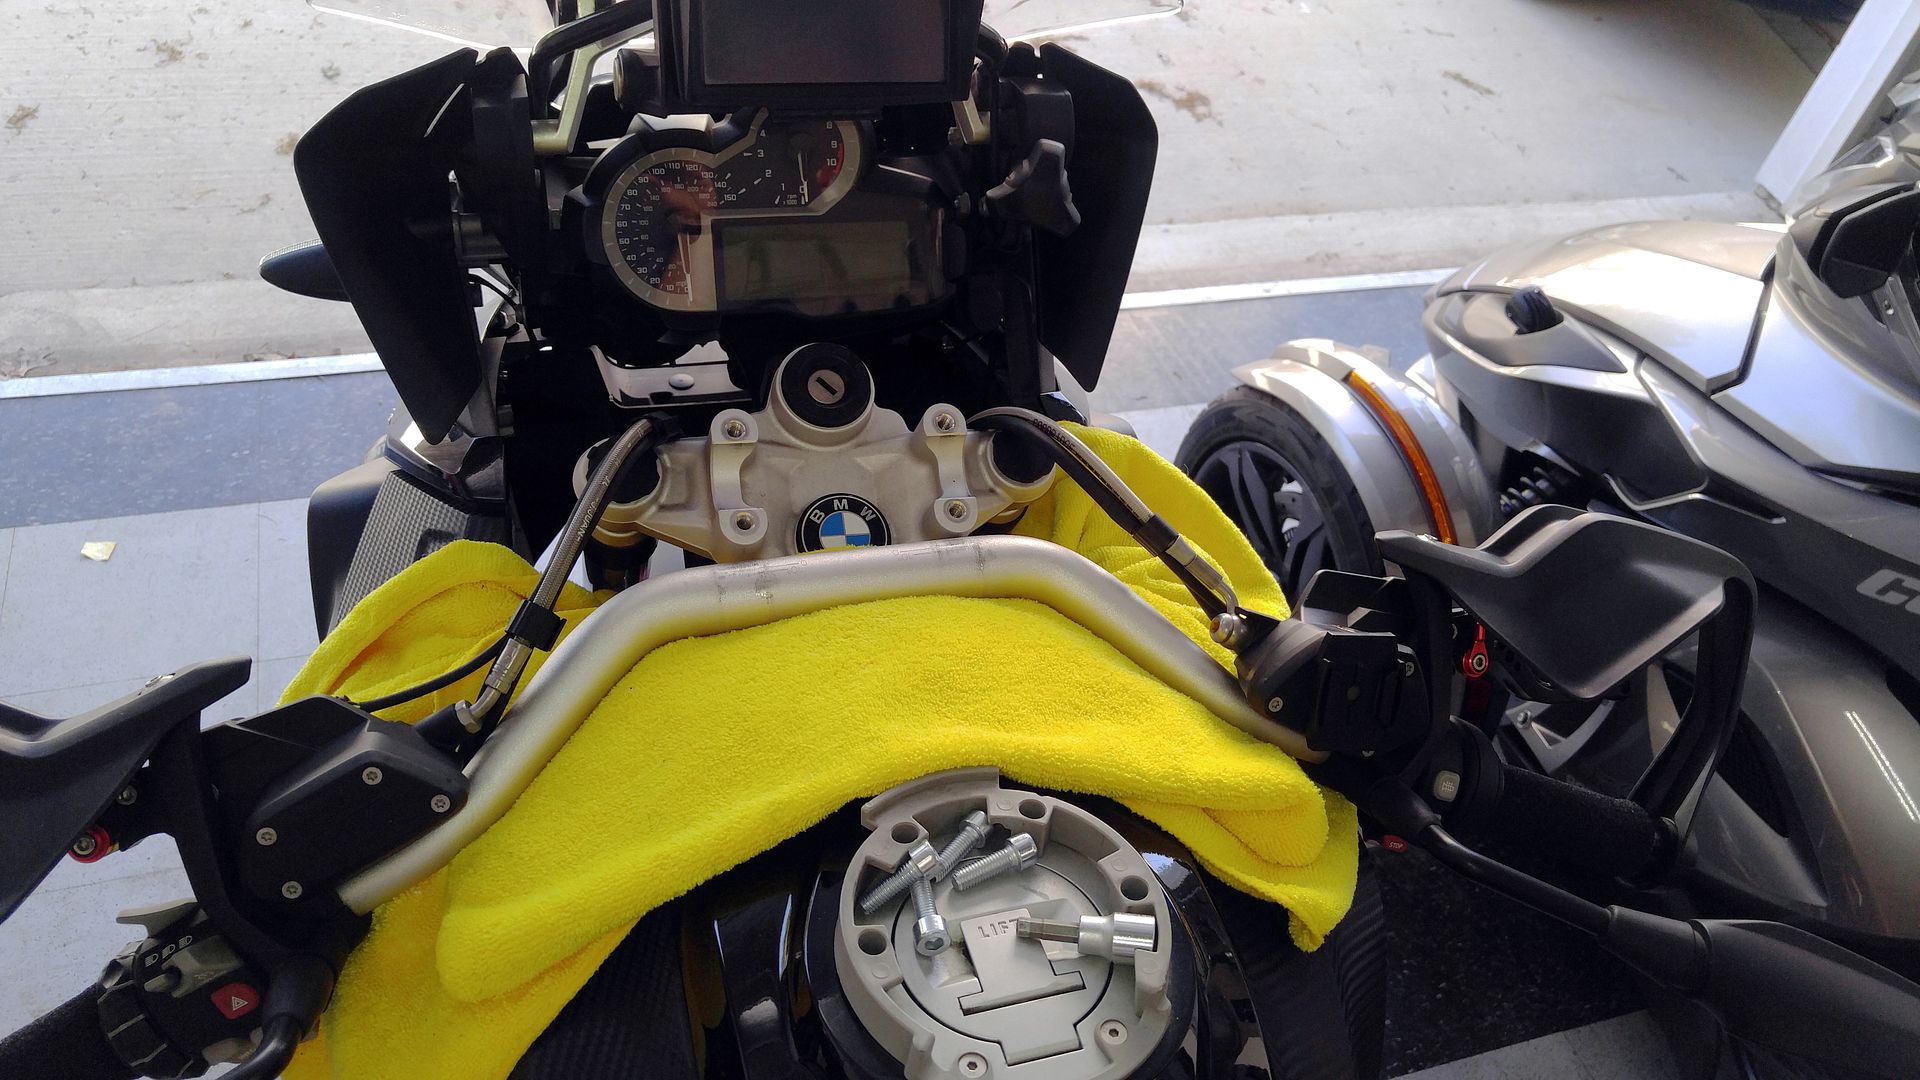
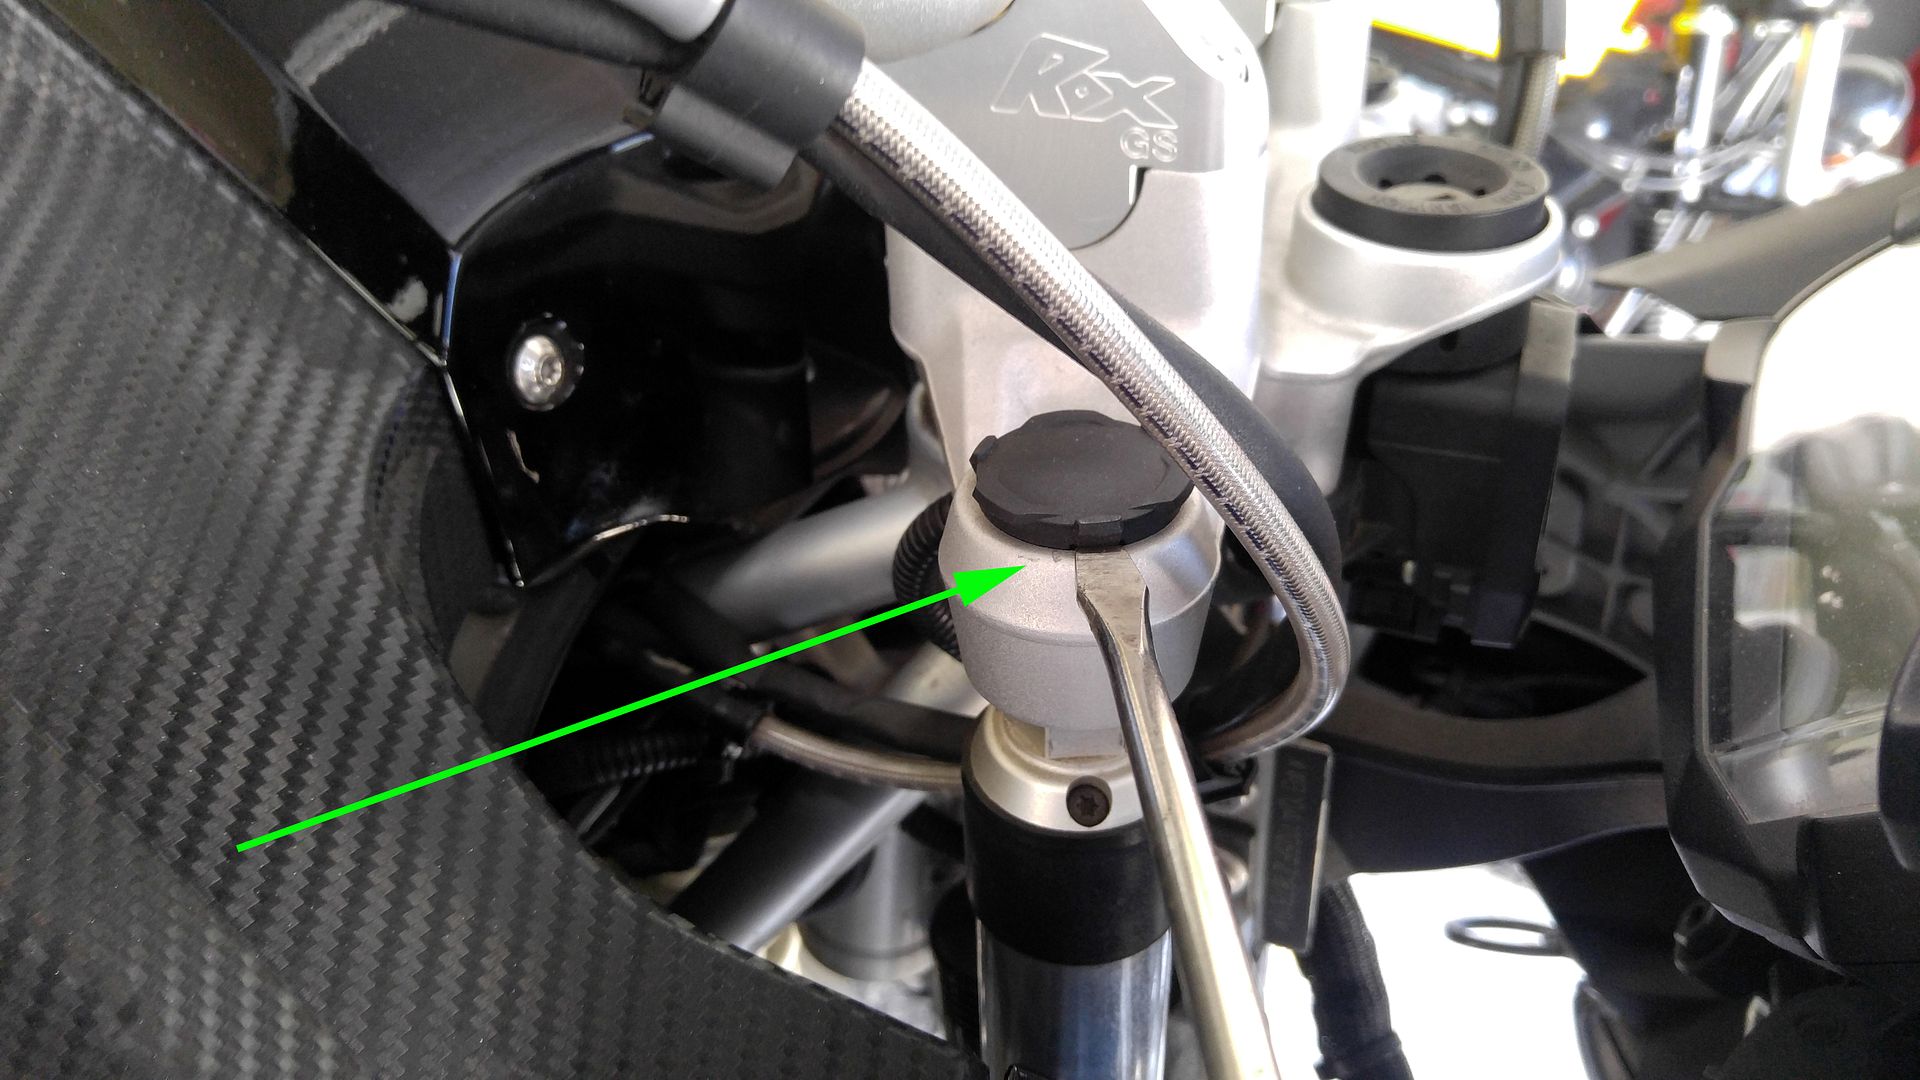
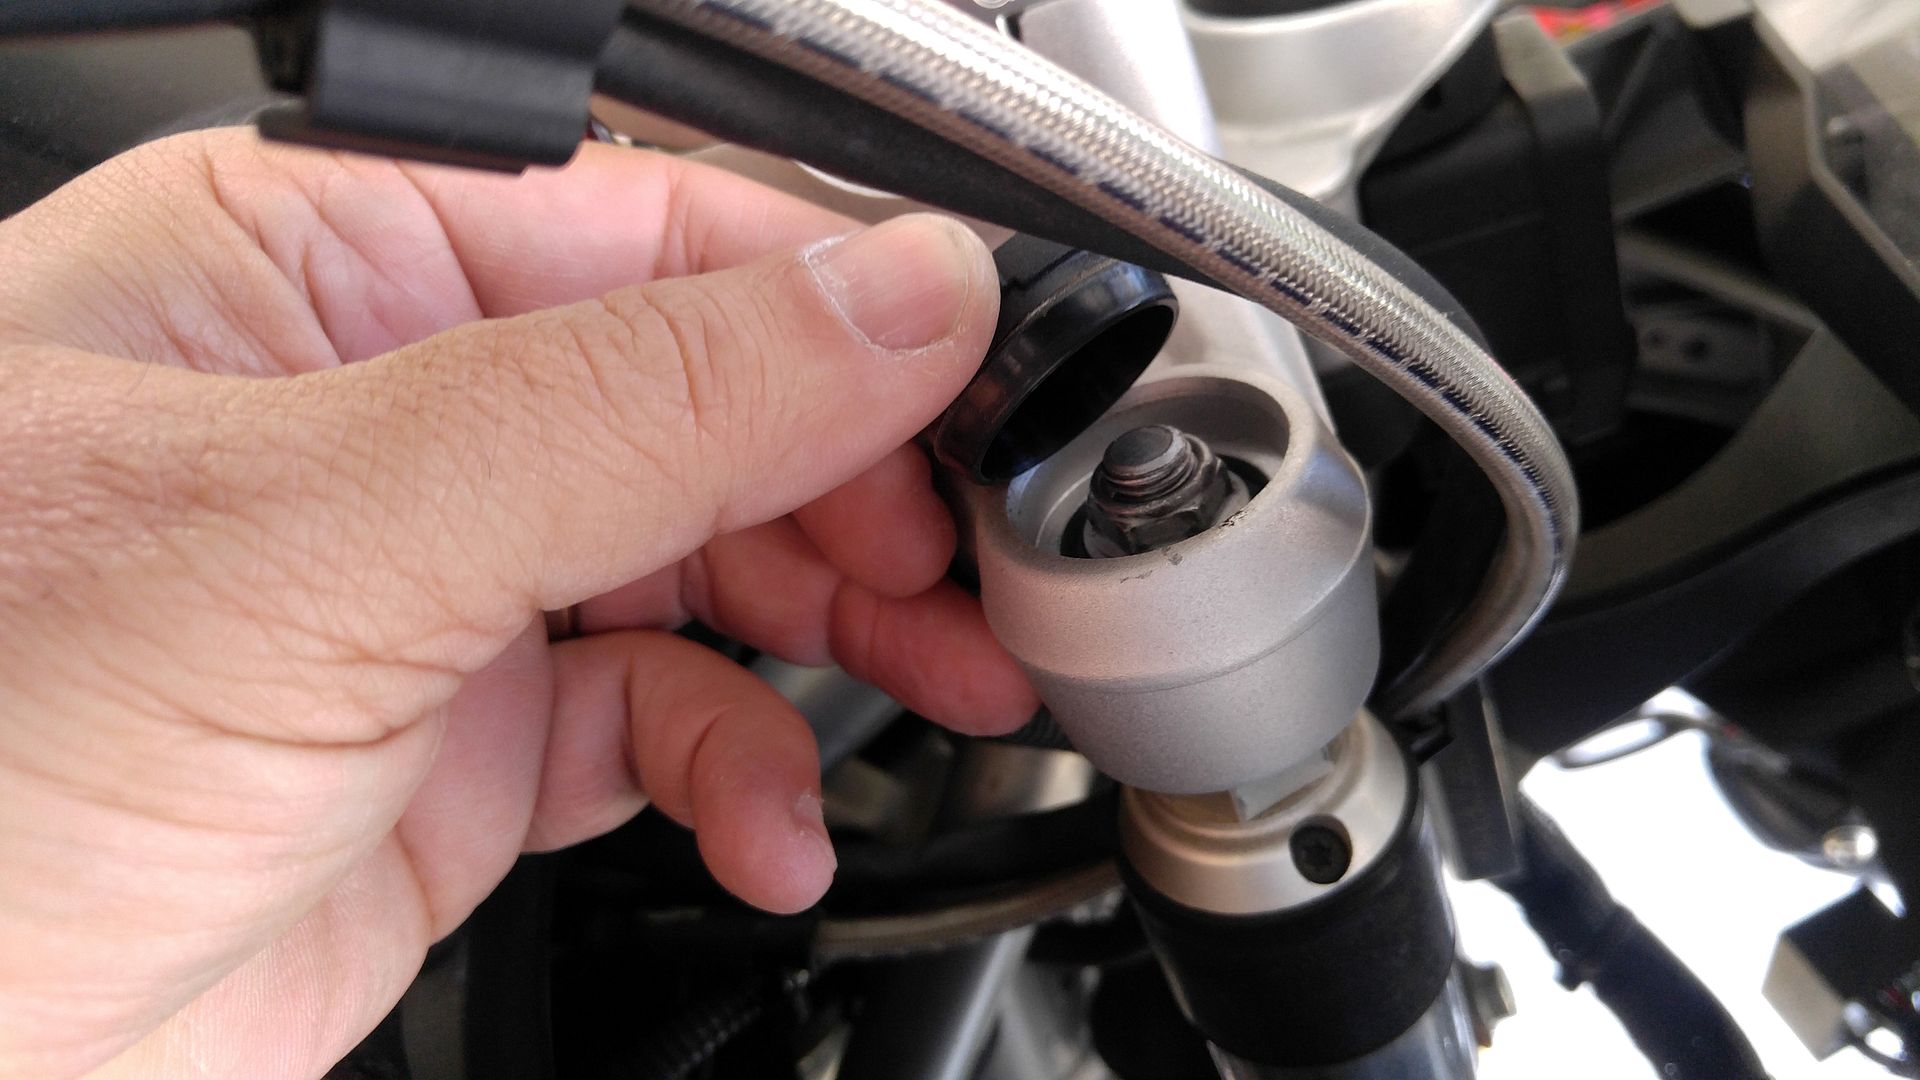
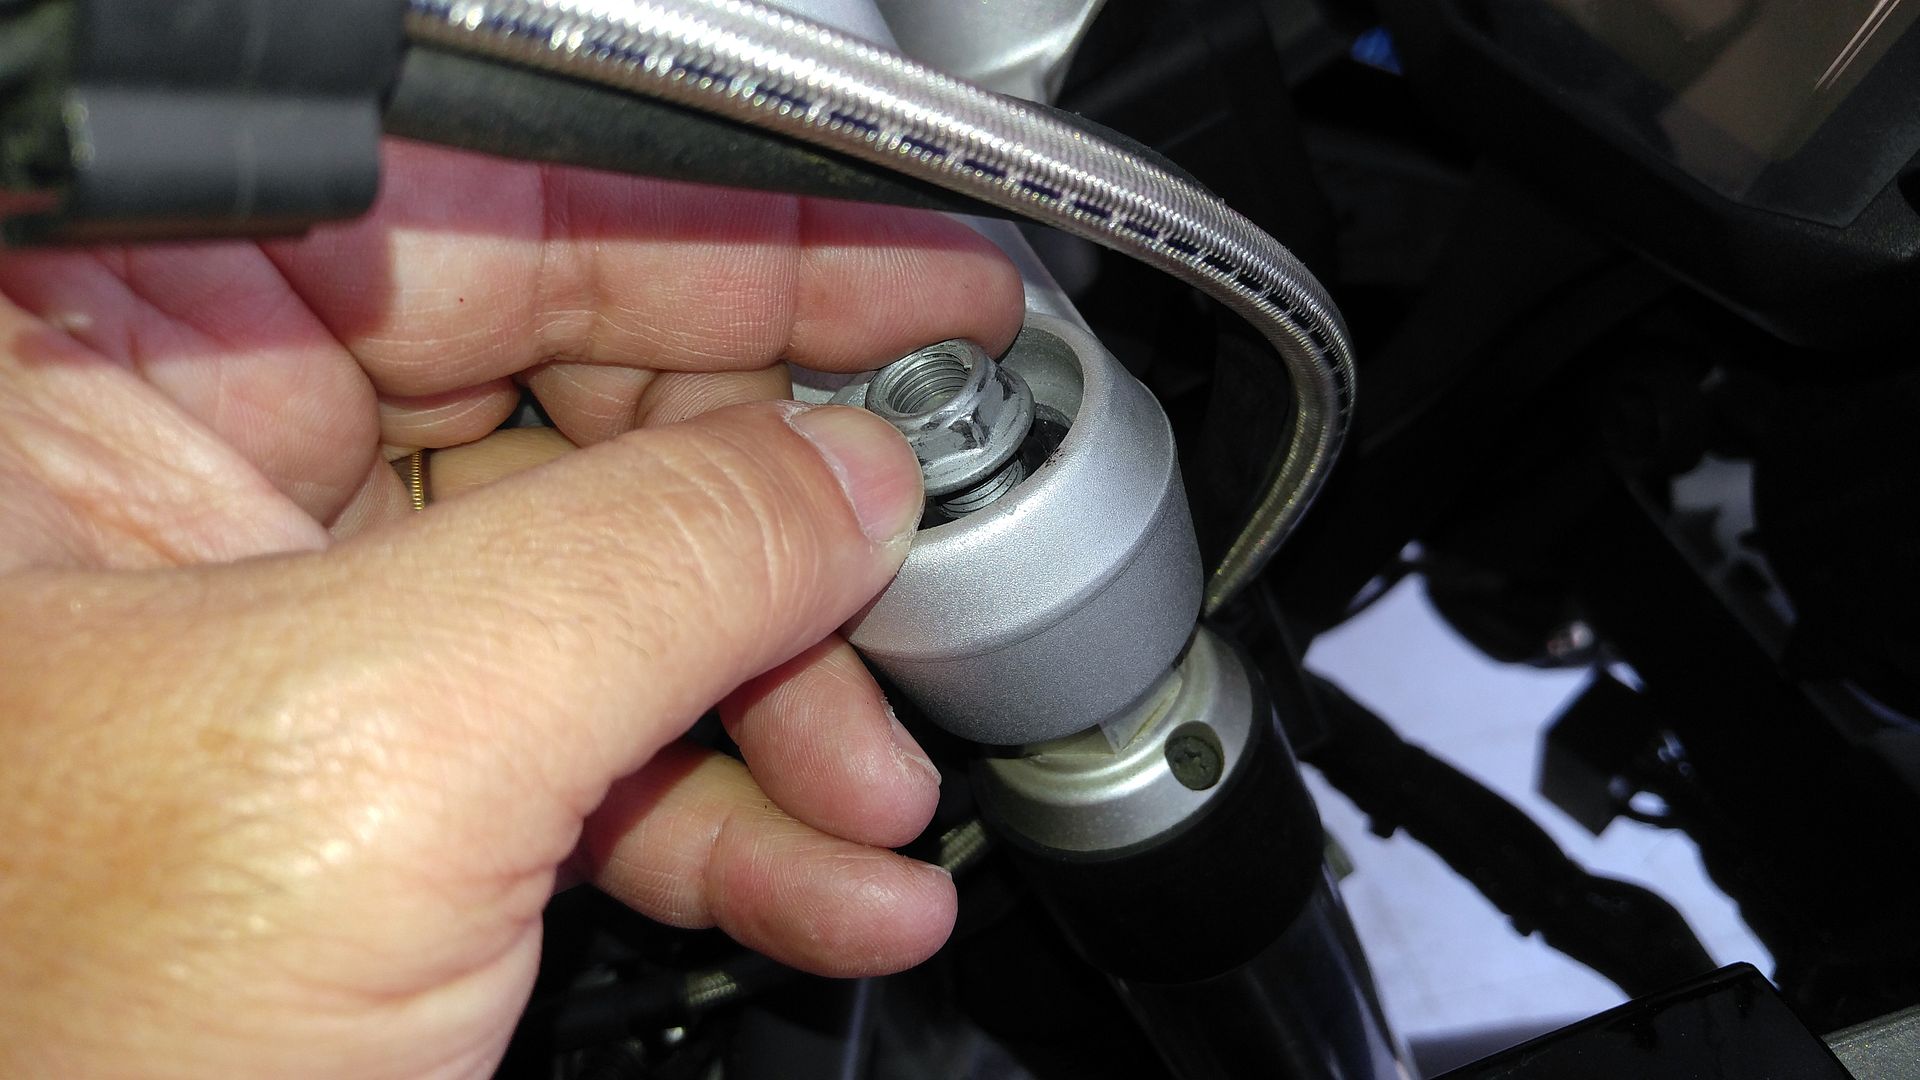
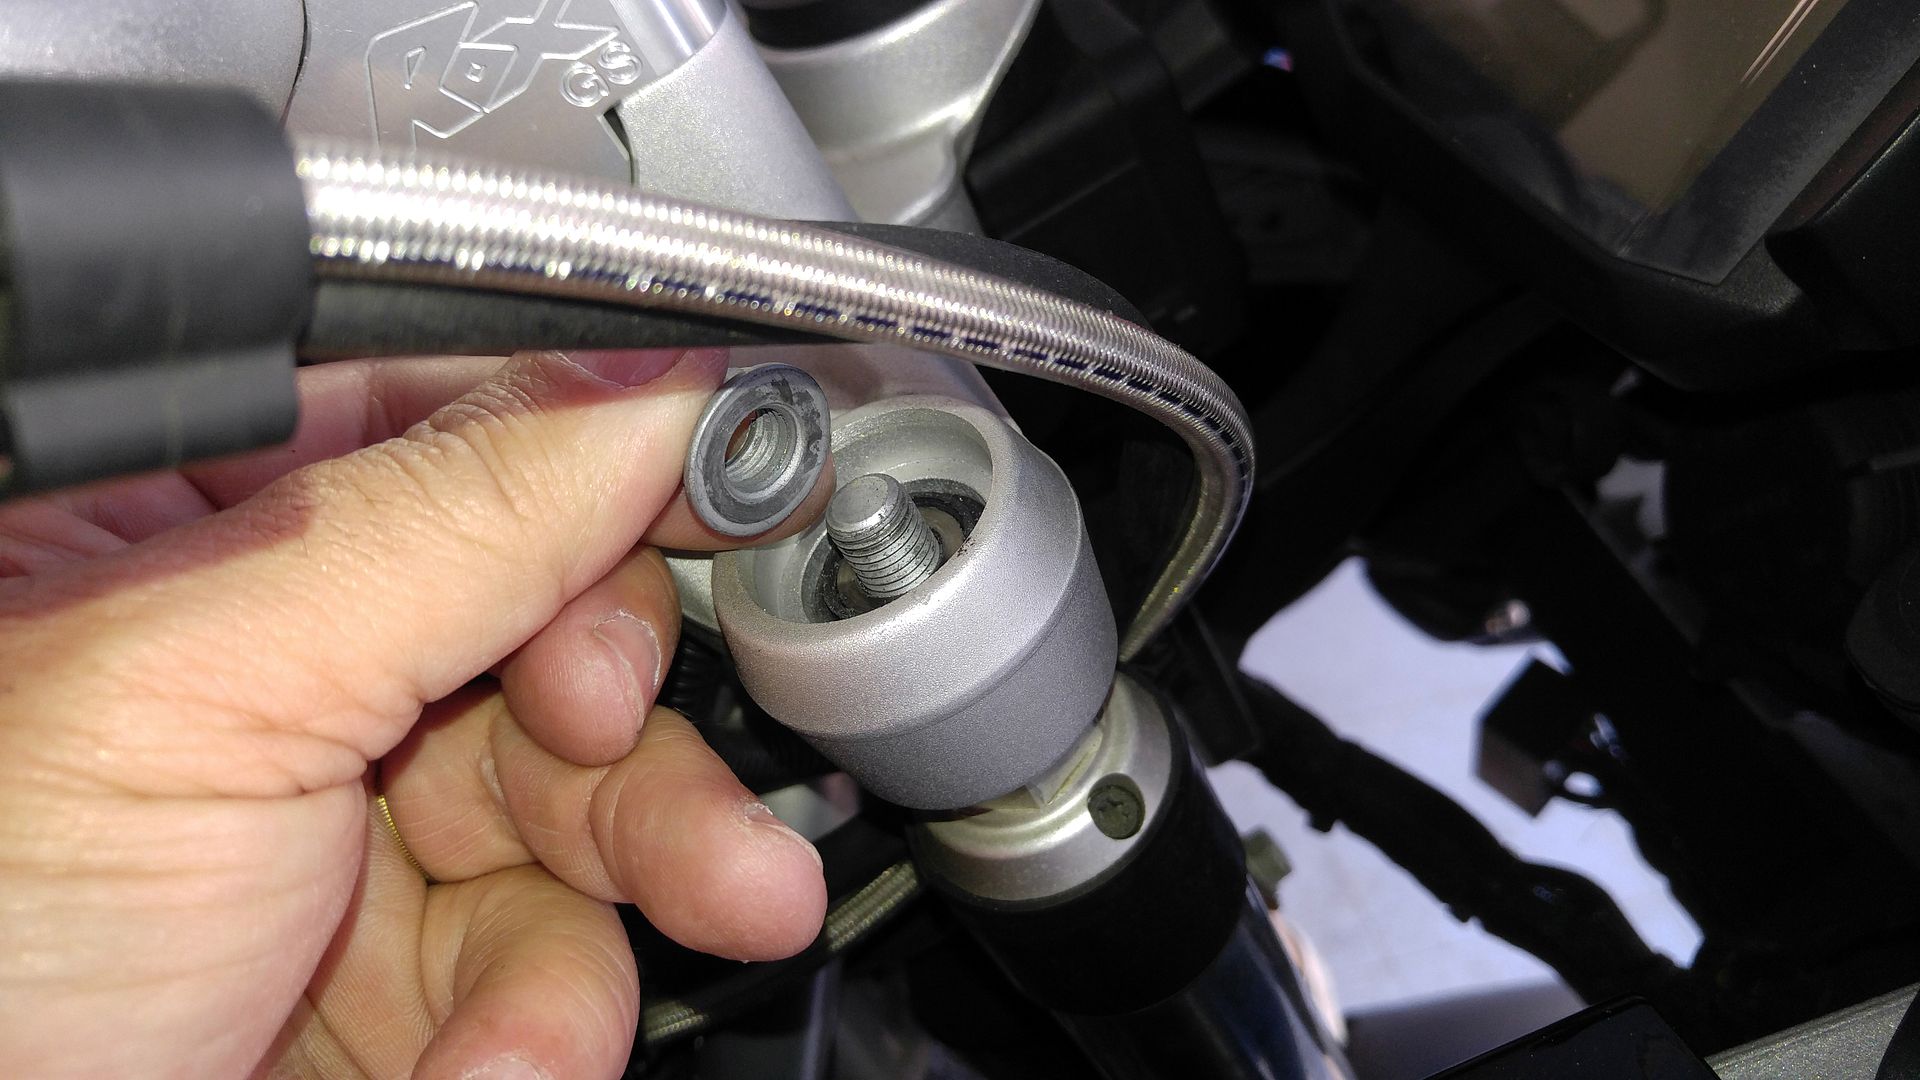
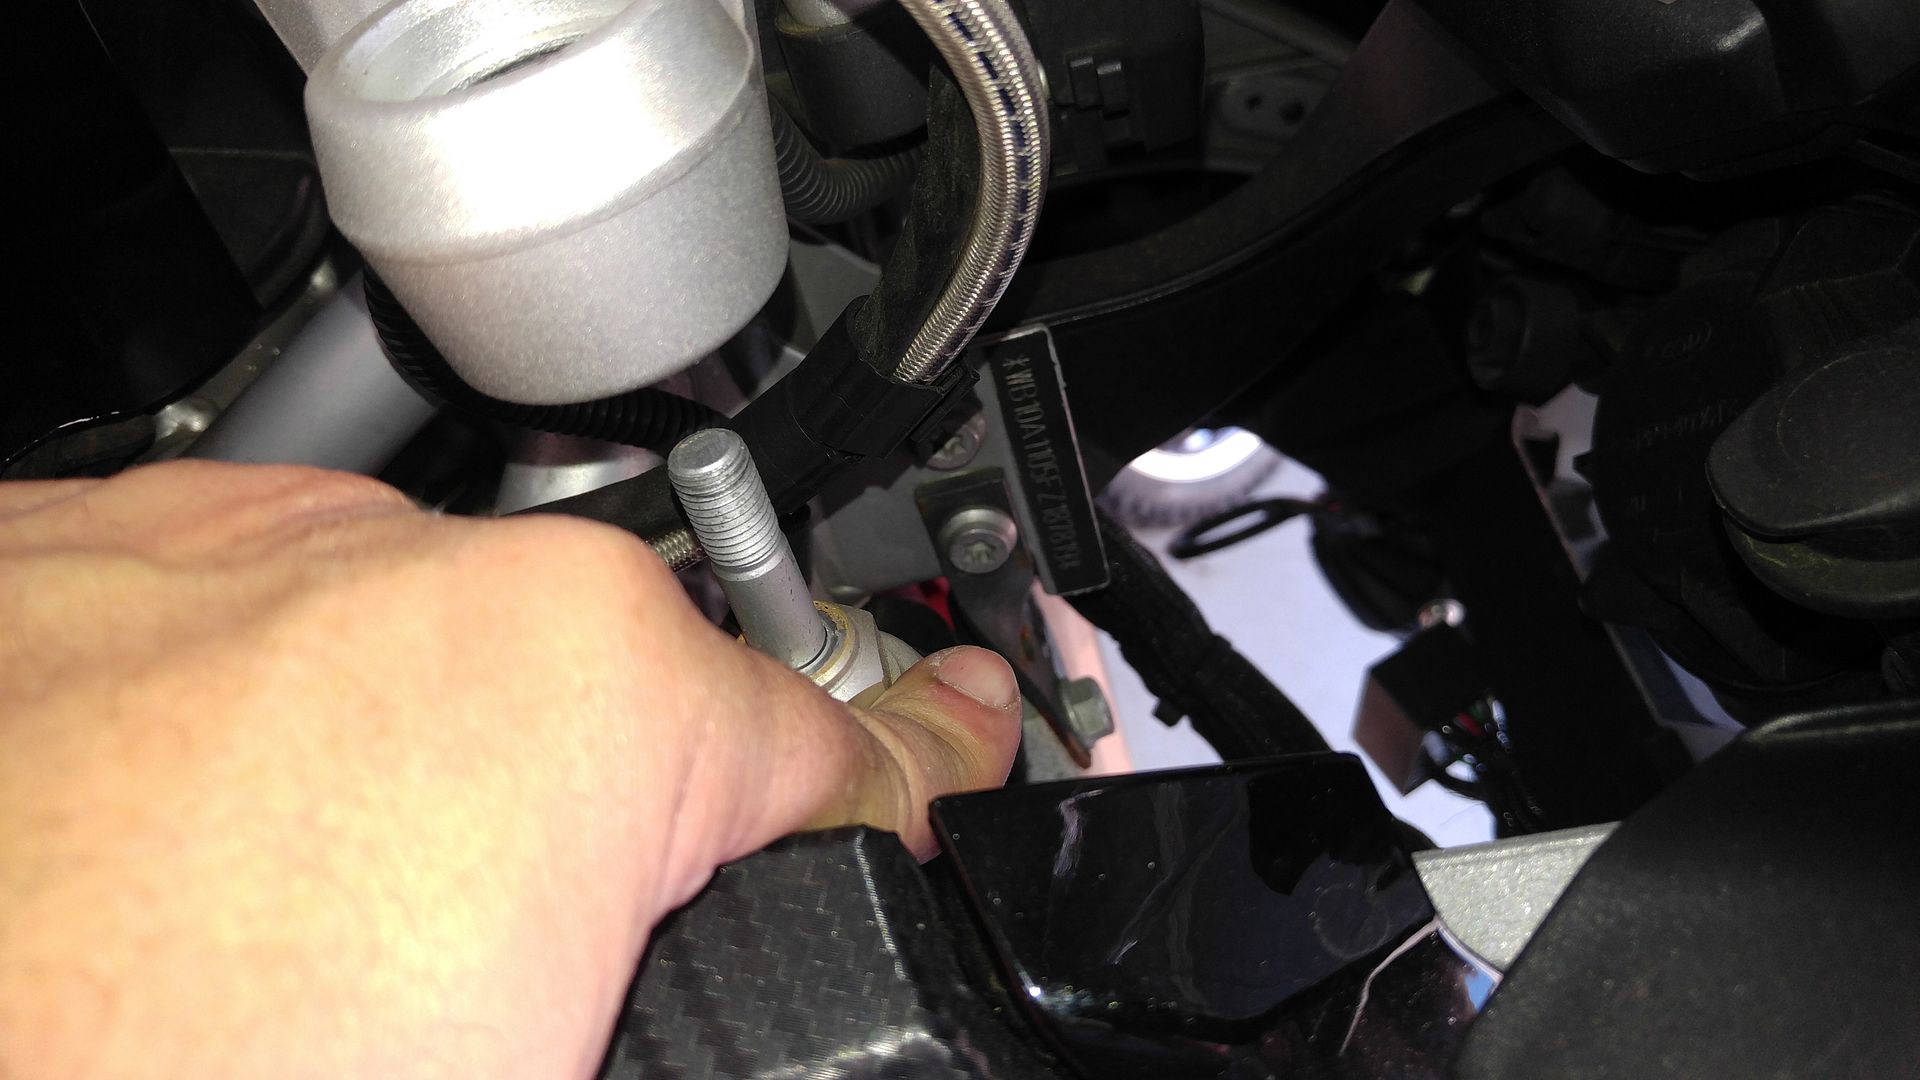
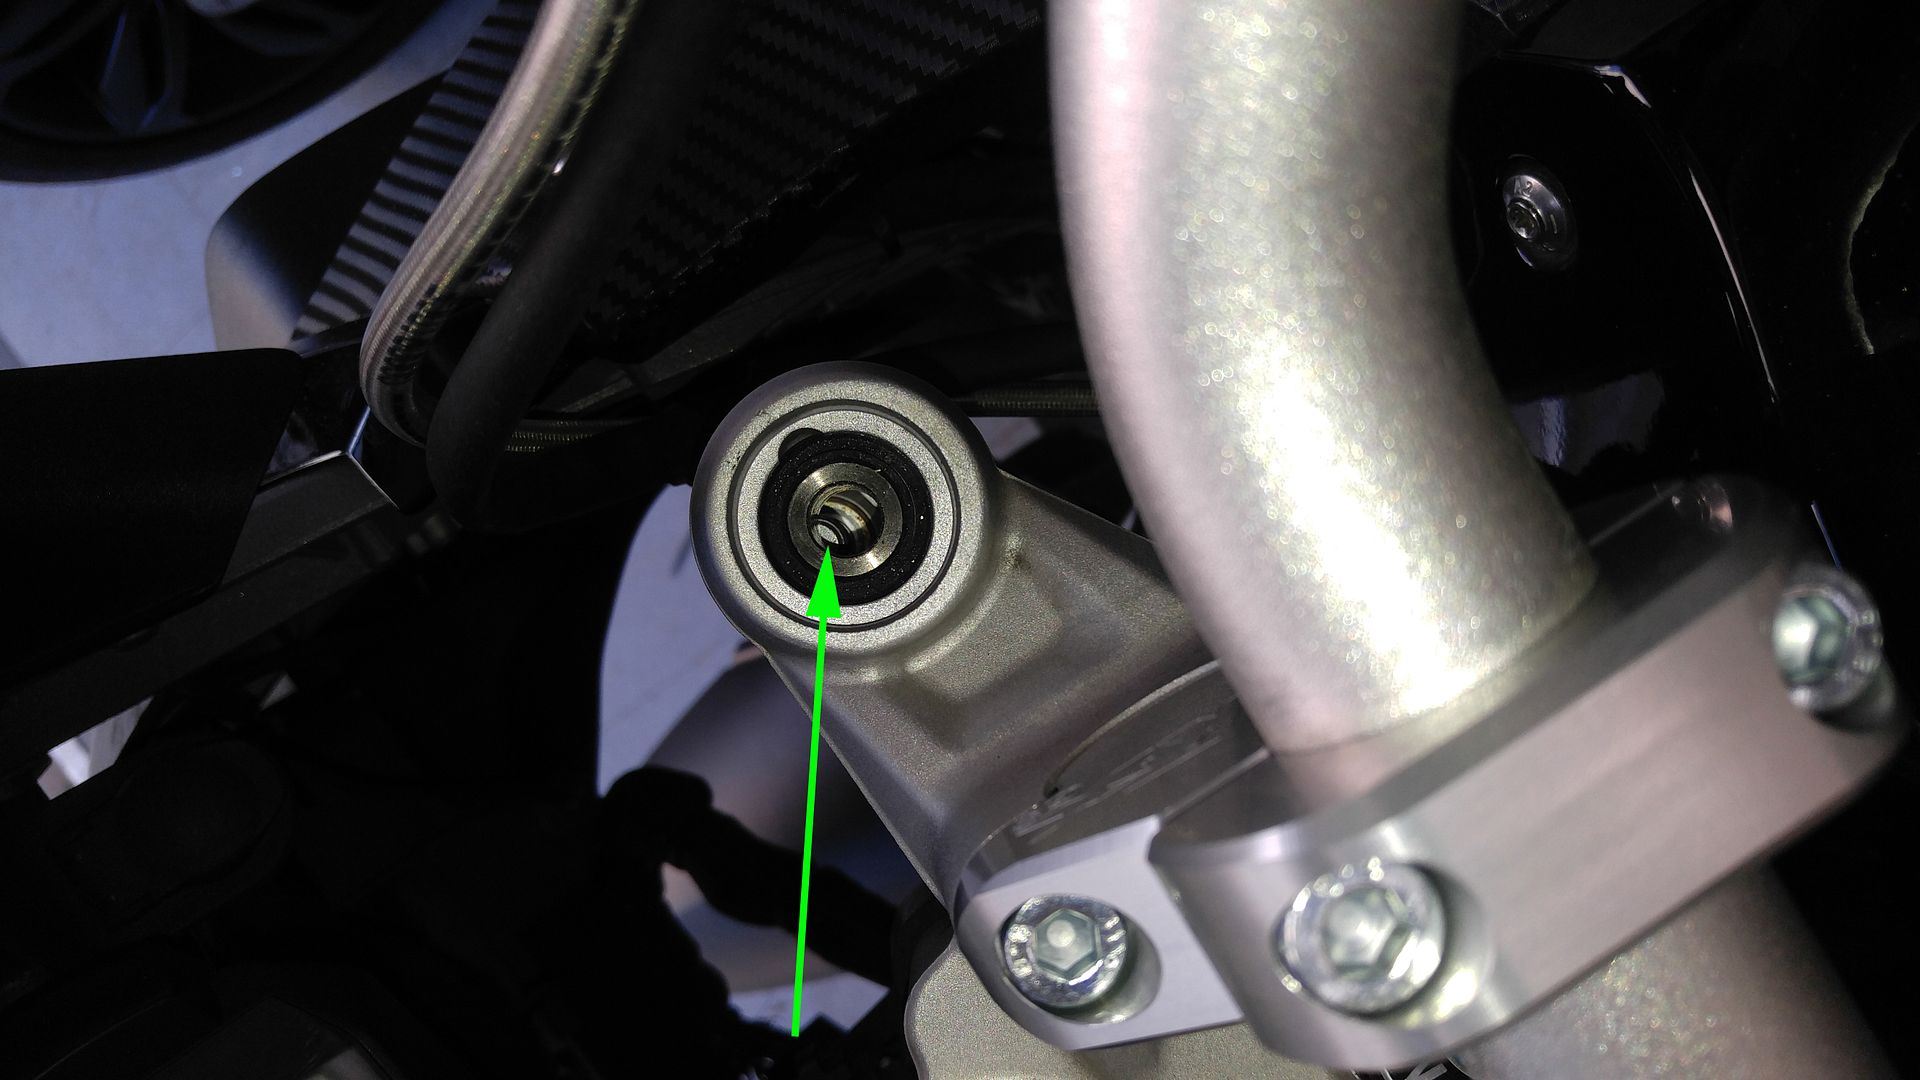
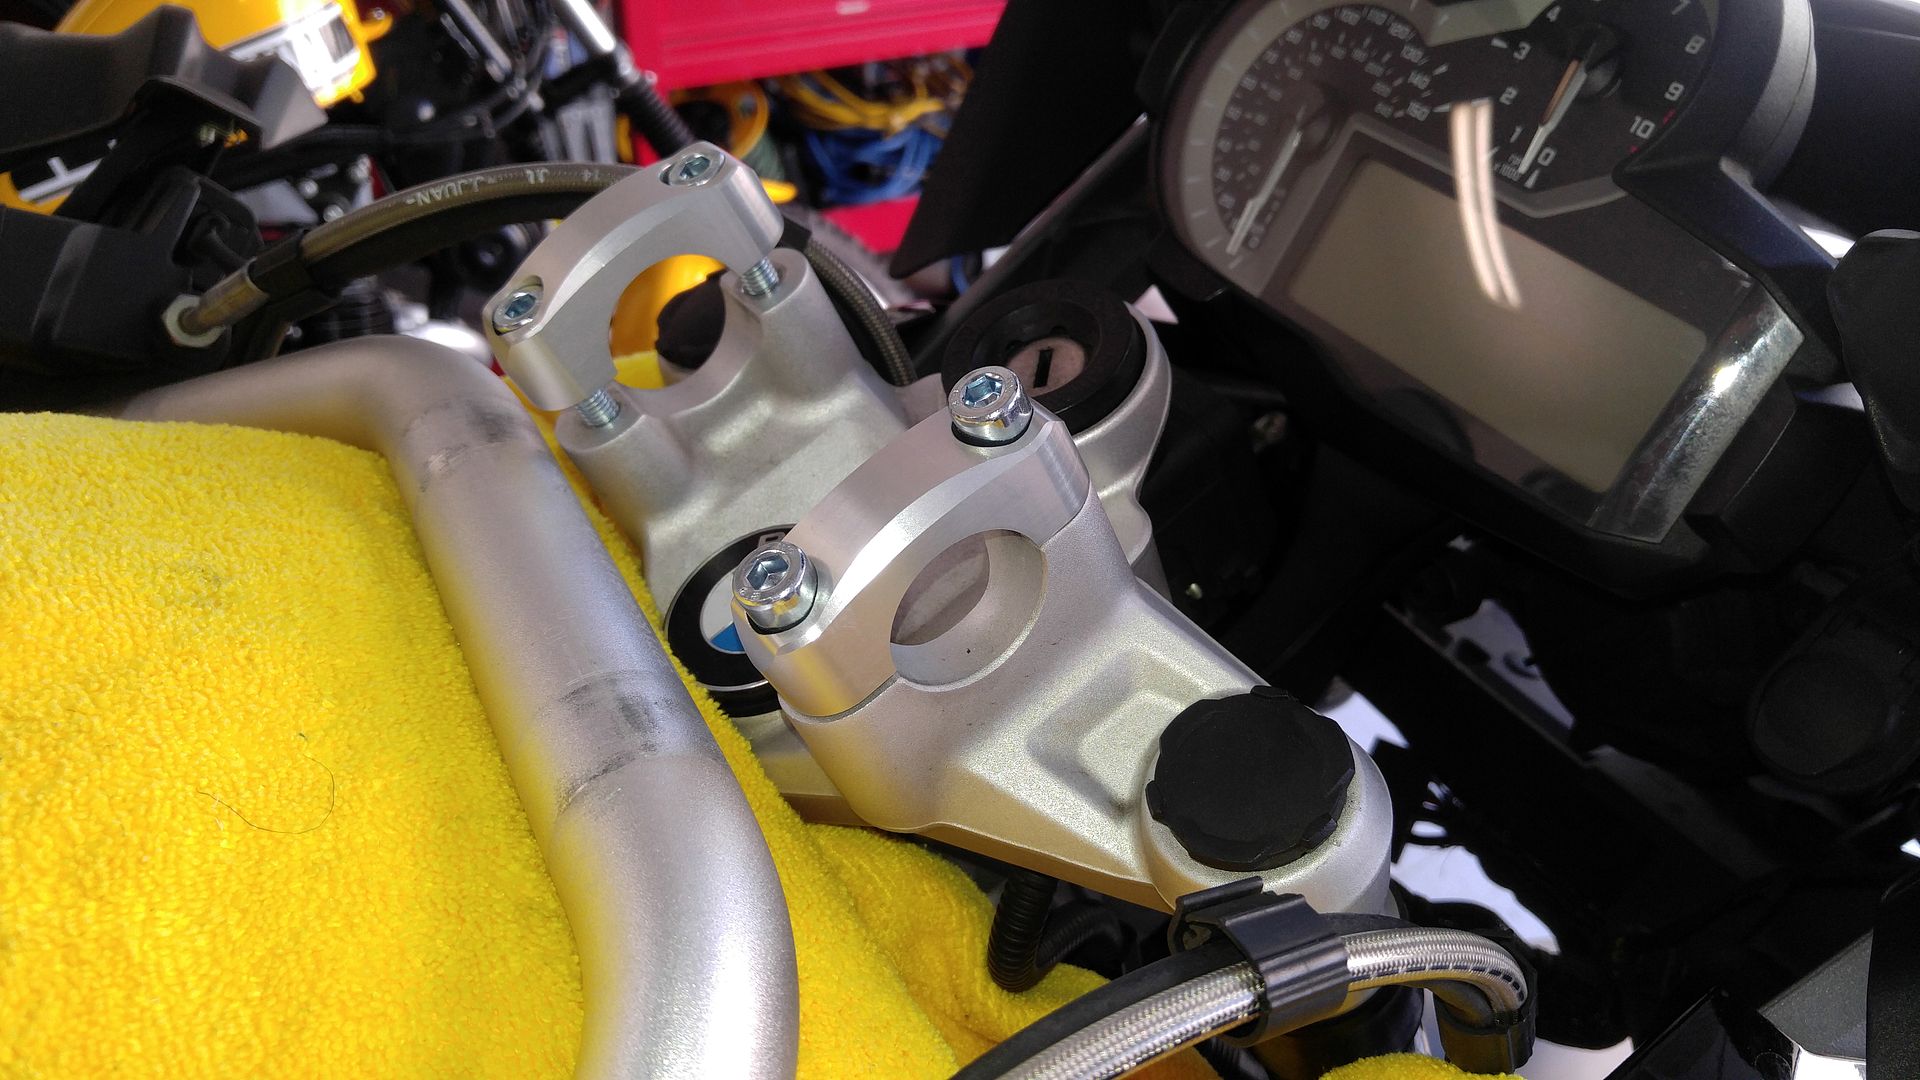
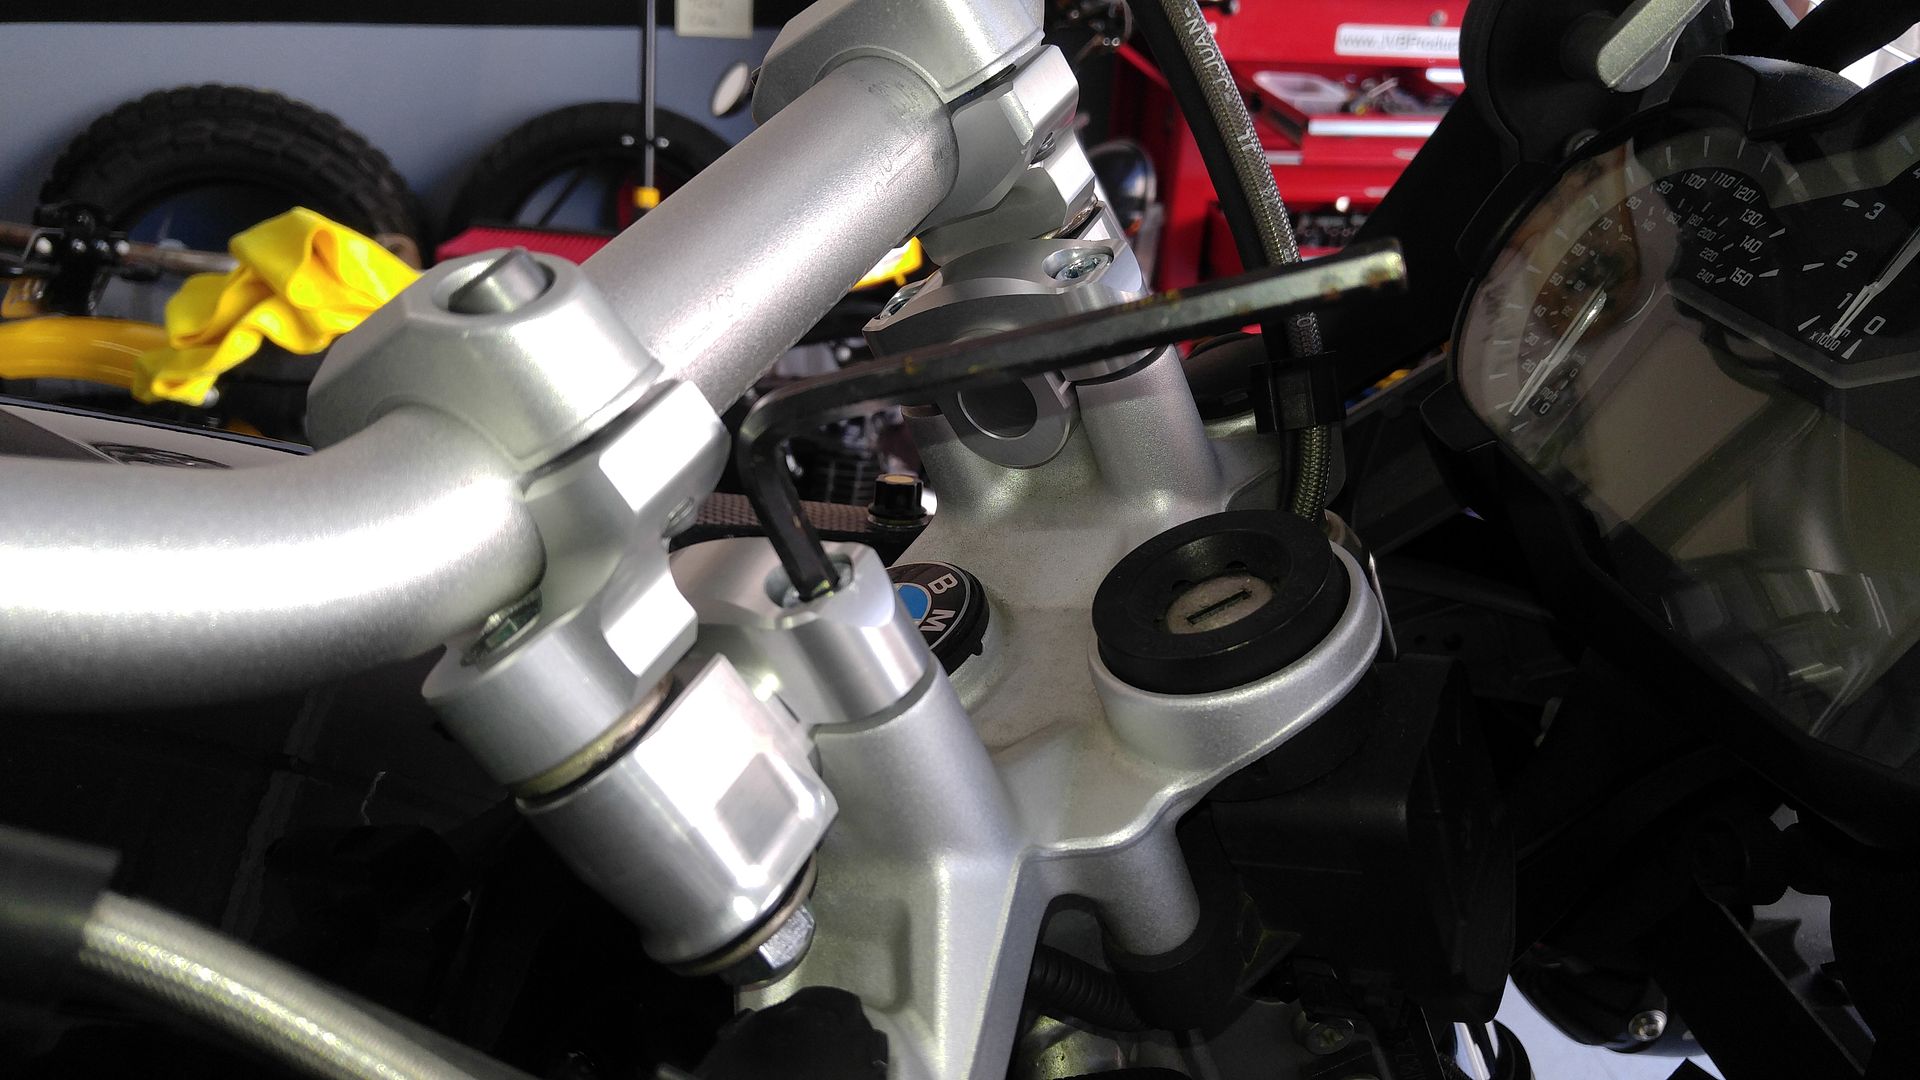
Grab the bar end like this, then remove the last bot and the cap. Lay the bar down on the towels.

10%201.5%20inch%20Fixed%20Riser.jpg

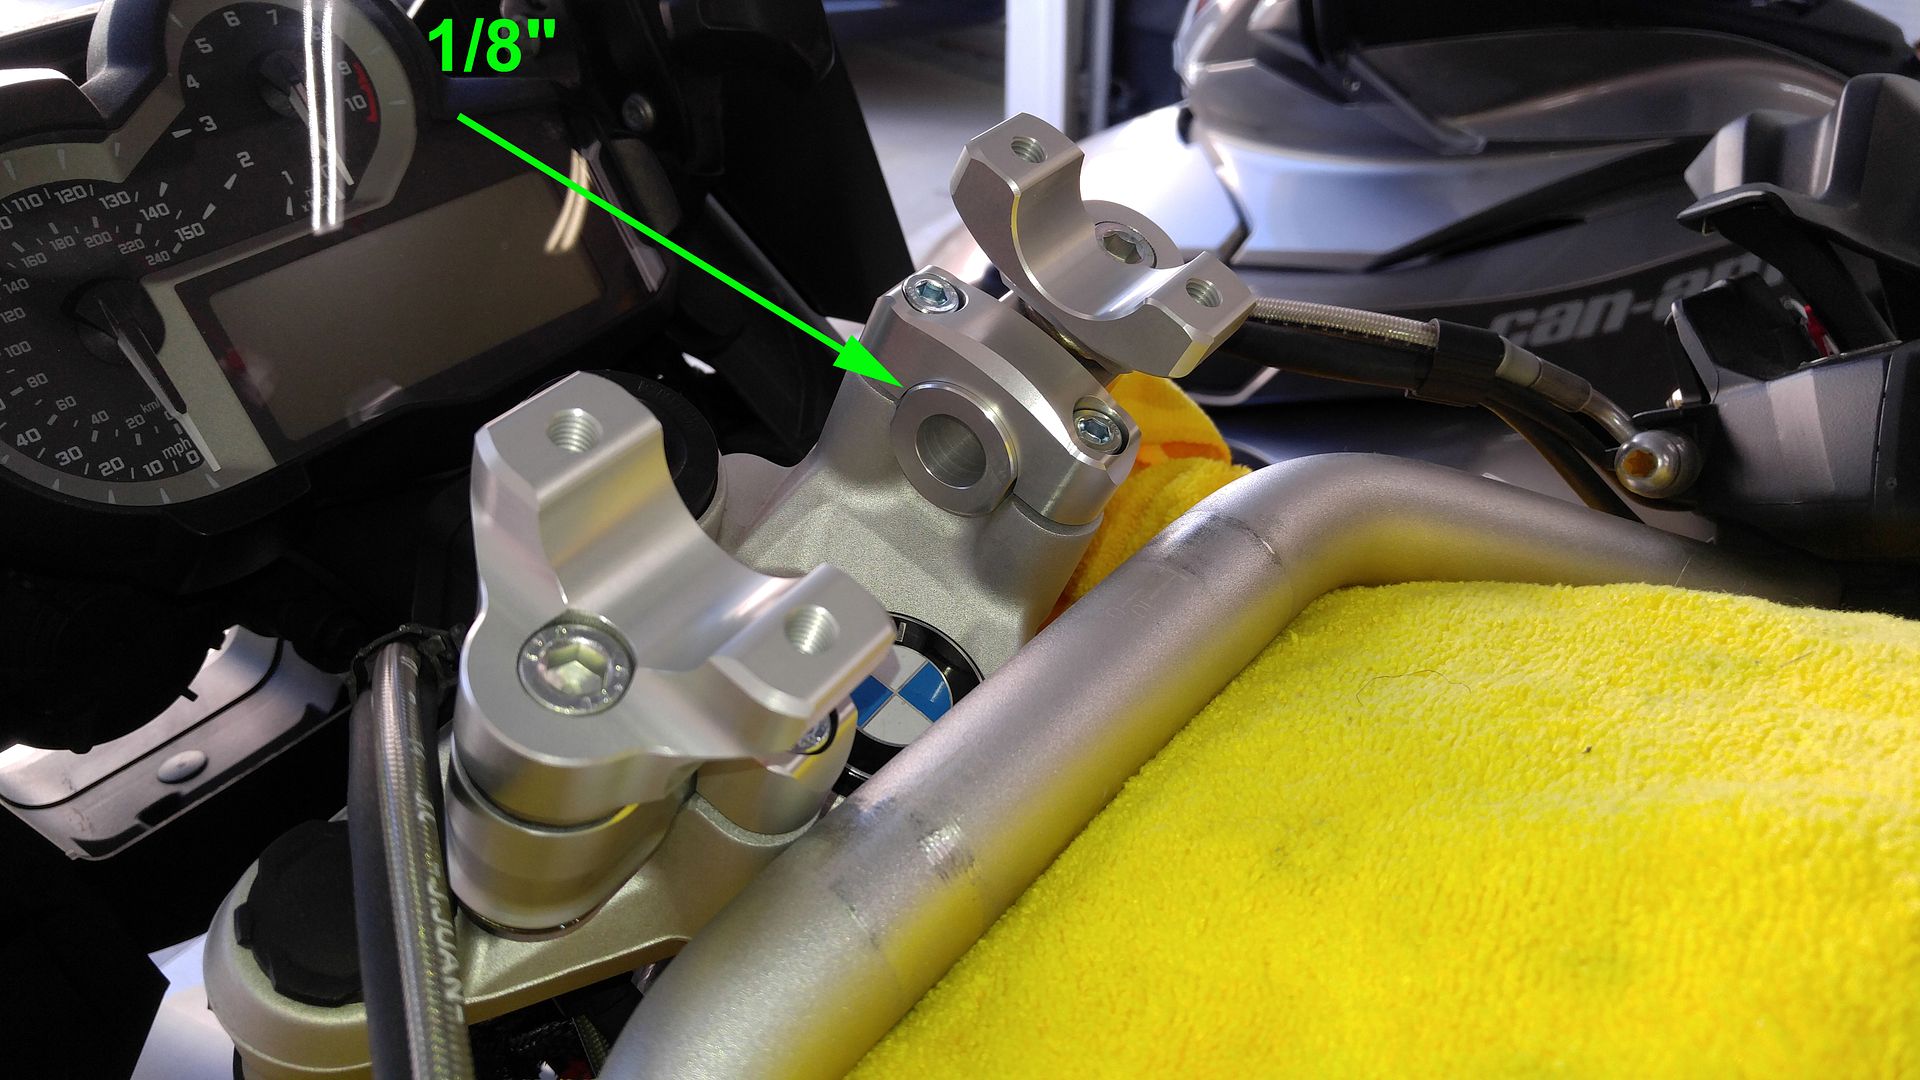
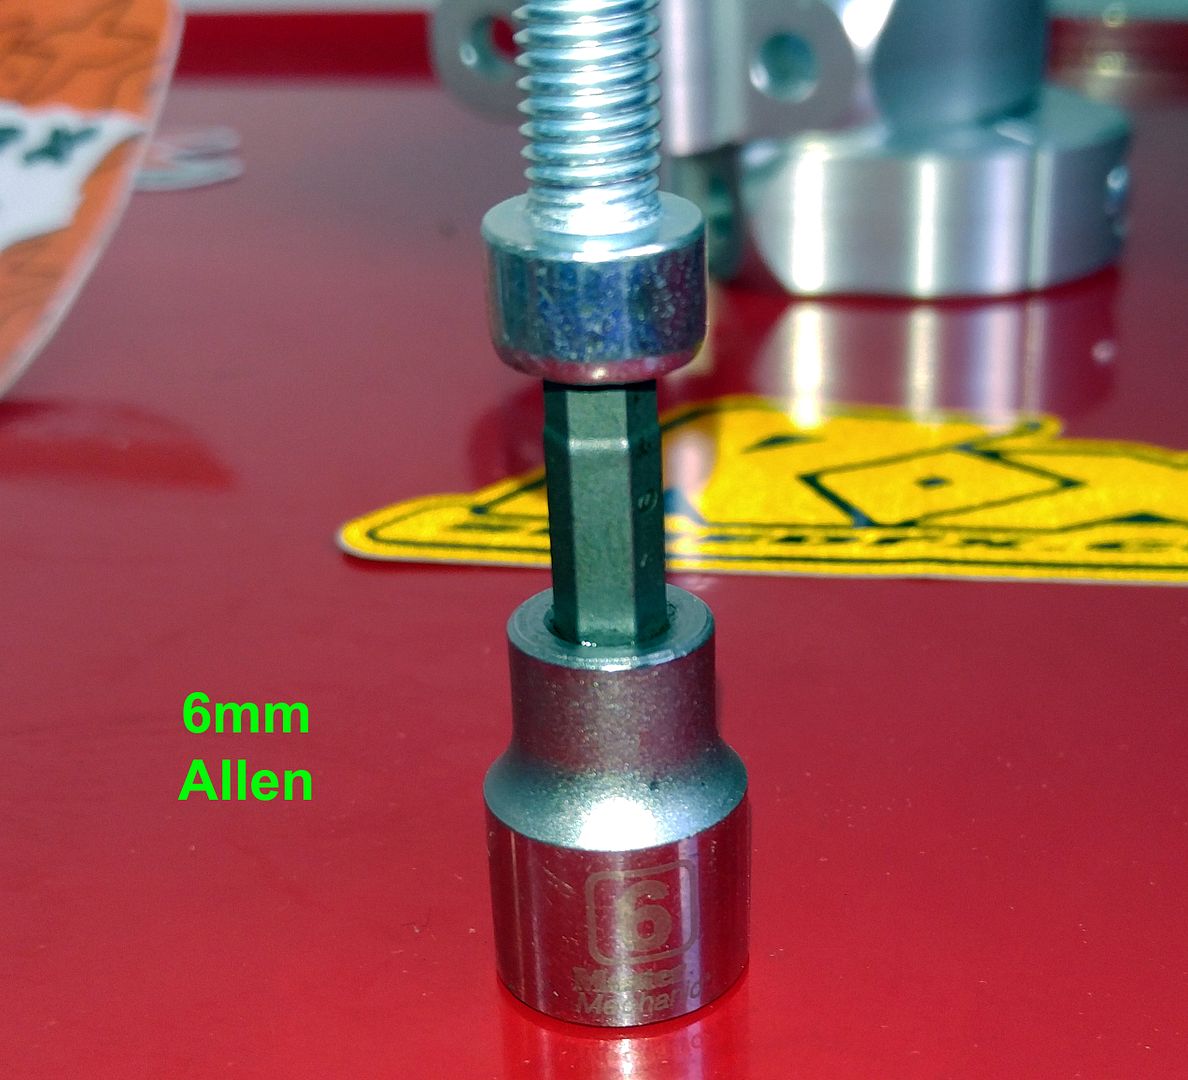
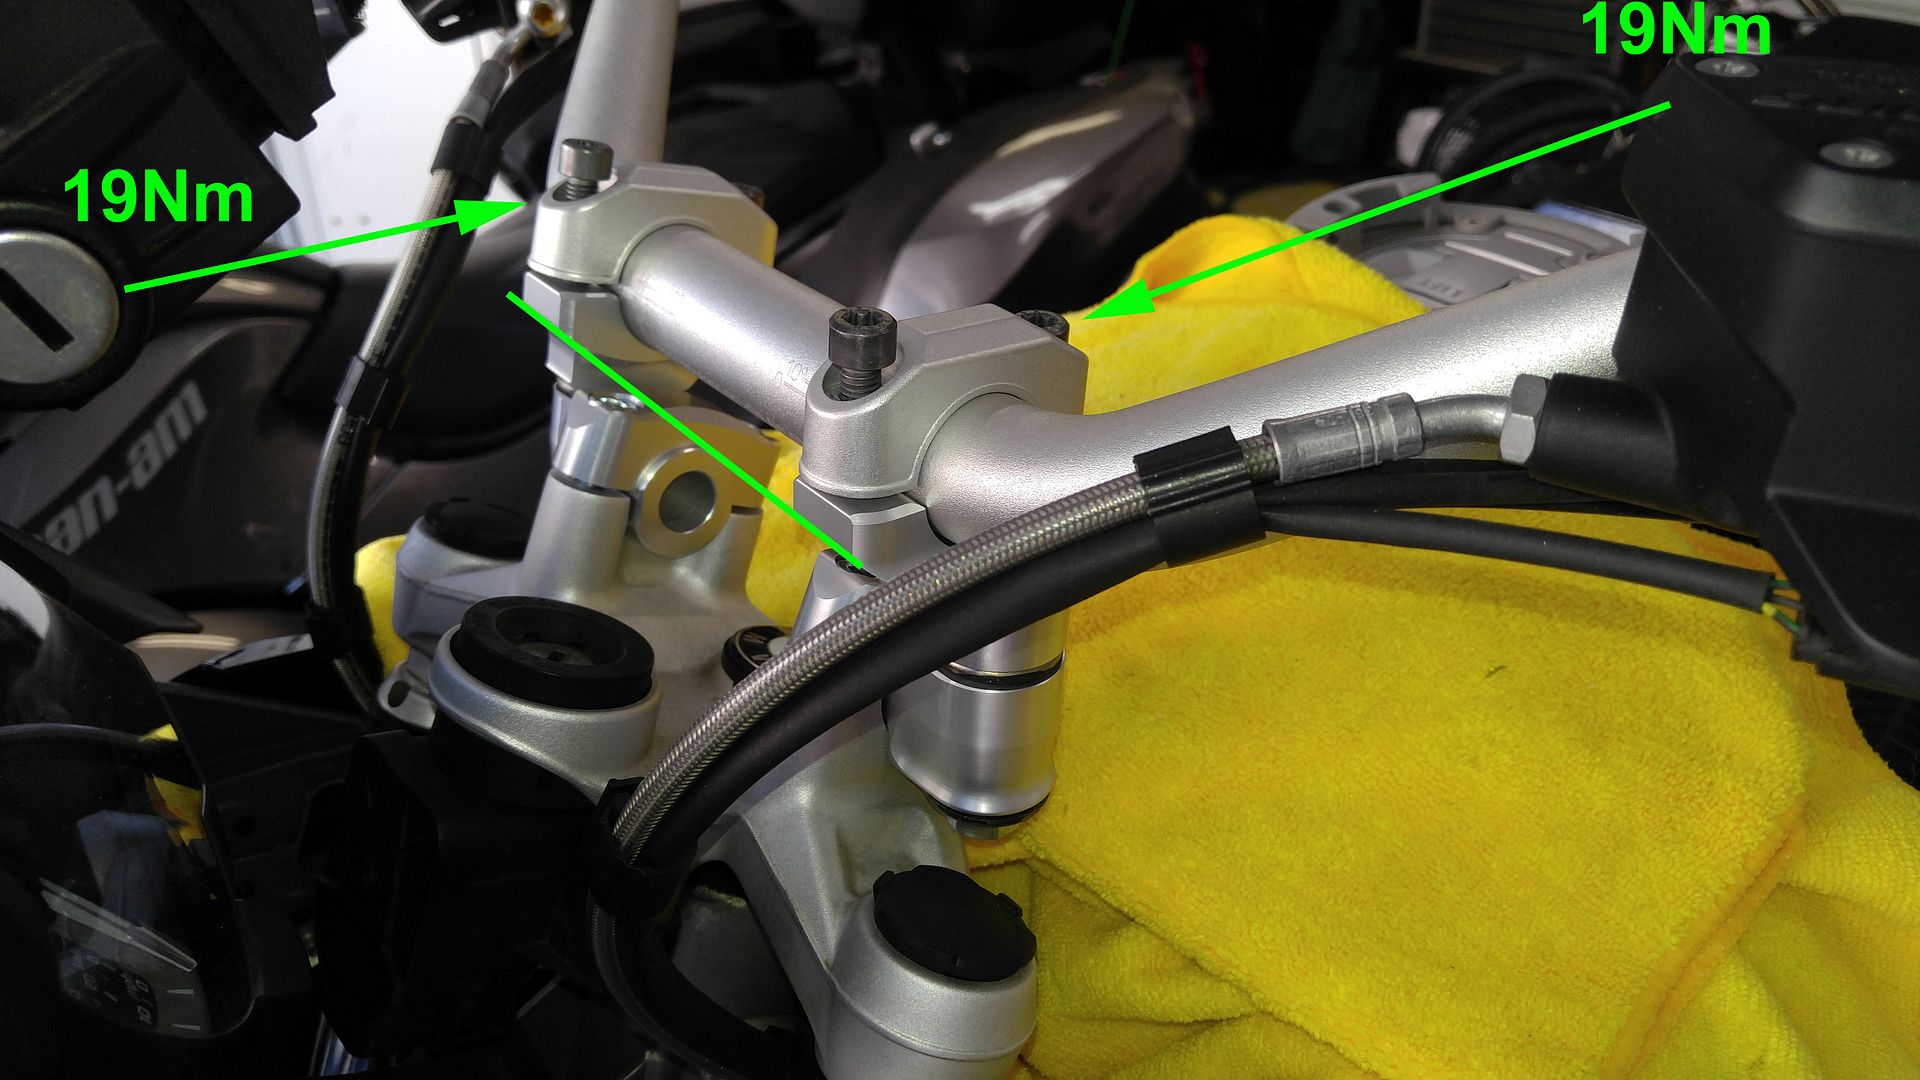
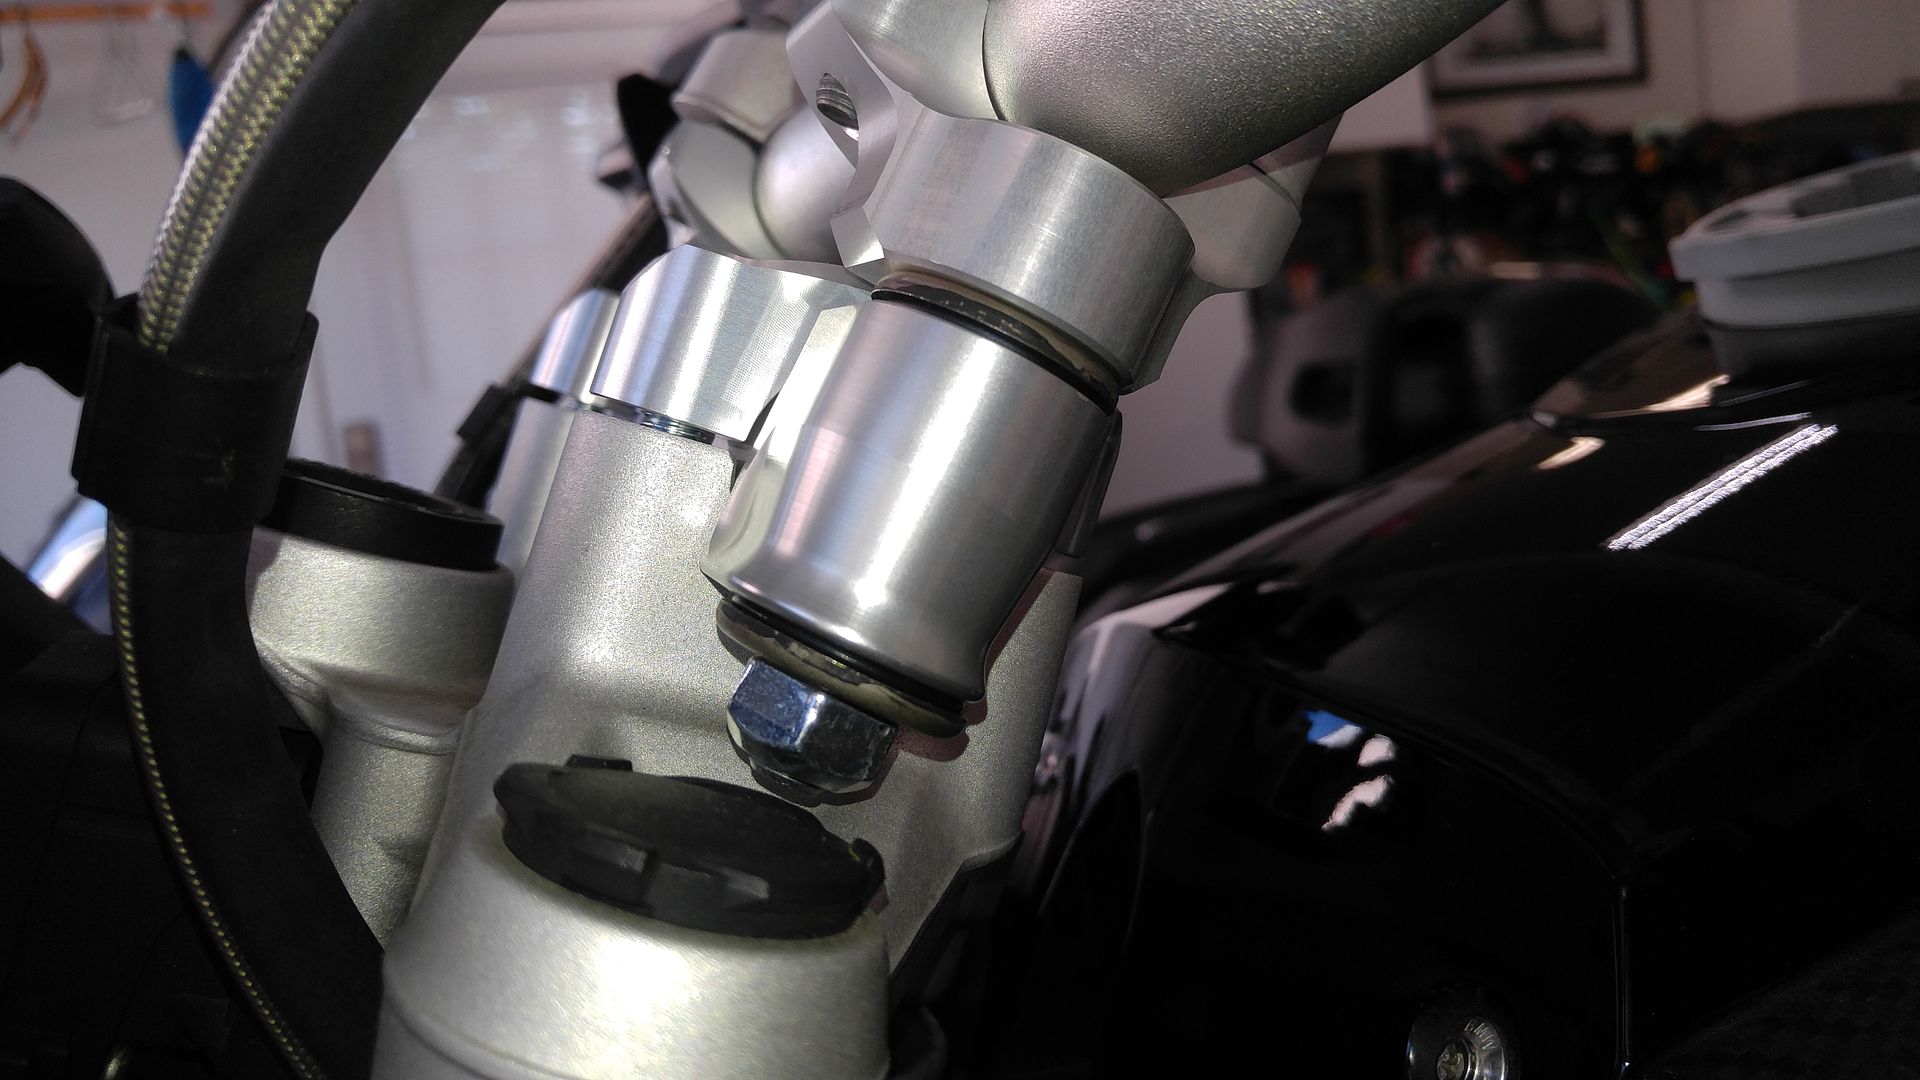
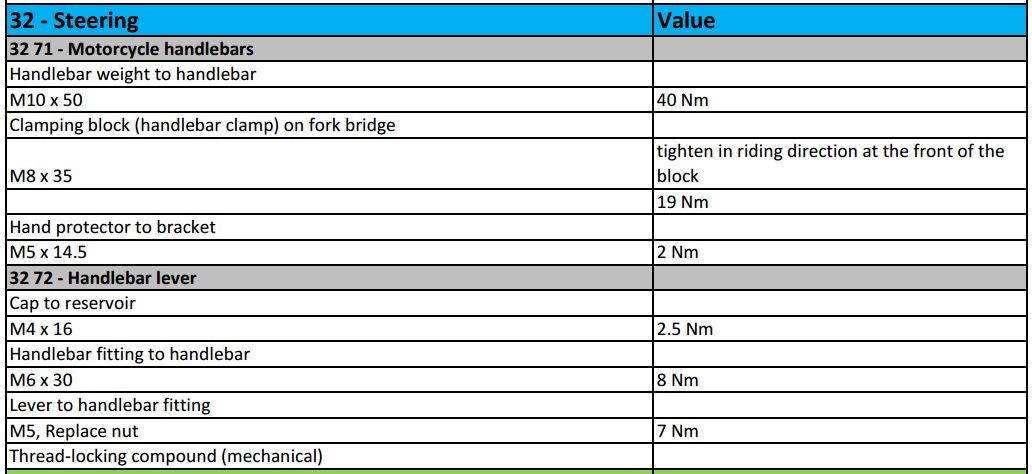
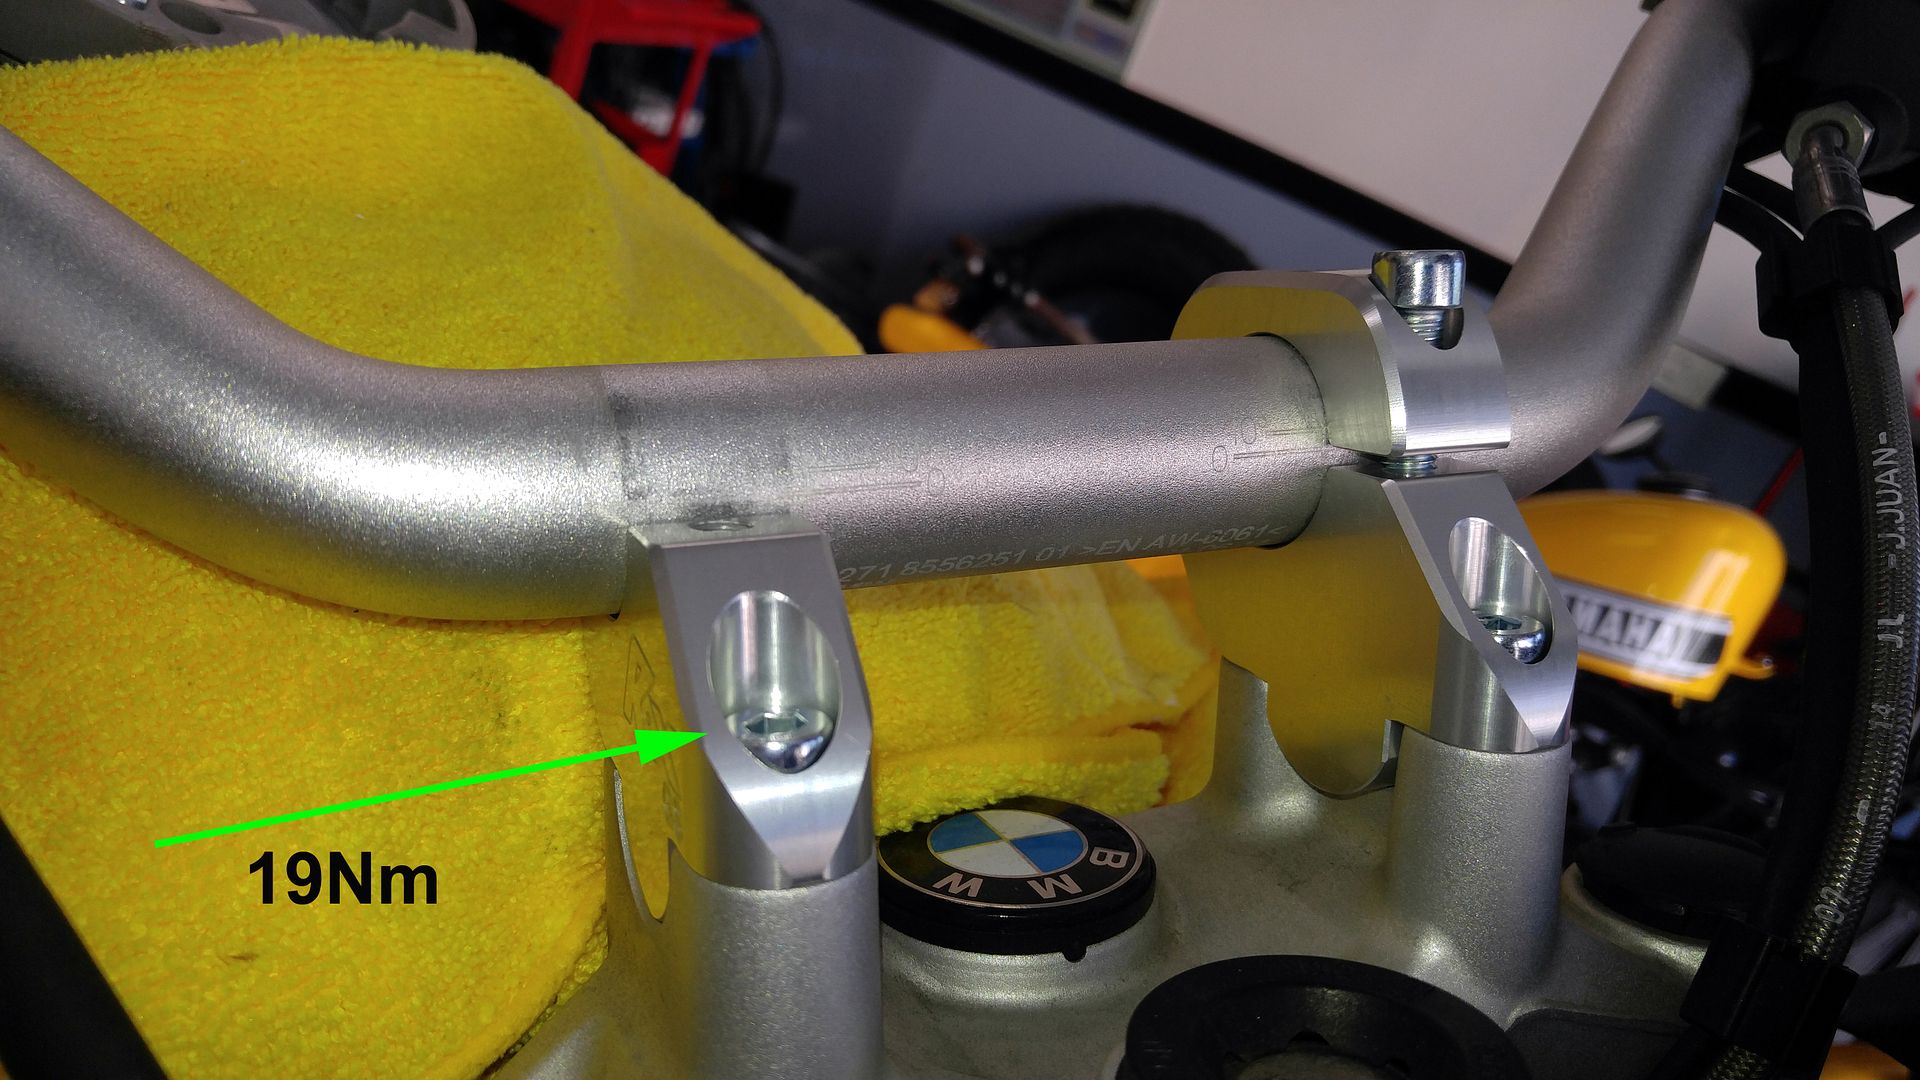
Install the new risers, and torque them down back to front at 19Nm. Then lift the bar into position and add a cap, lightly tightening the cap just enough to keep the bar from rotating. (Sorry I missed a shot of just the risers installed.)

11%201.5%20inch%20Fixed%20Riser.jpg

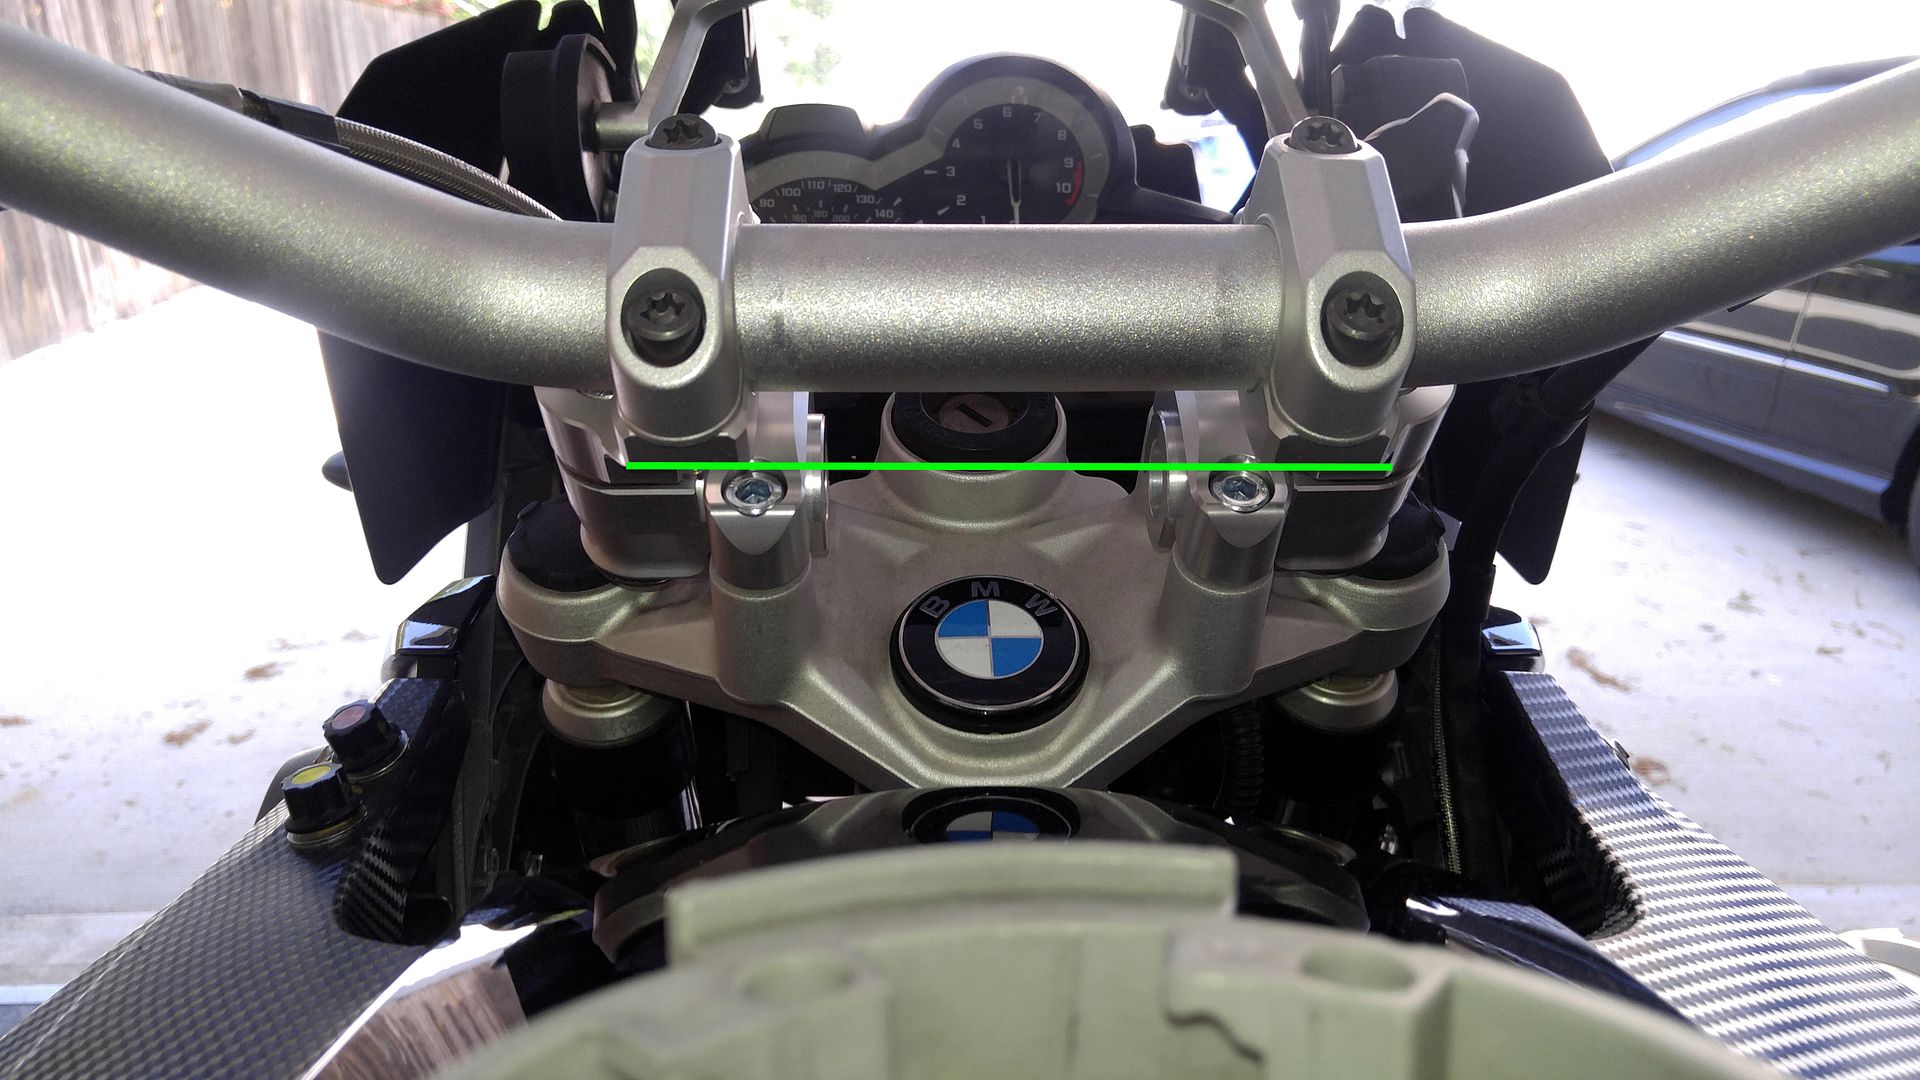
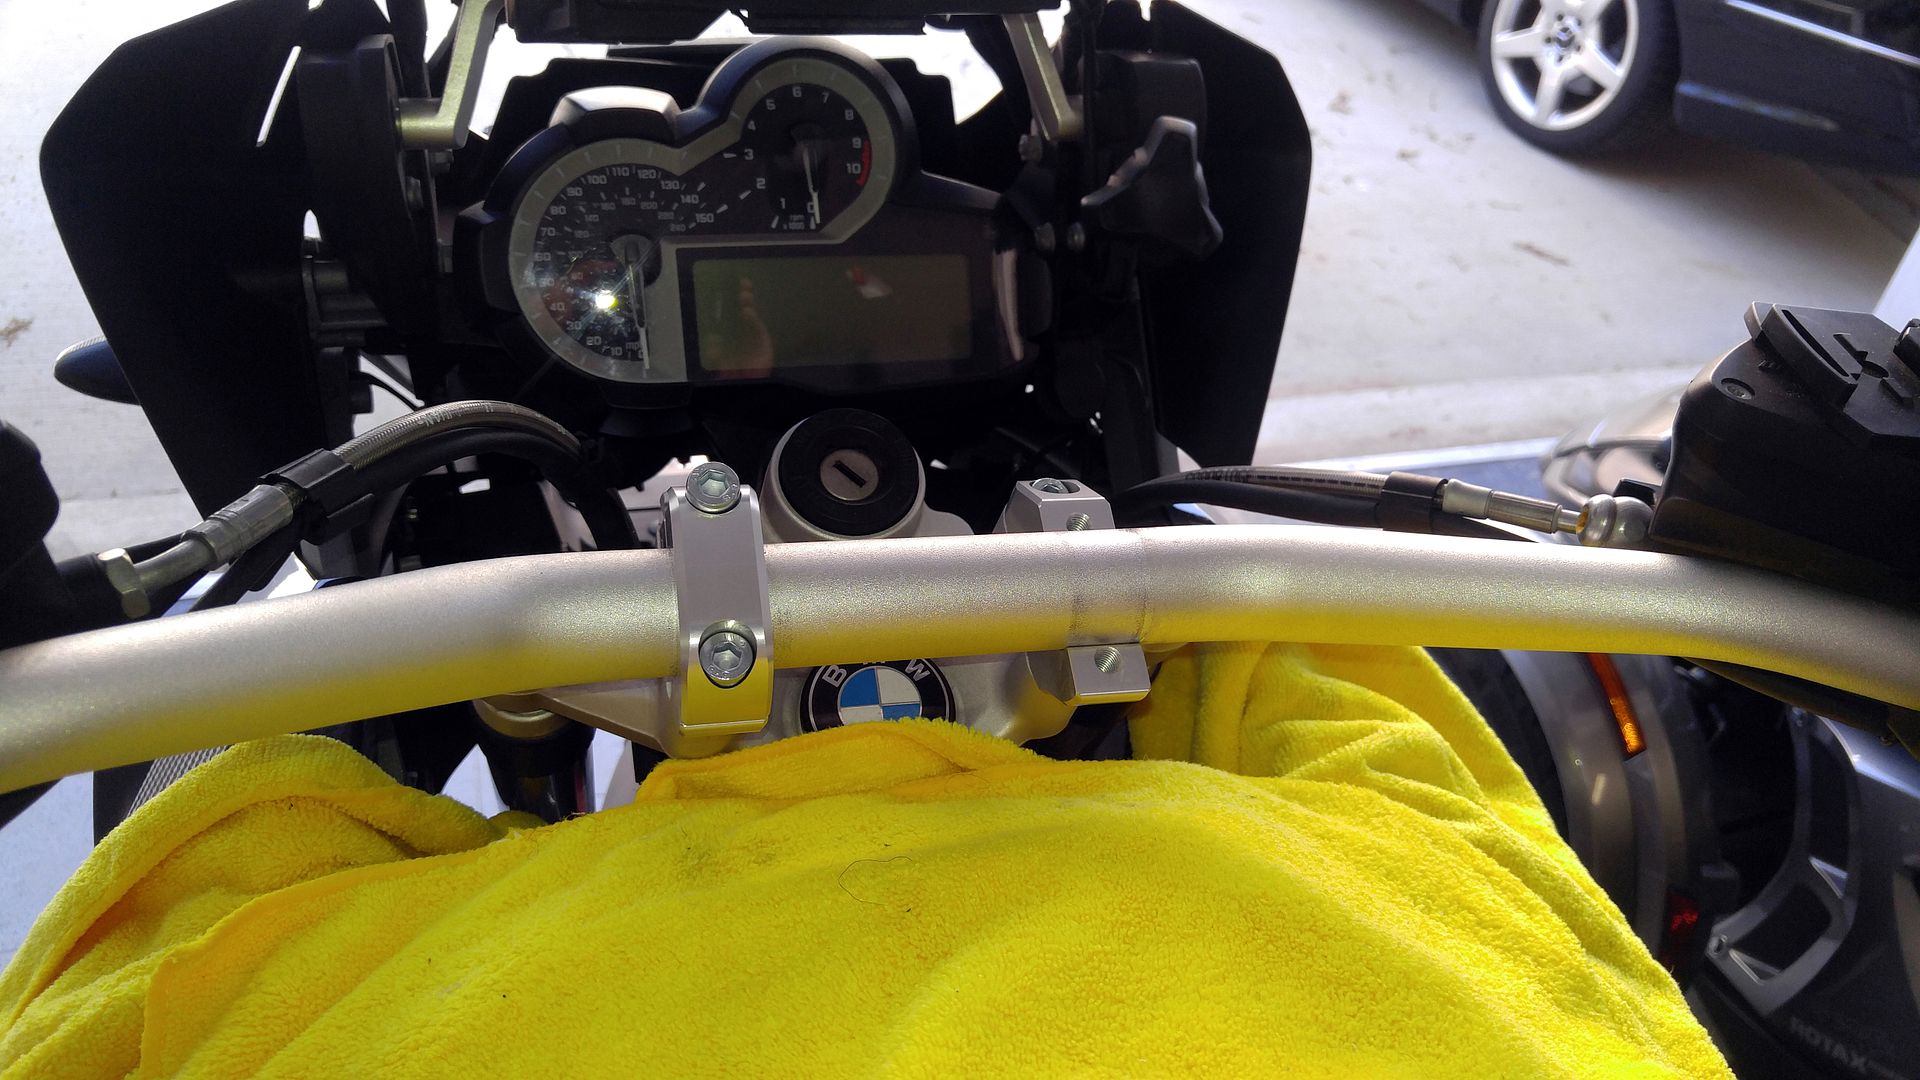
Check your alignment, both in angle, and ensuring the bar is centered.

12%201.5%20inch%20Fixed%20Riser.jpg

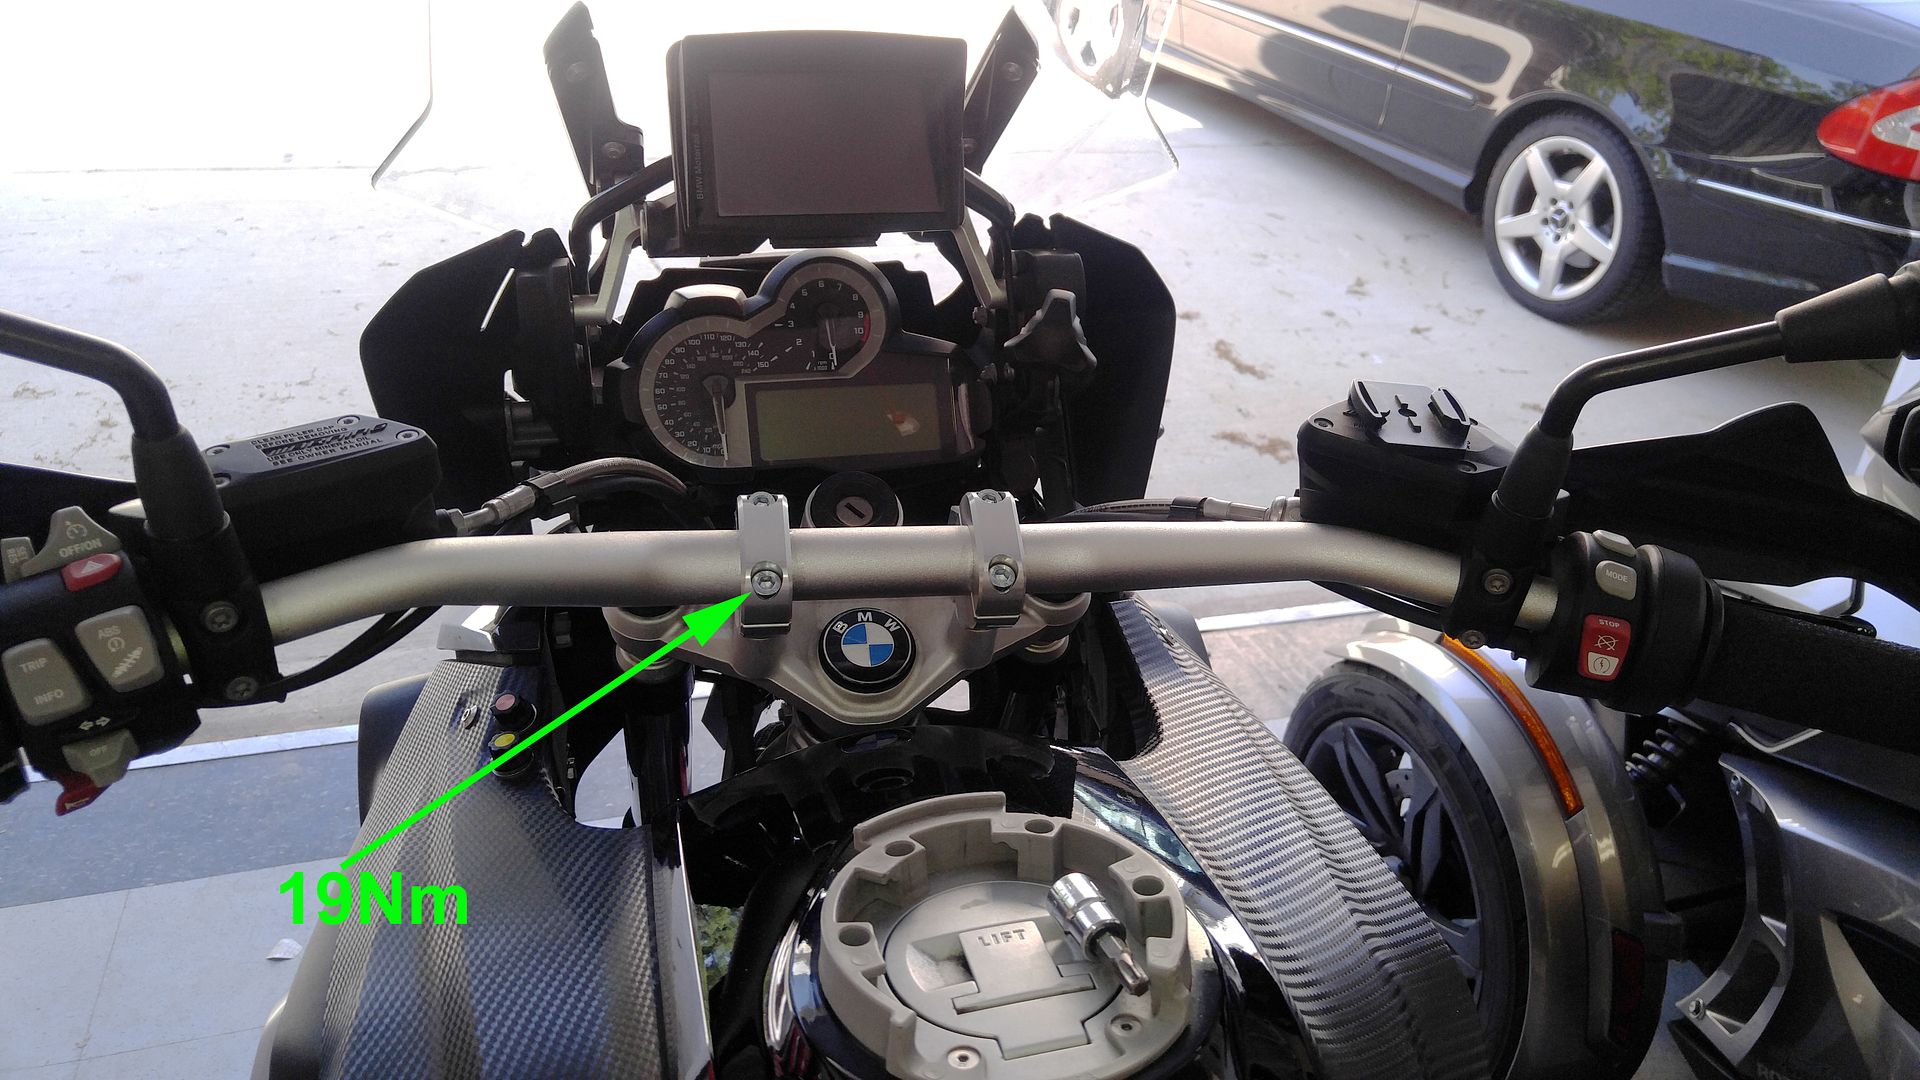
Install the other cap, and torque them down back to front at 19Nm.

13%201.5%20inch%20Fixed%20Riser.jpg


14%201.5%20inch%20Fixed%20Riser.jpg

15%201.5%20inch%20Fixed%20Riser.jpg

15a%201.5%20inch%20Fixed%20Riser.jpg

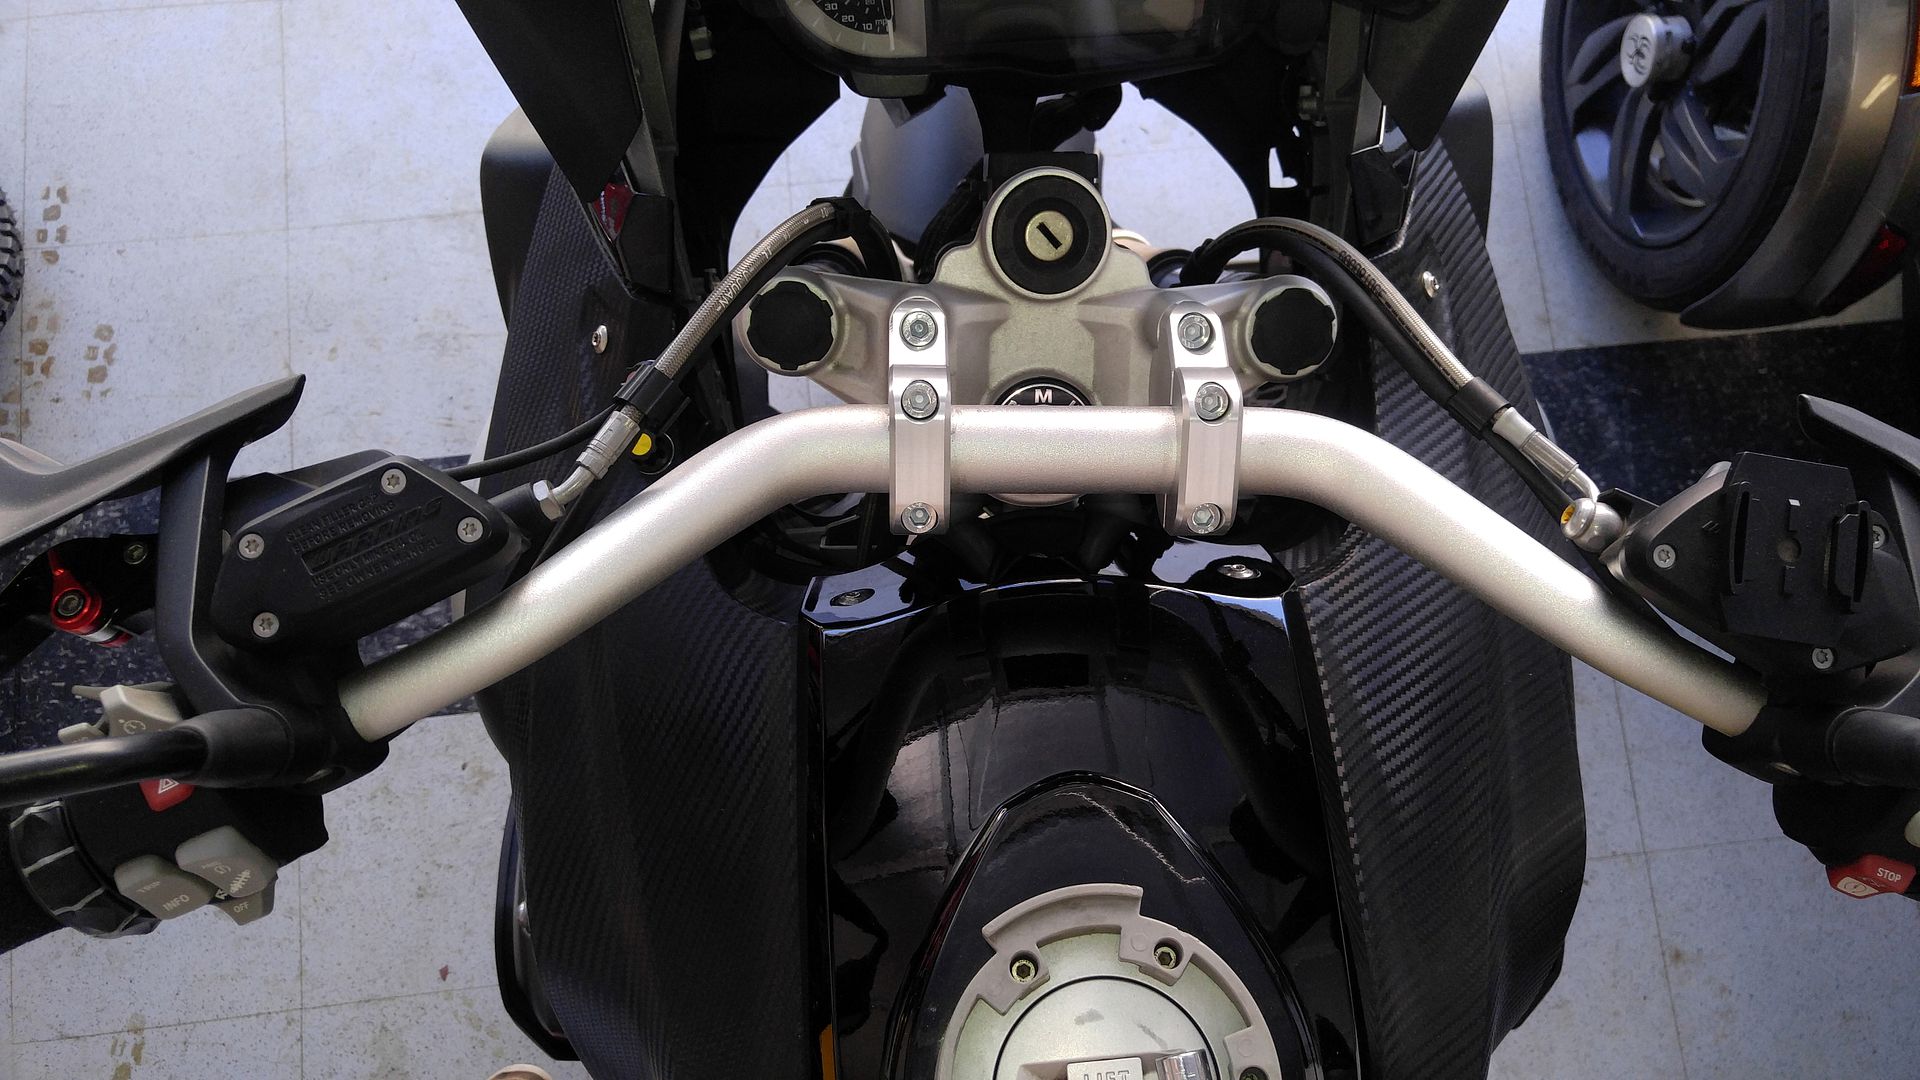
Check alignment and that they are at the angle that works for you.

15b%201.5%20inch%20Fixed%20Riser.jpg

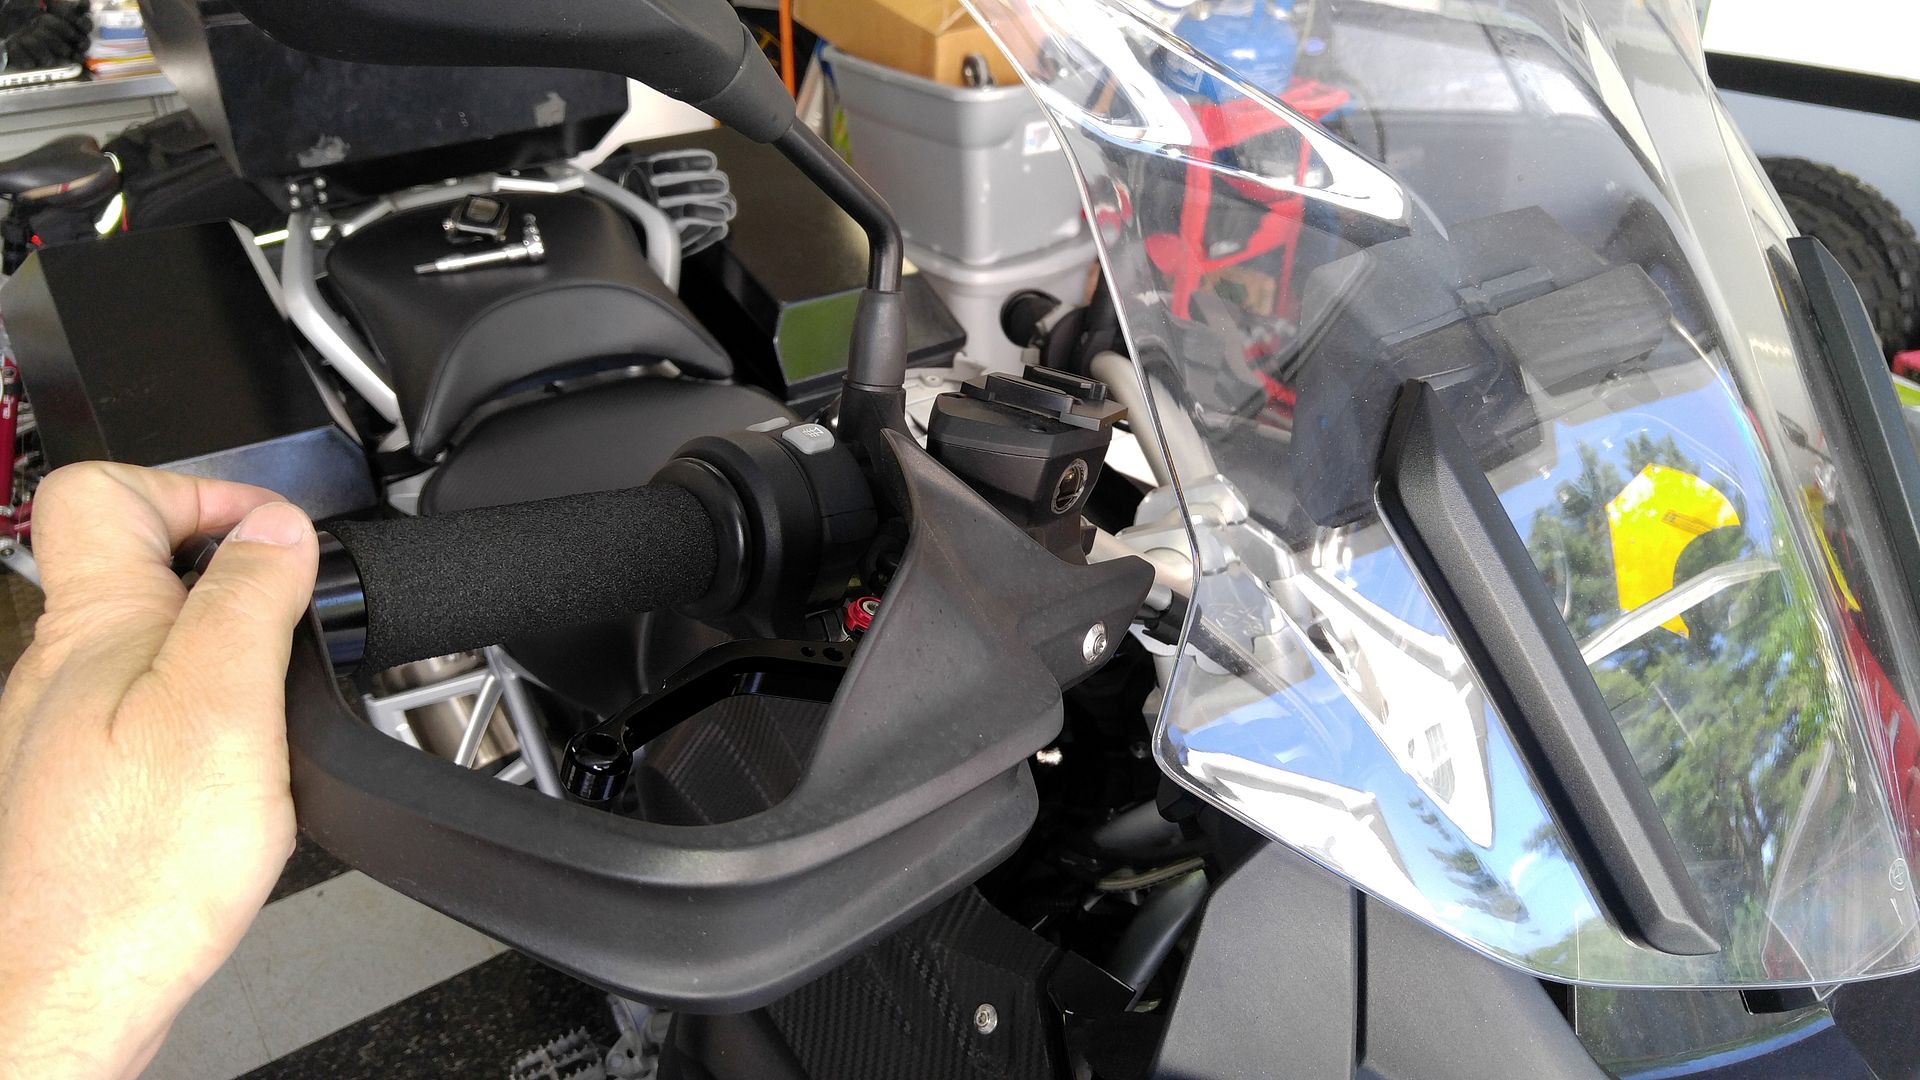
Note that there is no clearance issue with the screen.

Cables

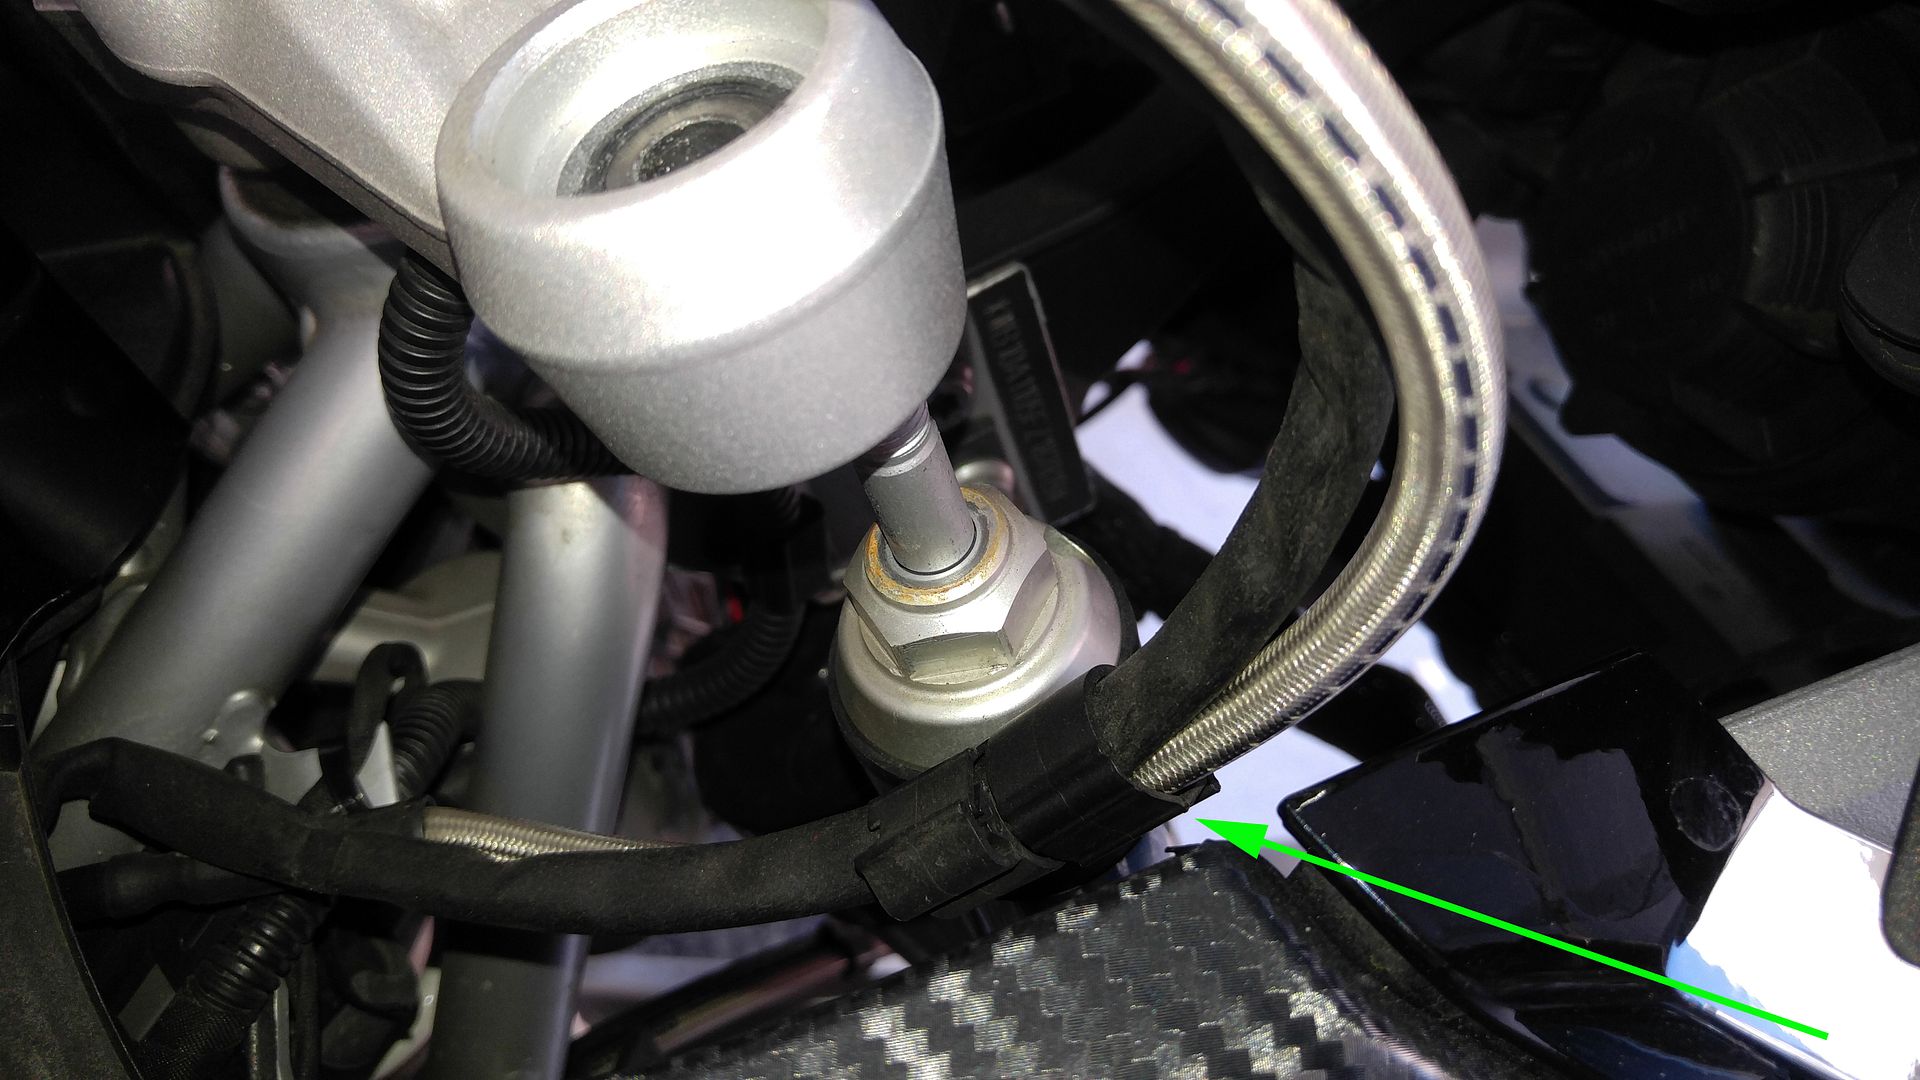
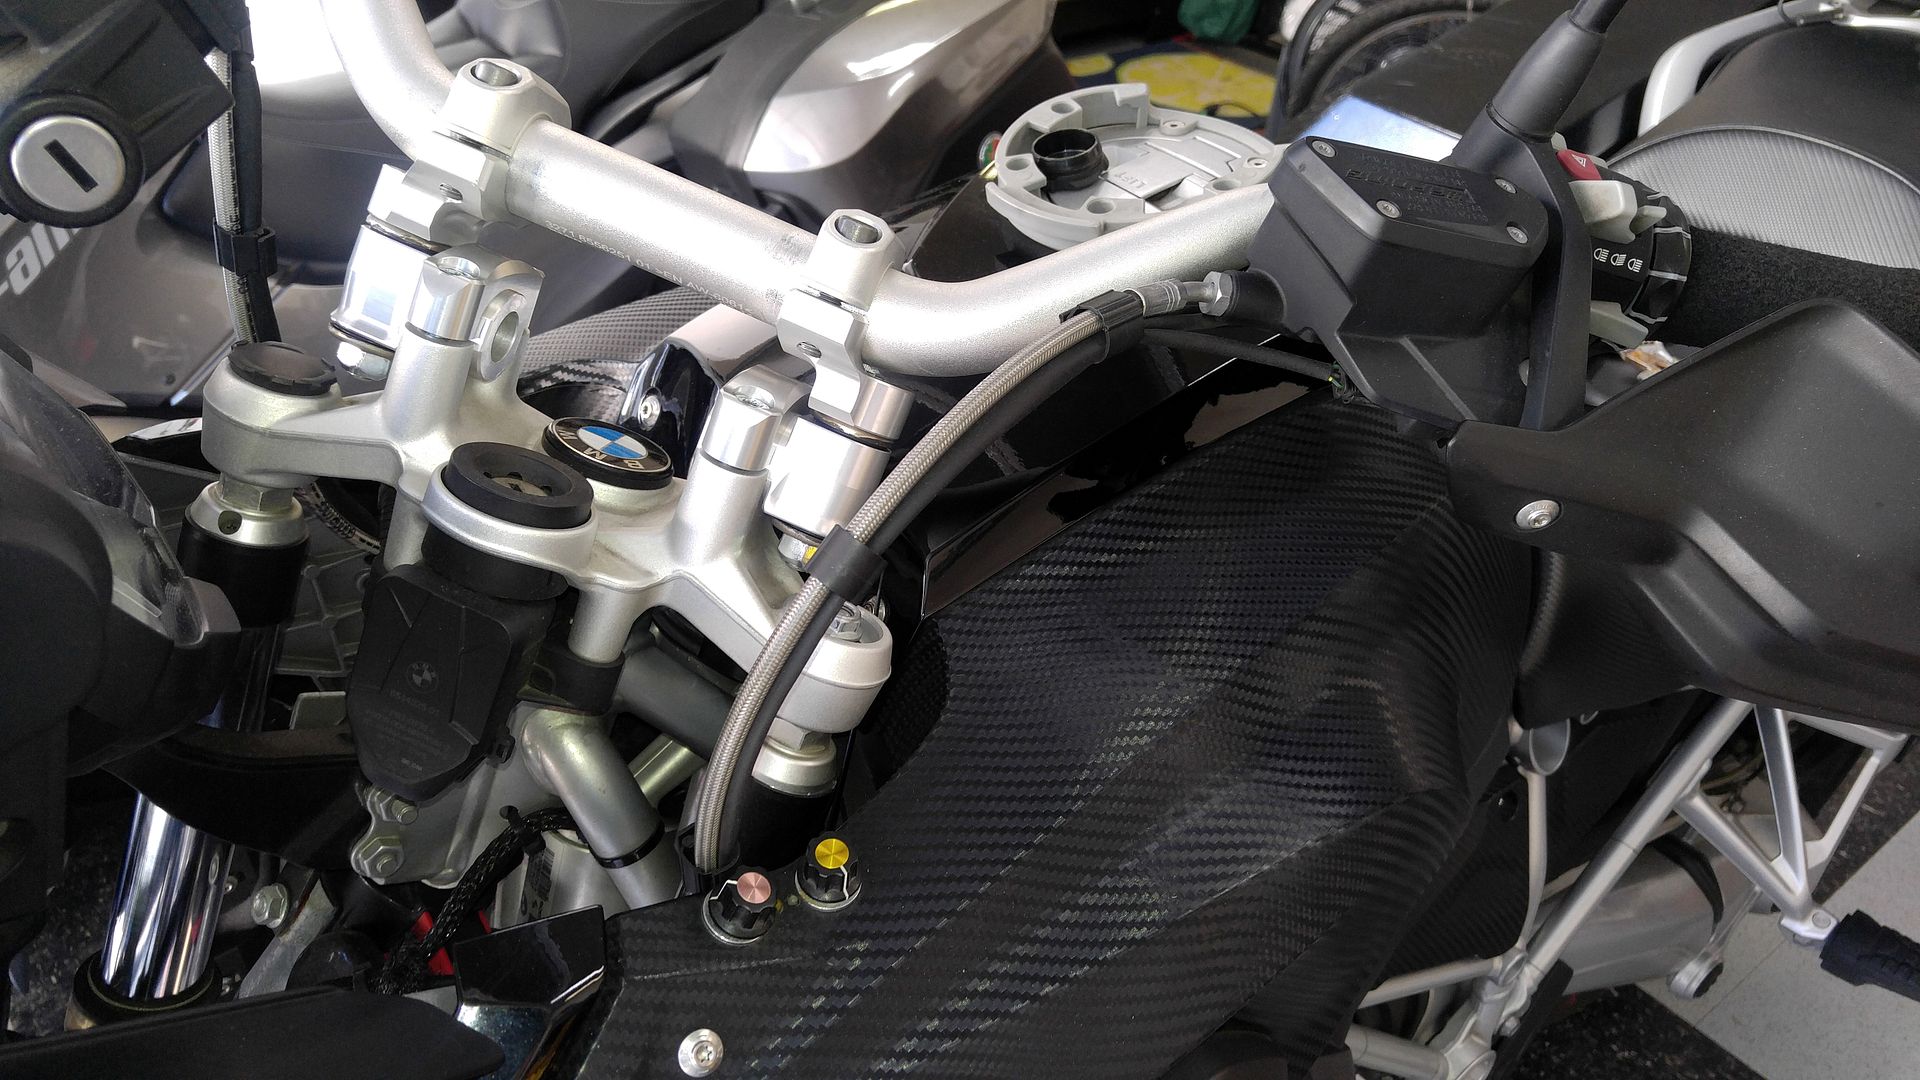
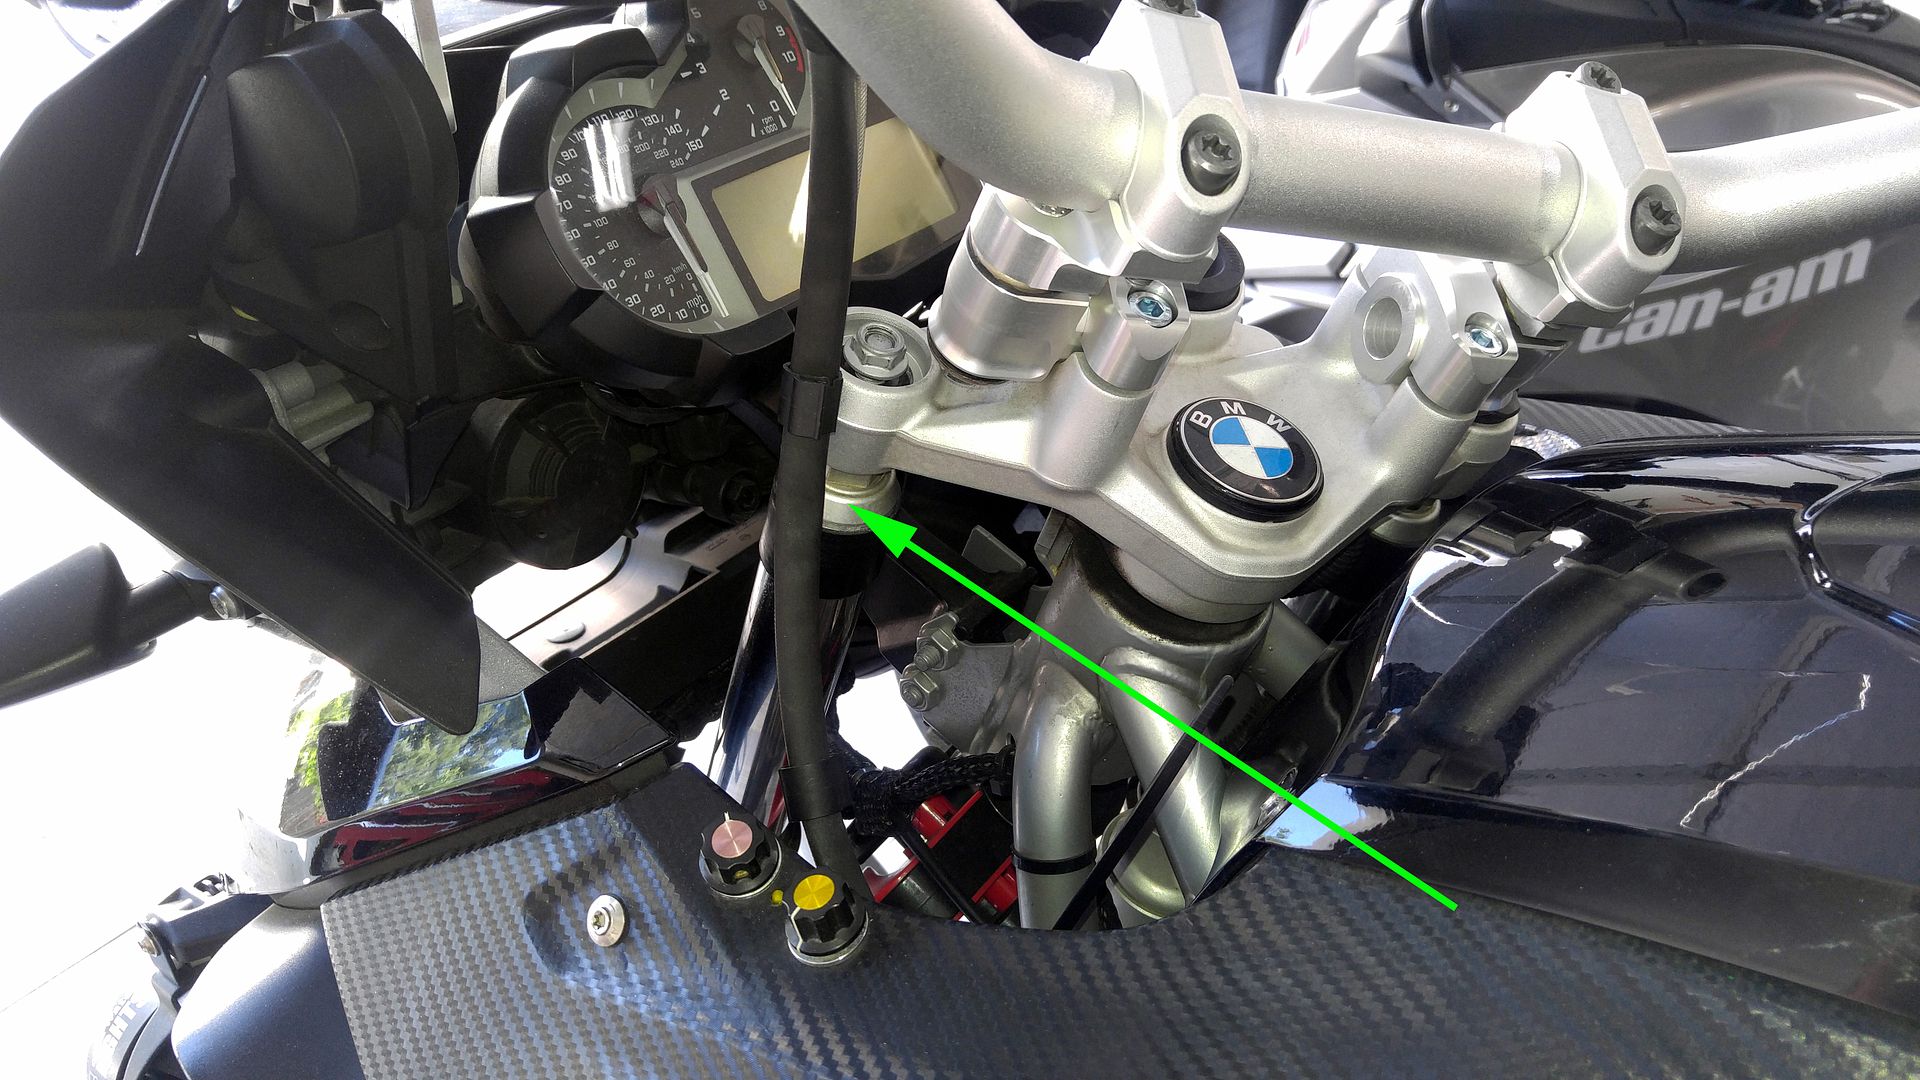
In some cases, with risers of taller heights, the brake and clutch side cables need to be moved so they are not stretched too tight. In this case they were OK, but slightly tight.

16%201.5%20inch%20Fixed%20Riser.jpg

17%201.5%20inch%20Fixed%20Riser.jpg

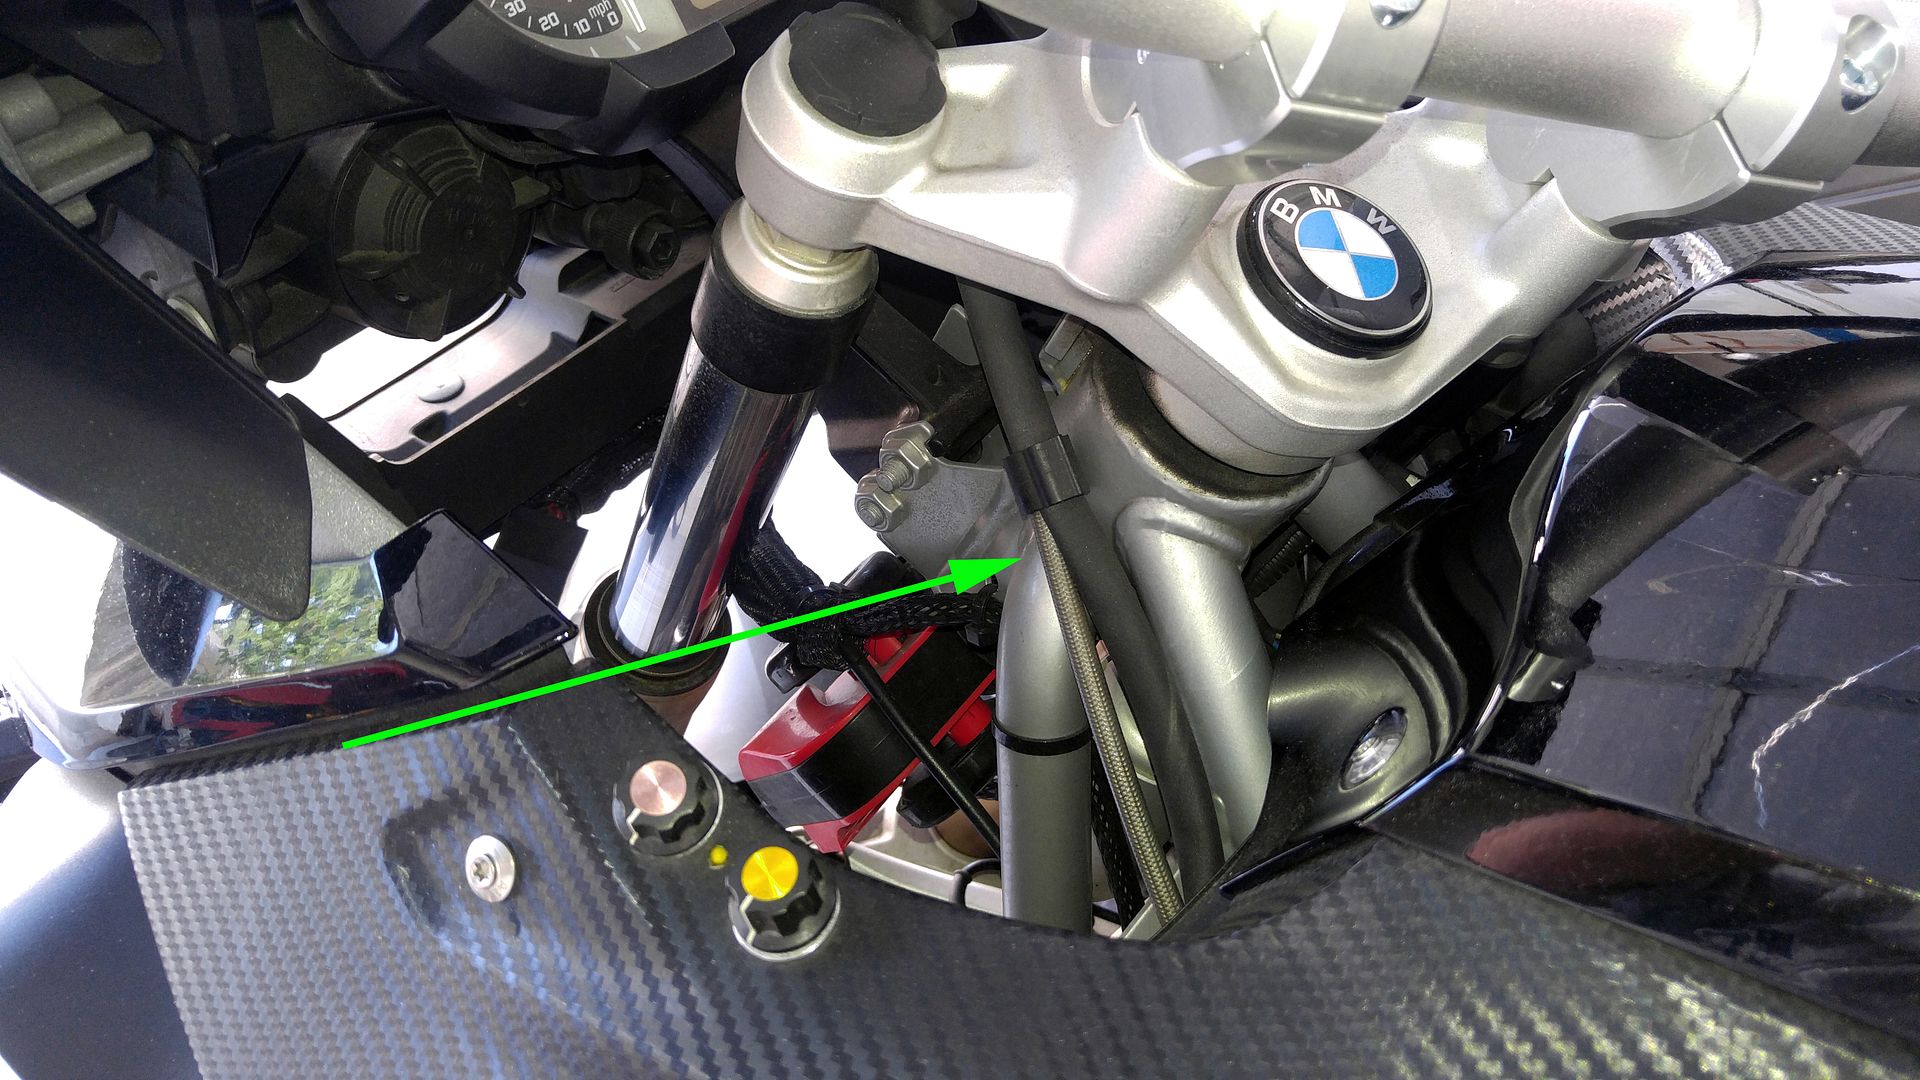
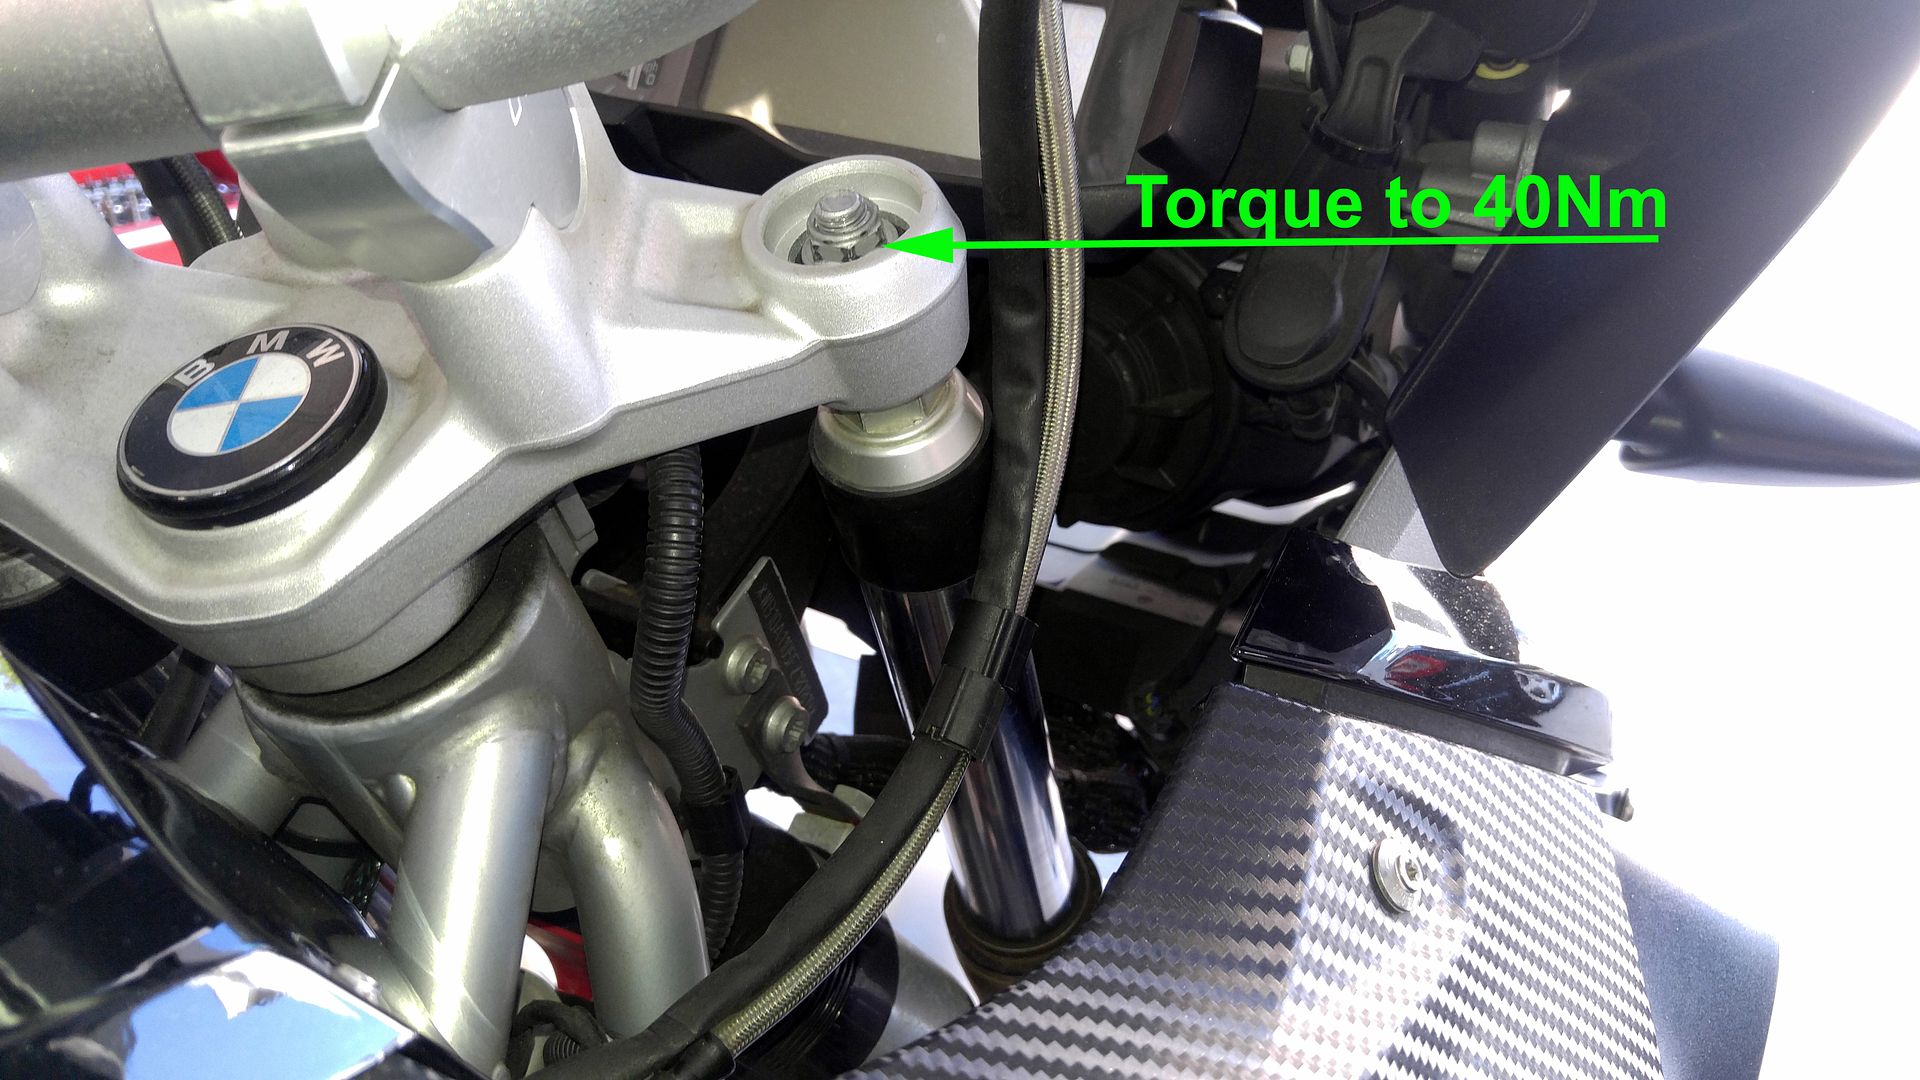
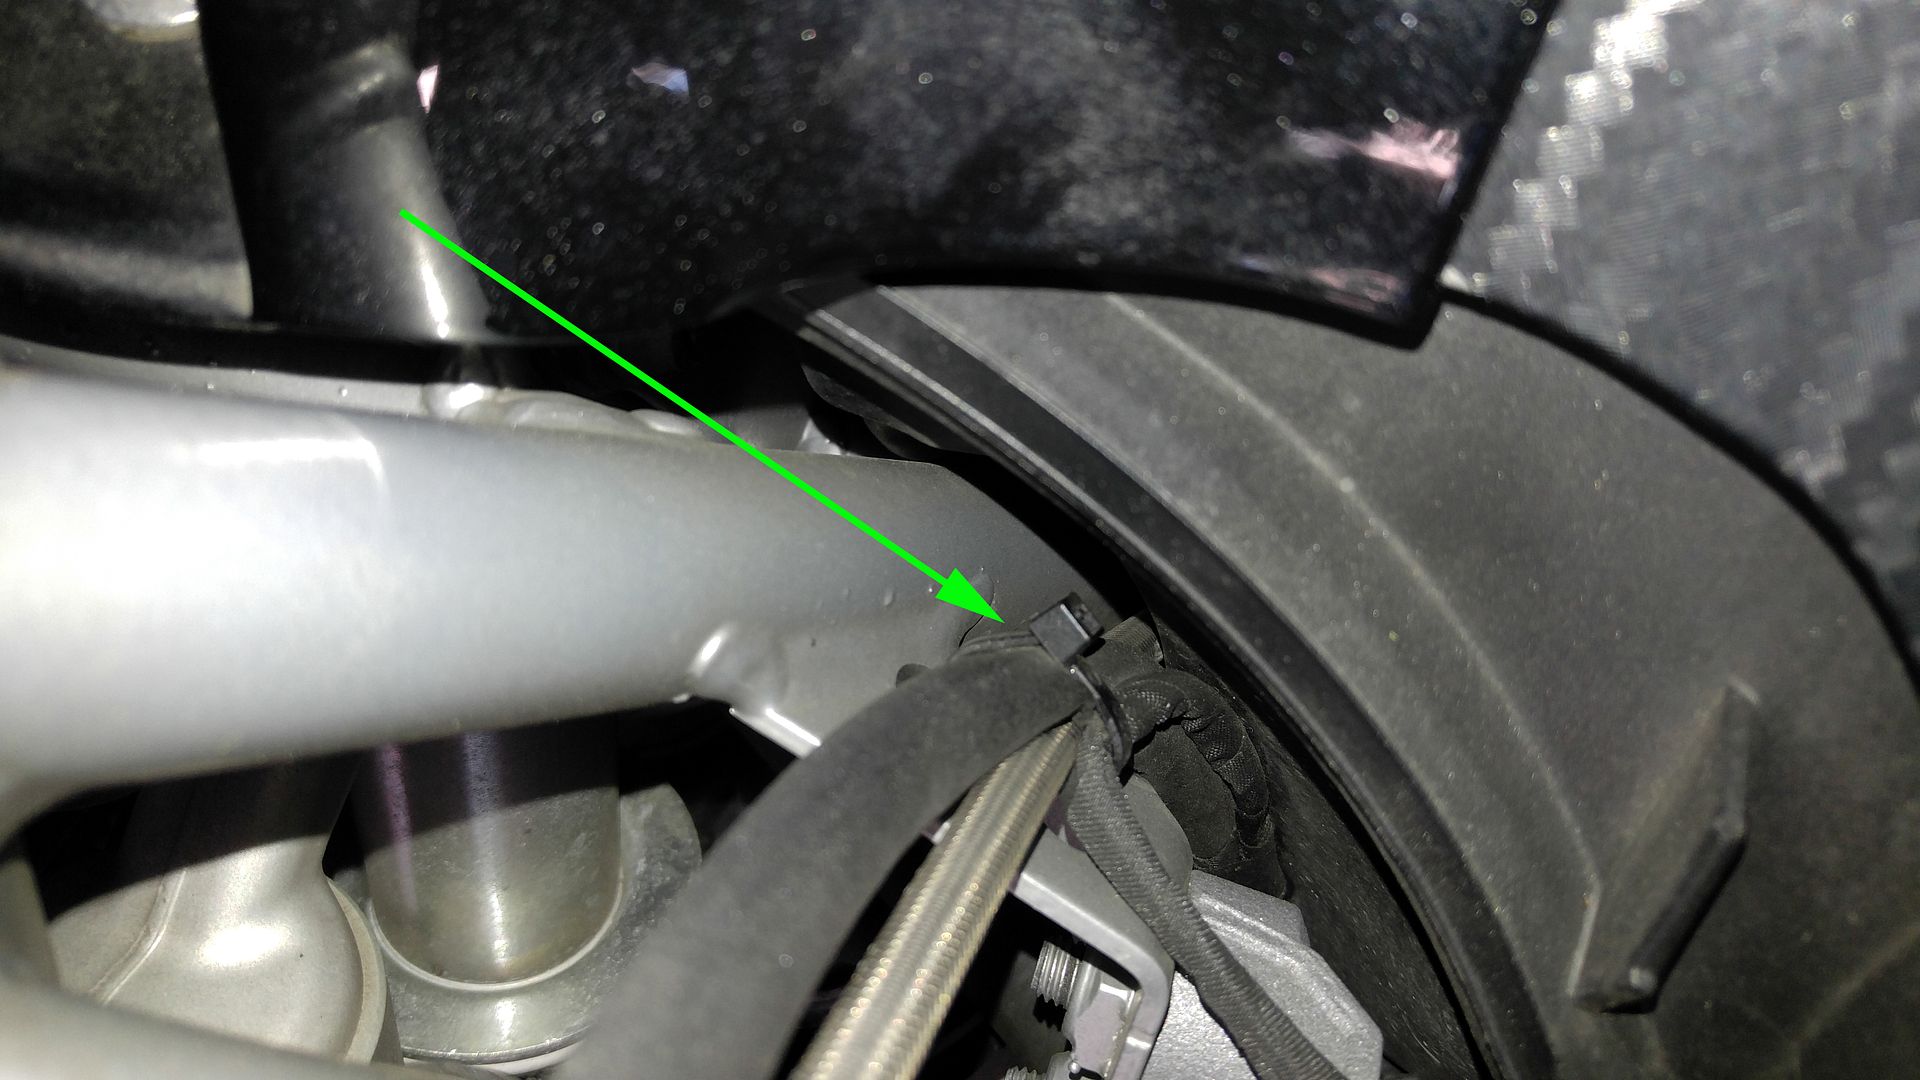
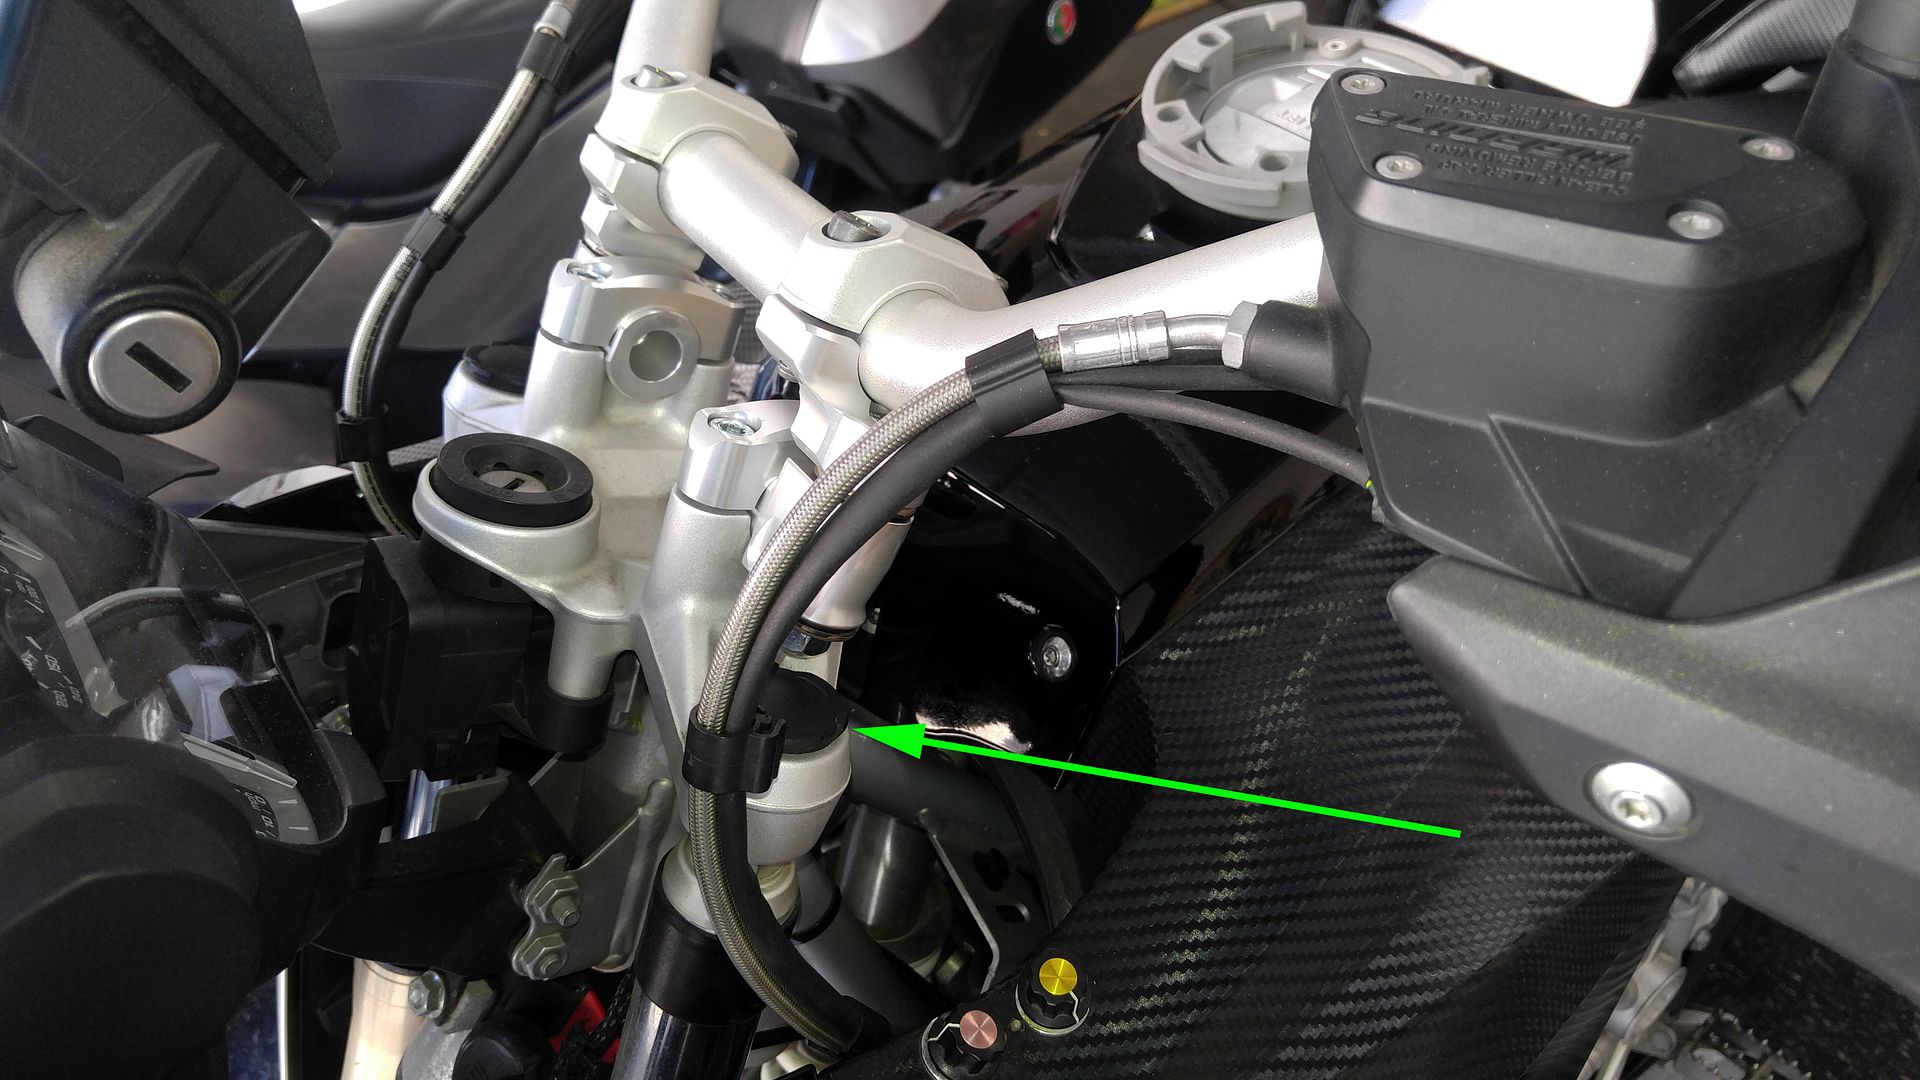
Here you can see that the brake cable is a bit tight. We are going to move it outside the fork tubes to reduce the tension on the brake line.

18%201.5%20inch%20Fixed%20Riser.jpg

19%201.5%20inch%20Fixed%20Riser.jpg

20%201.5%20inch%20Fixed%20Riser.jpg

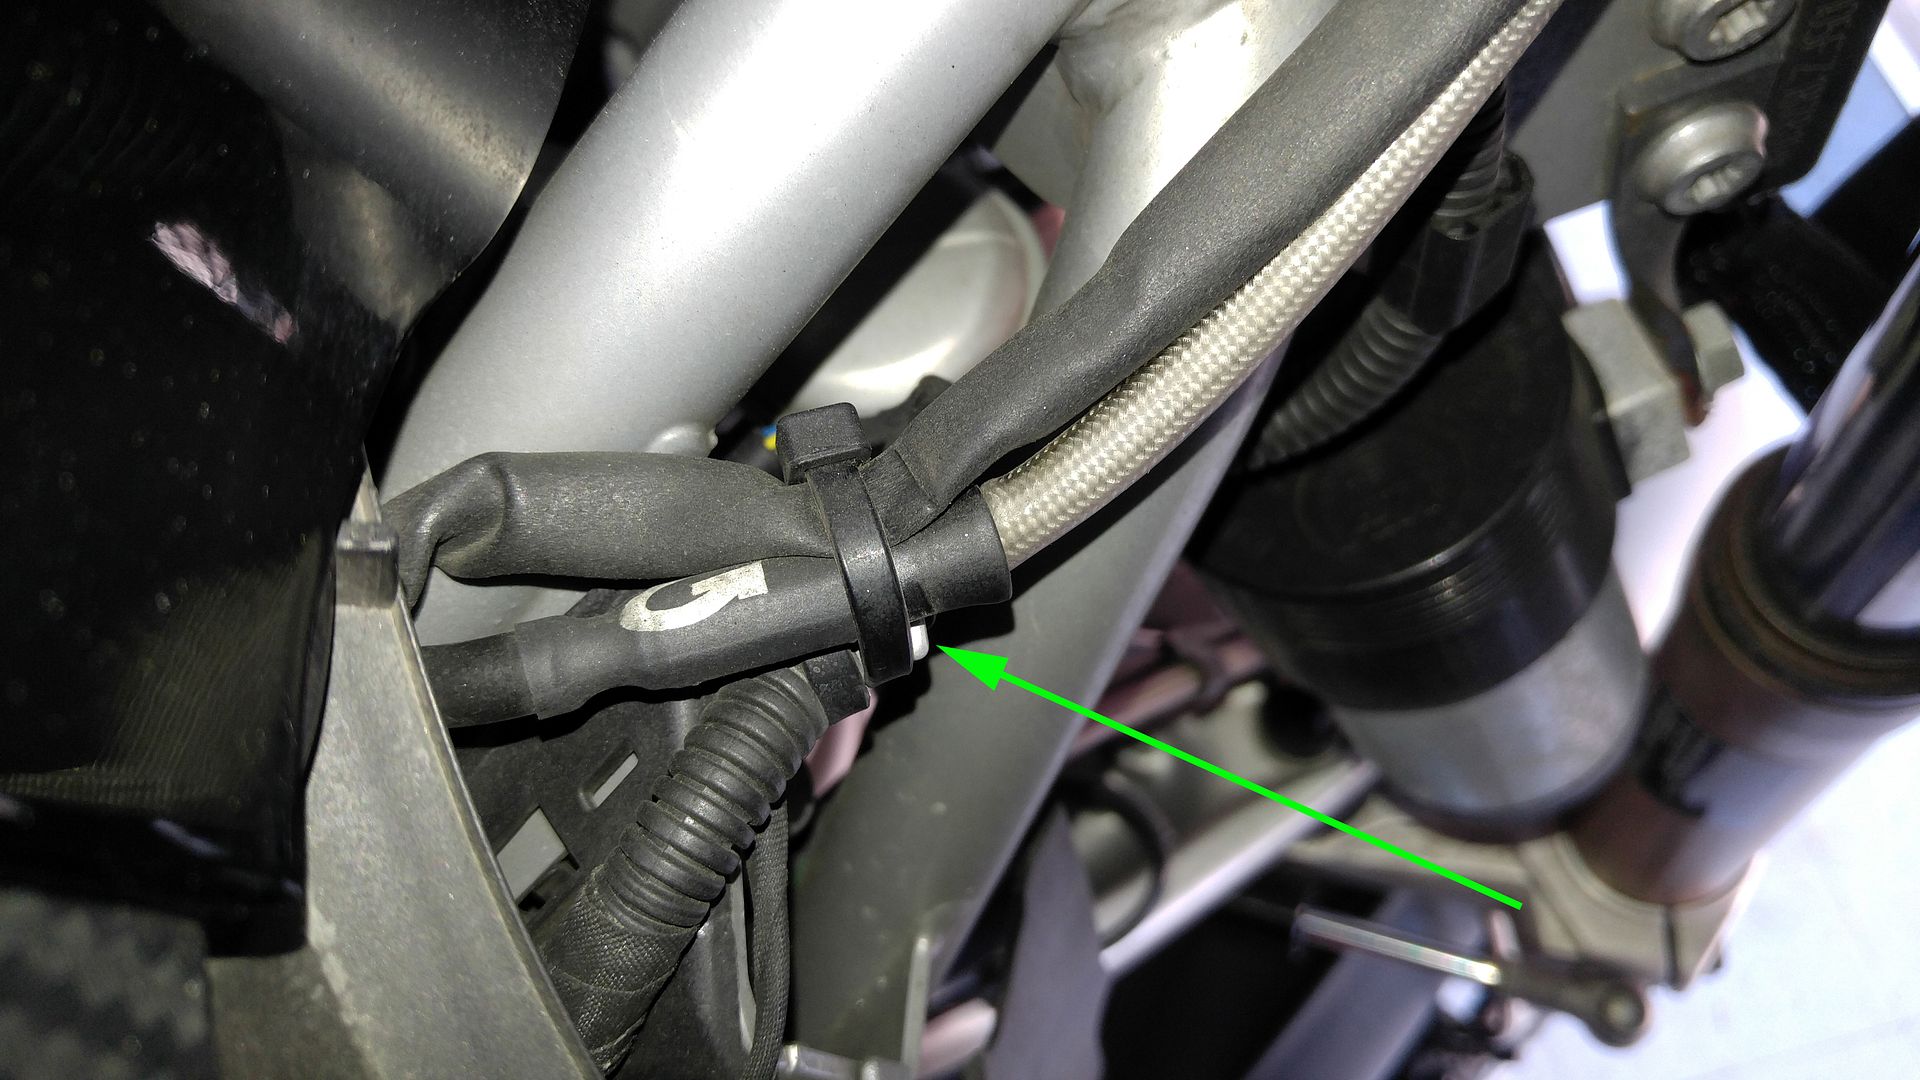
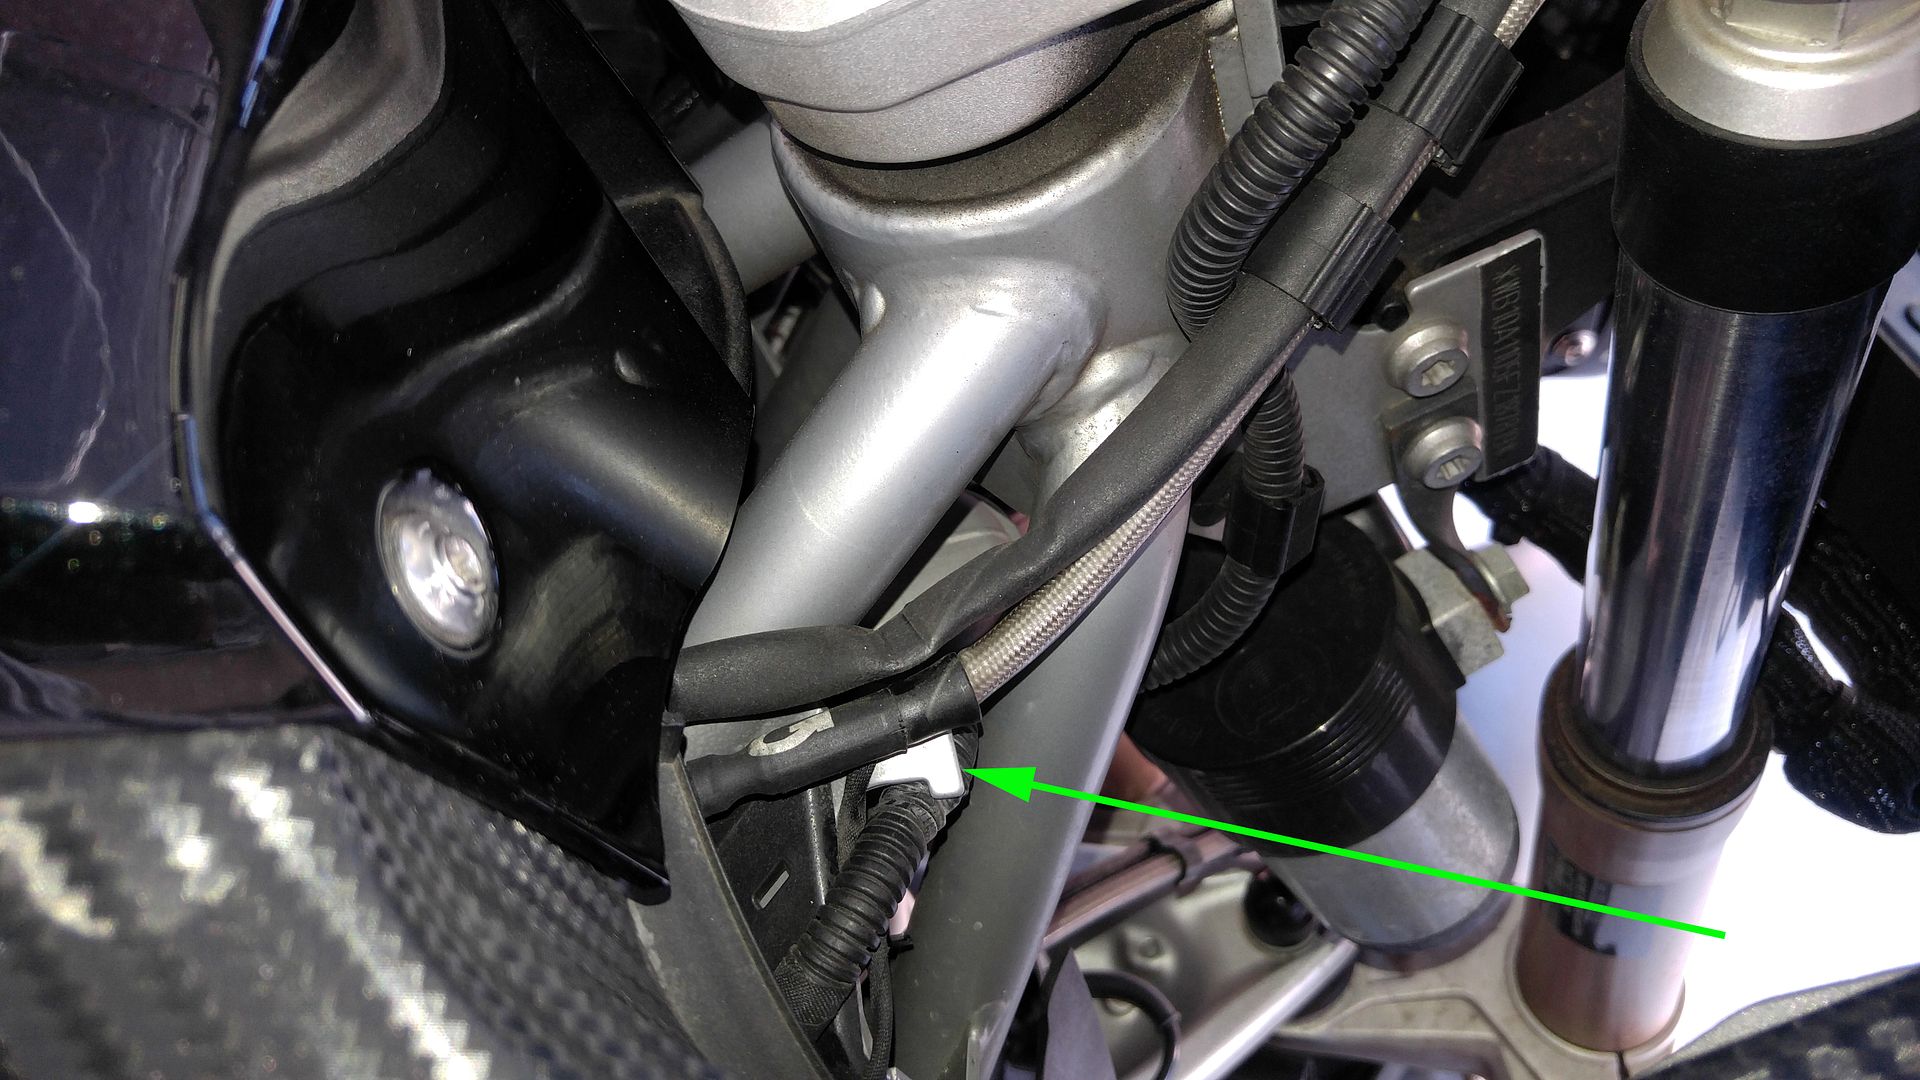
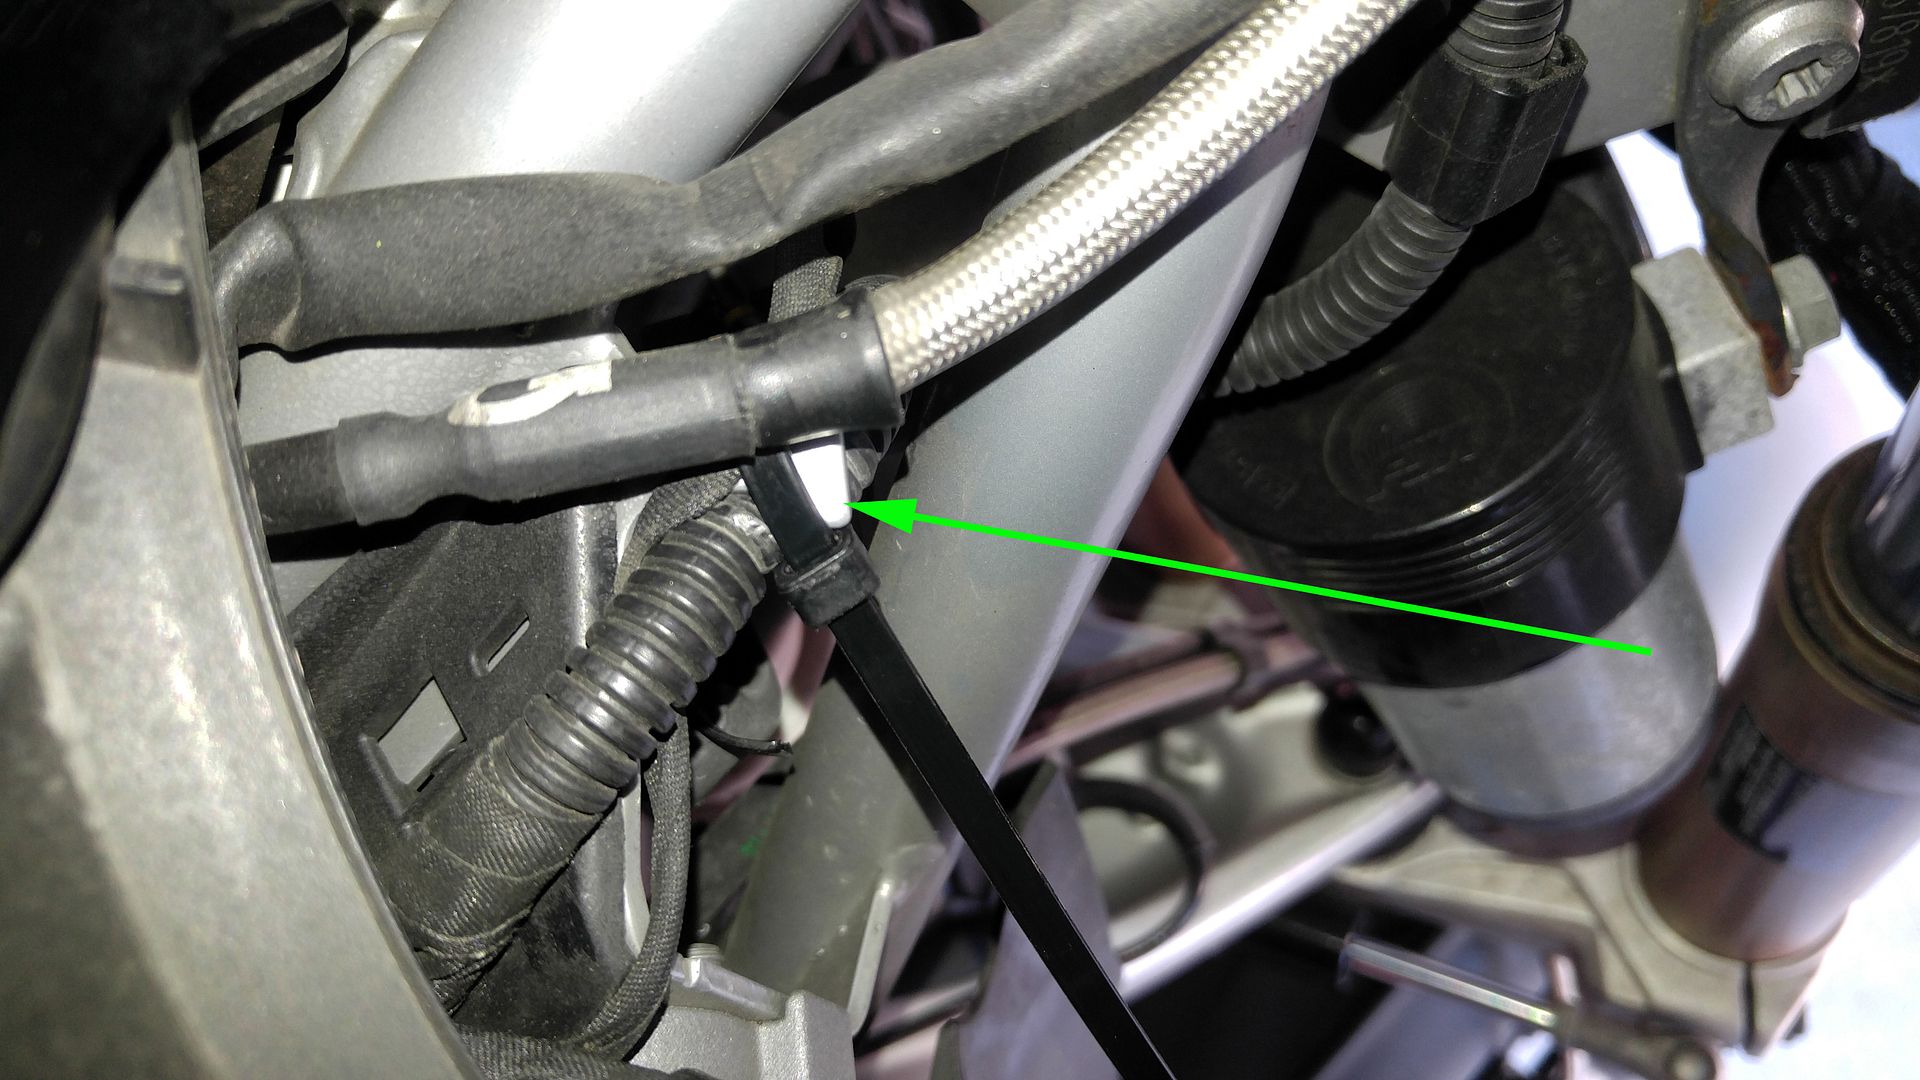
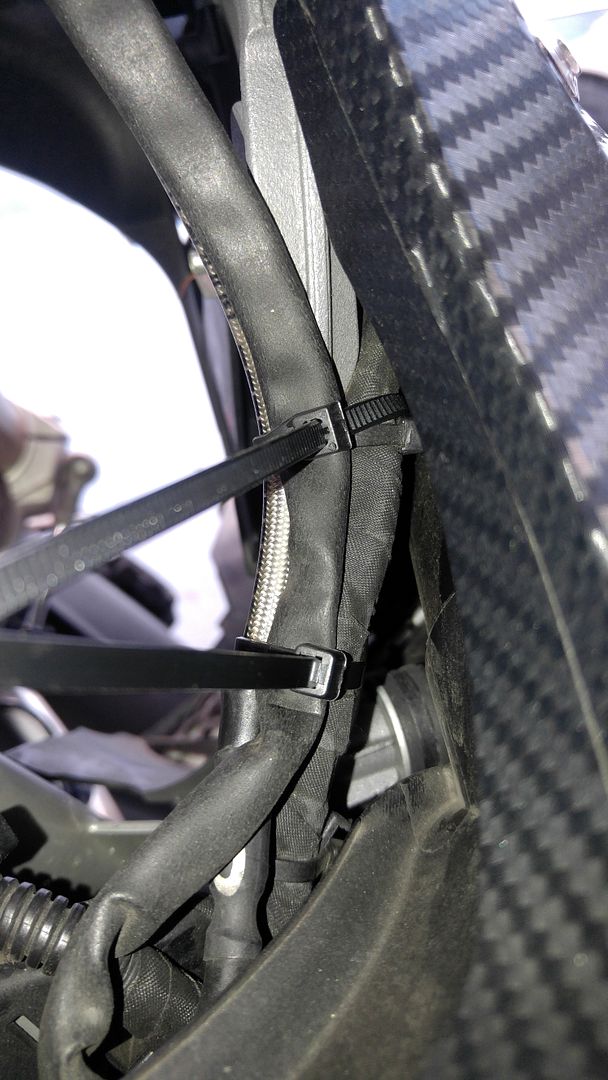
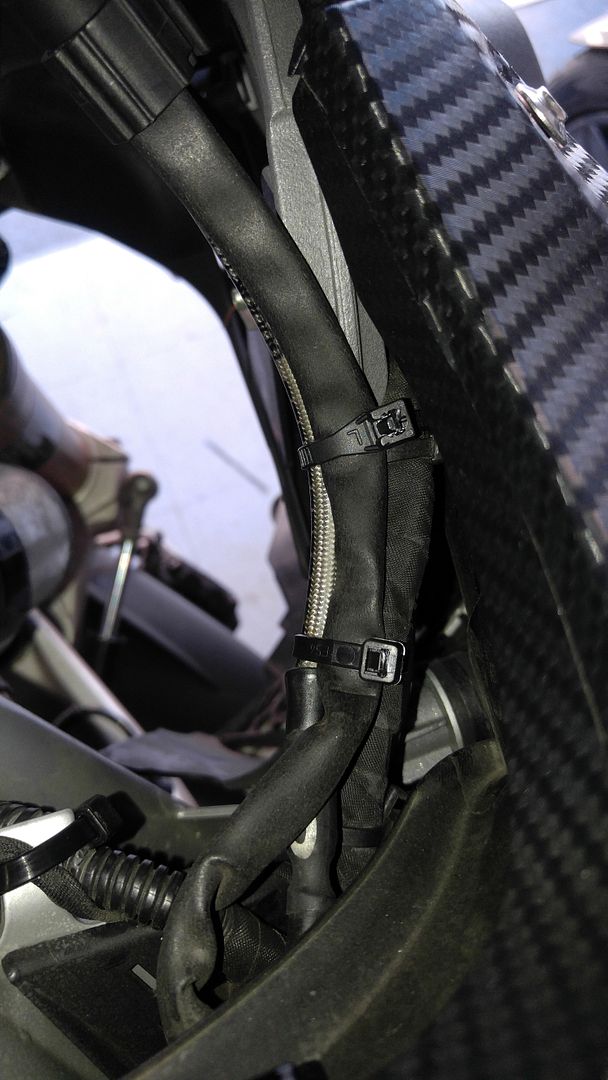
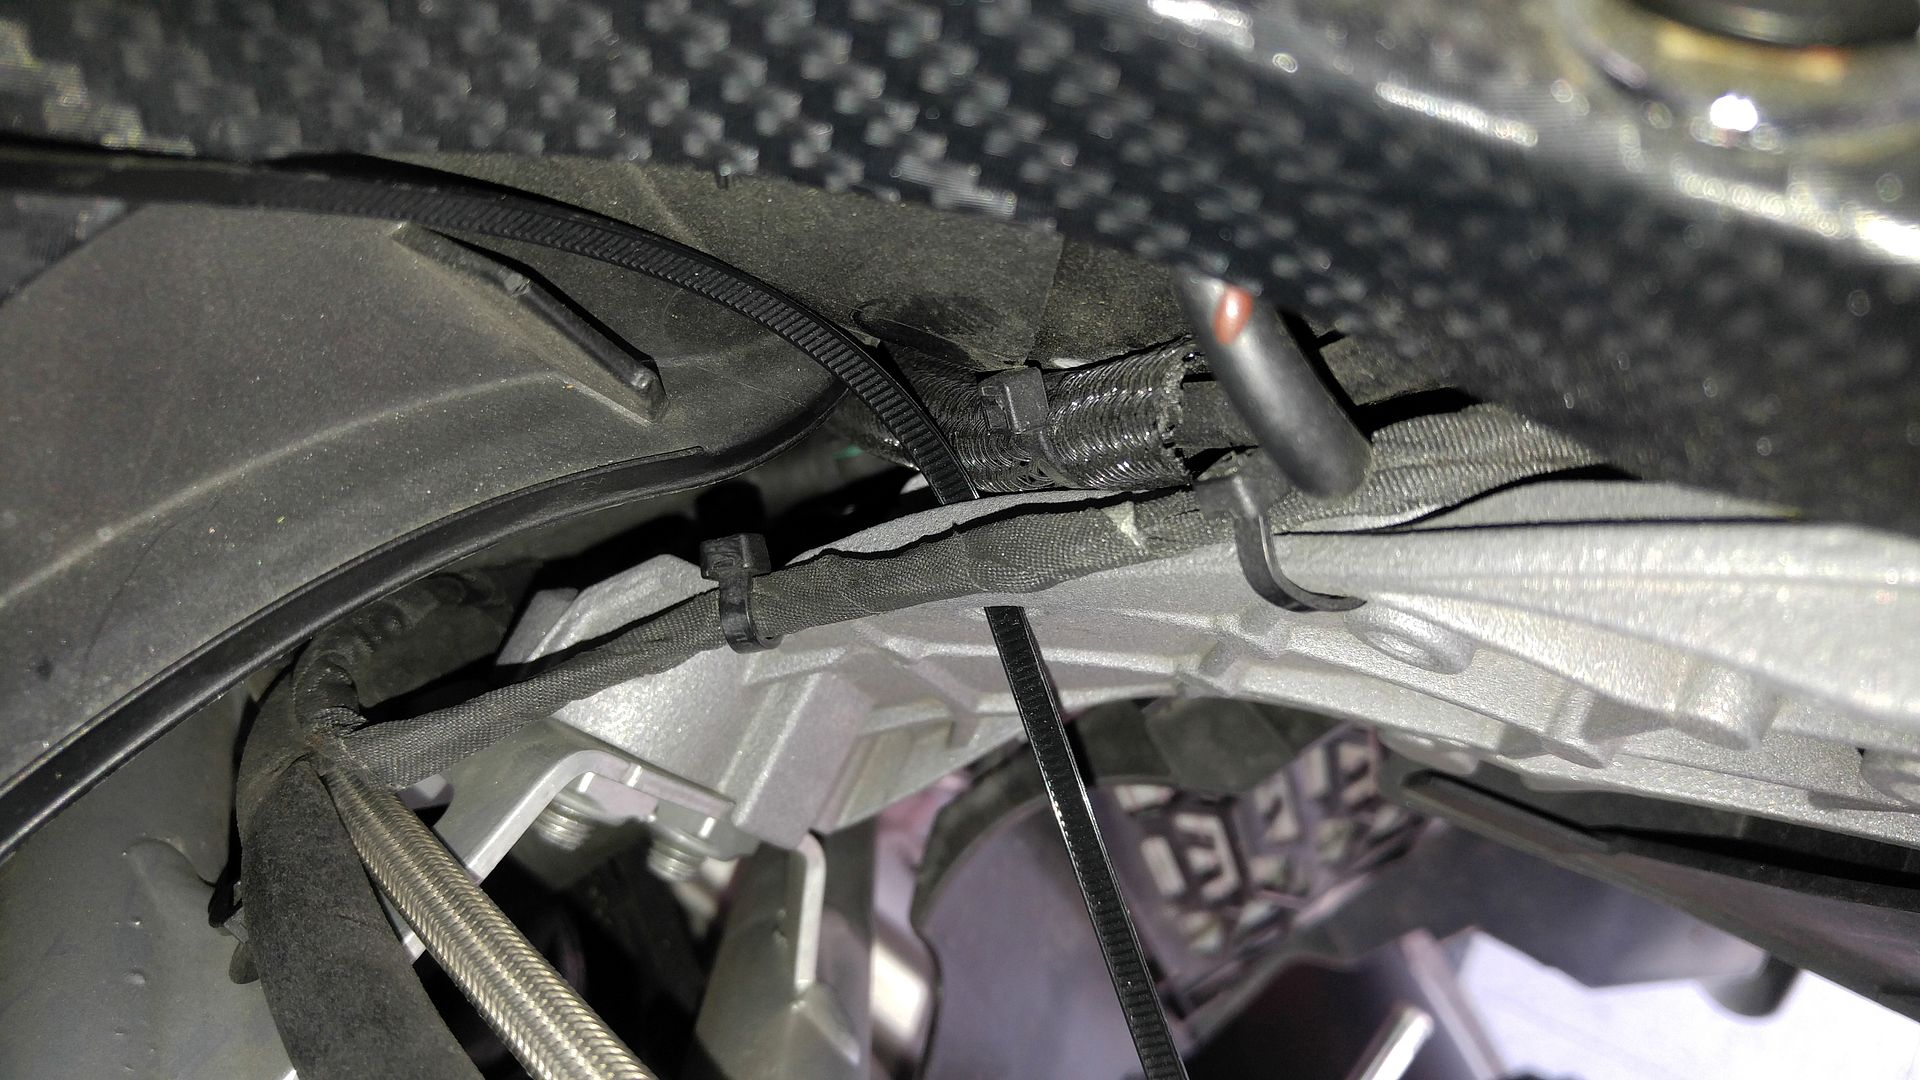
First, cut the cable tie on the brake line and wires to the grip. Then add a new cable tie leaving them out, but the other wires in.

(continued)
 
21%201.5%20inch%20Fixed%20Riser.jpg

22%201.5%20inch%20Fixed%20Riser.jpg

You can see here where it is tight, and needs to be moved.

31%20Cable%20Mover.jpg

This cap covers the fork tube bolt and nut.

32%20Cable%20Mover.jpg

33%20Cable%20Mover.jpg

Gently lever it off.

34%20Cable%20Move.jpg

Hold the fork with a 22mm wrench, or a thin Crescent wrench, and loosen/remove the nut with a 14mm socket.

35%20Cable%20Move.jpg

36%20Cable%20Move.jpg

Remove the nut. Don't worry, the fork tube will stay in place.

37%20Cable%20Move.jpg

38%20Cable%20Move.jpg

Now for the point, push down on the top of the fork tube until the bolt comes clear, then move the cables. The forks wont move dramatically if you push straight down.

39%20Cable%20Move.jpg

40%20Cable%20Move.jpg

Sometimes the fork will move a little. No big deal, just push it over into place. It will pop back up ready for the nut.

41%20Cable%20Move.jpg

42%20Cable%20Move.jpg

Install the nut and torque to 40Nm. Then press the cap back into place.

43%20Cable%20Move.jpg

44%20Cable%20Move.jpg

45%20Cable%20Move.jpg

46%20Cable%20Move.jpg

Now, push the cable against the side of the opening, locate the two spots to tie it in, and cable tie the cable and brake line to the side. Position them so that turning lock to lock there is minimal stress and rubbing. It may slightly rub on the inside of the opening, but it is harmless. If you like, some electrical tape over the cable and hose where it touches will prevent scratches.

(continued)
 
50%20Cable%20Move.jpg

47a%20Cable%20Move.jpg

Now for the clutch side, if needed. Lower the fork tube and move the cable and clutch line to outside the fork, just like the brake side.

47%20Cable%20Move.jpg

Cut the cable tie for the clutch line and wire harness here.


48%20Cable%20Move.jpg

49%20Cable%20Move.jpg

With the cable outside the fork tube, move it against the outside of the opening and locate the hole in the frame. Use a cable tie to secure it.

50%20Cable%20Move.jpg

51%20Cable%20Move.jpg

Now it clears in both directions.

Now for the ROX 2" Anti-Vibe Adjustable risers.
01%201.5%20inch%20Fixed%20Riser.jpg


Move the cables as described above. These will require it on both sides.

Remove the handlebars described above, make sure you have towels down to protect the paint.

60%20Adj%20Rox%20Risers.jpg

61%20Adj%20Rox%20Risers.jpg

Loosly install the supplied caps.

62%20Adj%20Rox%20Risers.jpg

Fit the risers into the caps and base leaving 1/8" sticking out.

03%201.5%20inch%20Fixed%20Riser.jpg

Lightly snug the caps to keep them in place.

63%20Adj%20Rox%20Risers.jpg

Lift the bars into position and install the factory caps and bolts, lightly snug them. Align the risers and snug the riser caps.

64%20Adj%20Rox%20Risers.jpg

The tricky part. Make sure the risers are evenly aligned, and in the desired location, then snug the riser caps to hold them firmly. Then rotate the bars to the desired position and snug them to torque of 19Nm, beck first, then front. . Make sure that the riser clamps are all tight enough to hold, but loose enough to get everything aligned. It is fiddley.

(continued)
 
65%20Adj%20Rox%20Risers.jpg

66%20Adj%20Rox%20Risers.jpg

Once aligned, see which side of the riser caps are most covered, rotate the risers just enough to tighten those as much as possible, while still leaving them loose enough to pull the risers back into position. Then torque them to 19Nm, or very snug. Despite not being able to torque both to 19Nm, the risers will not move.

65%20Adj%20Rox%20Risers.jpg

66%20Adj%20Rox%20Risers.jpg

66a%20Adj%20Rox%20Risers.jpg

67%20Adj%20Rox%20Risers.jpg

69%20Adj%20Rox%20Risers.jpg

Take a ride, adjust as necessary. Just make sure you are always aligned.

Riser%20Torques.jpg

Torque values.

I hope you found this useful!

Jim :brow
 
Your thoughts?

Hey Jim, thanks for the thorough writeup! I'm about to pull the trigger on one of the two Rox risers in your post, but am uncertain which one to go for. I ride almost exclusively on-road at this point and am experiencing pain between my shoulders. I'm 5'8" on a GSA with lowered suspension and get the sense that I'm having to lean forward a bit too much, causing the pain. I'm hoping the 1-1/2" barback riser will be sufficient –*not due to cost – but the cleaner-looking installation. That said, the infinite adjustability is always nice… Do you have any thoughts about the two models since you're installation? Thanks again for the post!
 
Hey Jim, thanks for the thorough writeup! I'm about to pull the trigger on one of the two Rox risers in your post, but am uncertain which one to go for. I ride almost exclusively on-road at this point and am experiencing pain between my shoulders. I'm 5'8" on a GSA with lowered suspension and get the sense that I'm having to lean forward a bit too much, causing the pain. I'm hoping the 1-1/2" barback riser will be sufficient –*not due to cost – but the cleaner-looking installation. That said, the infinite adjustability is always nice… Do you have any thoughts about the two models since you're installation? Thanks again for the post!

It is a tough call as everyone is different. I am 5'7 and found the fixed risers just a hair too short. The adjustables give you options. Also, you don't necessarily need the anti-vibe ones if your have no issues with vibrations now.

Jim :brow
 
Thank you so much for posting this. I've been debating getting the barbacks as I've wondered

  • If the rerouting is really necessary, and
  • If it is, whether I'm up for the job.

I've been feverishly reading the reviews to see if anyone mentions this issue specifically on the barback and specifically on a GS (non-adventure)--I have a '15 1200GS and most reviews are on the pivot risers with a GSA. There seems to be mixed messages in the reviews on multiple sites and Youtube videos, as some say rerouting is necessary and some say it is not. I've gone ahead and ordered a pair and am in the process of psyching myself up to reroute. This post is really appreciated as you include the torque requirements and the handy notes.
 
Enjoyed reading even with little or no intention of doing this! Of course NOW i'll think about my position and if a change is indicated on my RT. I see the bars cleared the windshield, but I wonder if the pullback causes the bars to interfere with a largish BMW tank bag?
 
Back
Top