yourpalcal
New member
In an effort to give something back to the forum, I will offer a quick tutorial of my left switch install on the 72' R75/5. I will preface this that I am not a mechanic or electrician so please perform this at your own risk. I am sure there is a more professional way to perform this replacement but it worked and I am happy with the results. I was able to find an original switch from an eBay seller that was new old stock.
Step 1: Disconnect the negative battery cable
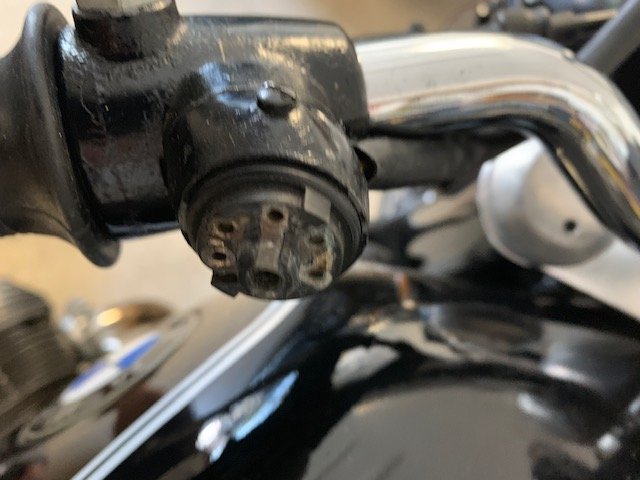
Step 2: Remove the old switch at the handlebars. There is a single small screw at the top and the switch will pop out. As you can see mine was in bad shape since it was missing the thumb button.
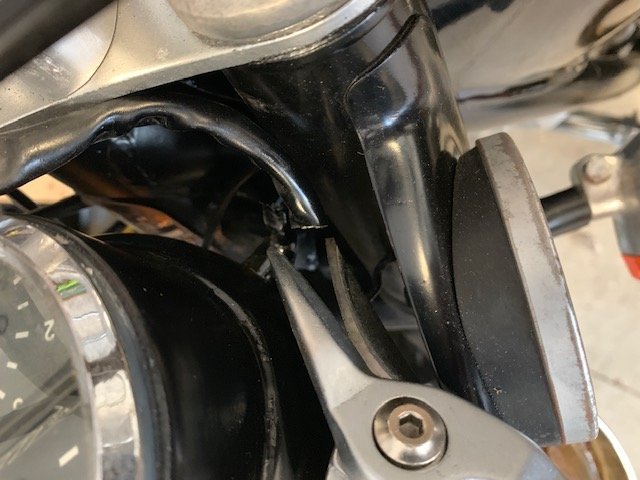
Step 3: Since I had no use for the old switch or wiring, I simplified the process by just cutting it before the input into the headlight (be sure you have disconnected the negative battery terminal).
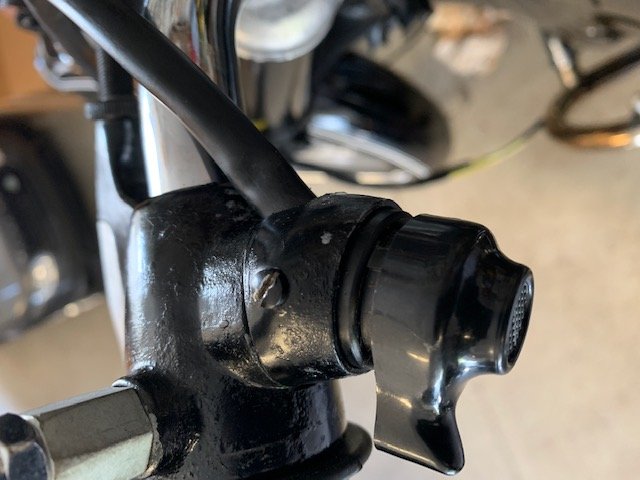
Step 4: Feed the cable at through the switch and toward the headlight and attach switch to handlebar mount with screw.
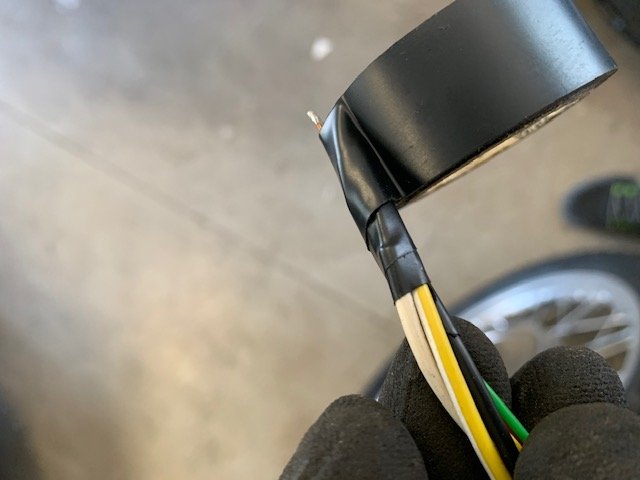
Step 5: To make it easier to feed the wires through the small rubber grommet on the rear of the headlight, I taped the end with a little electric tape. I also added a little delectric grease to the wire housing which helped to slide in the small grommet much easier.
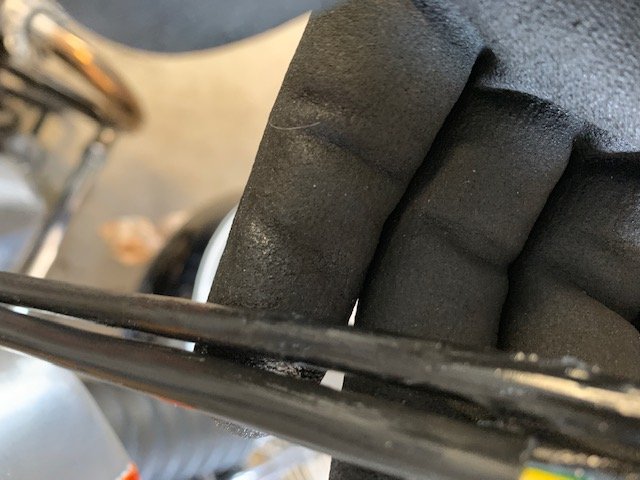
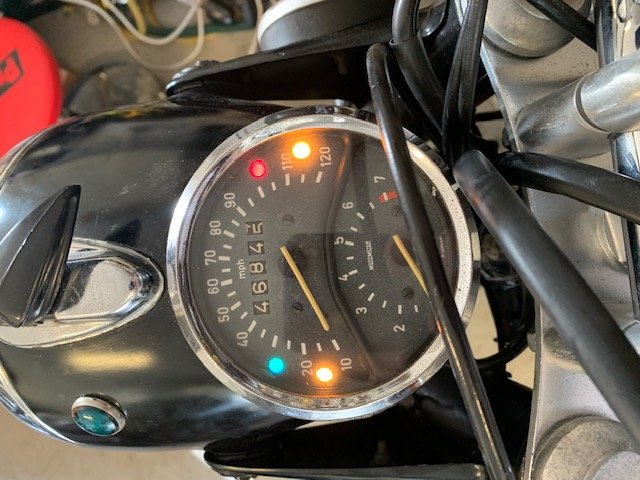
Step 6: It is not easy to access anything inside the headlight assembly unless you have really tiny hands but I was able to work my way through this by unplugging the three bulbs from the speedometer. Make sure you take a picture or mark the order.
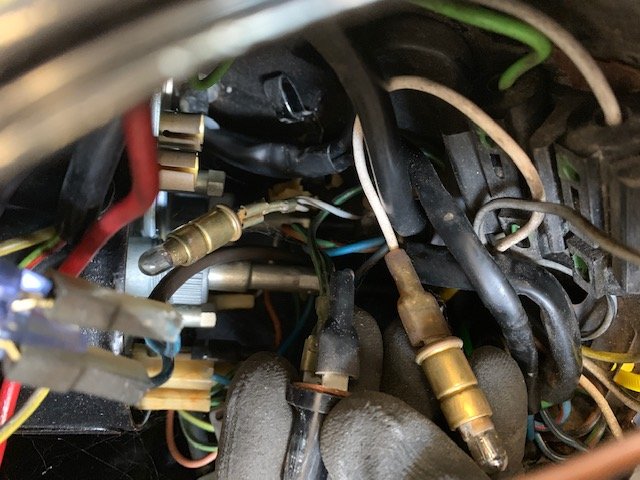
I pulled the old wire harness through the hole but kept the ends connected so I could keep up with what connections went where. There are three wires that connect to the top relay board red/green, yellow/white and solid black.
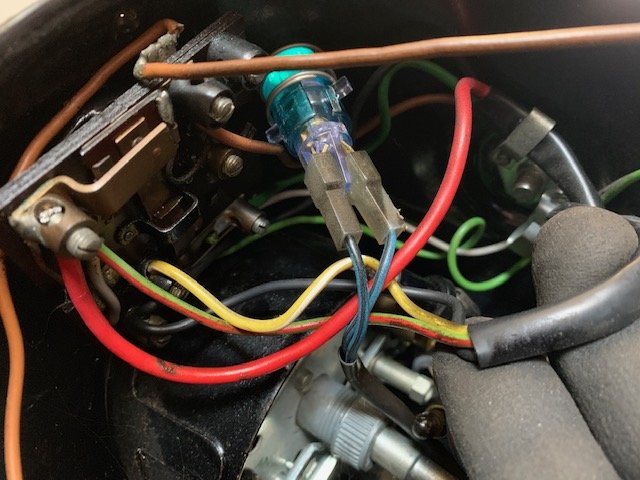
It was simple to unscrew each connection (not all the way, just enough to release the old wire) then plug in the new wire and tighten. There is a clip on the right side of the housing that the holds the harness so be sure to slide it in after connecting the three wires.
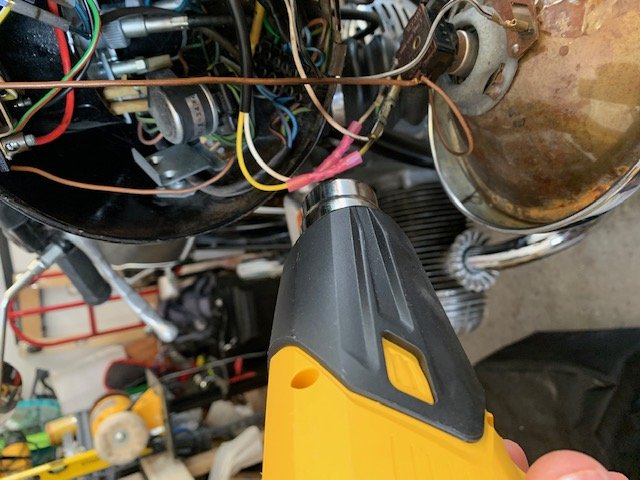
Step 7: Finally, there are two wires that connect to the headlamp bulb for the dimmer switch. They are yellow and white. These already had a butt connector and I decided to cut the two old wires and use another butt connector for each wire. I used ones that heat shrink so used a heat gun to secure them after crimping into the connector.
Step 8: Time to test everything. Reconnect the negative cable and insert the key. I was pleased everything was working (including the horn) and I didn't damage any speedometer bulbs in the process.
Step 1: Disconnect the negative battery cable
Step 2: Remove the old switch at the handlebars. There is a single small screw at the top and the switch will pop out. As you can see mine was in bad shape since it was missing the thumb button.

Step 3: Since I had no use for the old switch or wiring, I simplified the process by just cutting it before the input into the headlight (be sure you have disconnected the negative battery terminal).

Step 4: Feed the cable at through the switch and toward the headlight and attach switch to handlebar mount with screw.

Step 5: To make it easier to feed the wires through the small rubber grommet on the rear of the headlight, I taped the end with a little electric tape. I also added a little delectric grease to the wire housing which helped to slide in the small grommet much easier.


Step 6: It is not easy to access anything inside the headlight assembly unless you have really tiny hands but I was able to work my way through this by unplugging the three bulbs from the speedometer. Make sure you take a picture or mark the order.

I pulled the old wire harness through the hole but kept the ends connected so I could keep up with what connections went where. There are three wires that connect to the top relay board red/green, yellow/white and solid black.

It was simple to unscrew each connection (not all the way, just enough to release the old wire) then plug in the new wire and tighten. There is a clip on the right side of the housing that the holds the harness so be sure to slide it in after connecting the three wires.
Step 7: Finally, there are two wires that connect to the headlamp bulb for the dimmer switch. They are yellow and white. These already had a butt connector and I decided to cut the two old wires and use another butt connector for each wire. I used ones that heat shrink so used a heat gun to secure them after crimping into the connector.

Step 8: Time to test everything. Reconnect the negative cable and insert the key. I was pleased everything was working (including the horn) and I didn't damage any speedometer bulbs in the process.

