Navigation
Install the app
How to install the app on iOS
Follow along with the video below to see how to install our site as a web app on your home screen.
Note: This feature may not be available in some browsers.
More options
-
Welcome, Guest! We hope you enjoy the excellent technical knowledge, event information and discussions that the BMW MOA forum provides. Some forum content will be hidden from you if you remain logged out. If you want to view all content, please click the 'Log in' button above and enter your BMW MOA username and password. If you are not an MOA member, why not take the time to join the club, so you can enjoy posting on the forum, the BMW Owners News magazine, and all of the discounts and benefits the BMW MOA offers?
-
Beginning April 1st, and running through April 30th, there is a new 2024 BMW MOA Election discussion area within The Club section of the forum. Within this forum area is also a sticky post that provides the ground rules for participating in the Election forum area. Also, the candidates statements are provided. Please read before joining the conversation, because the rules are very specific to maintain civility.
The Election forum is here: Election Forum
You are using an out of date browser. It may not display this or other websites correctly.
You should upgrade or use an alternative browser.
You should upgrade or use an alternative browser.
Collision repairs
- Thread starter glenfiddich
- Start date
glenfiddich
TravelsWithBarley.com
Trim, test fit, mark, trim some more. The challenge with custom fiberglass work is getting the proportions, slopes and angles right. I can’t glass till the aesthetics line up

Right off the showroom floor the radius of the fender mount didn’t match the radius of the fender. My thought was to match the curve of the mounting surface from ten o’clock to two o’clock, then transition to meet the greater radius of the fender itself at eight and four o’clock. Being freehand work, progress is frustratingly slow.
I was worried that the foam would react poorly to the fiberglass resin, so tested it using a bit of scrap.No problem there.

I did run into trouble while trying to extend the foam form down a couple inches to create a wider contact patch between the mount and the fender. The heavy-bodied foam refused to adhere before its weight pulled it down. I’ll let it cure overnight then cut away the failed section. Gravity was not a friend of this method. Instead, when I glass the vertical surface I’ll let a couple inches of fiberglass cloth hang down. Once the resin cures it will serve as a foundation while I build it up from the inside. That way gravity will be on my side.

I ground away at the vertical side of the tub above my foam mock-up to make room for the layers of fiberglass that will be used to attach the mount to the tub. If I skipped this step there would be an obvious seam where the two parts are joined.
Right off the showroom floor the radius of the fender mount didn’t match the radius of the fender. My thought was to match the curve of the mounting surface from ten o’clock to two o’clock, then transition to meet the greater radius of the fender itself at eight and four o’clock. Being freehand work, progress is frustratingly slow.
I was worried that the foam would react poorly to the fiberglass resin, so tested it using a bit of scrap.No problem there.
I did run into trouble while trying to extend the foam form down a couple inches to create a wider contact patch between the mount and the fender. The heavy-bodied foam refused to adhere before its weight pulled it down. I’ll let it cure overnight then cut away the failed section. Gravity was not a friend of this method. Instead, when I glass the vertical surface I’ll let a couple inches of fiberglass cloth hang down. Once the resin cures it will serve as a foundation while I build it up from the inside. That way gravity will be on my side.
I ground away at the vertical side of the tub above my foam mock-up to make room for the layers of fiberglass that will be used to attach the mount to the tub. If I skipped this step there would be an obvious seam where the two parts are joined.
glenfiddich
TravelsWithBarley.com
Lots of fiberglassing over the past few days

And sanding

Finally ready for a test fit of the fender

I’m not entirely happy with the flow. I’ll trim the leading and trailing edges of the fender, blending them into the tub. But the slope between the tub and fender is a bit too steep, resulting in a harsh angle. I’ll have to play with a few options

And sanding
Finally ready for a test fit of the fender
I’m not entirely happy with the flow. I’ll trim the leading and trailing edges of the fender, blending them into the tub. But the slope between the tub and fender is a bit too steep, resulting in a harsh angle. I’ll have to play with a few options
glenfiddich
TravelsWithBarley.com
Much progress, much fiberglass, and much appreciation for coveralls, gloves, and dust masks!


Once all the foam has been removed I’ll build up the thickness of the mating surface (from the inside), and fiberglass the joint between the fender mount and the tub from the inside. This will be done with the tub flipped upside down so gravity works in my favor and I don’t have to contort in a manner best left to teenagers. Once that’s done the mating surface will be sanded/ground till it’s perpendicular to the horizontal plane so the fender, when mounted, won’t have a lean
Once all the foam has been removed I’ll build up the thickness of the mating surface (from the inside), and fiberglass the joint between the fender mount and the tub from the inside. This will be done with the tub flipped upside down so gravity works in my favor and I don’t have to contort in a manner best left to teenagers. Once that’s done the mating surface will be sanded/ground till it’s perpendicular to the horizontal plane so the fender, when mounted, won’t have a lean
glenfiddich
TravelsWithBarley.com
Trying to get an arch that consistently follows the decreasing radius of the fender is pushing my limits. Once again I’m building up the mount’s leading edge trying to come up with something that gracefully blends compound curves

I’ve got consistency from 9 o’clock to 1 o’clock. In the rear the curves blend just fine to the bottom edge. The front not so much. So more fiberglass is added to the leading edge, heavily weighted to the outside so I have enough material to sculpt

Yeah, I know it looks like a hangnail but I needed full thickness at the edge of the mount. In the next photo you can see by the part I ground down how thick that last layer is

I kept the edge but ended up grinding much of the top away. If I maintained the same slope as the rest of the shoulder the inboard edge would be so high it might be possible for heavy rain to drain into the tub of the sidecar. Keeping my dog and our gear dry is important, so I opted for a shallower slope for this section. Function over form, but I think it will still look sharp.
A little more sanding on the face and that fender will line right up with no gaps!

I’ve got consistency from 9 o’clock to 1 o’clock. In the rear the curves blend just fine to the bottom edge. The front not so much. So more fiberglass is added to the leading edge, heavily weighted to the outside so I have enough material to sculpt
Yeah, I know it looks like a hangnail but I needed full thickness at the edge of the mount. In the next photo you can see by the part I ground down how thick that last layer is
I kept the edge but ended up grinding much of the top away. If I maintained the same slope as the rest of the shoulder the inboard edge would be so high it might be possible for heavy rain to drain into the tub of the sidecar. Keeping my dog and our gear dry is important, so I opted for a shallower slope for this section. Function over form, but I think it will still look sharp.
A little more sanding on the face and that fender will line right up with no gaps!
glenfiddich
TravelsWithBarley.com
A milestone! With the mounting surface sculpted, the tub is flipped upside down and the foam scooped out. There will be a lot of grinding in the confined space inside the mount in the days ahead, then fiberglass reinforcement. The prep work is rather tedious

I used a pair of hoof trimming tools to cut out the foam, then paint thinner and a wire brush to wash out the grease

A small grinding wheel reduced the prominent lip between the mount and the tub to facilitate fiberglassing. Next comes a LOT of work with a wire wheel to strip off all that black undercoat. Fiberglass doesn’t stick to rubber.

On the extreme right you can see how thin the fender mounting surface is. I couldn’t layer it outboard from there as it would have rubbed against the tire, so additional layers will be added to the inside, building it up to a thickness capable of supporting the fender
I used a pair of hoof trimming tools to cut out the foam, then paint thinner and a wire brush to wash out the grease
A small grinding wheel reduced the prominent lip between the mount and the tub to facilitate fiberglassing. Next comes a LOT of work with a wire wheel to strip off all that black undercoat. Fiberglass doesn’t stick to rubber.
On the extreme right you can see how thin the fender mounting surface is. I couldn’t layer it outboard from there as it would have rubbed against the tire, so additional layers will be added to the inside, building it up to a thickness capable of supporting the fender
glenfiddich
TravelsWithBarley.com
Steady progress. The inside of the mount surface has been built up to the desired thickness. During initial assembly Hannigan left me with seven holes for the four bolts used to secure the tub to the frame; I filled them all and will redrill when the tub is fitted on the frame. The tub was then placed on its side. An inner tube can be inflated or deflated as needed to adjust my work angle.


Relocating the fender mount higher on the tub left a large gap adjacent to the wheel well visible from the inside. Rubberized undercoating was removed from that area with a wire wheel then roughed up with a cone shaped grinding stone.

Structural strength comes from the work I did on the outside of the tub, so bridging this gap is purely cosmetic. I used several layers of fiberglass matting for the interior after finding and grinding away several burrs that used to snag bits of Glenlivet’s fur. Above photo shows the first layer; three more followed.
That’s enough for today. Heat lamp used to accelerate curing

Relocating the fender mount higher on the tub left a large gap adjacent to the wheel well visible from the inside. Rubberized undercoating was removed from that area with a wire wheel then roughed up with a cone shaped grinding stone.
Structural strength comes from the work I did on the outside of the tub, so bridging this gap is purely cosmetic. I used several layers of fiberglass matting for the interior after finding and grinding away several burrs that used to snag bits of Glenlivet’s fur. Above photo shows the first layer; three more followed.
That’s enough for today. Heat lamp used to accelerate curing
glenfiddich
TravelsWithBarley.com
One of the issues I had in the past was the wiring to the front marker light snagging on camping gear or (most often) dog claws. So I glassed in thin wooden strips and blocks. There’s just enough room between the strips and the raised rim of the tub to run a wire loom secured to the wood with tiny clamps .

With that done, it was time to clamp the fender in place and work on the design where the leading and trailing ends meet the tub.

Fender clamped in place. Holes will be drilled through the inner edge into the fender mount for bolts to secure the parts in their final location. Then I can determine how to shape the fender ends for aesthetics and function
Trailing end. I’m going to build up the fender to eliminate that wedge-shaped gap. The end result will be a straight line from the mounting surface on the left almost all the way to the right side flaring up in a graceful curve as it nears the edge

The leading edge design is still TBD. Too short might result in splatter on rainy rides. Too long would look like an overgrown toenail. My plan is to print off a few copies of this photo and do some pencil modifications

With that done, it was time to clamp the fender in place and work on the design where the leading and trailing ends meet the tub.
Fender clamped in place. Holes will be drilled through the inner edge into the fender mount for bolts to secure the parts in their final location. Then I can determine how to shape the fender ends for aesthetics and function
Trailing end. I’m going to build up the fender to eliminate that wedge-shaped gap. The end result will be a straight line from the mounting surface on the left almost all the way to the right side flaring up in a graceful curve as it nears the edge
The leading edge design is still TBD. Too short might result in splatter on rainy rides. Too long would look like an overgrown toenail. My plan is to print off a few copies of this photo and do some pencil modifications

glenfiddich
TravelsWithBarley.com
glenfiddich
TravelsWithBarley.com
After pouring over prints with lines, circles and arrows penciled all over them I flipped a coin and reached for the cutoff wheel. The fender has been shortened at both ends and it’s a good thing I like the look as gluing the pieces back on would be a real challenge!

Both ends were cut off level with the mount, though the perspective makes it look curved. I cut about 3mm shy of my pencil lines then used a sanding block with 40 grit to finish the alteration. The fender’s trailing edge will be built up a bit to eliminate that gap

The leading edge likewise needs some minor tweaks but is just about there.

Both ends were cut off level with the mount, though the perspective makes it look curved. I cut about 3mm shy of my pencil lines then used a sanding block with 40 grit to finish the alteration. The fender’s trailing edge will be built up a bit to eliminate that gap
The leading edge likewise needs some minor tweaks but is just about there.
glenfiddich
TravelsWithBarley.com
I started work on eliminating the gaps between the mount and the fender shown in the pics shared on Saturday. In reviewing the measurements taken when I first expanded the mount’s arch with those taken last week, it appears the thin edge curled inward as the additional layers I added to the inside cured. There was no movement on the thicker sections. In retrospect I should have backed that thin bridge with some sort of straight edge, perhaps a board clamped across the opening.
But that section will not bear any weight, so rather than building it up and sanding it flat again I’ll simply run a bead of butyl when bolting the fender in place. The actual mounting surface is flat and thick, so my only concern is road grit accumulating in the small gap

Buildup on the trailing edge goes on the fender itself. To give myself plenty of material to sculpt the additional fiberglass ranges from one layer of cloth at the top to 15mm of mat over cloth at the base

Yeah, it looks like a bunion, but blending four curves together in an aesthetically pleasing manner requires a significant base to start with. I’ll let it cure overnight and start shaping it in the morning
I quickly built up the leading edge of the mount, going slightly thicker than needed so it can be carefully sanded into a perfect union with the fender. I could have used body filler on such a small area but the leading edge is prone to hits from bugs and road debris thrown up by cars. Fiberglass is much less prone to damage

But that section will not bear any weight, so rather than building it up and sanding it flat again I’ll simply run a bead of butyl when bolting the fender in place. The actual mounting surface is flat and thick, so my only concern is road grit accumulating in the small gap
Buildup on the trailing edge goes on the fender itself. To give myself plenty of material to sculpt the additional fiberglass ranges from one layer of cloth at the top to 15mm of mat over cloth at the base
Yeah, it looks like a bunion, but blending four curves together in an aesthetically pleasing manner requires a significant base to start with. I’ll let it cure overnight and start shaping it in the morning
I quickly built up the leading edge of the mount, going slightly thicker than needed so it can be carefully sanded into a perfect union with the fender. I could have used body filler on such a small area but the leading edge is prone to hits from bugs and road debris thrown up by cars. Fiberglass is much less prone to damage
Perhaps a product like “fender welting“ will help with the gap?
 metrommp.com
OM
Seals - Body Seals - Fender Welt - Metro Moulded Parts Inc
Used when installing fenders to car or truck bodies
metrommp.com
OM
r0ckrat
Active member
Or thickened epoxy with silica powder?
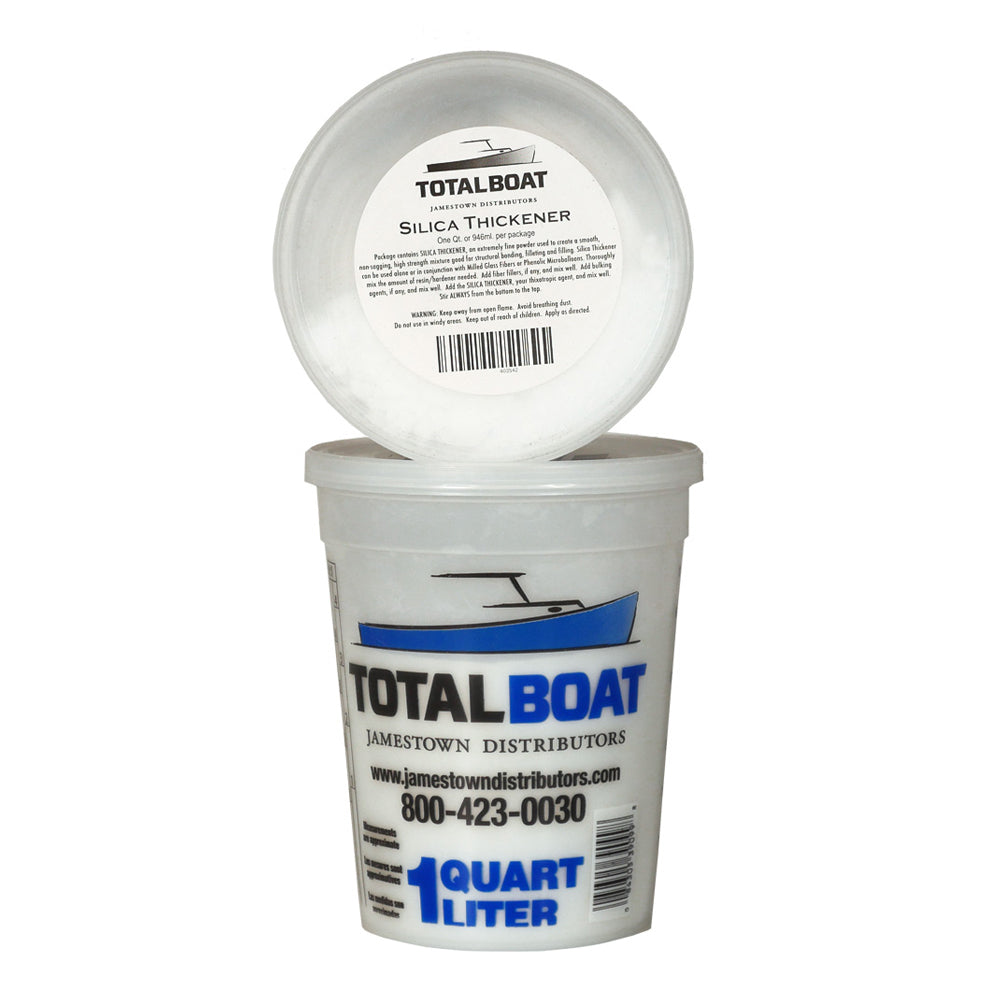
 www.totalboat.com
Silica Thickener Epoxy Resin Thickening Powder Additive
Fumed Silica Thickener thickens epoxy resin and polyester resin systems to prevent sagging or slumping on vertical and overhead surfaces.
www.totalboat.com
glenfiddich
TravelsWithBarley.com
I have some but am hoping to end with such a clean join that it’s not needed. It’s difficult to get bug jerky out of weltPerhaps a product like “fender welting“ will help with the gap?
Seals - Body Seals - Fender Welt - Metro Moulded Parts Inc
Used when installing fenders to car or truck bodies
OM
glenfiddich
TravelsWithBarley.com
To prevent curling? I’m not sure I understand the purpose. When I need thickened epoxy I either add more hardener or give it time to thicken before using it.Or thickened epoxy with silica powder?
Silica Thickener Epoxy Resin Thickening Powder Additive
Fumed Silica Thickener thickens epoxy resin and polyester resin systems to prevent sagging or slumping on vertical and overhead surfaces.
r0ckrat
Active member
To make an epoxy putty that you can mold in place that is nearly as strong as with glass matt, but easier to sand and shape. Like body filler putty, but the silica disappears in the epoxy, and sands easier than through glass cloth or matt.
Boatbuilders use it to make fillets and to fill areas (like the bow) where they want to add rigidity or drill through, etc. (Wooden boat builders substitute wood flour for silica, and get a putty the color of peanut butter.)
Boatbuilders use it to make fillets and to fill areas (like the bow) where they want to add rigidity or drill through, etc. (Wooden boat builders substitute wood flour for silica, and get a putty the color of peanut butter.)
glenfiddich
TravelsWithBarley.com
I completely spaced this morning and ground the fiberglass I’d built up yesterday flush with the mounting surface. It wasn’t till I held the fender up for another test fit and saw that same damned gap that I realized I’d just trashed a day’s work.
So I prepared more fiberglass, mixed resin and hardener in the usual ratio of five glugs of resin and thirty drops of hardener, replaced the section I’d ground away and added some thin strips to the bottom edge

The pencil line traces the curve of the mount. The curve of the fender will taper down till the two meet at the lower edge. I had some resin left after building up the very bottom edge of the fender, so used it to build up the portion of the mount that has curled in as it cured


So I prepared more fiberglass, mixed resin and hardener in the usual ratio of five glugs of resin and thirty drops of hardener, replaced the section I’d ground away and added some thin strips to the bottom edge
The pencil line traces the curve of the mount. The curve of the fender will taper down till the two meet at the lower edge. I had some resin left after building up the very bottom edge of the fender, so used it to build up the portion of the mount that has curled in as it cured
collingsbob
Active member
Impressive work….
glenfiddich
TravelsWithBarley.com
Graceful recovery from yesterday’s screwup. After much sanding and swearing and test fitting - and did I mention sanding? - the fender and mount matched up nicely. I sculpted the transitional curves till the aesthetics looked right, then replaced the impact-damaged fiberglass on the outside of the fender. For causing so much damage to the car of the woman who hit us it held up remarkably well

One layer of fiberglass cloth to bond to the base, then mat to tie it all together. I didn’t go thick here as it’s completely non weight bearing. Plus the more I add, the more I have to sand. By this point you know how I feel about sanding!

Once again the trusty heater gives the cure a jump start. Once the fender’s curves are right everything gets checked and measured (even the trunk and clamshell lids which were not worked on), then a final prep sanding and on to the primer stage
One layer of fiberglass cloth to bond to the base, then mat to tie it all together. I didn’t go thick here as it’s completely non weight bearing. Plus the more I add, the more I have to sand. By this point you know how I feel about sanding!
Once again the trusty heater gives the cure a jump start. Once the fender’s curves are right everything gets checked and measured (even the trunk and clamshell lids which were not worked on), then a final prep sanding and on to the primer stage
Similar threads
- Replies
- 0
- Views
- 282
- Replies
- 27
- Views
- 3K