ted
Dum vivimus vivamus
As is a recurring theme in working on K75s, it was easier than it seemed.
First and foremost, BIG thanks to Marshall who generously offered workspace, tools, supplies and above all experience. I pulled in behind without a doubt the most perfect 2002 I've ever seen, and next to a K75S that I had intended to go look at a year back but was sold (to Marshall) before I could go see it. He could give Bill Shaw a good run for the money, the bike was meticulously restored and literally looked brand new.
Note that I will update this thread with pictures.
As a bit of background, about 5 weeks ago I pulled out for a ride and discovered no back brake, absolutely none! After hitting up Paul and Lee for advice (as usual hah!) it was obvious the rear master cylinder had failed and needed repair or replacement.
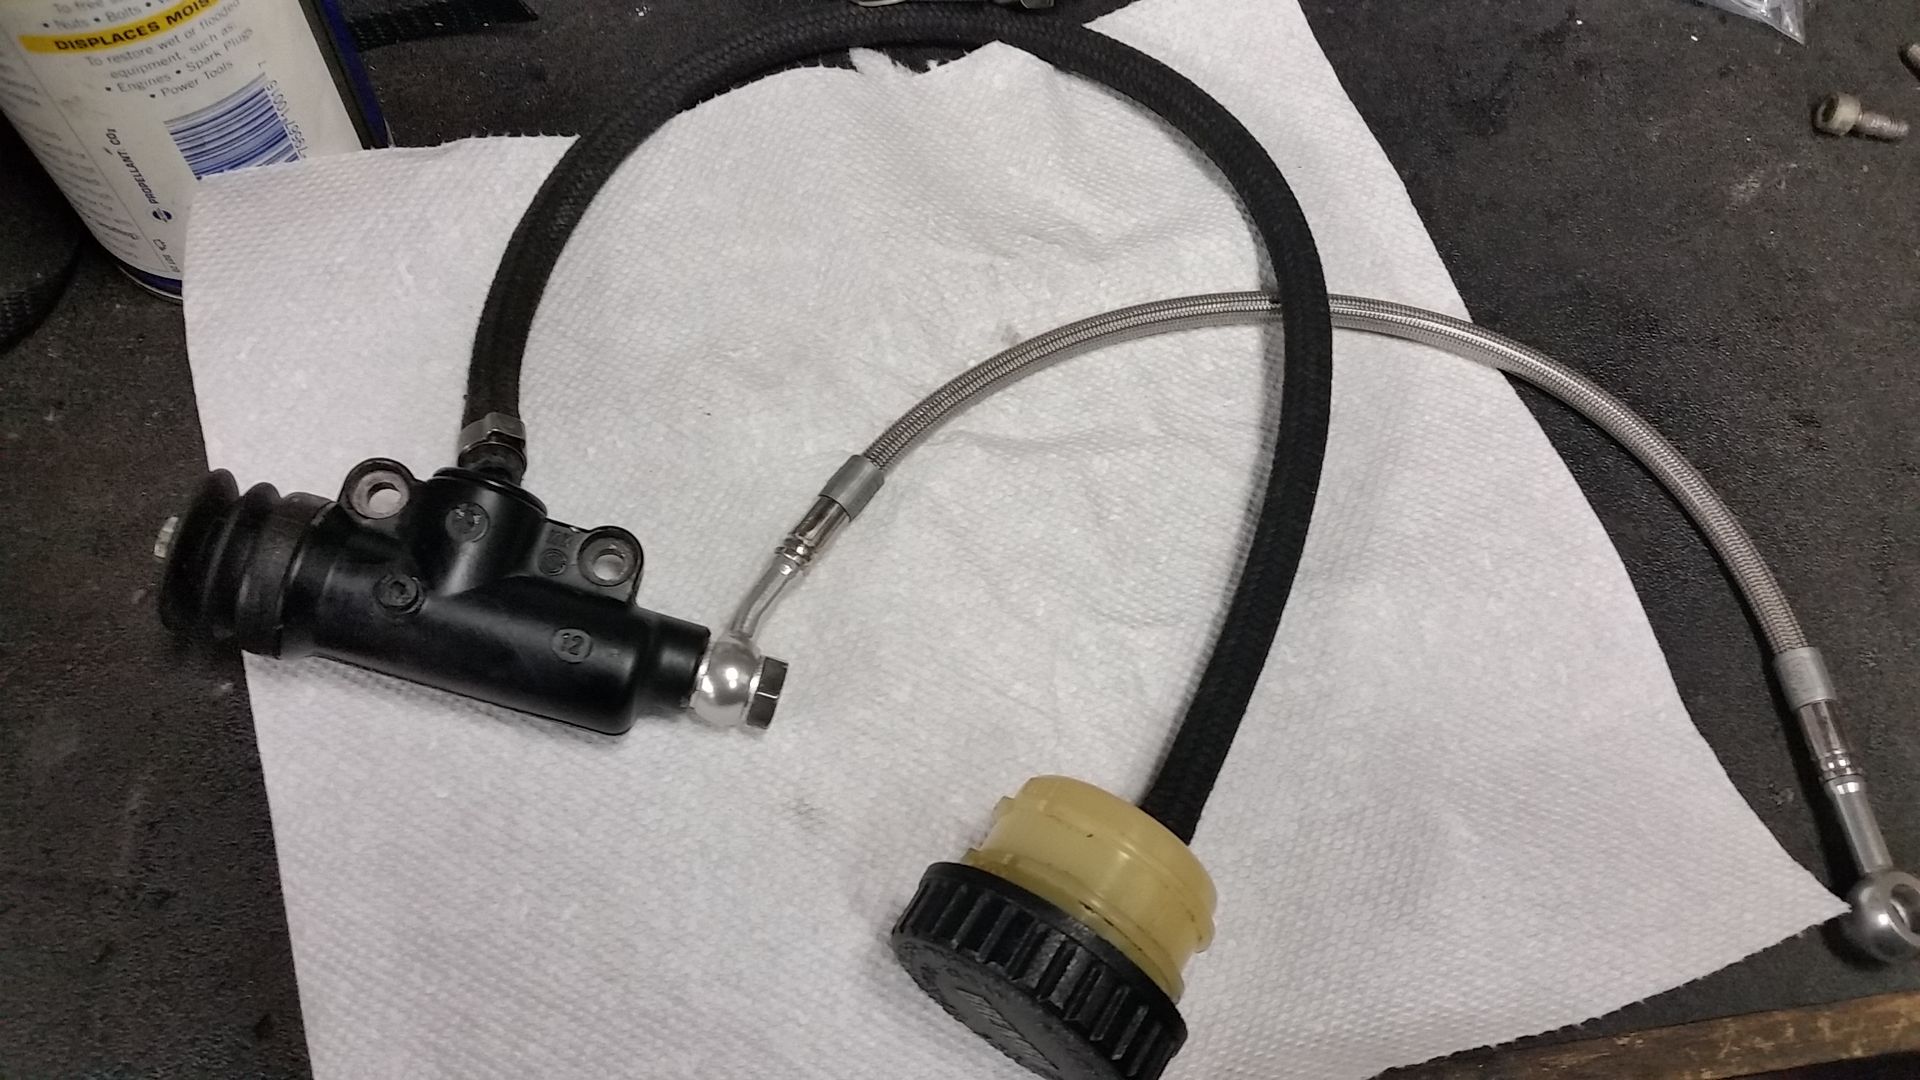
I called BeemerBoneyard and managed to secure one of the few remaining Magura 12mm rear brake master cylinders for about half the cost of BMW OEM. Seems BMW had sued Magura to stop them from selling an aftermarket alternative - and once I compared the failed OEM unit with the Magura I knew why. They are exactly the same, down to both the Magura and BMW logos on each. Not too hard to figure out that Magura supplies to BMW, and was selling the same component through their own lines of distribution.
I also bought an extra bag of copper crush washers and a pint of brake fluid (which I forgot to bring and stopped at Autozone to get a liter bottle of Valvoline synth Dot 4 - good thing as we used a good half of it.). I brought my small Craftsman socket set, my BMW tool roll (with extra 11mm wrench for bleed nipples), and my trick metal 1-way valve (Amazon, $16 - avoid the plastic ones) brake bleeder hose. Those contained all the tools needed for this - but one. But I will get to that in a minute
With the bike on the centerstand I removed the right bag and right side panel, and broke out the tool roll. Make sure to go slow and clean everything.
1. Remove the two bolts connecting the bag mount to the footplate.
2. Position a catch basin underneath, then remove brake line to the rear of the MC. I used a 14mm socket for this, worked like a charm.
3. Remove the brake pedal return spring, easily done by hand, bike end then brake pedal end.
4. Carefully note how the brake reservoir hose, the tank overflow hose, and the brake light switch cable pass through the footplate.
5. Pop the brake reservoir out to give yourself some slack on the feed hose.
6. Remove the bolt securing the footpeg to the ABS can, I did footpeg side. Then remove the three bolts holding the right side footplate, holding it to keep it from falling.
7. I forgot to unclip the rear brake switch so I just removed it from the footplate - easy, 1 hex bolt, maybe 3mm? BMW Tool Roll.
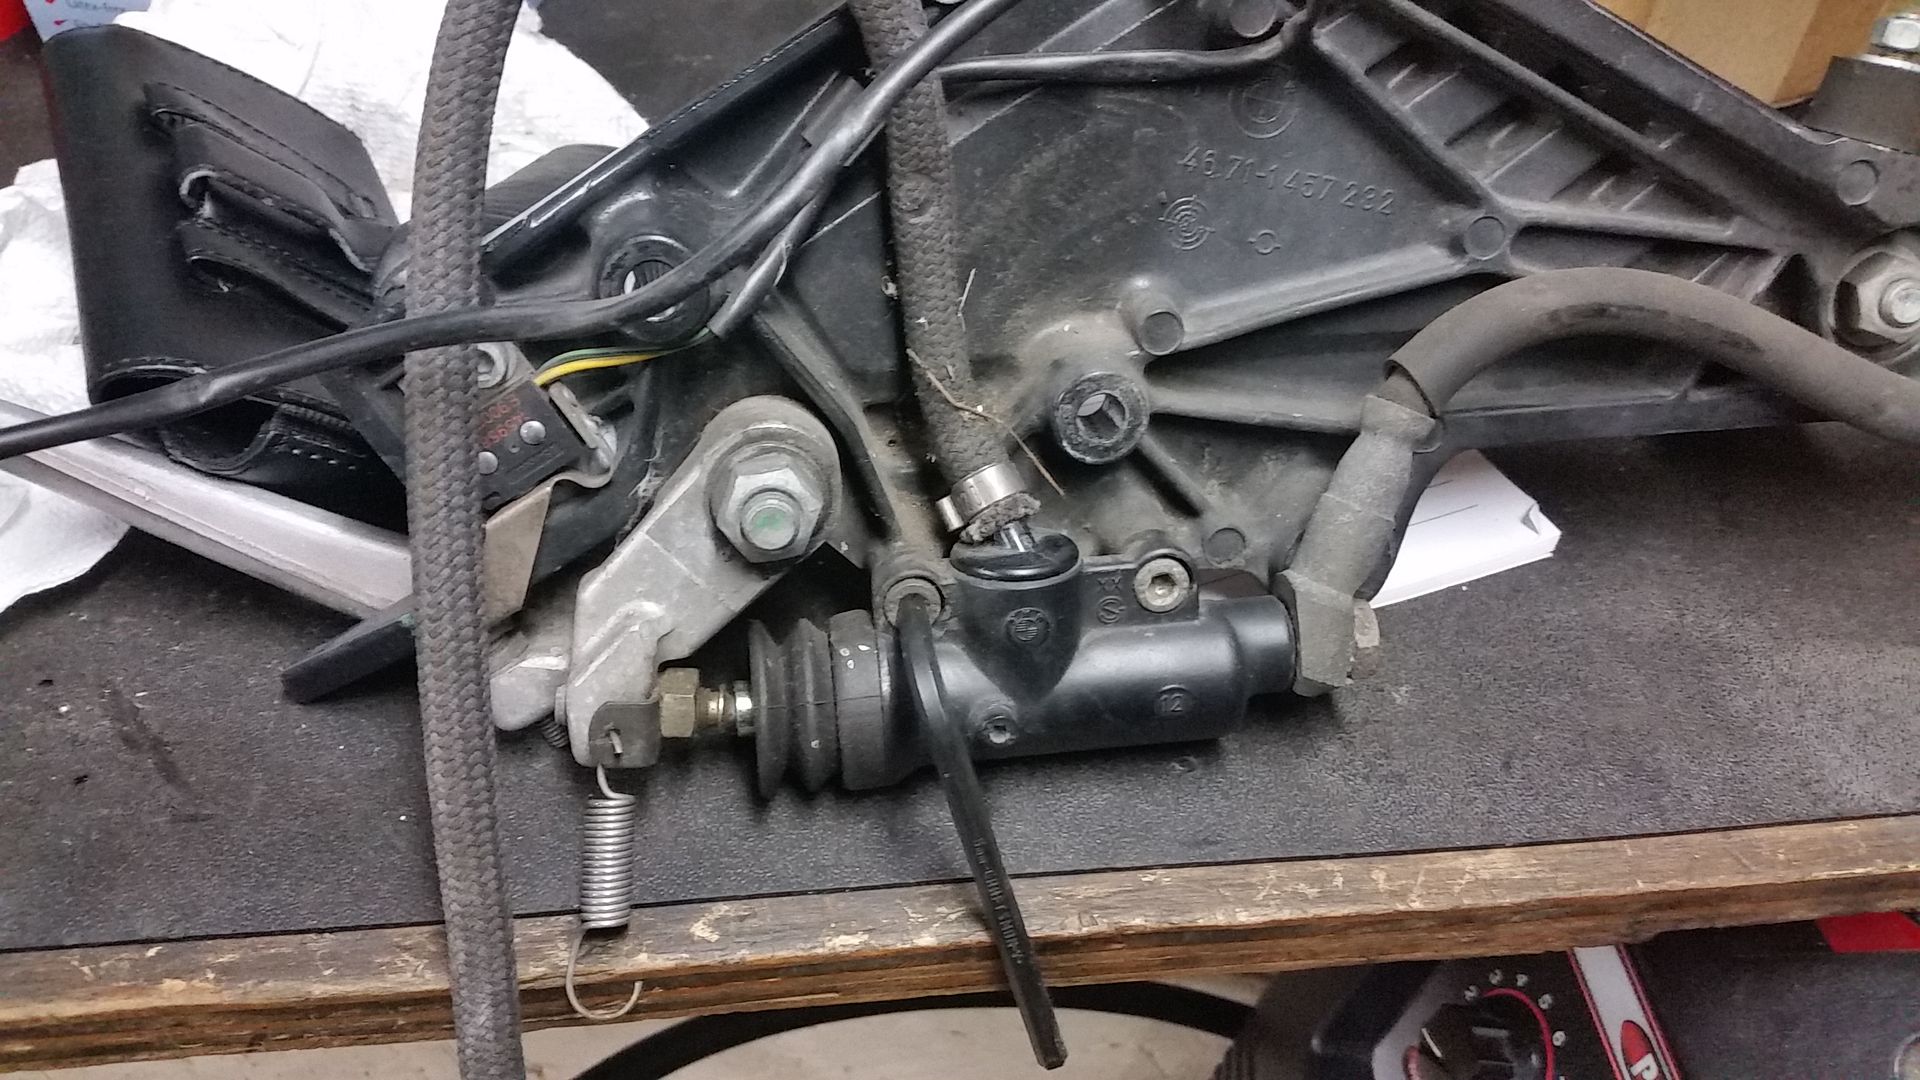
8. It is about now you will realize the reservoir hose is connected to the MC by an Oetiker clamp. As I sat looking at that little bugger trying to figure out how to get it off Marshall appeared with a Dremel. 5 seconds with the little cutting wheel in the middle of the raised pinch and it was no longer an issue.
9. Pinch the reservoir hose, remove it and drain into the catch pan.
10. Now pull the rubber collar at the front of the MC off. Or in my case, look at and realize that it is so stretched and malformed so that it won't even hold when pushed back over the MC.
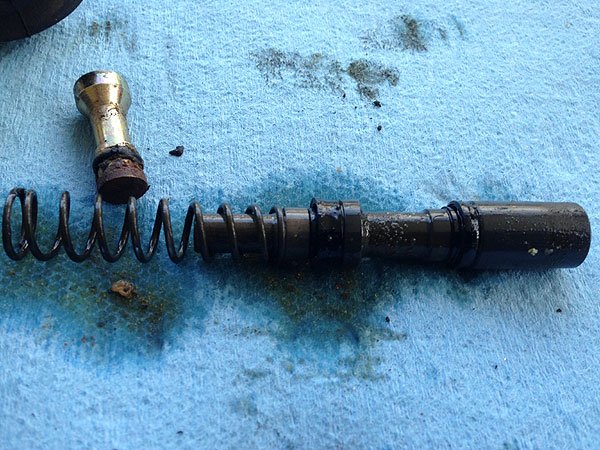
12. The footplate should now be completely detached and you can take it to your workbench. If the little brass hourglass shaped plunger extension thing (note, not its official name) falls out, pick it up and be amazed at the amount of crud in there.
11. On the bench, remove the two Allen bolts holding the MC to the footplate, then set aside to be dissected.
12. Put the new on on the footplate and secure. Hooray, it's all uphill from here. Note - You can bench bleed it here if you want - we didn't and it all went fine.
13. Pull the old accordion boot off the brake lever adjuster bolt and push the new one on. Mine came pre-greased which made it quite easy. My kit came with a new brake adjuster bolt, but I saw no reason the replace the existing one. Then push the new accordion boot over the new MC - a small, thin, flathead screwdriver very carefully used sure helped here.
14. With the footplate roughly in place on the bike, lean it out a bit and replace the brake switch, then guide the cable back into the securing clip at the top of the inside of the footplate.
15. Now push the reservoir hose onto the new MC nipple and secure with a new Oetiker clamp, or in our case, a new stainless mini hose clamp.
16. Now re-orient the brake reservoir hose, the tank overflow hose, and the brake switch cable fore and aft of the top footplate bolt. If I remember correctly, both hoses go to the rear and the brake switch cable to the front, but don't quote me as I'm too comfortable right now to go out and check.
17. Thread the top footplate bolt in, through the ABS ground wire eye, and loosely tighten. Make sure nothing is pinched, everything is where it ought to be, then replace the other two bolts. Tighten all three.
18. Replace the footplate to ABS can bolt, and the two bag mount to footplate bolts.
19. Finally, using new copper crush washers on each side, bolt the rear brake line to the rear of the new MC.
20. Replace the return spring, clip in the reservoir, replace the side panel and side case.
Voila! You did it!
Now, bleed the brakes. We used my check valve bleeder and it worked just fine, first at the ABS can and then at the caliper, then repeat.
Total time, about an hour. Difficulty level - simple.
Rode home with nice, firm brakes and will re-bleed in a day or two to make sure all the air is out.
EDIT - Corrections
Last edited:


