• Welcome, Guest! We hope you enjoy the excellent technical knowledge, event information and discussions that the BMW MOA forum provides. Some forum content will be hidden from you if you remain logged out. If you want to view all content, please click the 'Log in' button above and enter your BMW MOA username and password.

    If you are not an MOA member, why not take the time to join the club, so you can enjoy posting on the forum, the BMW Owners News magazine, and all of the discounts and benefits the BMW MOA offers?

  • Beginning April 1st, and running through April 30th, there is a new 2024 BMW MOA Election discussion area within The Club section of the forum. Within this forum area is also a sticky post that provides the ground rules for participating in the Election forum area. Also, the candidates statements are provided. Please read before joining the conversation, because the rules are very specific to maintain civility.

    The Election forum is here: Election Forum

1979 R100RT Restoration: Second Time

rapz

New member
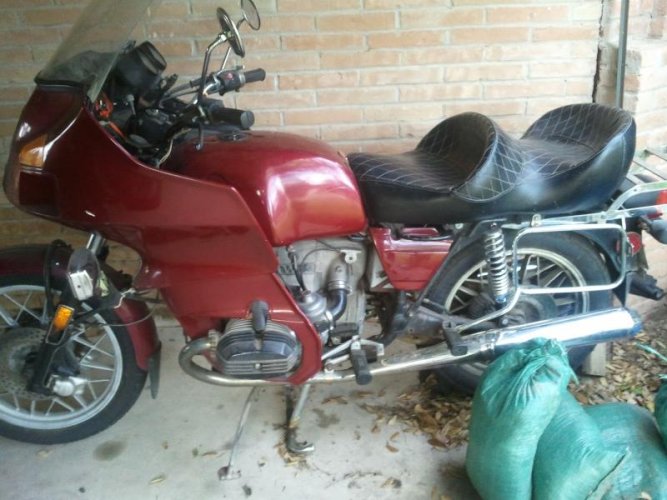
Well it's winter in South Texas and it's still riding weather, but I've decided to take my RT apart again. You can checkout our blog to see the progress I made since I bought the bike last spring. Basically, I did a quick fix so that I could ride it around town and have put a few thousand miles on it. I'm not happy with the paint job so I'm having it repainted, but this time I'd like to have the frame and sub-frame powder coated. I can't seem to find any posting on how to pull the engine and transmission on an RT so I'd appreciate anyone pointing me in the right direction. Thanks!
 

Attachments

  • 79 R100RT.jpg
    79 R100RT.jpg
    71.9 KB · Views: 91
You, sir, are a glutton for punishment.

Start by taking off the exhaust, battery, and fairing. Then start at the rear wheel and work your way forward. When you get to the transmission, you will have to take the clutch throw-out arm off to get clearance to pull the transmission. The motor is held in by 2 long threaded rods thru the bottom of the motor casting. One of these holds the driver foot rests in place. You can let the carburetors dangle by their cables for now. It would probably help to pull the air cleaner and top and front cover. There are wiring connections under these covers that you will have to dis-connect. Make notes about which color wires go to which terminals. Do not pull the clutch or flywheel unless you intend to open up the bottom end of the motor. By the time you get to this point, the rest of the dis-assembly should be pretty straight-forward.
Best of luck......
 
If you can get someone to help you lift it out of the frame. It's easy with two guys but I was working harder than I'd like by myself! (Especially putting it back in your shiny new frame!). Protecting new powder coat with painters tape is a good ideas too.

Good luck,
Dave

Ps - you need to disconnect the side stand and center stand springs before you pull front bolt. (At least I had to on mine)
 
Back
Top