• Welcome, Guest! We hope you enjoy the excellent technical knowledge, event information and discussions that the BMW MOA forum provides. Some forum content will be hidden from you if you remain logged out. If you want to view all content, please click the 'Log in' button above and enter your BMW MOA username and password.

    If you are not an MOA member, why not take the time to join the club, so you can enjoy posting on the forum, the BMW Owners News magazine, and all of the discounts and benefits the BMW MOA offers?

  • Beginning April 1st, and running through April 30th, there is a new 2024 BMW MOA Election discussion area within The Club section of the forum. Within this forum area is also a sticky post that provides the ground rules for participating in the Election forum area. Also, the candidates statements are provided. Please read before joining the conversation, because the rules are very specific to maintain civility.

    The Election forum is here: Election Forum

1978 R100/7 restoration pictures

K

kmkahuna

Guest
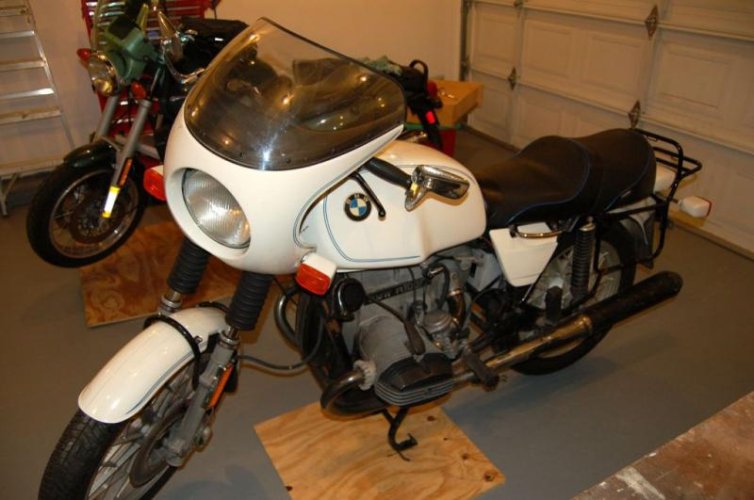
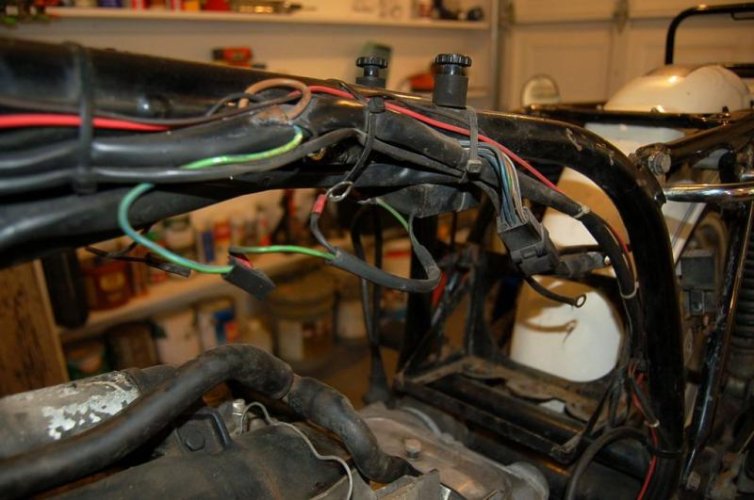
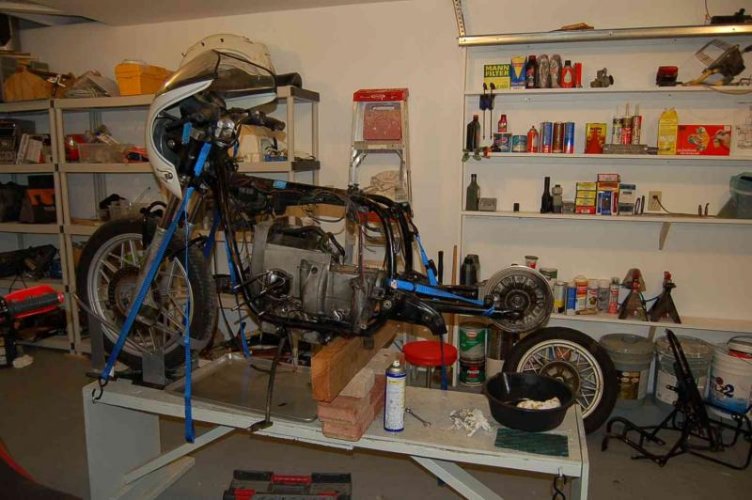
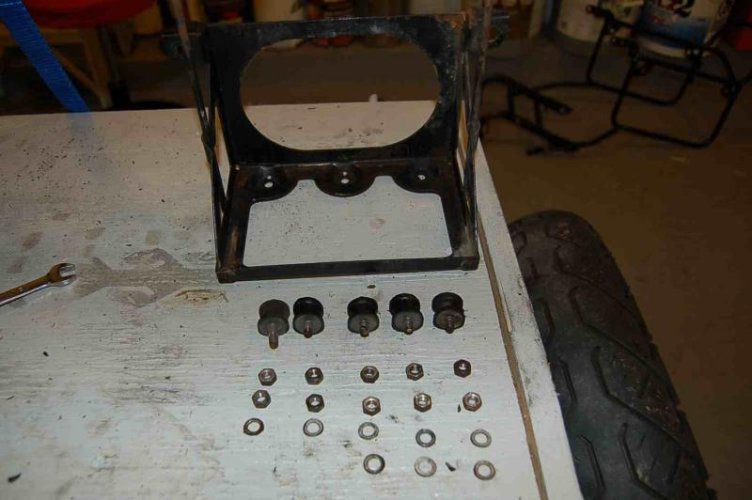
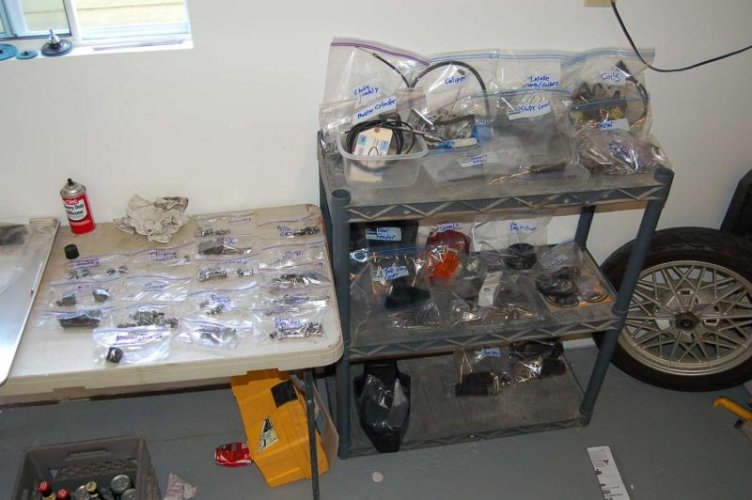
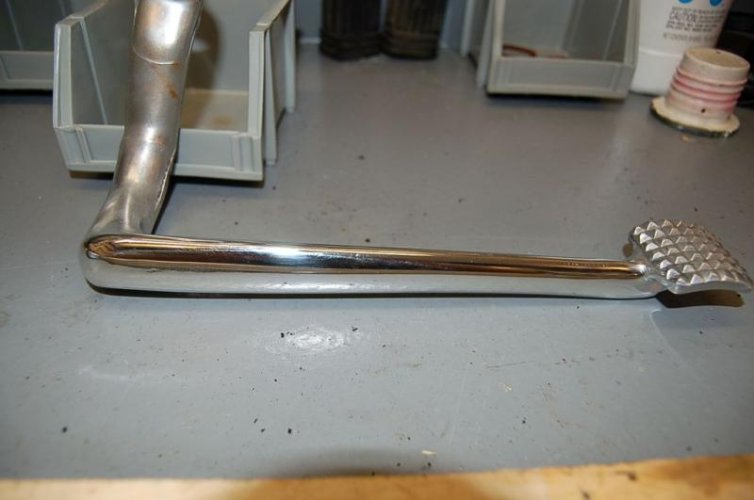
I have 200+ pictures and counting, for any of you who are tearing one of these things down as well. Trying to ensure I document as many parts/pieces as possible to ensure I can get the bike back together, and hopefully to help others with thier restoration projects.
http://1978r1007restoration.shutterfly.com/
 

Attachments

  • DSC_0001.jpg
    DSC_0001.jpg
    54.2 KB · Views: 349
wiring pictures and diagrams

what do you have for pics showing correct wiring/cable routing?
tia

take a look at the pictures around #50 or so..
http://1978r1007restoration.shutterfly.com/pictures/540
I only have a few along the frame right now, since I haven't torn into the instrument area yet. I will try to remember to take a picture of the color diagram on my wall as well, from Prosperos:
http://stores.ebay.com/Prosperos-Wiring-Diagrams
I would highly recommend buying one of these. I have two; one for the /7 and one for the R850R.
 

Attachments

  • DSC_0050.jpg
    DSC_0050.jpg
    57.6 KB · Views: 327
Rear wheel, wiring, rear frame is off

http://1978r1007restoration.shutterfly.com/
Slowly, but surely, my garage is turning into a parts locker, and this bike is looking more and more forlorn! What do you do with all those bolts/nuts/washers? I was thinking of buying another grey parts box from Harbor freight to specifically catagorize/sort all the small parts that are coming off the bike.
So far, looking at the pictures I have, I'm pretty confident that I'll be able to put her all back together the right way: But I know there's a trick to it... like that spring for the side stand, yes? You have to install that thing before you put the engine back in...etc, etc...
 

Attachments

  • DSC_0053.jpg
    DSC_0053.jpg
    71.3 KB · Views: 244
Get the kind of zip-loc baggies that you can write on. If additional info is needed, put a note in the baggie. I know when you're taking it apart, it's easy to say I'll remember where this goes, but believe me, 6 months from now you won't. Take lots and lots of pictures and get a notebook. Take notes of what needs to be done and cross through it as you accomplish that task. Good luck and have fun.

Ride Safe
Mike
 
Ditto what Mike said. Also, where you can, thread the fastener back into the hole it came out of with any washers or nuts in the proper order.
 
Thanks

Great advice, Mike, ziploc bags! Didn't think of that. So far the pictures are okay, but looking back through them, the fastners are the problem, huh? Sure, I know what part is which, but what washer goes where? This picture is a great example of what I tried to do, but everything don't look as nice as this.

I think it is cease/desist time on the tear down, and will take this week to bag/tag. My system of grey boxes on the tool bench quickly became overwhelmed...

Thanks for the advice, guys.
http://1978r1007restoration.shutterfly.com/
 

Attachments

  • DSC_0030.jpg
    DSC_0030.jpg
    51.1 KB · Views: 225
Mike's advice taken

Get the kind of zip-loc baggies that you can write on. If additional info is needed, put a note in the baggie. I know when you're taking it apart, it's easy to say I'll remember where this goes, but believe me, 6 months from now you won't. Take lots and lots of pictures and get a notebook. Take notes of what needs to be done and cross through it as you accomplish that task. Good luck and have fun.

Ride Safe
Mike
Here's my bike so far, Mike. Thanks for the great advice!
K
 

Attachments

  • DSC_0069.jpg
    DSC_0069.jpg
    58 KB · Views: 205
Great job, that's exactly what it should look like. You'll be very happy later on when you're putting things back together. I saw the pics on Shutterfly, the brake parts DID clean up nice. Very nice project you have there.

Ride Safe,
Mike
 
I did like you are doing when I rebuilt an Austin Healey many years ago. Took three years to do the rebuild, and when I got done I had no parts left over. This was before digital cameras too, so I made a lot of sketches too.
 
Cleaning?

Hey--

Great looking project. I'm in about the same spot on my 78 R80/7. I've got lots of photos going, but I've not quite made it into a documented project online yet. Soon.

I noticed in one of your photos, a lot of brass wire dremel bits. Is that what you're using a fair bit to polish up some of your parts (like the brake parts)? I ask because I go through those little brass wire wheels pretty quickly. I also have on on my bench grinder.

I'm just looking for a better way to clean freshen up some of those parts and I'm curious what's working best for you.

ptc

The small brass wheels haven't come in real handy yet, except for one or two areas in the small cracks that a large whee can't get to.. Harbor Freight is the place to pick up a lot of this stuff because it's so cheap there: other places just cannot compete with them for the consumables and some of the tools. (Buy a corded drill for 14$ and turn it into a permanent polisher with a clamp...pretty cheap).
I'm sure they will be used in the future though: my dremel broke using it on my boat, so I am going to replace it pretty soon: the pencil attachement is perfect for this kind of work, and those small brushes.

What I've been doing is a night soak in the carb parts cleaner bucket, dump out the parts the next day, and take a 8" steel wire wheel to them. The alloy parts come out looking real good, but for the engine I'm going to have to go the next step with the green discs, again from Harbor Freight, and a lot of carb cleaner.
I have toyed around with etch and TSP, but so far, it has not really produced good results. I might not have the dilution correct, since I really erred on the mild side with that stuff: didn't want to ruin the covers.
This part is the result of some serious work: belt sander to grind down the casting ridge lines, high speed air tool with a small sanding disc to level out the metal, the green disc to get the surface smooth, and then a polishing disc set up on a drill press with Mothers Mag/Aluminum polish..
 

Attachments

  • DSC_0103.jpg
    DSC_0103.jpg
    38.2 KB · Views: 163
If you can find someone who has the equipment, degrease yuor engine and then have it soda blasted.

I had a pile of aluminum engine parts soda blasted and so far it's the only method that I've tried, that gets the crud off but leaves the factory finish on the cases and covers. Soda isn't so good for removing BMW paint from frames but for the stuff we actually look at, it's a superior method to use.

I knopw that several guys are using the "Scotchbrite/silver paint method but it doesn't look or feel right to me.

Just a suggestion based on the fact that you're doing such a nice job....!:wave
 
Sodablasting

If you can find someone who has the equipment, degrease yuor engine and then have it soda blasted.

I had a pile of aluminum engine parts soda blasted and so far it's the only method that I've tried, that gets the crud off but leaves the factory finish on the cases and covers. Soda isn't so good for removing BMW paint from frames but for the stuff we actually look at, it's a superior method to use.

I knopw that several guys are using the "Scotchbrite/silver paint method but it doesn't look or feel right to me.

Just a suggestion based on the fact that you're doing such a nice job....!:wave
I like the idea of soda blasting, but I'm worried about contaminating the engine, since I don't plan on tearing it down inside. Maybe you put the jugs back on before you blast?
 
Nice job.

Nice job! I just rode my 1978 R100/7 from Minneapolis to the Black Hills. 1,650 miles including side trips without a single problem (other than the kill switch slipped to the kill position once). Had to use the Easy-Off oven cleaner to get the baked grasshopers off the pipes, but shining again. Opted to leave the Krausers at home and took the Motofizz tail bag, which was sweet. Photo attached.
 

Attachments

  • Bike.jpg
    Bike.jpg
    73.7 KB · Views: 105
Back
Top