• Welcome, Guest! We hope you enjoy the excellent technical knowledge, event information and discussions that the BMW MOA forum provides. Some forum content will be hidden from you if you remain logged out. If you want to view all content, please click the 'Log in' button above and enter your BMW MOA username and password.

    If you are not an MOA member, why not take the time to join the club, so you can enjoy posting on the forum, the BMW Owners News magazine, and all of the discounts and benefits the BMW MOA offers?

  • Beginning April 1st, and running through April 30th, there is a new 2024 BMW MOA Election discussion area within The Club section of the forum. Within this forum area is also a sticky post that provides the ground rules for participating in the Election forum area. Also, the candidates statements are provided. Please read before joining the conversation, because the rules are very specific to maintain civility.

    The Election forum is here: Election Forum

'03 K1200RS fork tube question

k547

Member
2003 K1200RS

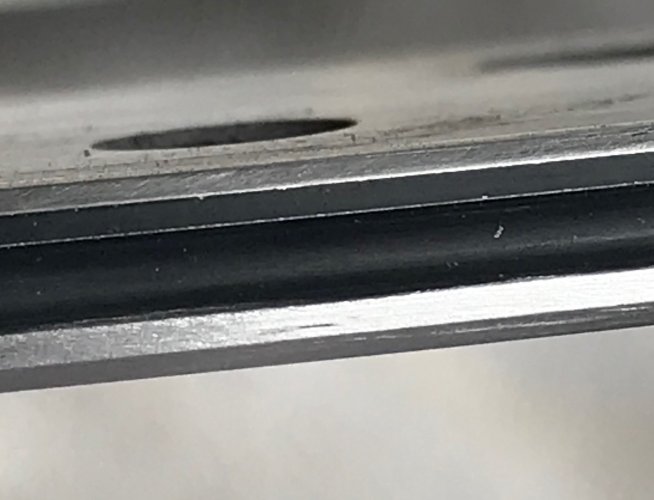
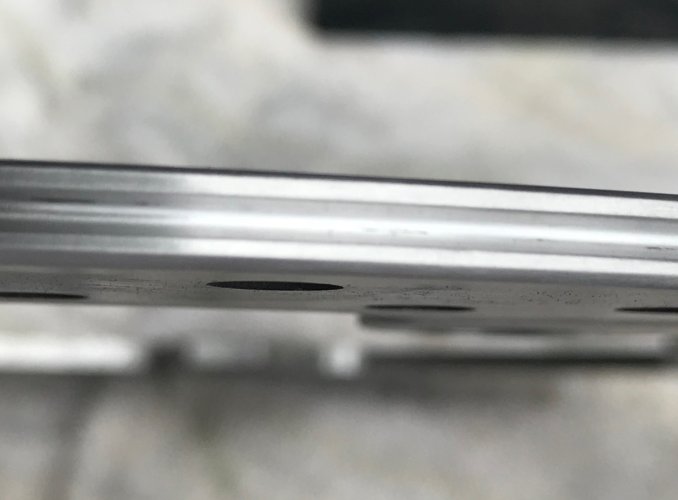
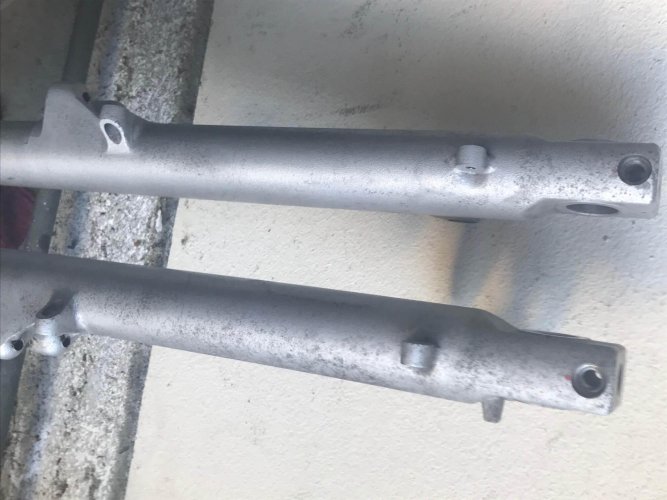
When I stripped down my front forks recently I failed to note where the single oil passage/oil bore hole in the lower portion of each fork leg was oriented (front, rear, left, right).

I'm not seeing anything in the manuals other than making sure the hole is clear and a note not to pass the portion of the fork leg with the bore hole thru the fork seal.

So I'm assuming that it doesn't matter what direction the lower fork leg oil passage hole is oriented to?
 
This comes up on Airhead forks. IMO the hole(s) should face the other tube or as an alternative face away from the other tube. My reason is that the tube is going to be bending from front to back...you grab the front brake and the wheel stops moving but the upper part of the bike is still going forward so it bends the tube in that plane. The hole being where I suggested puts it in a neutral plane for tube stresses. Stresses are going to be either on the forward or aft side (tension or compression), and they transition to zero in the middle. A hole is a stress riser and cracks can form there because of the discontinuity. Putting the hole in a region of zero (or near zero) stress is the best.
 
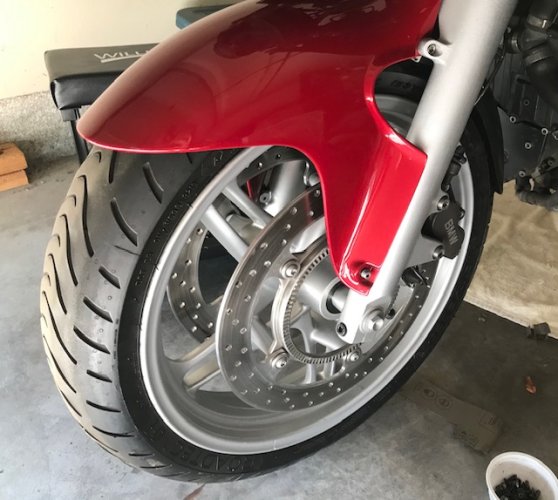
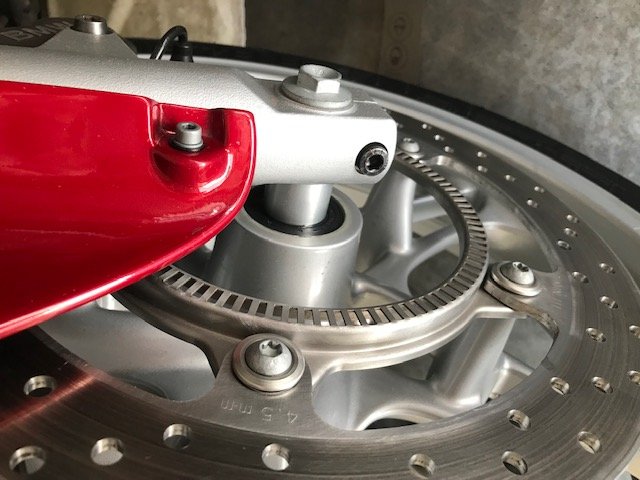
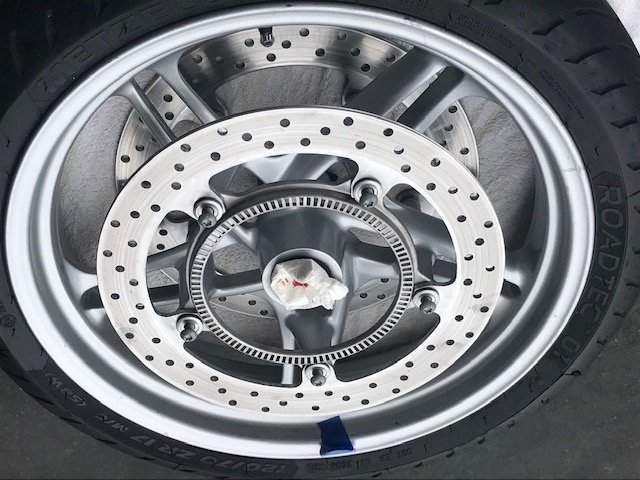
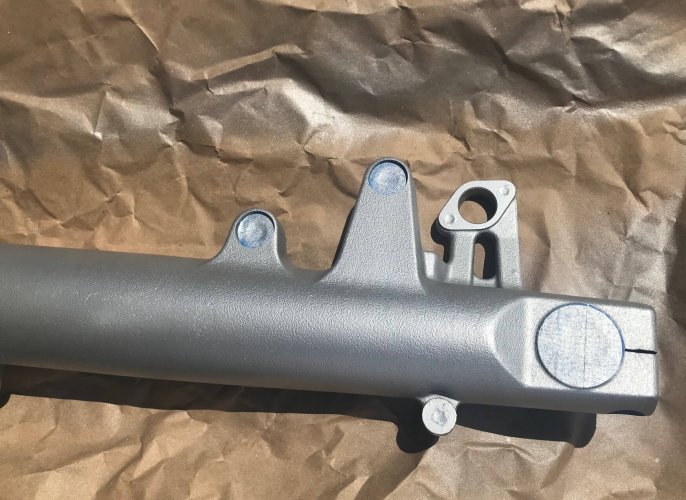
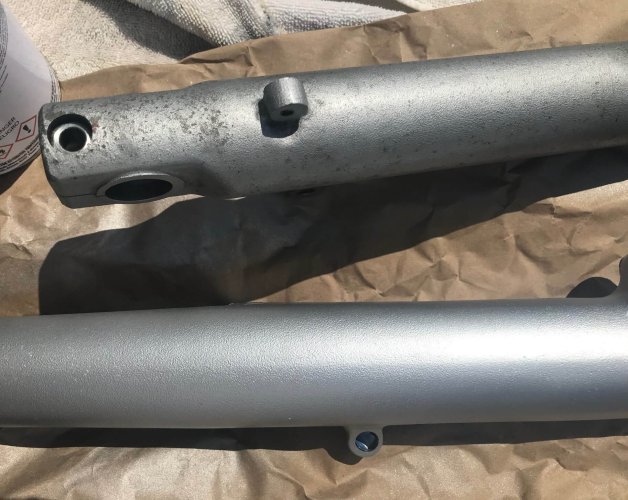
Forks flushed and cleaned internally and externally, new seals and dust covers, re-finished in silver lacquer with a semi gloss clear coat. Rim, rotors, calipers, ABS ring etc. detailed and cleaned, fasteners re-finished or replaced. New British Dunlopad "clean/low dust" street grade brake pads installed.

IMG_3954.jpg

IMG_3955.jpg
 
Last edited:
The bike's previous owners had good maintenance invoices/records but apparently they were not concerned with cleaning....
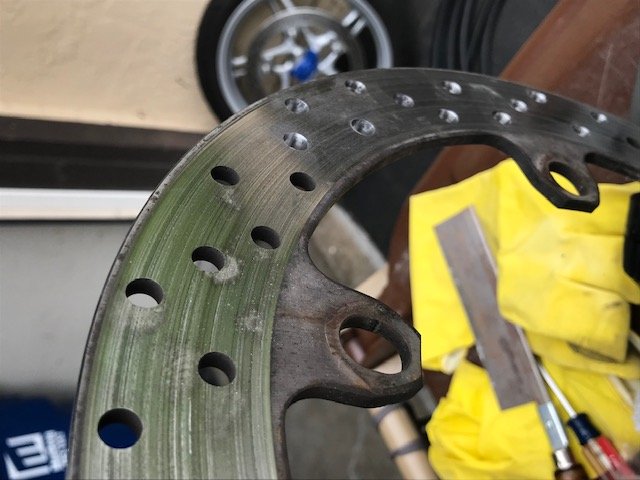
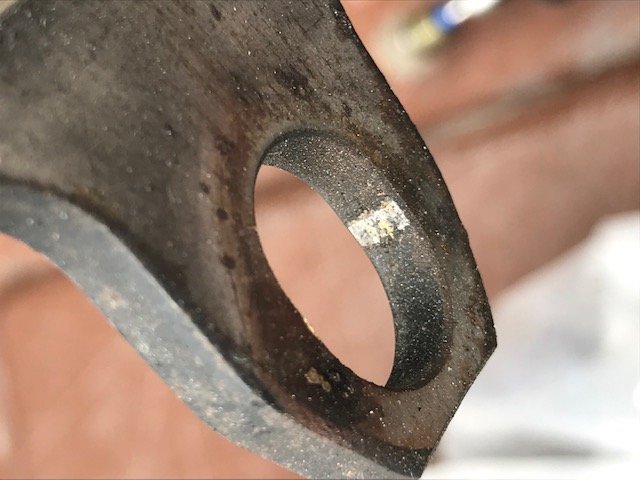
Removing 51,000 miles of accumulated brake dust was slow and tedious. The drilled holes in the rotors were starting to fill up and not wanting to take a drill press to them I devised a little "whip" with some plastic dowel stock, slotted at one end to hold a strip of emery paper and chucked it in an electric drill. A Dremel cleaned up the rest.
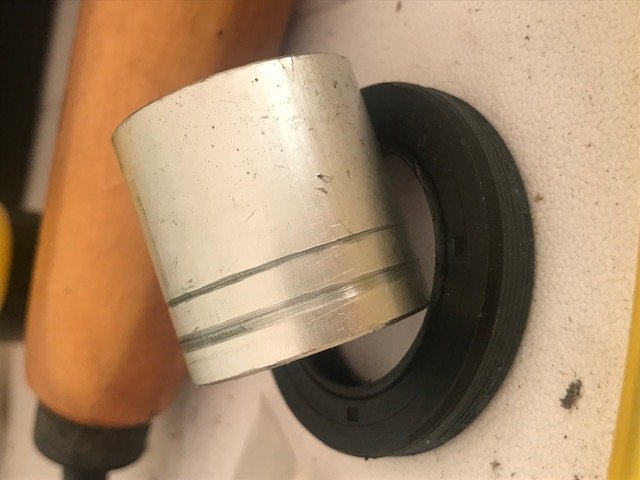
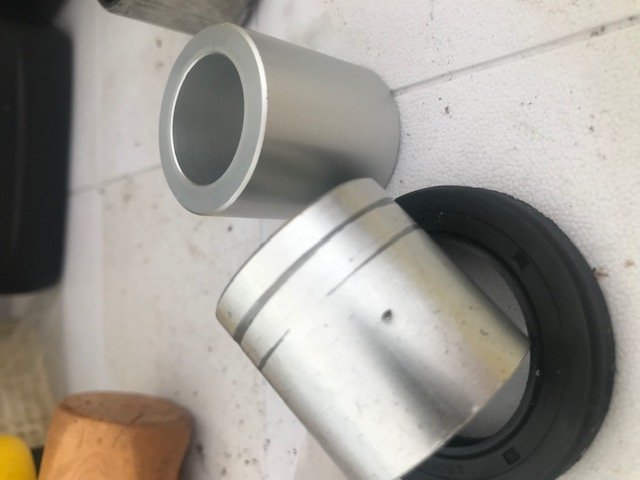
The wheel spacer had a deep groove worn into it and the rubber seal showed light 360' around it. Replaced both.

IMG_3501.jpg

IMG_3502.jpg

IMG_3503.jpg

IMG_3504.jpg

IMG_3506.jpg

IMG_3507.jpg
 
I was pleased with the results after several days of work even though I did draw blood a couple times as seen on the paper towel blocking debris from the hub bearings.
The brakes (front/rear) are clean and quiet now with excellent feel.

IMG_3589.jpg

IMG_3590.jpg
 
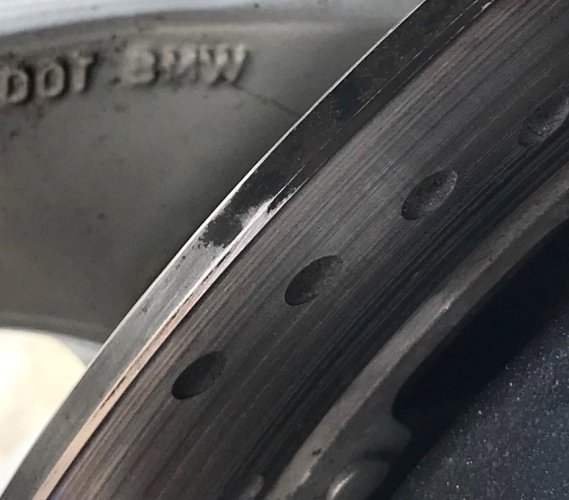
Brake pad dust was baked onto every surface of the rotors except where the pads actually gripped and was filling every nook and cranny. A wire brush and iron remover wheel cleaning solvent had no effect on it at all. It had to be removed with various powered rotary abrasives.

IMG_01.jpg

IMG_02.jpg

IMG_03.jpg
 
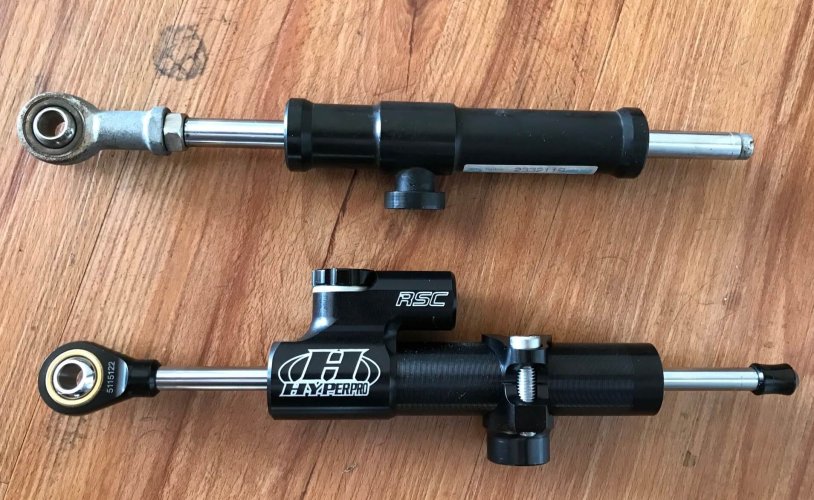
And the new speed reactive steering damper purchased from EPM Performance.
I really didn't need to replace the factory BMW damper, it had some life left.

IMG_07.jpg
 
Back
Top