The articles, posts and comments in this tech section are posted by individual members and reflect their personal thoughts and experiences with repairing, maintaining, and generally working on motorcycles. This information may require specific knowledge and skills, may or may not be correct or current to model.
The authors of information found here and the BMW MOA take no responsibility for ensuring the accuracy of any information (including procedures, techniques, parts numbers, torque values, tool usage, etc.), or further for any damage of any kind or injuries incurred or caused by anyone following the instructions or information found here.
It is the duty of the individual to either assume the liability himself for responsibly using the information found here, or to take the bike or accessory to a Dealer or other qualified professional service.
Please ensure you dispose of your used chemicals, oils and fuels in an environmentally responsible manner. Most Auto Parts stores and service stations will accept used oil and lubricants, tires and batteries, please check for your local availability. Here's a link where you can look up a place to dispose of your used fluids (oil, coolant, brake fluid, etc.) - http://earth911.com/
This article, text and photos are Copyright of the individual authors and the BMW MOA, any copying or redistributing is permitted only by prior written authorization.
PLEASE PRINT AND READ ALL THE INSTRUCTIONS BEFORE BEGINNING!
Final note: The motorcycle's two wheels are the only thing keeping you upright. When in doubt, take your motorcycle to a reputable dealer.
------------------------------------------------------------------------------------------------------------------------------------------------------------------------------------
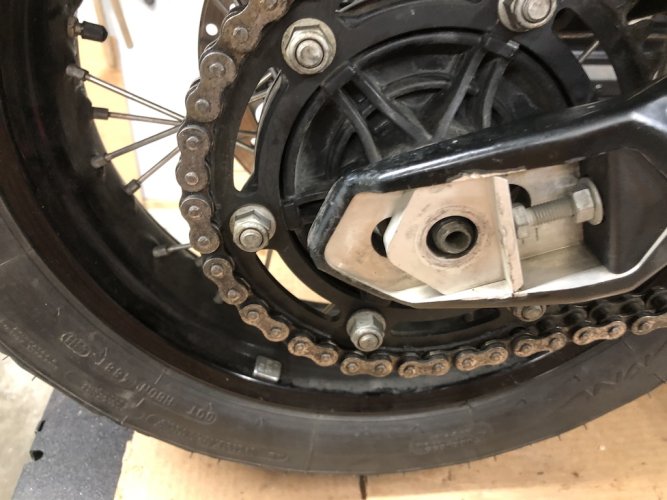
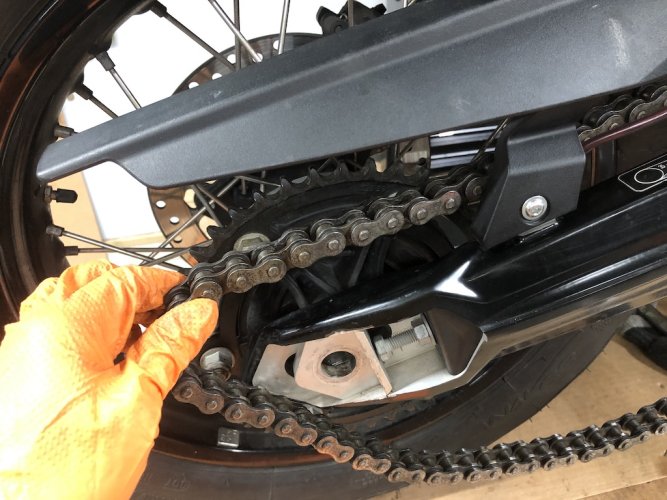
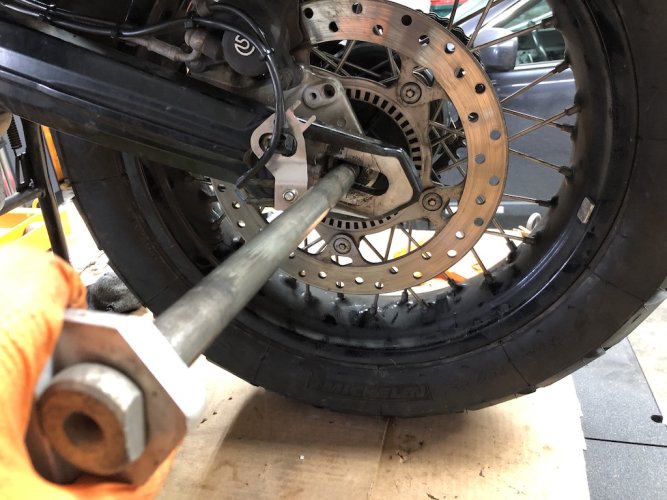
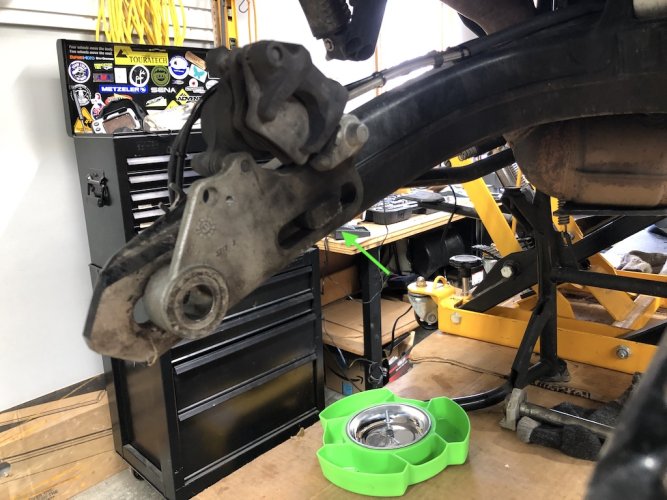
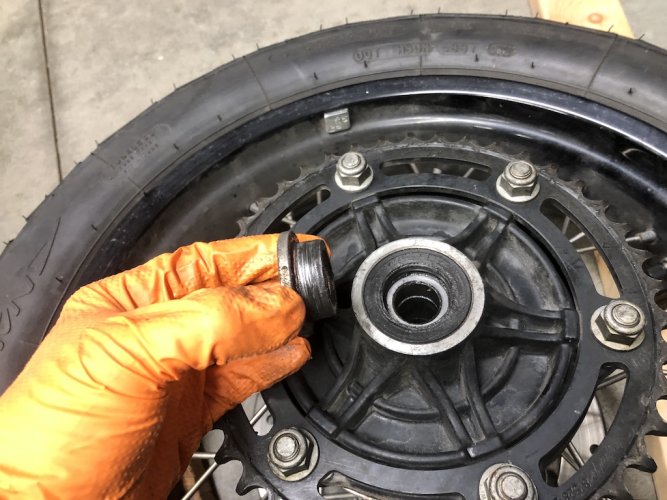
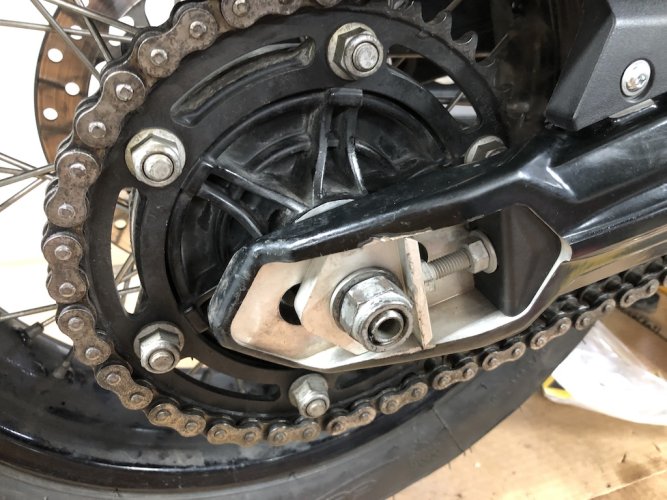
Removing the rear wheel on your F-Twin F650/700/800 with chain drive
Time for new rubber on your F-Twin? Did you ride past a construction site and now your rear tire resembles Swiss Cheese? Let's get that wheel off!
Note 1: The specific bike shown is a 2013 F800GS
Note 2: The tools and materials used are by personal choice and are not due to any affiliation with any brand
Materials needed:
- Staburags NBU 30 PTM or equivalent grease
Tools Required:
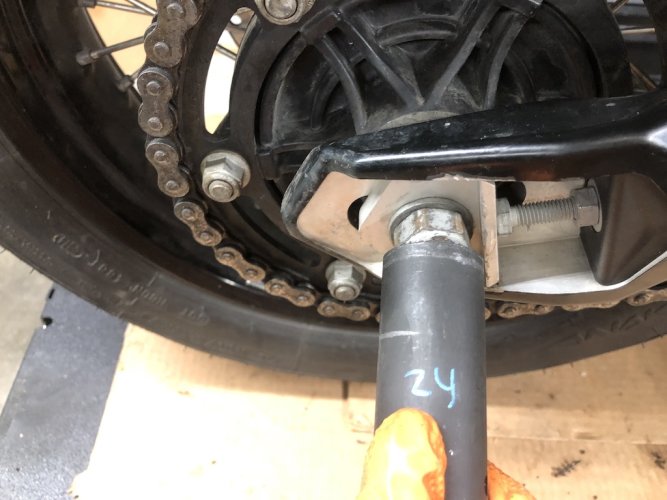
- 24 mm socket
- T25 Torx (star) bit
- Ratchet that fits the above
- Breaker bar (optional, but may be needed as the axle nut is quite tight)
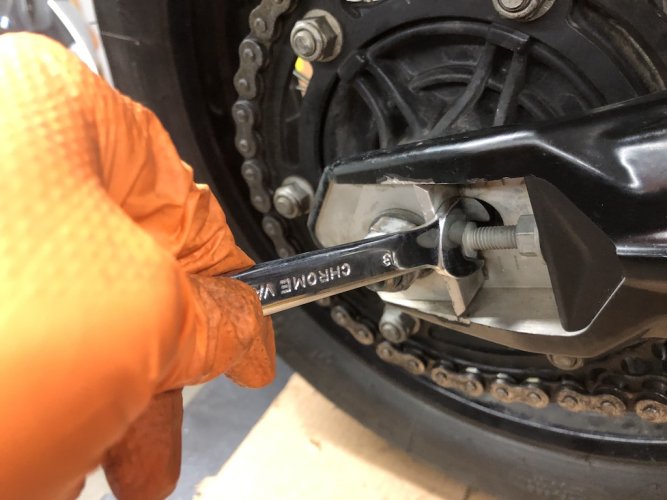
- 13 mm open ended wrench
- Torque wrench
- Measuring device
Last edited:

