• Welcome, Guest! We hope you enjoy the excellent technical knowledge, event information and discussions that the BMW MOA forum provides. Some forum content will be hidden from you if you remain logged out. If you want to view all content, please click the 'Log in' button above and enter your BMW MOA username and password.

    If you are not an MOA member, why not take the time to join the club, so you can enjoy posting on the forum, the BMW Owners News magazine, and all of the discounts and benefits the BMW MOA offers?

  • Beginning April 1st, and running through April 30th, there is a new 2024 BMW MOA Election discussion area within The Club section of the forum. Within this forum area is also a sticky post that provides the ground rules for participating in the Election forum area. Also, the candidates statements are provided. Please read before joining the conversation, because the rules are very specific to maintain civility.

    The Election forum is here: Election Forum

/5 ignition cover - how to bend those tabs?

nevada72

Vintage User
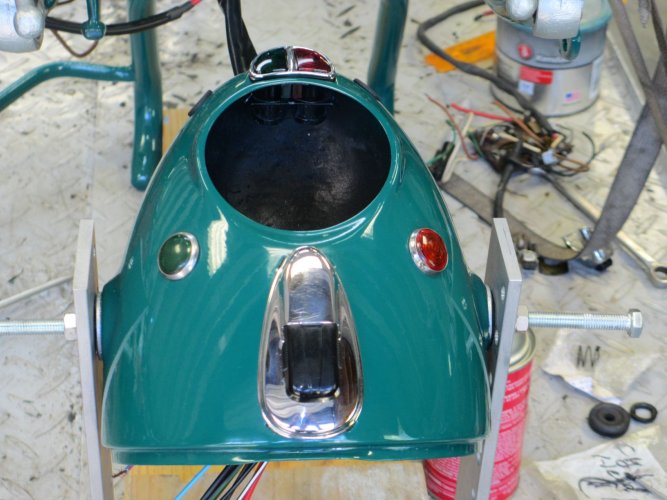
Hi all! Been slowly plugging along on the 71 /5 refurbish. I'm working on the ignition and I'm having a heck of a time trying to bend those tabs that hold the ignition cover in place -

ignition cover.jpg

My guess is some old German guy did about 20 of these an hour back in the day. Is there some sort of trick to it? I'm trying to tap them flat with a flat screw driver and hammer. Not going well. I'm thinking some sort of pliers maybe?

Any help would be greatly appreciated.
 
Are you talking about the four that are on the perimeter? I've never had to do those or seen how they're done, but one issue you might want to be aware of. If they're the tabs I'm thinking of, they can only be bent a small number of times. They get work hardened and eventually break off. They need to be heated up to basically cherry red and then allowed to cool...annealing them. This returns the metal to a more ductile form.

In looking again, maybe those are the tabs for the ignition cover...the sliding part? Probably still have issues with hardening over time. Maybe the four that are on the circle are the ones that hold the ignition board in place.

I probably wouldn't be beating them, but trying to find a way to pinch them or get them to roll over a bit so they can then be pinched or squeezed.

Thanks for the feedback!

Yes, it's the 4 silver tabs on the perimeter. For the ignition slider/cover.

The good news is that it's a brand new part so work hardened isn't an issue in this case. I may need to anneal the other 4 tabs for the circuit board. In hindsight I should have done that prior to the finish work. But if I do it carefully I should be okay.

But yes, I would think there is a way to squeeze the tabs down rather than tap them.
 
I built a jig to hold the shell!

Although this is a /s bucket the process is about the same. If you build a jig to hold the head light shell and then fasten it down nice and snug it makes the job a lot more manageable. I can rotate the head light 360 degrees if I need to and nothing gets in the way. I can then hold the cover down tight, I use a pair of 90 degree angle needle-nose pliers to bend the tabs down, multiple restorations and headlight refreshing and I've used the same method and pliers.
 

Attachments

  • going together.JPG
    going together.JPG
    225.1 KB · Views: 58
Nice little fixture, good job. Thx for sharing. I’ve been involved with several resto’s that involved /5’s. That switch is always a problem.
 
Although this is a /s bucket the process is about the same. If you build a jig to hold the head light shell and then fasten it down nice and snug it makes the job a lot more manageable. I can rotate the head light 360 degrees if I need to and nothing gets in the way. I can then hold the cover down tight, I use a pair of 90 degree angle needle-nose pliers to bend the tabs down, multiple restorations and headlight refreshing and I've used the same method and pliers.

I was thinking yesterday something to hold it would help. No matter how I try, I haven't managed to grow a 3rd arm for tasks like these. Great idea!
 
Back
Top