• Welcome, Guest! We hope you enjoy the excellent technical knowledge, event information and discussions that the BMW MOA forum provides. Some forum content will be hidden from you if you remain logged out. If you want to view all content, please click the 'Log in' button above and enter your BMW MOA username and password.

    If you are not an MOA member, why not take the time to join the club, so you can enjoy posting on the forum, the BMW Owners News magazine, and all of the discounts and benefits the BMW MOA offers?

  • Beginning April 1st, and running through April 30th, there is a new 2024 BMW MOA Election discussion area within The Club section of the forum. Within this forum area is also a sticky post that provides the ground rules for participating in the Election forum area. Also, the candidates statements are provided. Please read before joining the conversation, because the rules are very specific to maintain civility.

    The Election forum is here: Election Forum

Refreshing Glenlivet's ride

This is an example of what is referred to as a "Western Union Long Wire Splice"-

220px-Western_Union_splice.jpg


Rugged in its own right and a great start for even an "iffy" soldering job..........However-

In the marine industry, soldered connections have been replaced with a good quality, properly installed crimp connector. The reason the marine industry has moved from soldered connections is that a soldered connection does not "flex". Chances are a boat is taking more of a pounding that the average motorcycle.
With this information, I'm currently splitting the difference.
OM

BTW- when soldering electronic wires, kinda important to use solder rated for "electronics". The plumbing solder and fluxes are corrosive (usually).
 
BTW- when soldering electronic wires, kinda important to use solder rated for "electronics". The plumbing solder and fluxes are corrosive (usually).

I've been using rosin core solder. But I've also dabbed a bit of flux paste on the wires; should I not be using that?

Pete
 
A big NO! on the paste flux, unless it specifically says for electrical connections. Plumbing flux is not to be used for electrical.
 
Personally I use marine grade crimp connectors with heat shrink around them.
You need the proper crimp tool as not to ruin the plastic heat shrink coating. After crimping just use a heat gun and done... YMMV
 
+1 on "marine" grade crimp fittings.

No bigger enemy of electrical connections than a soldered joint; solder wicks up between the strands and you end up with a section of "solid" conductor ... prone to cracking from vibration.
 
While improving my soldering techniques I went ahead and ordered some marine grade connectors and a ratcheting double crimper. After practicing with multiple techniques I'll go with the one I do best with. Thanks for the input!

Mar26A.jpg
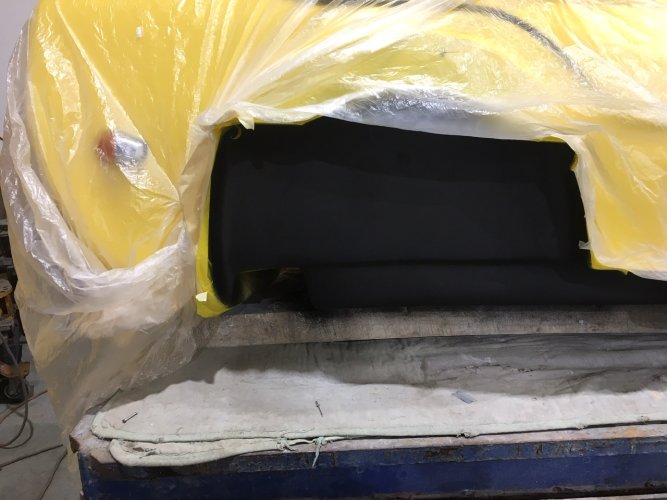
This morning I masked off the wheel well and applied undercoating. Of all the finishes I've tried, SEM seems to stand out so that's what I used.

Mar26B.jpg
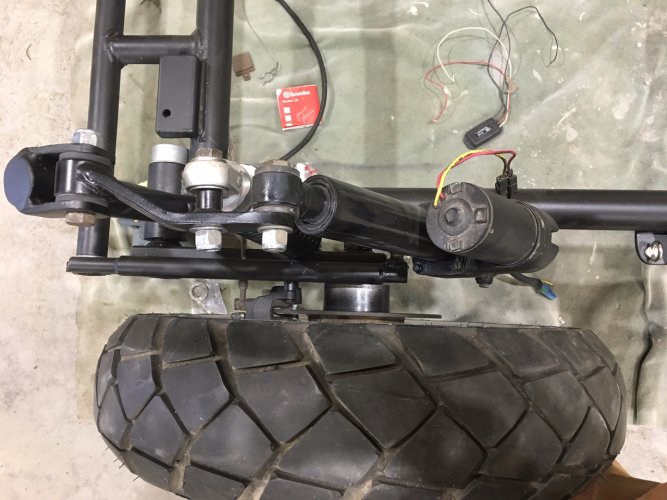
Some of you may recall I had experienced several bearing failures in the wheel hub assembly over the past 85,000 miles of hard use. Hannigan was good enough to rebuild it under warranty despite the age and the high miles, but I still get a bit of lateral movement in the sidecar hub. Much better than it was, but still there...and the nature of movement is that it gets progressively worse with use. Too late for this rebuild, but if it happens again I might have Miyagi-San machine a race and rebuild it using tapered bearings.

Mar26C.jpg
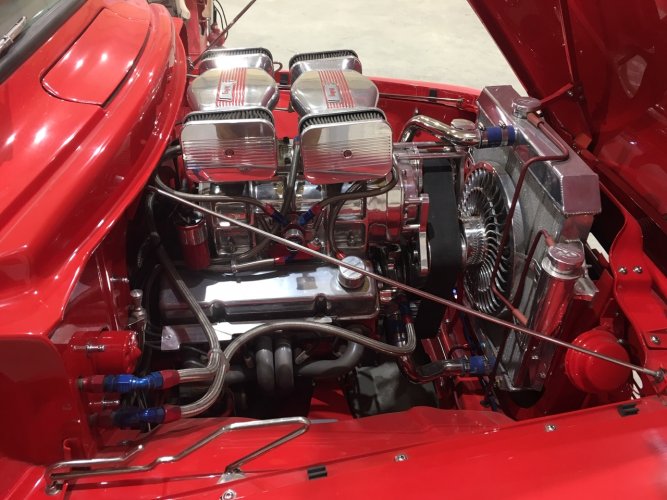
I've had several inquiries about what was under the hood of that 56 Ford in the shop. Here it is.

Mar27A.jpg
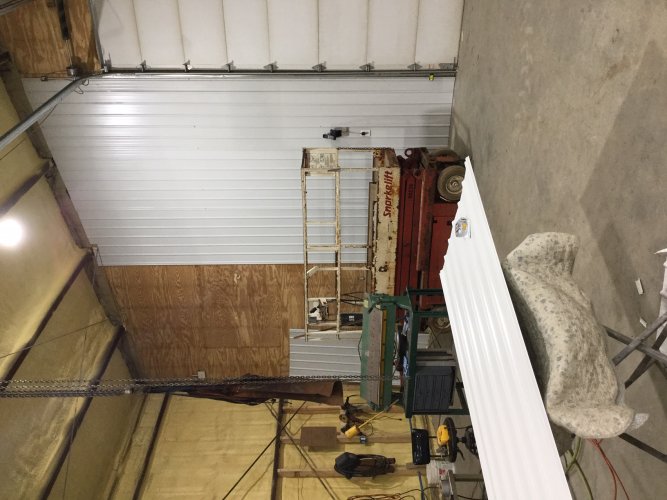
Much of the past day and a half was helping Miyagi-San trim and mount metal siding in the part of his shop where he does most of his welding and grinding. It went fairly smoothly till that last piece. That one had several cutouts for router cable, steel corner braces, and sill plates. We spent two hours measuring and remeasuring due to the many quirks in the concrete floor in that corner of the building. When we thought we had it all right we decided to measure one last time and came up with different results! Turns out I had been measuring from the floor and he had been measuring from the sill. After erasing all our pencil marks and doing them over - each of us checking our math before each mark - we got it right and that last panel slid into place perfectly!
 
It’s nice to the shop your friend has. ‘Round here, shops like that are looked at with distain............until “they” have a problem.
OM
 
It’s nice to the shop your friend has. ‘Round here, shops like that are looked at with distain............until “they” have a problem.
OM

It's kind of funny watching him do repairs. He comes from a big city where his specialty was fixing and modifying Corvettes, Bimmers, Jags and the like. Everything had to be absolutely perfect when it left his shop. But this is a very aggie region. When a farmer brings his manure spreader in for repairs he expects a solid weld. Everything is about function. Watching their expressions when they come back to find the thing pressure washed and glistening makes me smile inside. Last week a local prize winning cheesemaker drove their tanker truck up to the shop with the battery hanging by the cables. The battery box had completely rusted out and the battery fell through. When he finished the job the battery box was a flawless gloss black thing of beauty fabricated from 3/16" steel, with drain holes in the bottom and rubber bumpers inside the hinged top. When they fired up the engine big flakes of rust fell from the entire silhouette of the truck...except for beneath the battery box, which was pristine.
 
That truck looks awesome!!!:thumb
That is the kind of workmanship that makes for a great reputation. You're lucky to be able to use a shop like that.:dance
 
Cast.jpg

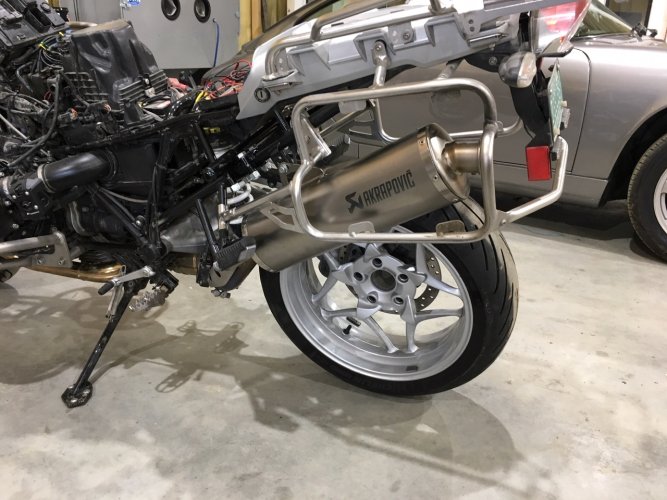
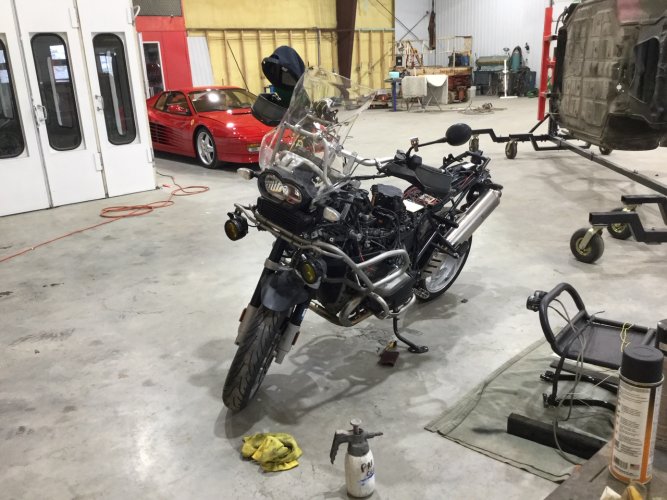
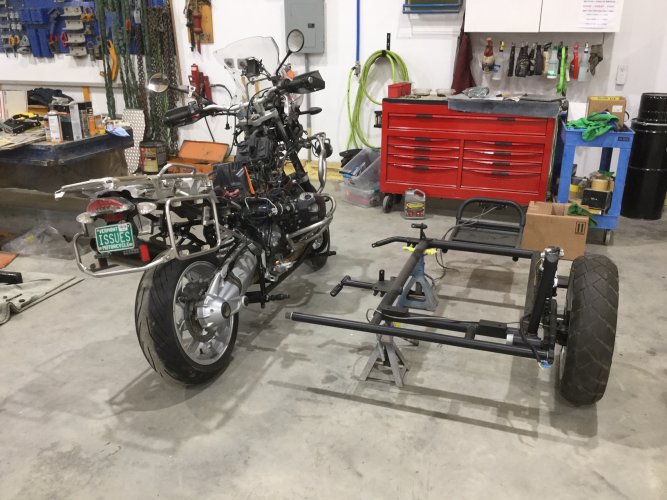
With the 2010 donor GSA stripped of most of the sidecar-related parts, the 2012 recipient GSA was trailered to the shop. Now begins the detail work of transplanting the wiring and brake lines...and hoping like heck BMW made no changes between those years that will present a challenge when attempting to install the subframe on the newer bike!

As mentioned before, since my dog protests on anything rougher than a well-maintained dirt road, I'm giving up the spoked wheels and converting to cast. The front is off an R1200RT. The TPMS won't fit on that rim unless I drill a 12mm hole in the rim opposite the existing valve and machine a camber into the edges. That might be a next winter project as the snow depth is now down to two feet and I'm itching to ride! The rear rim is off a K1200; the TPMS on that rim will be a direct transfer from the GSA.

The Akropovic is much narrower than the OEM, and provides needed space for the wider tire in the rear. Currently it has a 180/17 MC tire but like many GSA sidecarists I prefer a 175/17 car tire as a pusher. Without the Akro headers the Akro can is just a tiny bit louder than stock. I'm not into noise so that works for me.
 
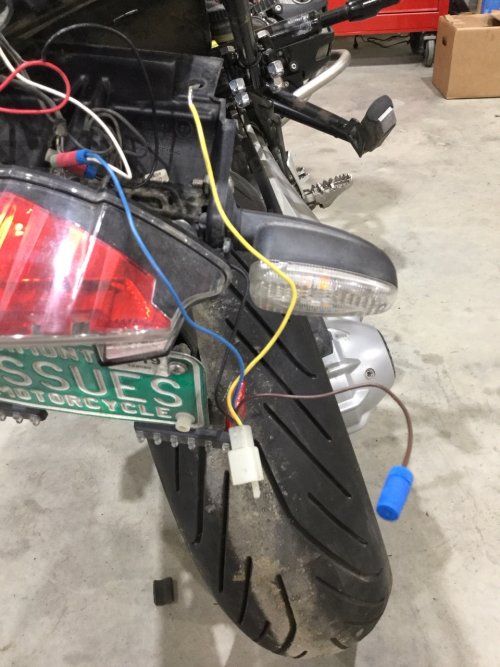
It seemed to me, in my state of electrical ignorance, that in order to have brake, tail and marker lights on the sidecar one would have to tap into the brake and tail light wires on the bike, plus a ground. Three wires. So I don't understand the spaghetti-like bundle with two sealed black boxes and three quick disconnects that resided under the rear cowling of the donor bike. Six wires from the last black box to the sidecar, plus a hot and a ground going directly to the battery.

Mar29C.jpg

I'm sure it has something to do with the CANBus, but what a pain!

Mar29B.jpg

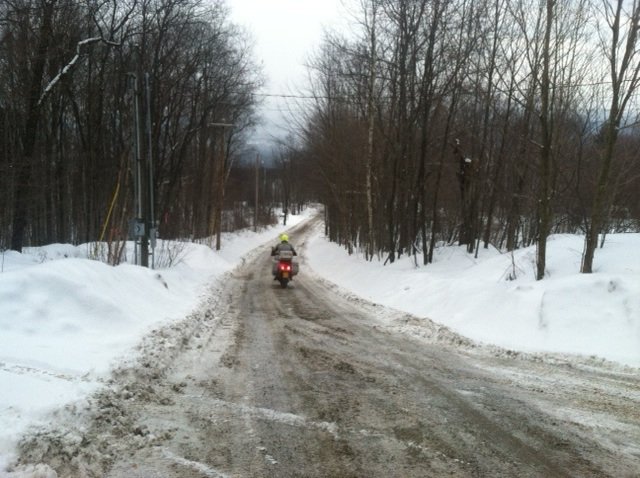
FebruaryRide.jpg

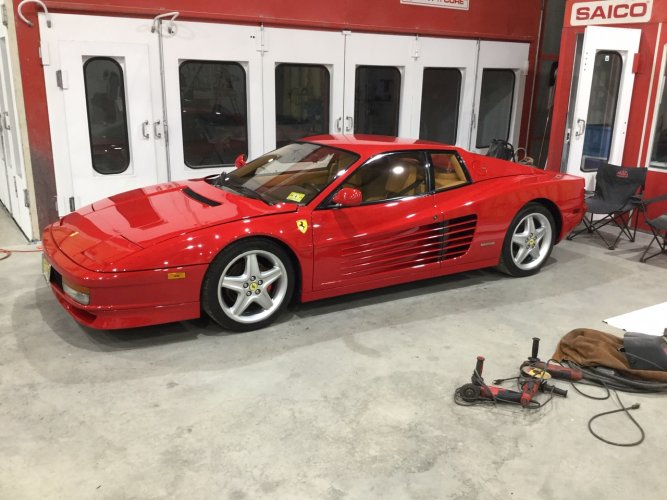
I was right in the middle of examining the bike for corrosion that needed to be addressed while it was apart (this was, afterall, my winter commuter bike so had seen a bit of salt) when a very distinguished gent in his 80s entered the shop. He asked for and got the grand tour, paying particular attention to the level of detail Miyagi-San showed in his work. Oddly, he pretty much ignored the Porsches, the chopped '56 Ford, and even the Ferrari. He turned out to be a restorer of really old cars. He had in the past had them shipped to Texas for repainting, but wanted to do business locally. Miyagi-San passed the test and will be painting his 1903 single cylinder Rambler, and possibly his Bugatti 50t! We get a tour of his garage this coming Sunday

Mar29D.jpg
 
Apr03A.jpg

I was doing well tracing out the wires and identifying which did what, though the spring thaw after near record amounts of snow generated so much mud I had to drive the trusty John Deere tractor through town to reach Miyagi-San's shop a couple of days. I made the connections between the sidecar "Black Box" and the brake/tail/turn signal wires on the back of the bike, used an artist's brush to apply POR15 to some areas of surface rust on the frame...and then came to an all stop.

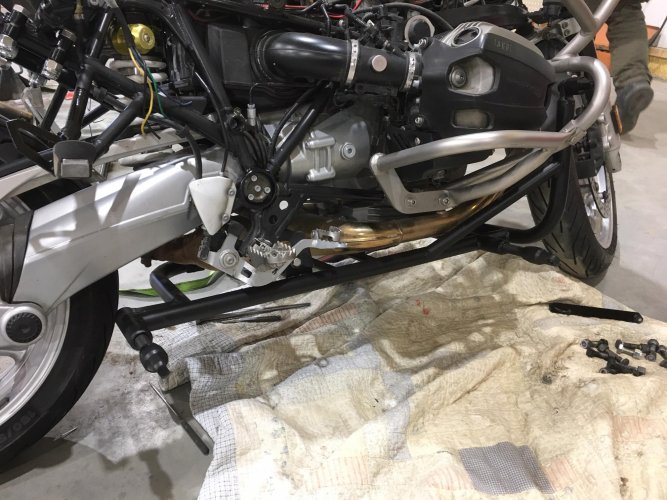
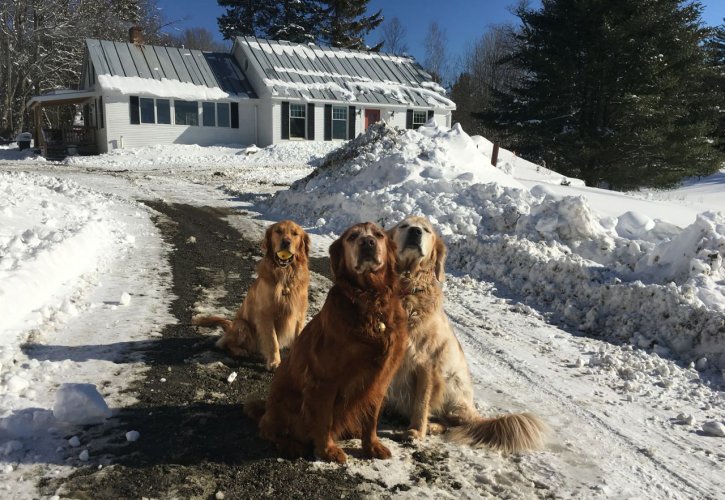
I'd been dealing with a mild head cold for a week, but Sunday morning I rolled over in bed and my head spun so badly I fell to the floor, crawled to the trashcan and spent several minutes trying to empty my already empty stomach while being jostled by three very worried golden retrievers. That was the day I was supposed to have toured the shop with all those antique cars in it, but I was in no condition to go anywhere. Just turning my head or getting up too fast had me staggering around like a drunk! Spent three days battling vertigo from an inner ear issue. A cocktail of phenergan and prednisone finally helped me get on top of it, though rolling on the floor with my dogs is still a no-no. I was, however, able to roll around under the bike long enough to get the bike's subframe loosely mounted; no tight fasteners till all the pieces-parts are in place.

The dogs have been letting me know I've been spending too much time away from home.

MarchSnowCrop.jpg
 
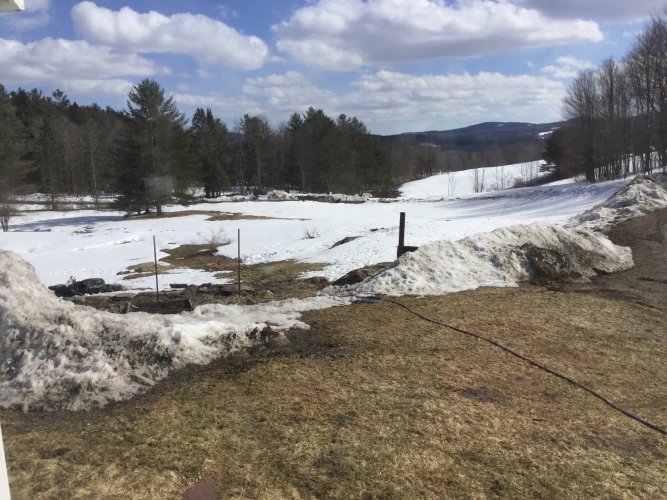
The snowpack is rapidly receding, though we had another inch last night and 1-3 inches is in the forecast before the weekend. And though the snow leaves behind axle deep mud that makes two wheeling a messy affair, the bottom line is I'm feeling pressured to catch up for sick time. To those who recommended marine grade connectors - thank you! The Amazon care package arrived yesterday and after a few practice splices I was greatly impressed!

APR4D.jpg

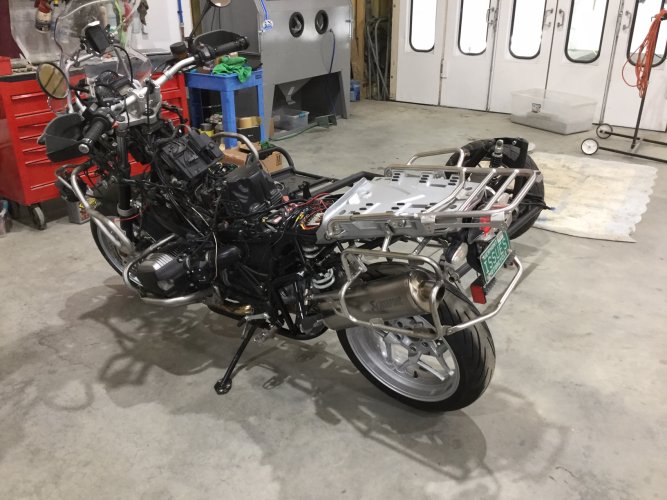
I snapped a one-of-a-kind bolt last night so started today with a run to the hardware store to get a replacement. With that part I finished attaching the subframe to the bike, snaked the camber control wiring through the frame, reattached the tail light, rear cowling, and pannier racks. I was going to start splicing the wiring harness, but decided to hold off till the bike is mated with the sidecar subframe so I could get a better feel for how long the harness should be.

APR4B.jpg

I wasted a lot of time today so wanted to share a couple of lessons learned. 1) Normally I label a chunk of foam with the area of the bike and stick those fasteners right into the foam, but I had run out of foam and cardboard so resorted to little bags. While I had carefully placed each fastener in those ziplock bags that were marked with where they went, I should have been more specific. Left front made sense for a couple of days, but as the days stretched into weeks I found myself picking up those ziplocks and asking myself, "Left front of what?" 2) Pay attention to the sequence as you disassemble the rig. Several times today I had to backtrack when I discovered that while Tab A might fit just fine into Slot B, if you don't first insert Spacer C into Hole D you have to take it all apart and start over. Both the Haynes manual and Jim vonBaden's DVDs show the proper sequences and I should have reviewed them before starting. But finally I reached the point where the bike and the tub's subframe were ready to tie the knot. That will happen tomorrow unless my carefully written notes have big gaps.

APR4C.jpg

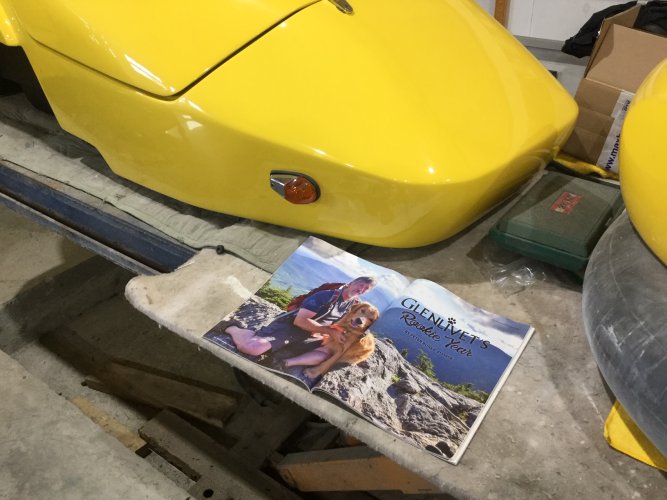
I put my copy of our ON article next to the tub as motivation to finish the job and as a reminder of the adventures still to come with a remarkable dog at my side! When I'm feeling down and ragging on myself for lack of progress, I sit down and reread the article, then leave the pity party behind and move on!

APR4A.jpg
 
Back
Top