• Welcome, Guest! We hope you enjoy the excellent technical knowledge, event information and discussions that the BMW MOA forum provides. Some forum content will be hidden from you if you remain logged out. If you want to view all content, please click the 'Log in' button above and enter your BMW MOA username and password.

    If you are not an MOA member, why not take the time to join the club, so you can enjoy posting on the forum, the BMW Owners News magazine, and all of the discounts and benefits the BMW MOA offers?

  • Beginning April 1st, and running through April 30th, there is a new 2024 BMW MOA Election discussion area within The Club section of the forum. Within this forum area is also a sticky post that provides the ground rules for participating in the Election forum area. Also, the candidates statements are provided. Please read before joining the conversation, because the rules are very specific to maintain civility.

    The Election forum is here: Election Forum

Refreshing Glenlivet's ride

APR6C.jpg

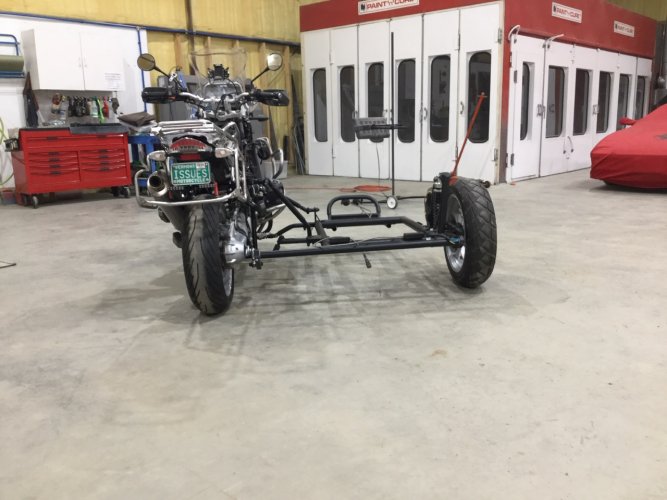
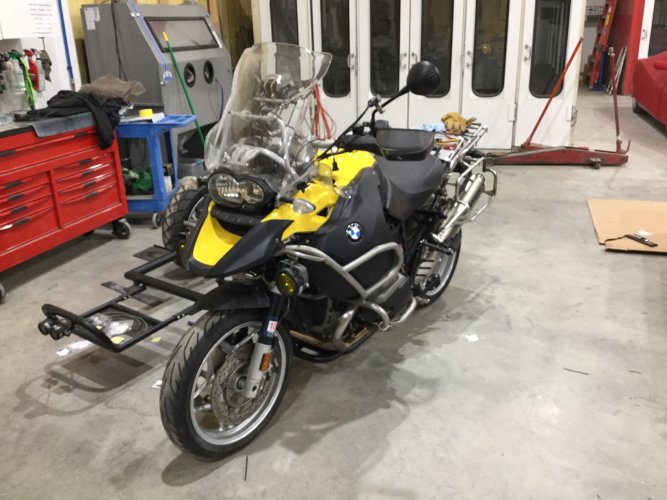
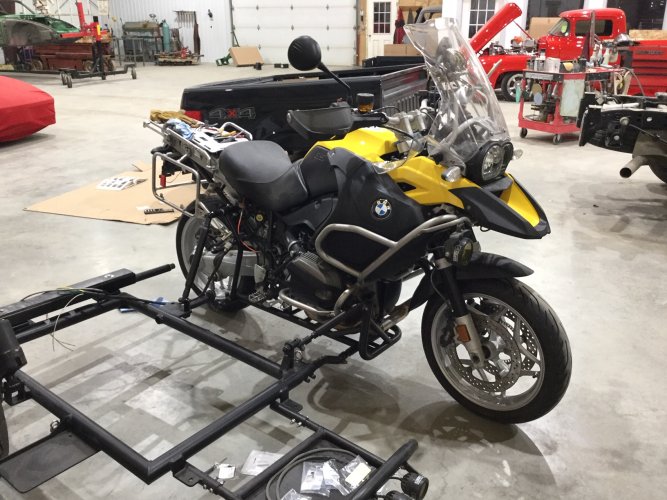
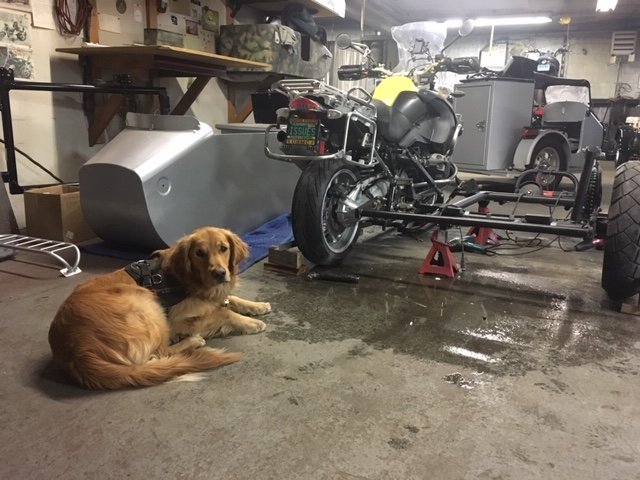
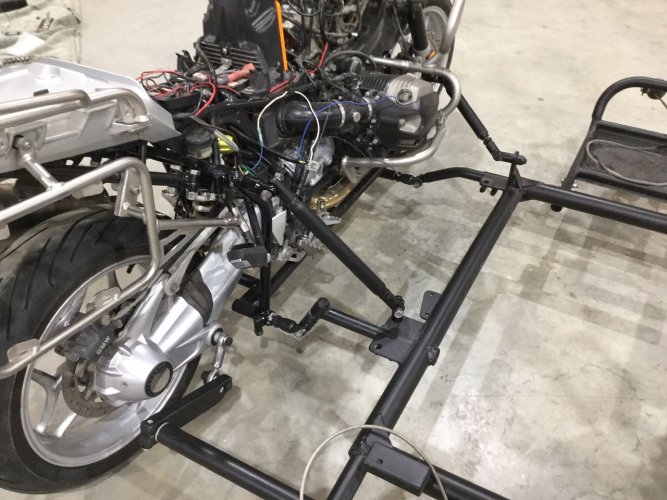
We have a mated pair, with a few hiccups. First, you'll notice the bike leans slightly to the left and the sidecar subframe has a slight list to port. While I'm not sure that's correct, it was intentional. When I add weight to the sidecar shock tower approximating what the tub, Glenlivet, and all our gear weighs the rig straightens up. But I have a few concerns
APR6D.jpg

The donor bike was a standard height GSA. The recipient bike is one inch lower than standard. The recipient also has 17" wheels on all three corners, so all that lowering means the bike's subframe and the tub's subframe didn't quite mate up. To make them meet I had to rotate the stubs coming off the sidecar subframe from 8 o'clock to 6 o'clock and use every bit of adjustability in the upper arms both front and rear. There is room to move the stubs coming off the bike subframe out an inch, which would give me some play in the upper arms, but doing so would move the swaybar torsion bar out so the heim connector fell at an awkward angle. I suspect the issue was rotating those stubs moved the sidecar subframe an inch forward from its previous position, so the torsion bar needs to be lengthened accordingly. That's way beyond my skillset but thankfully Claude Stanley offered his help when I get the rig to him.
APR6E.jpg

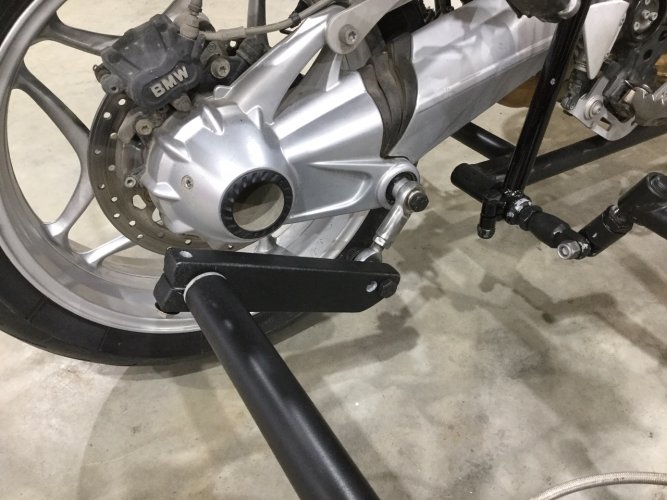
Here's a better view of the torsion bar issue. First, the lower rig dropped the torsion bar even lower to the ground, seriously impacting my clearance. Secondly, that heim connector should drop nearly vertically from the FD pivot point to the torsion bar, but because the subframe shifted it now points back at an inefficient 45 degree angle.
APR6F.jpg

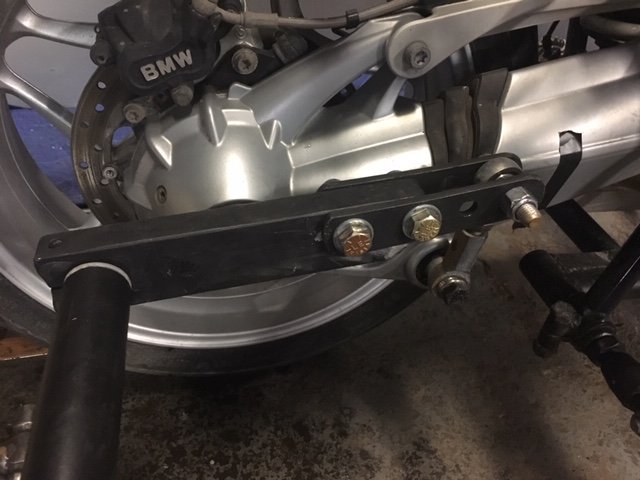
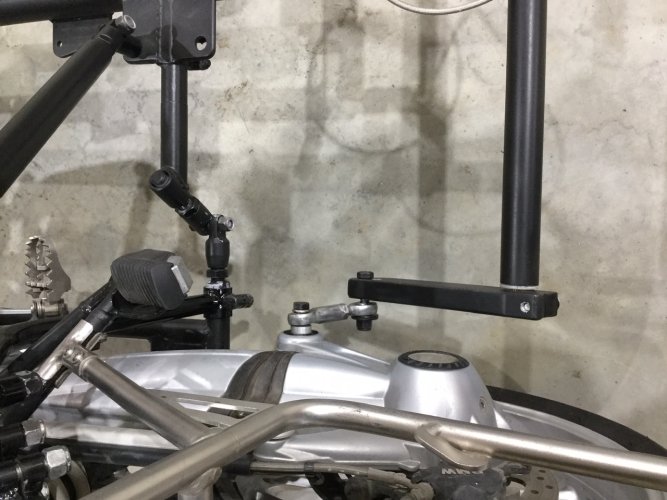
Same assembly looking down. You can see how tightening up the fastener will make the angle of the heim connector even more problematic.

Since the swaybar isn't critical for normal handling, the plan is to continue with reassembly then drive down to Claude's shop in PA and have the torsion bar replaced and the rebuilt rig gone over by the experts.
 
Thanks again for taking the time to post your pictures and progress on this project. Who knew there was so much to consider when attaching a side car to a motorcycle (at least, I didn't know)? The journey has likely been more enjoyable for us readers than you, who have had to deal with all the challenges. Ha!

Onward!!
 
I got most of the wiring done. There are still two runs to complete. The first is a direct connection to the battery as the electric camber control needs 25A, which is more than my fuse block can handle. The second is the hot and ground from the Hannigan black box under the rear cowling. It originally went to the battery with a 25A fuse, but since I eliminated the headlight all that's left is to power the sidecar's brake, tail and running lights as well as the turn signals. I think that will fall below the 20A max on my fuse block so that's where I'm routing it. If I'm wrong, the fuse will blow and I'll have to reroute for yet another battery connection...but I think it will work fine.

So today all the bike's painted parts were reinstalled, a Powerlet port added to the beak, and all fasteners checked for proper torque. I'm a little spooked by the connections between the subframe and the sidecar frame as the newer bike is not only an inch shorter than the old one, but has a 17" wheel up front. So this weekend I'll load the rig (sans tub) onto my trailer and drive it to Pennsylvania where Claude Stanley and his team can tweak it and correct any mistakes I made. As luck would have it, some friends of ours have a camp about an hour from Freedom Sidecars, so Glenlivet and I will stay there and have a mini vacation with day trips to play the tourist thing. Letchworth SP, Gettysburg, and Lancaster County are all equidistant from the camp.

APR10A.jpg

APR10B.jpg

When the rig is properly dialed in we'll trailer it home and install the tub, run the wires to the lights, and start our training rides for the trip to Tennessee!
 
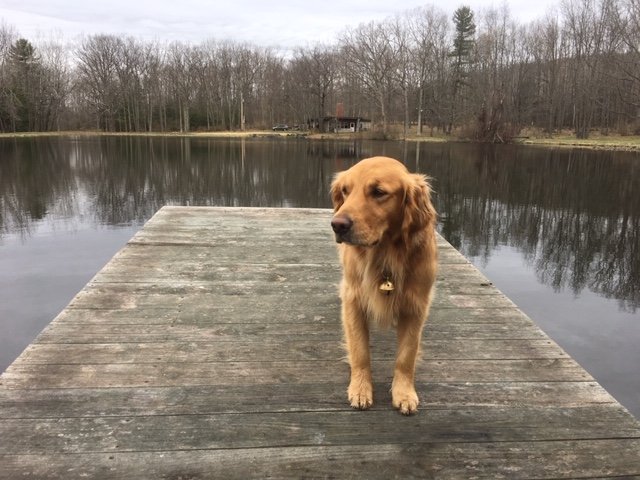
Glenlivet and I spent the last several days in Pennsylvania. Having been defeated by the geometry of the sidecar mating process, I trailered the bike with the attached sidecar frame (sans tub) to Freedom Sidecars to let Claude Stanley and his experts deal with it. We stayed two hours north at the camp of some close friends in the golden retriever world. It's a place with special memories, as in years past my soul dog and original sidecar buddy, Barley, stayed there at the beginning and end of our annual adventures. There was a birdhouse mounted on a tree just beyond Barley's reach, and those who knew him will remember his drive to kill anything with fur or feathers. He managed to get one tooth in the lower corner of the birdhouse, but never got any snacks. Over the years since his loss - assisted by Tulliver, Kazoo, and mostly Glenlivet - the pain has morphed into cherished memories. On our last day in camp I spread some of Barley's ashes under that tree. In years to come Glenlivet will help me spread more in the places Barley loved: the Great Lakes, the Pacific Coast, the Rockies and Bighorns, Beartooth Pass, Crater Lake and Mount St Helens...

APR17A.jpg

APR17B.jpg

While the camp is truly lovely, it was primitive camping this time. I'd packed after a quick look at Weather.com assured me of temps in the low 70s. I should have checked again as the week progressed, as my shorts and Hawaiian shirts offered little protection from temps in the 30s with sleet, torrential rain, and even tornado warnings! The hot water heater was on the blink, so every morning a large pot of water was heated on the stove and used for personal hygiene. Worse, the sole source of heat was wood, but the woodstove had a large crack in the side and was unsafe to use. So sleeping was done fully dressed, wrapped in two lightweight fleece blankets, and with a dog on top for warmth.

APR17D.jpg

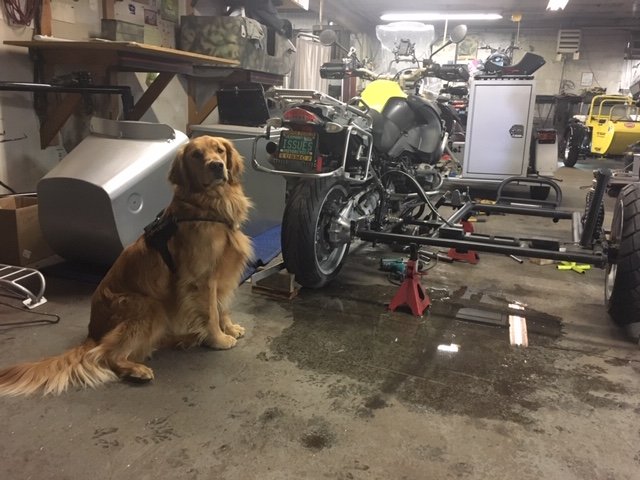
We survived the tornado warnings, severe thunderstorms, and torrential rains of Sunday. Monday we trailered the rig (sans tub) a hundred miles south to Claude's shop. I brought Vermont beer to make them happy, a case of coffee to make them work faster...and a six pack of Ensure for Claude. He asked what it was. I told him it was like beer, but for really old people. He took a sip and became addicted. I wheeled the rig inside where three of the experts in the sidecar world stared at it with sullen expressions. It did not give me a good feeling about the outcome. Claude raised an eyebrow and gave me The Look. "Make it right," I told him. "I need to know my dog is safe."

APR17F.jpg

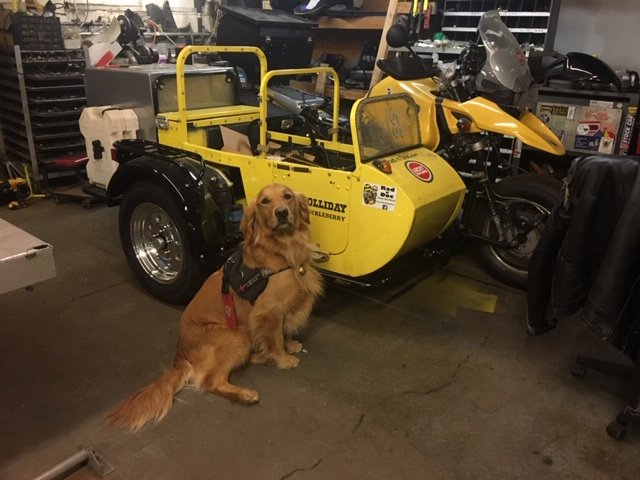
Glenlivet sniffed around the shop till he came to the bright yellow rig belonging to Randy and Doc, then turned to me with his this belongs to another dog look. I hope our two dogs get to play on a beach somewhere, someday...

APR17G.jpg

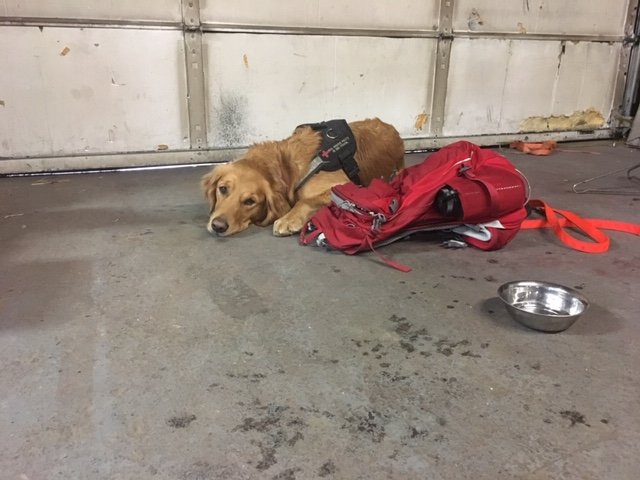
Supervising was hard work, and Glenlivet got bored so we drove back to the camp and froze another night. Tuesday we drove back to Middleburg with a dozen donuts as a shameless bribe. Claude, Bob, John and Angie had stayed late Monday and got a lot done! I examined their work and knew I never would have figured out how to marry the two halves of such differing heights. Knowing when you're in over your head is a good skill to have!

APR17I.jpg

Ten hours of labor (well, maybe five hours of labor and five hours of talking to folks on the phone), a few modifications and new parts, and the rig looked great! The only thing I might change is ordering a longer aluminum bar connecting the swaybar splines to the heim connector on the final drive. They modified the existing one with steel extensions. It's functional, but looks like Forrest Gump's leg braces and the bolt heads are uncomfortably close to the final drive.

APR17H.jpg

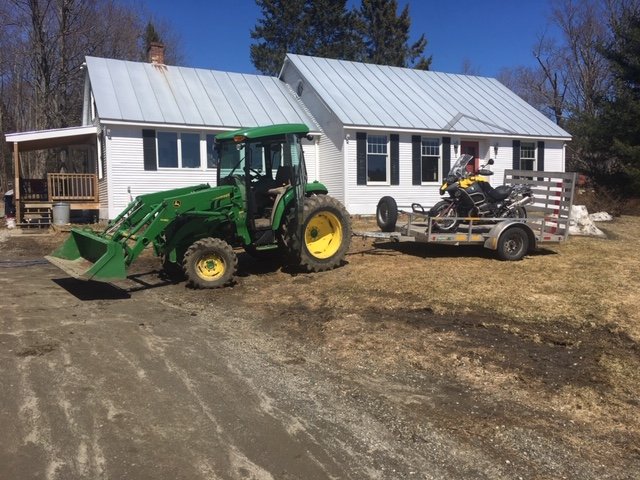
Tuesday late afternoon we loaded the rig back on the trailer, said our goodbyes, and returned to the camp for one last cold night. I went to bed at 10pm but was awakened at 1:30am by another round of storms. I've always had trouble going back to sleep after being awakened, so tossed in the towel, did my morning sponge bath routine, and hit the road at 3am. I allowed plenty of play breaks for Glenlivet, and we rolled into our driveway at noon. Miyagi-San's driveway was still a sea of mud, so I transferred the trailer from the Toyota to the John Deere and muscled my way to his shop.

APR17J.jpg

APR17K.jpg
 
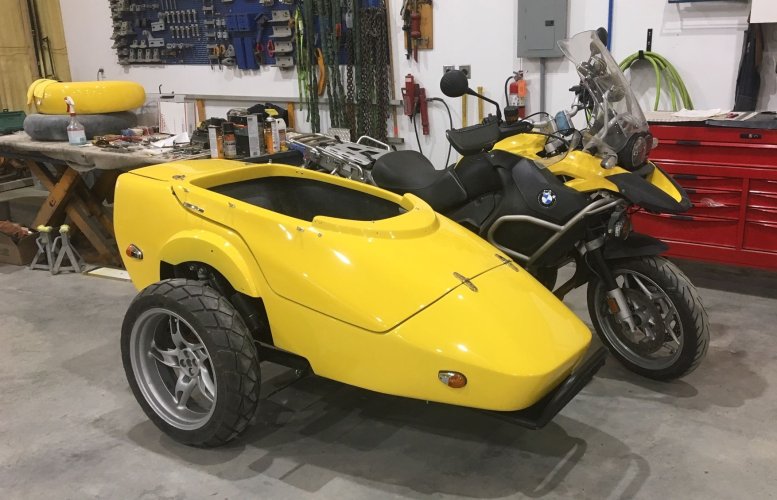
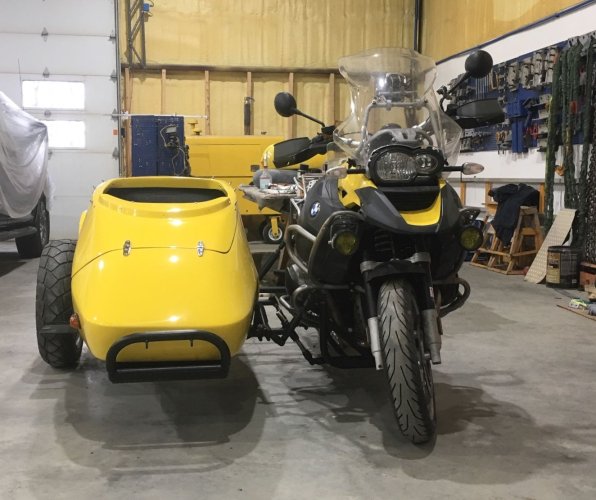
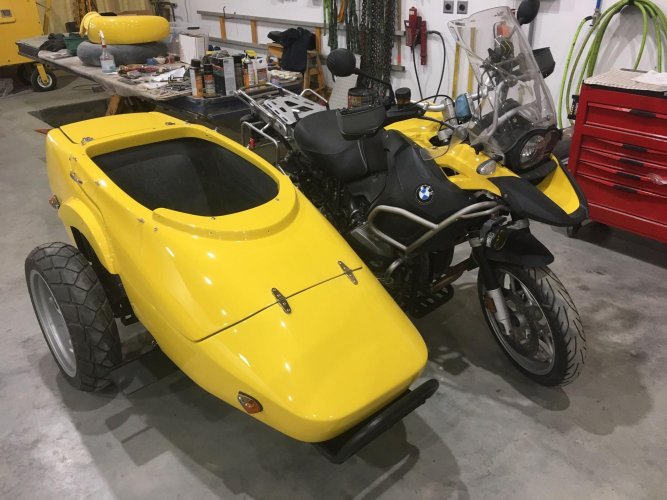
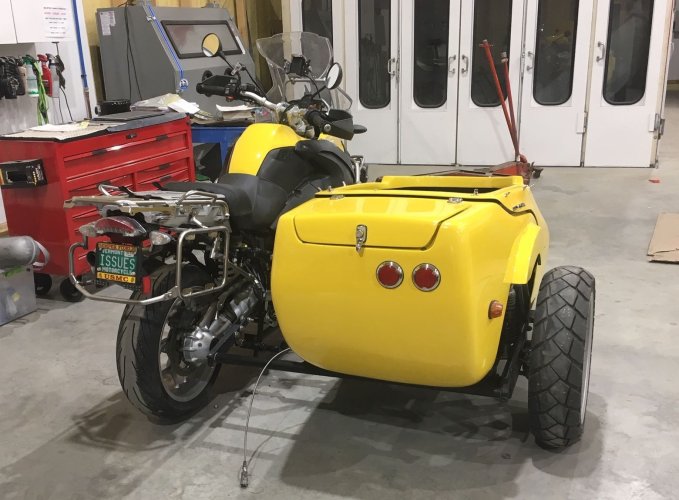
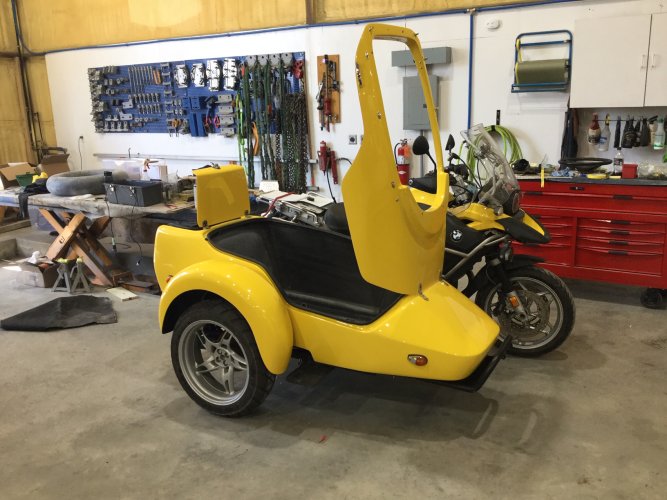
Yesterday I sealed up all the voids in the sidecar frame and support arms with 3M Window Weld. Good stuff, weather and bombproof. I let it cure overnight and today mounted the tub on the frame!

It's beautiful!

IMG_2158.jpg

IMG_2159.jpg

IMG_2160.jpg

IMG_2161.jpg

I'm waiting on my close cell foam order to arrive from McMaster-Carr so I can mount the fender and the windshield. Still have some wiring to do, but it seems pretty straightforward compared to the wiring on the bike.
 
APR23A.jpg

Time to start with the wiring. First I connected the camber control unit...and immediately blew the 25A fuse. Replaced it, and it immediately blew again. Crud! Unplugged the ECC and used a portable battery pack to confirm that it did, in fact, work. Certain that I had a bare wire in a place that required me to remove the gas tank again, I decided to check the other end of the wiring harness first - the toggle switch on the mirror mount. It looked fine, but as long as I had it apart I decided to check the wiring diagram I'd created when I took the thing apart four months ago. Sure enough, one of the wires was on the wrong terminal! Made the switch and it worked perfectly!

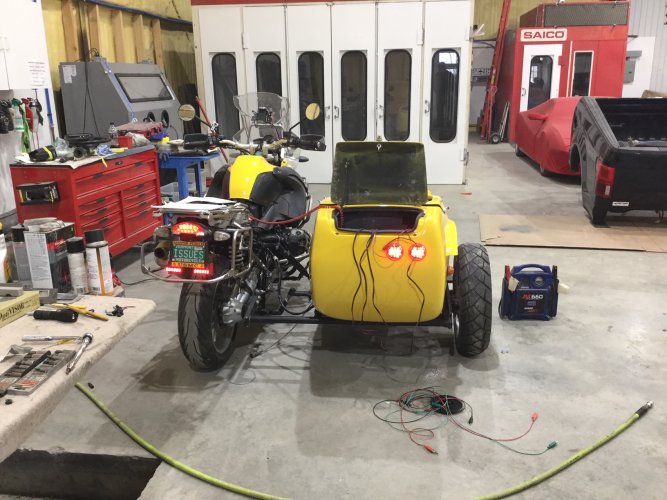
So I moved on to the longest wire run on the sidecar, the front marker light. Identified the four other wires coming from the bike as ground, running lights, brake lights, and right turn signal. Spliced extensions onto the wires and routed all but the brake up to the nose. The front marker and turn signal functioned properly. Time to move on to the rear of the tub. I broke out the jumpers and made temporary connections to the rear marker and the twin tail lights.

APR23C.jpg

It worked! I had lights!

APR23D.jpg

I checked my connection notes and made semi-permanent connections using PosiLocks and PosiTaps. Nothing worked. No lights. Crud! I futzed with the connections for a couple of hours trying to find the bad one. No luck. So I removed all the Posi connectors and went back to the jumpers. Everything worked fine. I tried using the marine grade crimp connections with the waterproof shrink tubing but my shoulders were just too wide to fit enough of me into the trunk to hold the wires together while using the crimper. I'd used them in other, more open areas but in these cramped quarters it just wasn't going to happen. Frustrated, I resolved to practice my soldering tonight and get a fresh start tomorrow.

So I moved on to mounting the fender. Looks pretty good, huh? (Eh? to my Canadien friends.)

APR23E.jpg
 
Your wiring issues remind me of the fun I had when my late wife's MGB came back from the body shop, many years ago.

Is that a Testa Rossa under the red cover?
 
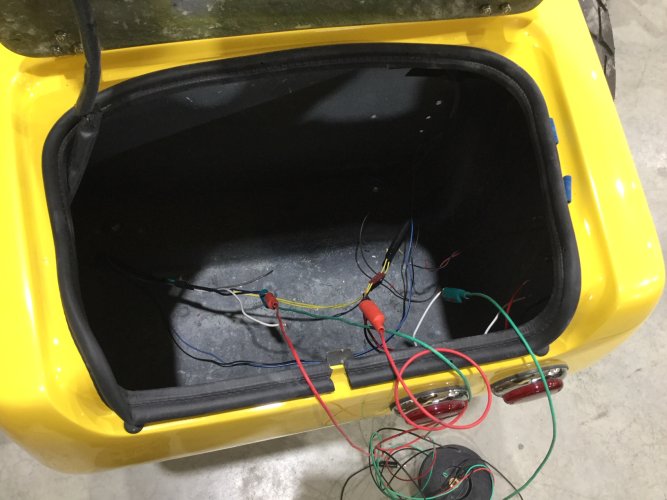
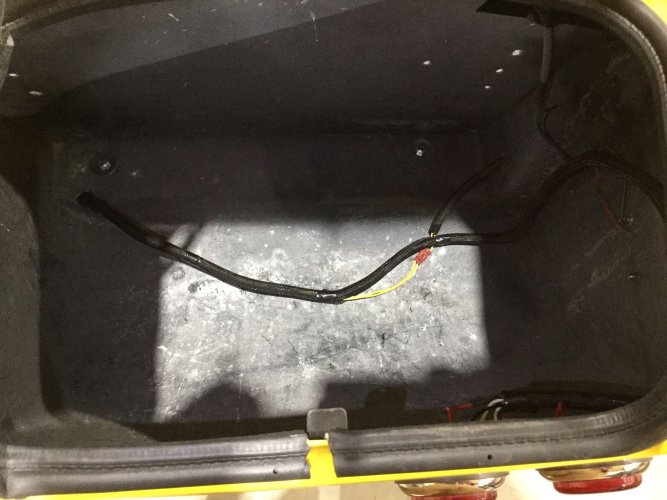
TrunkWires.jpg

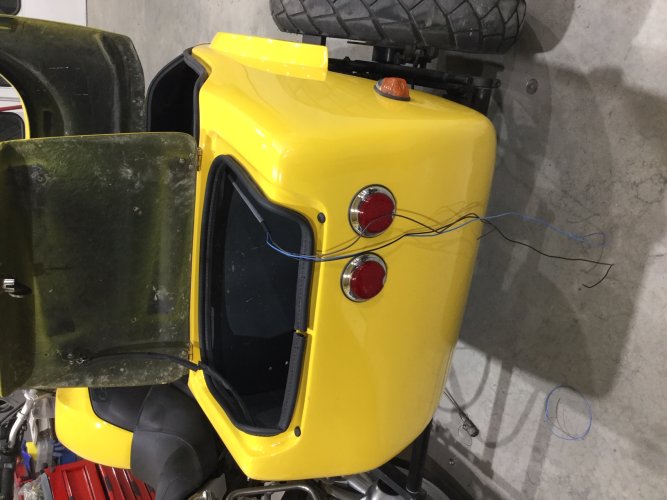
Well, the wiring is done and nothing blew up or caught fire! Some of you may remember the rat's nest of wires and ScotchLok connectors I found under the trunk carpet as I started my sidecar rebuild project. Here is the "after" shot, with the staggered solder connections double shrinkwrapped and tucked inside a wire loom. Everything works, and those dual LED taillights on the trunk GREATLY enhance our conspicuity from the back! The only oddity was the rear marker light is much brighter than the front marker. I don't remember if it was that way before, but since the front doubles as a turn signal it makes sense that it would only be that bright when the right turn signal is activated. Nevertheless it's bright and very noticeable from the side, which is a plus in my book.

I still have a few loose rivets to drill out and replace, a bit of cockpit molding to install, the windshield has to be installed, then marked for snaps with the ragtop in place so Glenlivet has protection from the elements on our trip to Tennessee. The bike is overdue for a state inspection, and I still haven't decided on the best way to secure the clamshell without looking quite so industrial. But it looks like this weekend will be our post-rebuild inaugural ride...and the start of training for this year's adventure!
 
Is that a Testa Rossa under the red cover?

Naw, I'm sure he jusr bought a Testa Rossa car cover to cover his lawn tractor.


There is nothing on four wheels that has the destinctive rear haunches of the '84-'96 Ferrari Testa Rossa and the subsequent F512TR and F512M with their side mounted radiators and cheese grator side strakes.


:dance:dance:dance
 
@Rinty - The irony of it it since he moved to Vermont from Jersey he hasn't been able to take the Ferrari or the chopped '56 Ford out for a spin. Neither has sufficient ground clearance to handle his driveway!
 
Back
Top