• Welcome, Guest! We hope you enjoy the excellent technical knowledge, event information and discussions that the BMW MOA forum provides. Some forum content will be hidden from you if you remain logged out. If you want to view all content, please click the 'Log in' button above and enter your BMW MOA username and password.

    If you are not an MOA member, why not take the time to join the club, so you can enjoy posting on the forum, the BMW Owners News magazine, and all of the discounts and benefits the BMW MOA offers?

  • Beginning April 1st, and running through April 30th, there is a new 2024 BMW MOA Election discussion area within The Club section of the forum. Within this forum area is also a sticky post that provides the ground rules for participating in the Election forum area. Also, the candidates statements are provided. Please read before joining the conversation, because the rules are very specific to maintain civility.

    The Election forum is here: Election Forum

Refreshing Glenlivet's ride

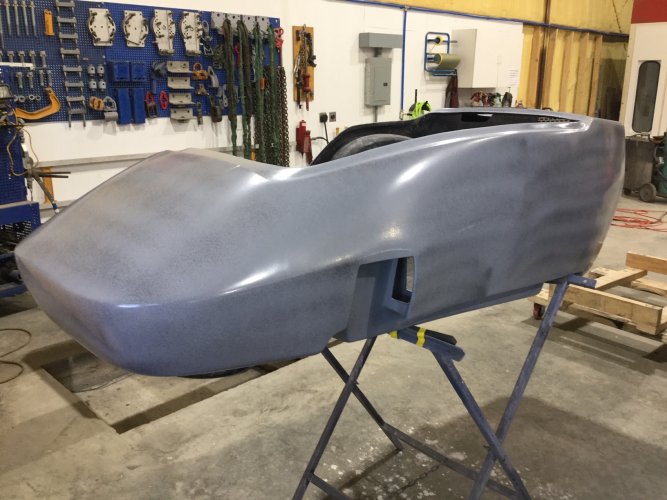
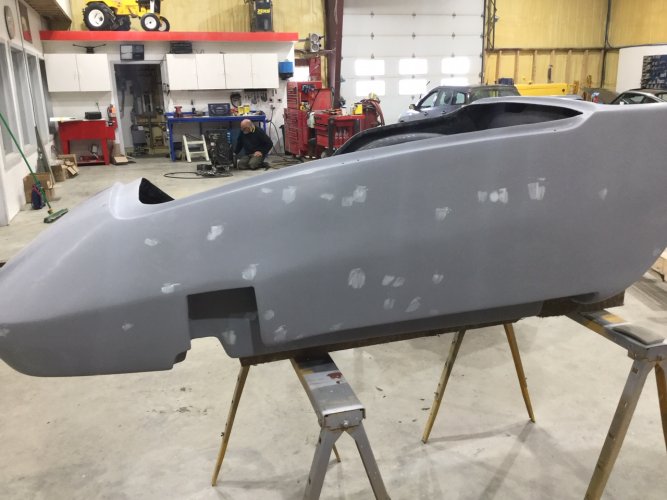
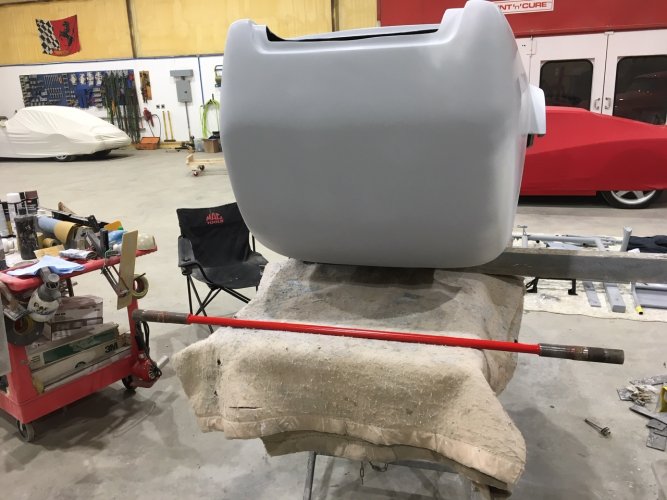
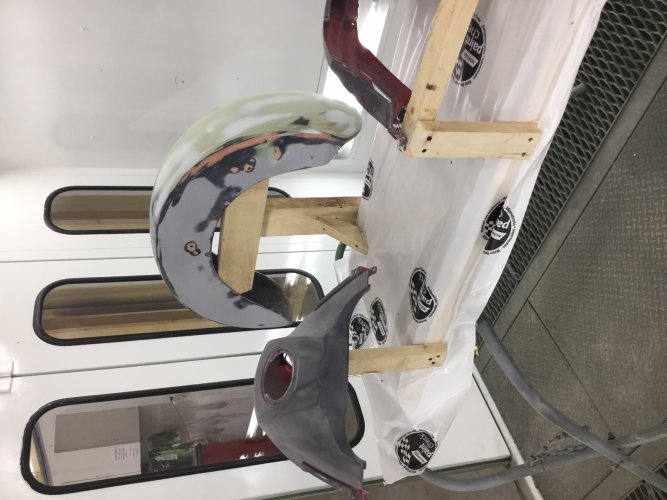
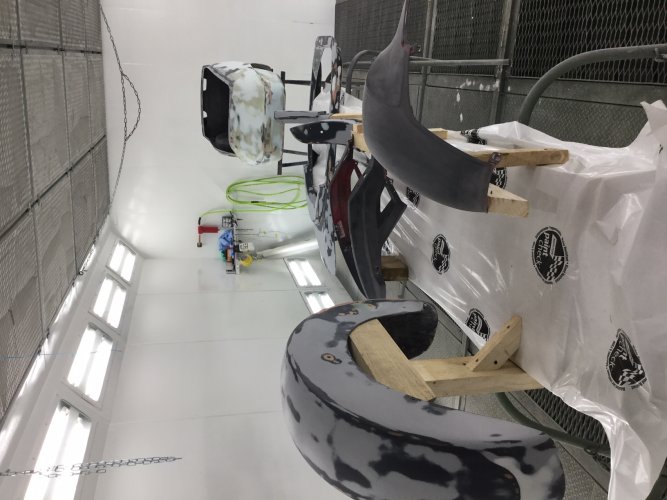
A huge step forward today! All the fiberglass and plastic parts got a double coat of epoxy sealer. Paint often looks slightly different when sprayed over dissimilar surfaces. The epoxy prime seals all those pieces parts no matter what their composition, providing a uniform base for the next coating. Next comes a LOT of wet sanding with 400 grit, then two layers of high build primer, more sanding, and finally the finish coat.
FEB8B.jpg
FEB8A.jpg

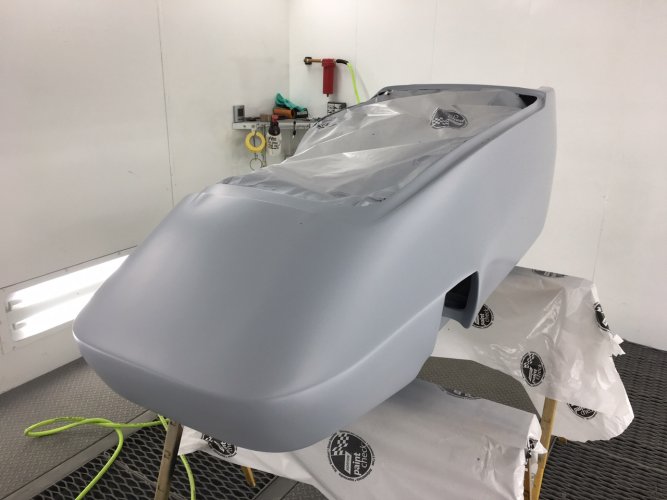
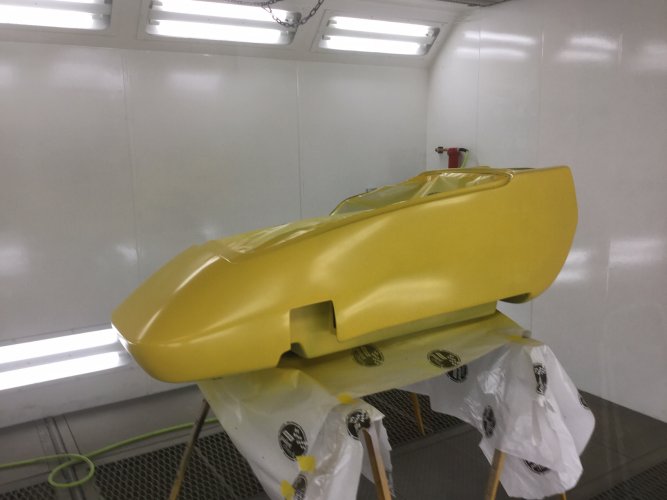
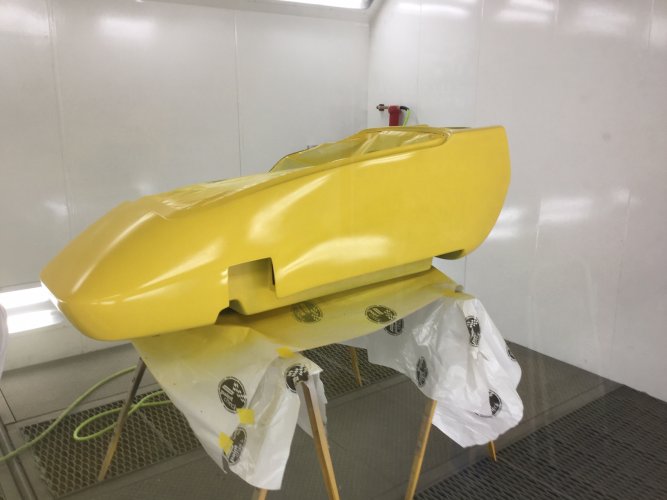
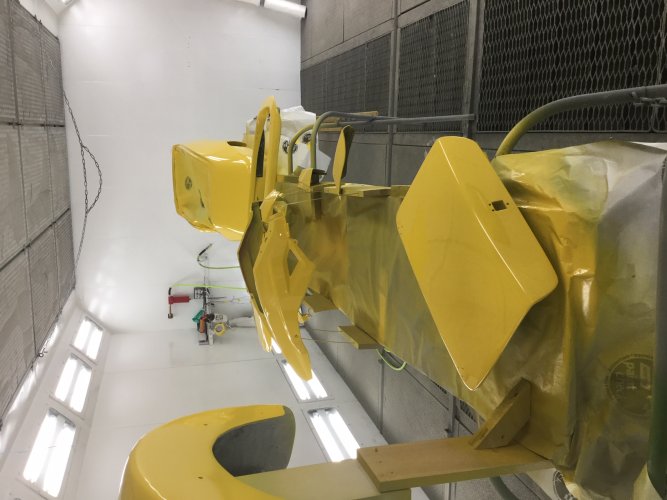
As is always the case with painting, prep work is 90% of the job. Each piece was arranged on a platform. Those that needed to be raised off the platform so all paintable surfaces could be reached required on-the-spot jigs made out of scrap lumber. Then each piece was wiped down with pre-cleaner, then a tack cloth to ensure all contaminants were removed. The cockpit and trunk of the tub were carefully masked off
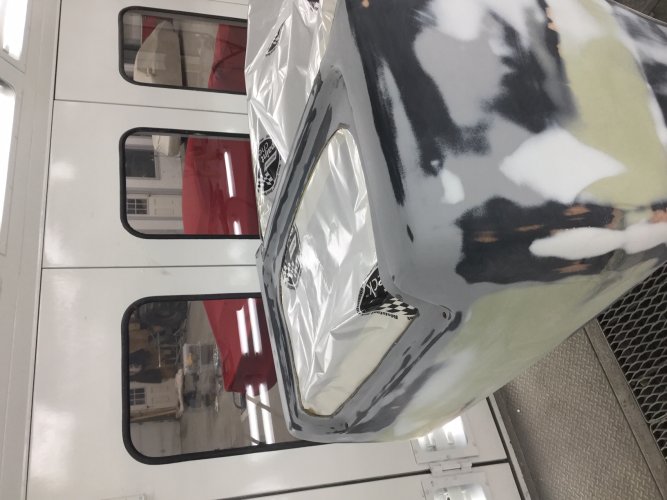
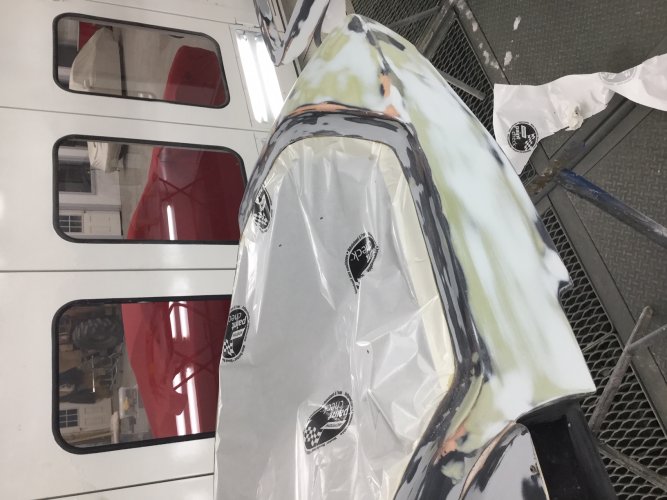
FEB8E.jpg
FEB8F.jpg

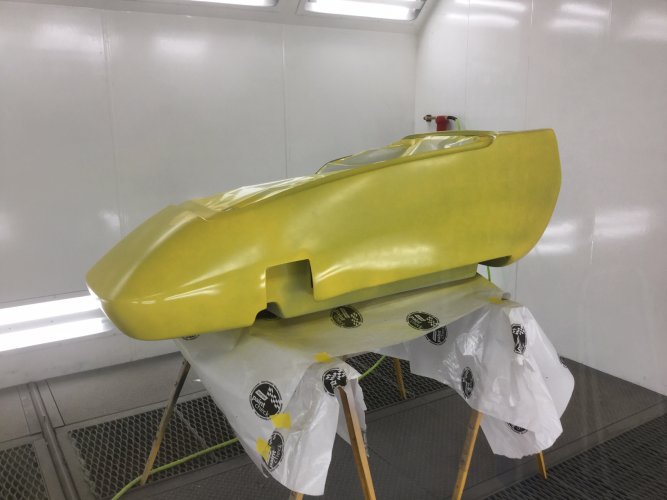
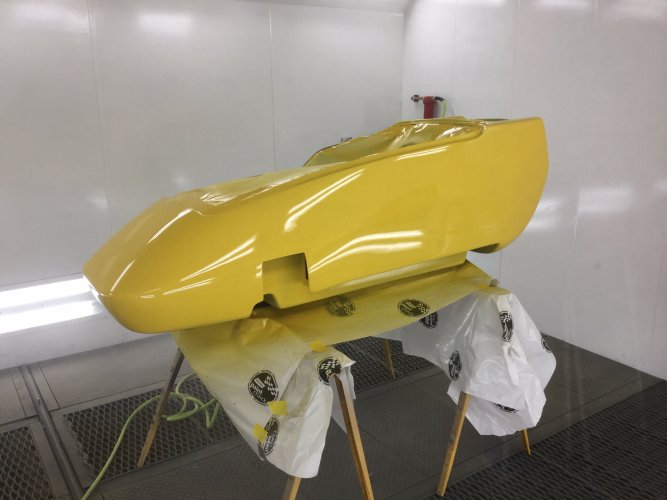
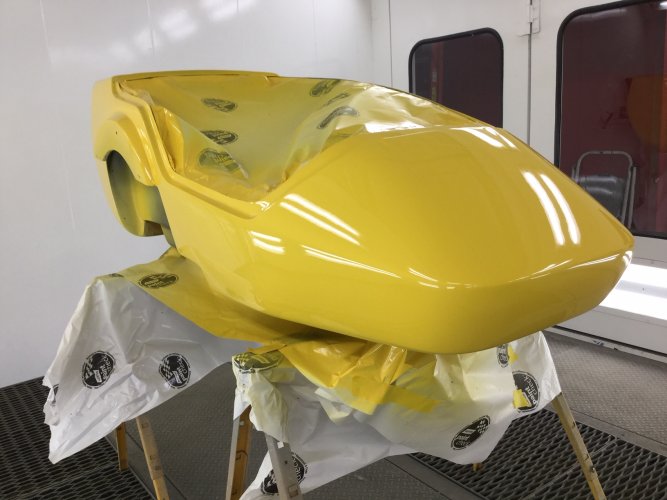
And then the spraying began. I'm not an experienced painter and this was by far my biggest project attempted. There were a few runs, especially in the recess of the air scoop which proved particularly difficult to maneuver the spray gun near, but overall I was very happy with the results. I missed a few spots on the first coat, but got them on the second. And sure enough there were several pinholes that I'd missed during the sanding process that taunted me with a vindictive "Neener, neener, neener!" I'll have to go back with polyester glaze during the next sanding phase.
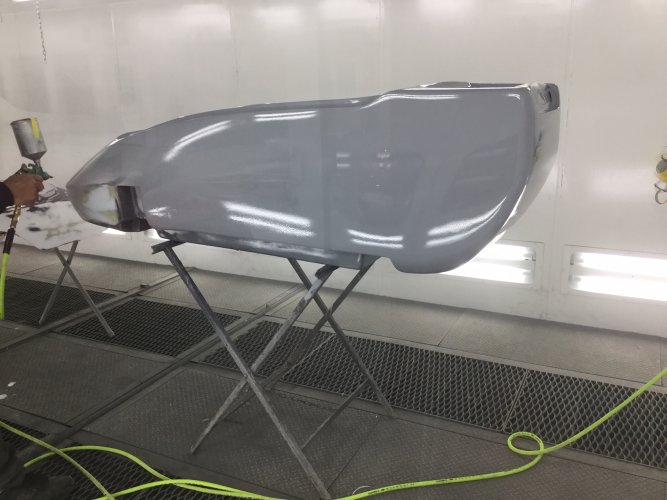
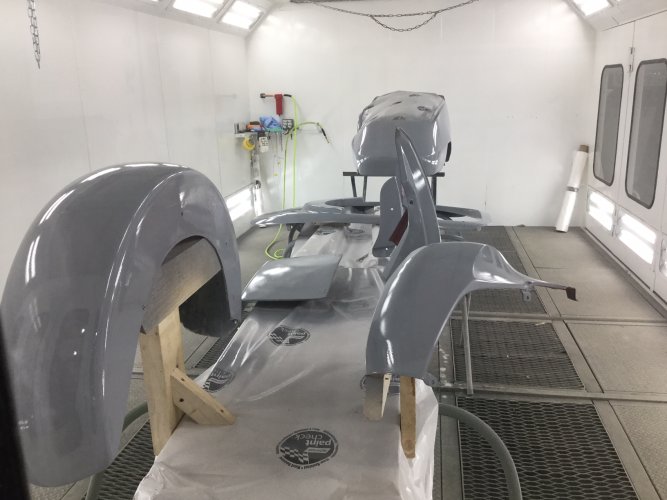
FEB8G.jpg
FEB8I.jpg

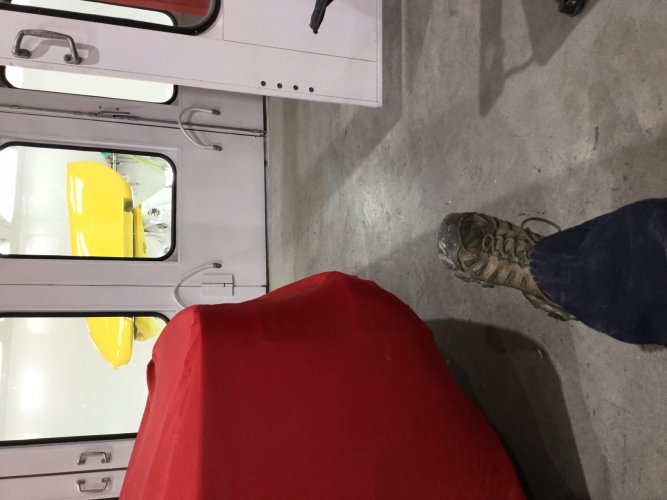
When I was done, and the paint booth was on the bake cycle, I stood outside the booth and noticed the perfect symmetry of the frontal view. It stopped me in my tracks! After all that work eliminating the recessed headlight and trim piece, the reflection off that work of art was simply stunning!
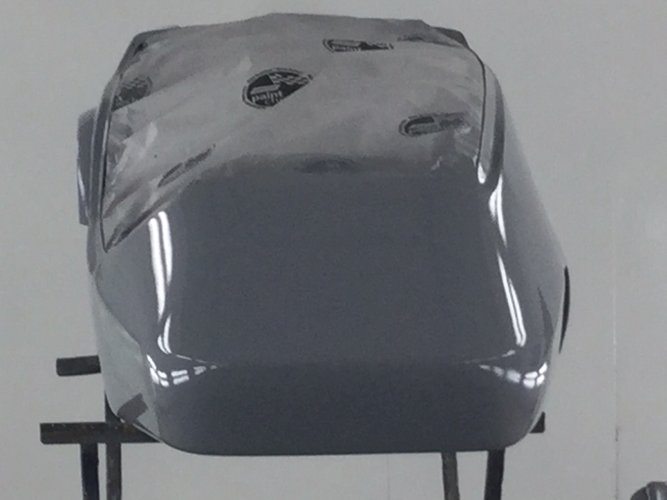
FEB8J.jpg
 
Last edited:
Really wondering if Tulliver is beginning to have some misgivings about giving up this sweet ride. :)

The old dog truly appears to be enjoying his retirement.

There will be a break in my sidecar updates as I’m starting yet another sanding phase. While some of you appear fascinated by sanding, I’m not. Will resume updates when I get back to the exciting stuff. For the next week or so, this is my life.

Feb10A.jpg

FEB10B.jpg
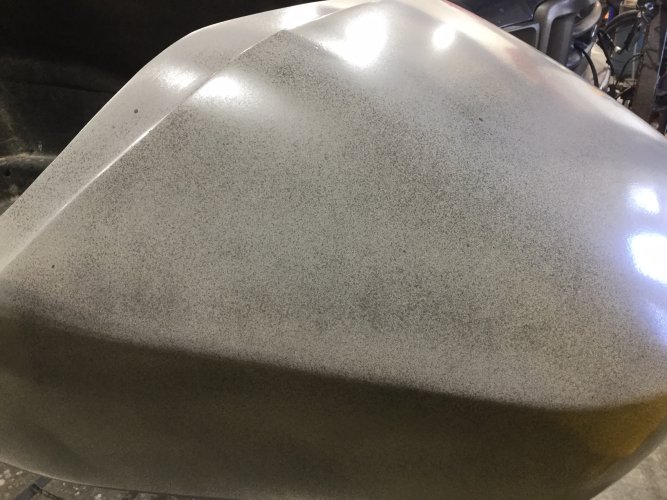
Guide coat applied over epoxy primer.

FEB10C.jpg
Wet sanding with 400 grit removes the guide coat from good areas while highlighting pinholes and low spots. Because of my attention to detail there were no low spots, but tiny pinholes that I missed on inspection now show up like craters.

FEB10D.jpg
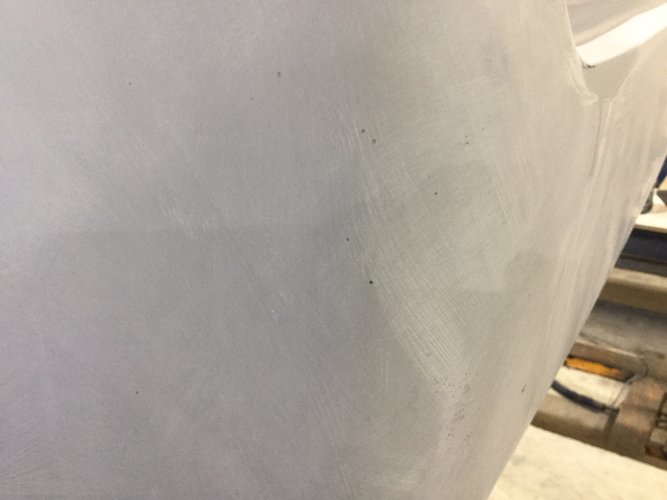
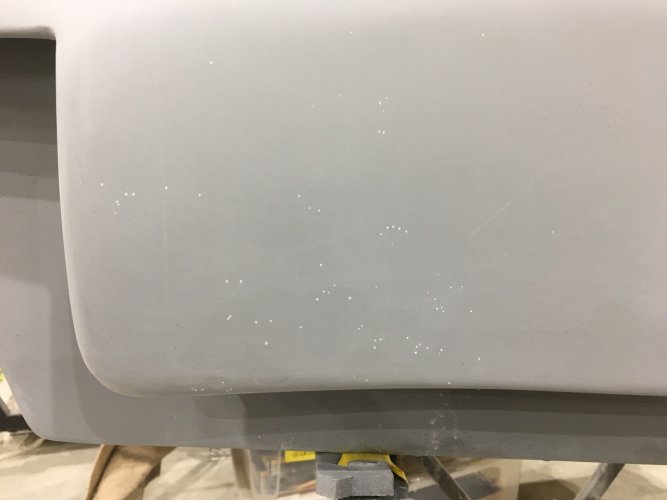
Closeup view of some of the pinholes revealed by the primer. These will be filled by skimming with polyester fill (glaze), then wet sanded. When I finish the tub there are several smaller parts that need the same remediation. Finally, when all the pinholes are gone, all the parts go back into the paint booth for two coats of high build primer, more wet sanding, then the finish coats: base coat, pearl coat, and two layers of clear coat.

Oh, and let's not forget about the subframe. On the bright side, that won't require a show quality finish!
 
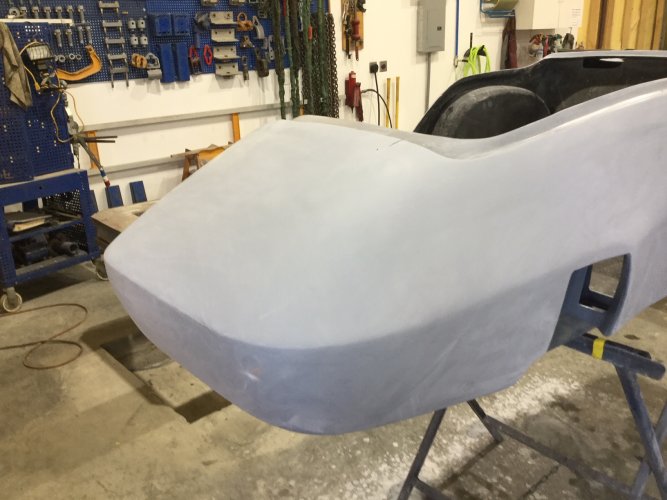
It's been a few days of sanding so I figured I'd catch you up on my progress. After sanding the second coat of epoxy sealer and still finding pinholes I’d missed, I used an 18” LED lamp held at an angle to make the little craters more visible. That worked well, and I was able to find and fill with polyester glaze several more. With all the spot repairs, the tub reminded me of my youth when Mom dabbed calamine lotion over my chickenpox spots so I would stop scratching.

Feb19C.jpg

But thanks to that bright light I think I got them all this time. After wet sanding the repairs, they look like the photo below. Each of those white spots would have been a miniature crater in the finish coat, but with them filled with glaze they'll be undetectable under the primer. Note to self: good lighting held at an angle is essential for finding defects.

Feb19A.jpg

The parts were again wet sanded with 400 grit, then back to the paint booth for two coats of high build primer. If I manage to wet sand this (600 grit) without sanding through yet again, the next step will be paint

Feb19D.jpg

I've been pouring over paint chips from foreign and domestic auto makers. I was captivated by the Porsche Yellow Saffron Metallic, but it's proprietary. While Miyagi-San could replicate it pretty close, a four step custom paint would be extremely difficult to touch up in the event of damage from stones...which is pretty much inevitable the way I travel. I thought of solid yellows like the Millenial Yellow used on Corvettes, but I like a bit of pearl. As luck would have it, Nissan uses a really pretty Solar Flare Pearl on their 2018/19 Titans that's very close to the color I started with. Checking the formula, the shop has all the ingredients that go into it. I might lighten it up a bit, and perhaps add a bit more pearl, but it looks like that formula will be my baseline.
 
If you have areas on your rig that are particularly vulnerable to paint scratches/chips, 3M makes a protective film that works great. I use in on the entrance areas such as rocker panels and door edges on my vehicles.
OM
 
If you have areas on your rig that are particularly vulnerable to paint scratches/chips, 3M makes a protective film that works great. I use in on the entrance areas such as rocker panels and door edges on my vehicles.
OM

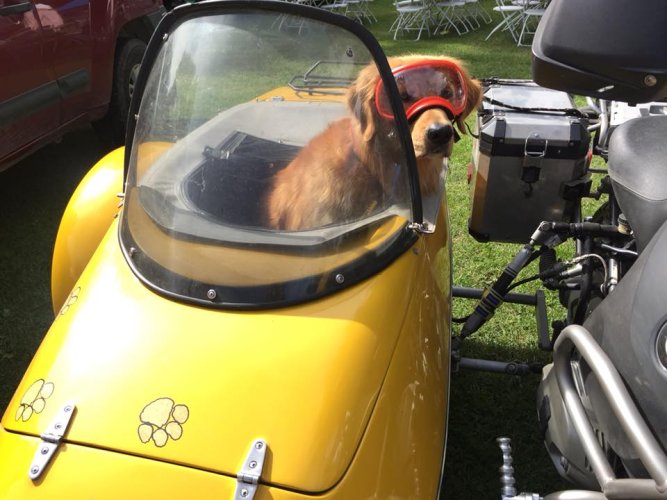
I tried that once before, but the most frequent impacts are on the top of the nose in front of the windscreen...and with that hard compound angle on the leading edge I could never anchor the film enough that the wind didn't tear it off within 50 miles. The last time I used it the film ripped off and stuck to the windshield of a Toyota that had been tailgating me. While it is difficult to get a good looking repair with pearl or metallic paint, I really like the look. The original paint was a pearl and it did get damaged over the course of 7 years and 85,000 miles. Those who have seen my rig in person will remember the vinyl dog paw prints across the nose of the tub. What most don't realize is that they were placed to cover up chips in the paint caused by stone impacts. The photo below shows three of those hits completely hidden by paws.

GillyGMR2.jpg

Sanding is going well, and the tub is about done. I’ll have to go over it lightly with 600 grit again the day before the painting process begins, but in the meantime there are several smaller parts to prep. But the fun part of today’s work was painting the swaybar bright red. It fits inside a tube so will never be seen, but I’ll know it’s there and will feel good about it. Sort of like when you wear red underwear you know the day’s ride will be a fast one!

Feb20A.jpg
 
Last edited:
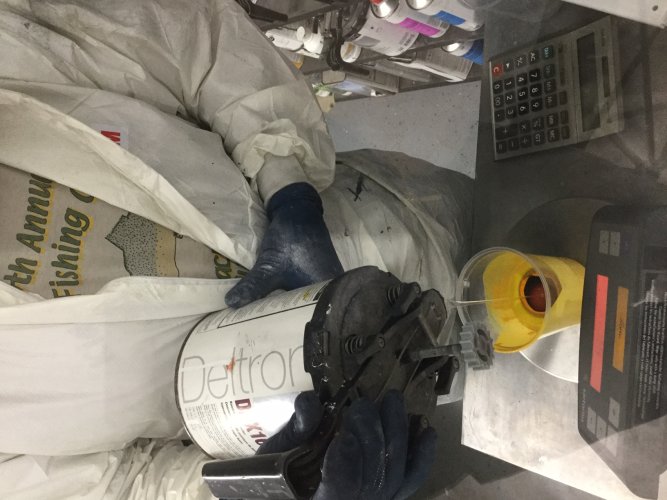
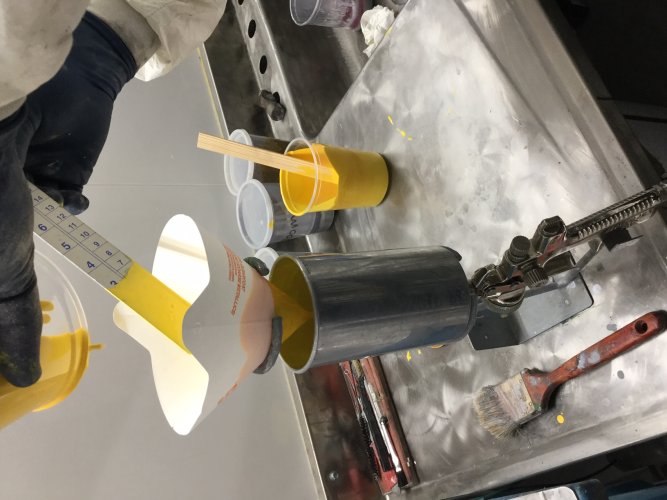
Banner day in Vermont! I'd done some serious pondering about paint, and in the end had to acknowledge that my sidecar is not a show piece, but rather a rig that is used hard and travels widely. So as much as I like the look of pearl and metallic paints, a solid made more sense as it would be easier to spot repair...and scratches wouldn't make me cry. Given a choice between babying a pretty rig or barreling down a narrow back road with twigs reaching out to slap me, I'd take the b ack road every time. So the color would be a solid, and I'd narrowed down the choices to two shades of yellow. Porsche Racing Yellow or Dodge Viper Yellow. (Yellow was a given as I wanted to maximize visibility to keep my dog safe.) First step was to mix a small batch of the Viper Yellow.

Feb24A.jpg

Feb24B.jpg
It looked rather schoolbussy in the cup, but appeared to be a close match to the pictures I'd seen online. And knowing that paint "pops" once applied to a well-prepared surface, Miyagi-San convinced me to do a test spray.

Feb24C.jpg
Still dubious at this point, but I knew that a thin coat didn't give a realistic look at what the finished product would look like. This particular formulation contained nearly 40% clear, so it would require several coats to get the full effect. And up by the nose where the coat was a bit thicker, well, it had promise.

Feb24D.jpg
The second coat convinced me that this was the color I was looking for. Still dull, but the shine comes from the clear coat, not the base coat. So Miyagi-San applied a third coat. (While I had sprayed primer in the past, there was no way I was going to pretend to be ready to apply a perfect finish coat!)

Feb24E.jpg
Coat three revealed the full promise of this color. I kicked back to watch the paint dry.

Feb24F.jpg

Feb24G.jpg
The fourth coat looked magnificent! By this point I was jumping up and down grinning ear to ear! Time to change over to clear coat.

Feb24H.jpg

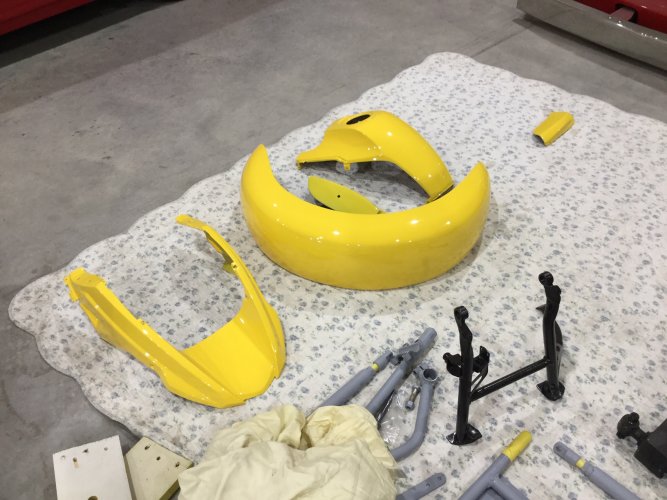
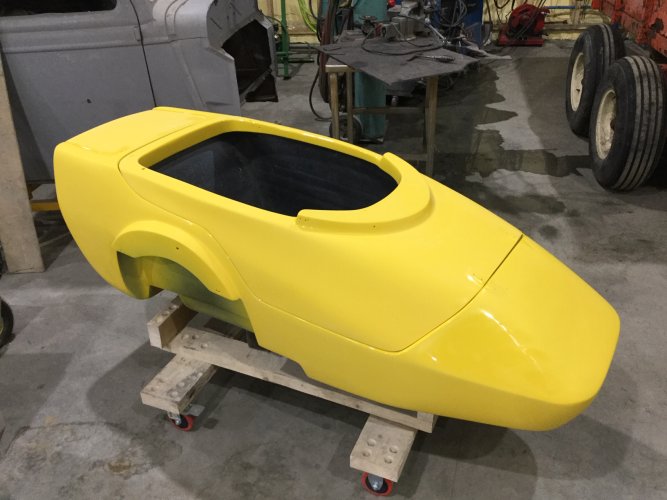
It looked good after two coats of clear. It looked great after three coats. And after four coats of clear I had visions of far away places with Glenlivet at my side.

Feb24I.jpg
 
You have the nicest sidecar finish ever known to man. If a commercial company ever cared this much about the quality of their product only the oligarchs could afford to buy it. Be proud.
 
Looks great ! Perhaps when you are all finished you can wrap the rig in TYVEK while on the road, just un wrapping the unit while at your destination. :wave :)

Friedle
 
Looks great ! Perhaps when you are all finished you can wrap the rig in TYVEK while on the road, just un wrapping the unit while at your destination. :wave :)

Friedle

The only thing more expensive than a concours vehicle is the truck and enclosed trailer used to haul it to its showings. :D

I don’t think that’s going to be the case with this rig, tho. After the first paw print it’s good to go!

Nice work,
DG
 
I knew wet sanding would dull that awesome glossy finish, but there were several small blemishes that had to come out. Still, seeing that magnificent gloss reduced to dullness was rather depressing! Here is before:

Mar01B.jpg

And here is after:

Mar01A.jpg

Seeing my expression, Miyagi-San brought out several bottles of rubbing compound and polish. In just a few minutes he did a small section on the right side of the nose, just forward of the clamshell lid, to show me that with a bit more work the gloss would return...sans blemishes.
 
The days are getting longer and I sense the approach of riding season, so must get going. I can no longer afford to take a day off when the weather promises fun sledding with the dogs!

Mar4B.jpg

Miyagi-San informed me that he wants to do the polishing lest I, in my inexperienced exuberance, burn through that beautiful paint job forcing us to do it all over again. I'm okay with that...since he won't let me practice on his Ferrari. So today was spent in my garage carefully tracing wires from the old bike to the sidecar harness and creating a translation table. "White wire from sidecar changes to blue after the connector on the bike, then to green after the splice leading to the taillight." Of course in the process I'll standardize wire colors wherever possible, or at least eliminate sections of wire with extra splices. I'll be using those connectors that have low-temp solder in the middle with watertight seals near the ends of shrink wrap.

Mar4A.jpg
 
Don't you just love it when someone adds to the wiring, but doesn't keep the same color end to end?

I bought a used Unigo trailer to pull behind my R1200RT and it had a bad case of shade tree mechanic wiring. I cut it all back to a point where it made sense and bought a few small rolls of wire and replaced what I needed to to make it easier to deal with. I cut in a small Molex connector under the seat so I can remove the harness from the bike and all the colors match from the point where they join the bike's harness until the wires reach the light socket on the trailer.
 
It amazes me how some people wire up things and don't match at least the wire colors...
Often an electrical issue can be attributed to bad wiring or bad connections like a bad ground wire.
 
Back
Top