• Welcome, Guest! We hope you enjoy the excellent technical knowledge, event information and discussions that the BMW MOA forum provides. Some forum content will be hidden from you if you remain logged out. If you want to view all content, please click the 'Log in' button above and enter your BMW MOA username and password.

    If you are not an MOA member, why not take the time to join the club, so you can enjoy posting on the forum, the BMW Owners News magazine, and all of the discounts and benefits the BMW MOA offers?

  • Beginning April 1st, and running through April 30th, there is a new 2024 BMW MOA Election discussion area within The Club section of the forum. Within this forum area is also a sticky post that provides the ground rules for participating in the Election forum area. Also, the candidates statements are provided. Please read before joining the conversation, because the rules are very specific to maintain civility.

    The Election forum is here: Election Forum

2000 K1200RS fuel filter replacement

kenlmans

New member
Help! What seemed to be a simple, normal maintenance item has turned into an overly-complicated task. I have disassembled the tank, removed the fuel pump/filter assembly ring and the two other rings on the tank, in an effort to get the filter out. I was not aware of the two hoses that connect the pump to the filler ring and now see that the hoses have to be disconnected to get the pump/filter assembly out. In addition, the float has become disconnected and I cannot see where it goes or how to get it reconnected.

What am I doing wrong?

Would you please advise on how to direct me to get this "simple" maintenance item replaced and get the tank put back together? If you know of an exploded diagram I could view, that might help, too. TIA!
 
On that vintage KRS the normal procedure is to pull the entire pump and filter assembly out through the access hole in the bottom of the tank. No need to disturb the filler neck and it’s fittings. BMW uses Oeticker clamps on the hoses to attach vent and fuel lines. These can be carefully removed and re-crimped with an Oeticker pliers, or you can replace them with correctly-rated *fuel injection* hose clamps. No worm drive hose clamps. You can see a rough estimation of how it all fits together by looking at the parts diagrams on RealOEM.com, BUT... BMW parts diagrams should never be used as assembly diagrams, as they are only designed to show what parts are currently available. Also, ignore the prices on the RealOEM site as they are at least a decade out of date.

http://www.realoem.com/bmw/enUS/partgrp?id=0557-USA-03-2000-K41-BMW-K_1200_RS_01_0547,0557_&mg=16

I’d strongly encourage you to pick up a copy of the factory service manual for the KRS/GT bikes. Available still through the dealer channel in dvd format or you can search the web and find a bootleg pdf version, conscience permitting. There is also the Clymer manual for the K1200 “flying brick” bikes, available at Amazon or other book sellers.

You might want to also consider replacing the two segments of fuel hose attached to the filter, one curved and one straight. They do degrade over time due to age and submersion. The curved hose is $$$ from BMW, and any hose inside the tank has to be SAE 30r10 rated for submersion in fuel, as well as being FI rated. Beemer Boneyard and other vendors also offer a kit that replaces those hoses at a much lower cost than the BMW bits.

Lastly, since the tank is already off—check the fuel line quick-disconnects and make sure they have been upgraded to the metal ones instead of OEM plastic. Only one half of the fitting needs replacing, and that half is available from your BMW dealer. Use a little Vaseline on the o-rings before snapping the fittings together.

Sorry for the length, but there is more to this task than just replacing the filter.

Gook luck,
DG
 
What am I doing wrong?

As GTRider mentioned only the fuel pump ring needs to be removed to get the pump and filter out.
I was warned ahead of time to mark the two hoses when I slide the assemble out so I could reinstall them on the correct tubes.
Not sure how to tell you which goes where now that it's out.
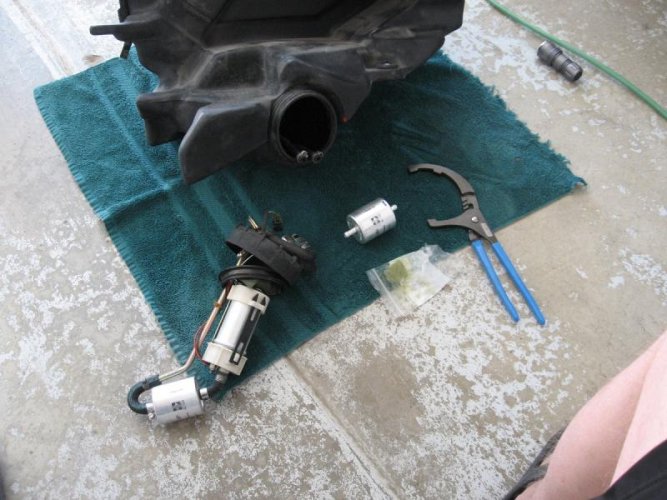
Here's what it looked like on my 03. Your 2000 should have a different looking ring.

Fuel pump and filter.jpg

GTRider also mention the quick disconnects. If they look like the black ones in this picture they need to be replaced with metal ones.

P9170025.jpg

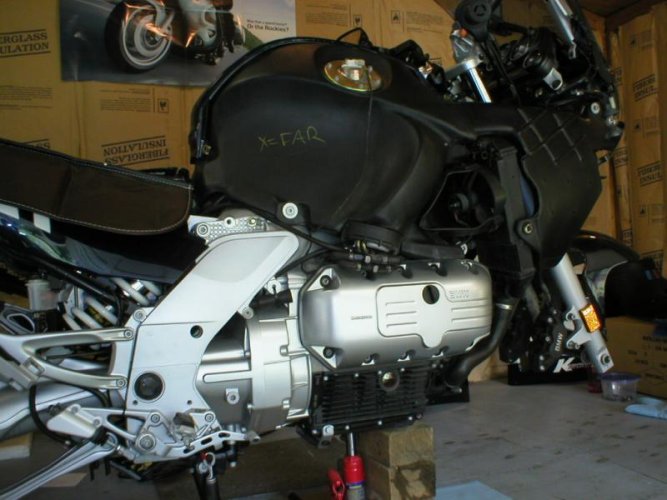
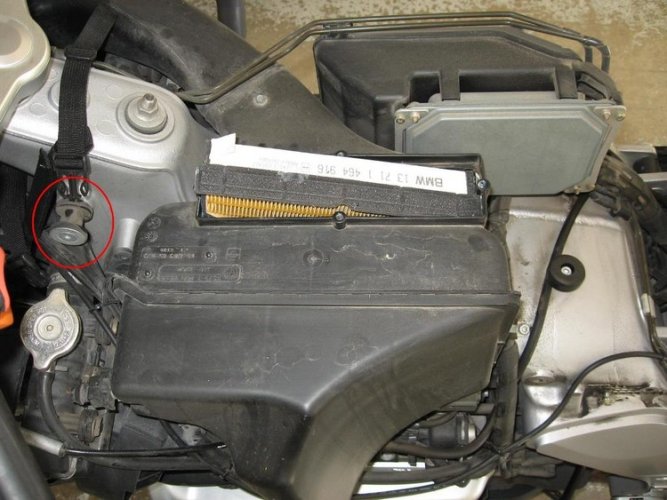
Don't forget to change the air filter while the tank is off.
Ignore the red circle.

Front_mount.JPG

Sorry I'm no help on telling you how to fix the fuel hoses and that little float thing under the filler cap.
 
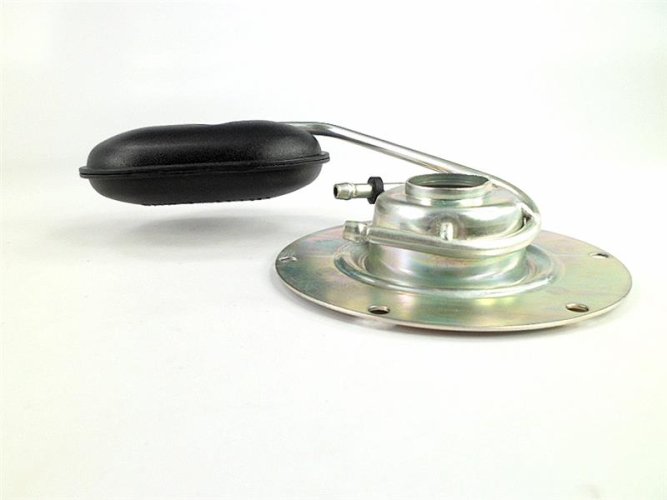
Lee’s excellent comments and pics prompted another question for the OP. When you say the “float” has become disconnected, are you referring to the fuel level Sending Unit (see the RealOEM page) or are you referring to the small “biscuit” that is normally attached to a tube extending forward from the fuel filler? The fuel level sending unit normally comes out as a unit, but again—there is no need to touch it for a filter change.

If the loose piece is the biscuit, you will want to get it back in place. It’s purpose is to allow fuel vapors to be drawn off through the charcoal canister (located behind the battery) without allowing raw fuel into the canister, which would ruin the canister. To put it back in place probably requires removing the filler neck assembly from the tank.

Lee is right on about marking the hoses before disassembly. I’m away from my shop manual right now, but IIRC in some cases BMW marked one of the hoses with white hash marks or a stripe, the idea being that on reassembly the inner and outer marked hoses should be on the same spigot. The two spigots on the round pump-mounting plate are just pass-through fittings.

If things are all disconnected and nothing is marked, it’s still easy to figure out which inner/outer hoses should be matched up. One hose is there to drain rainwater from the fuel cap ring to ground, so it can’t end up in the fuel system. The other hose connects the biscuit to the charcoal canister. You can trace the outside hoses to see which is which. For the inside hoses, open the fuel cap and put a finger on the small hole that is in the recess surrounding the filler neck. Blow into the inside hoses and find the one connected to the drain hole that your finger is on—that hose connects to the spigot leading to the outside hose draining to the ground, and the other hose should connect to the spigot leading to the charcoal canister.

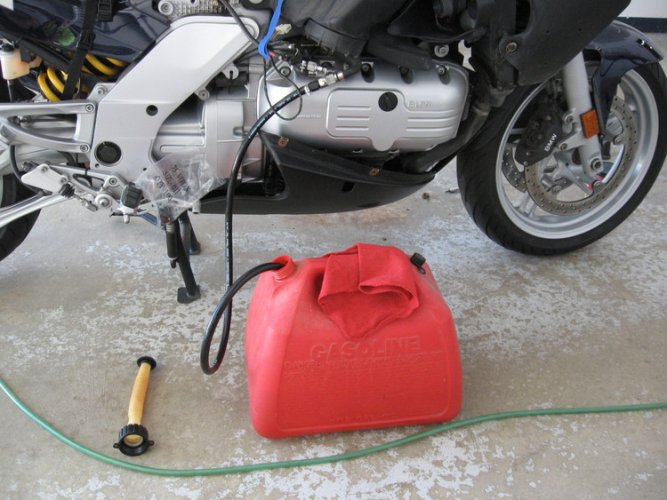
And on those QDs... work on them one at a time. They are installed in such a way that you can’t misconnect them when reinstalling the tank, and also to let you control for yourself when/how the tank gets drained for service. You can use one of the old OEM plastic QD fittings connected to a hose to make a handy drain hose for emptying the tank next time. :)

Best,
DG
 
It might be finished

Thanks to both of you for the information and inspiration. I went into this task with most of the information you provided but could not understand why the assembly wouldn't come out until I realized that the drain and vent hoses were still attached.

The new filter is now on and the tank is in place with all the hoses attached. Unfortunately, the battery is too weak to crank it enough to get the new filter full and fuel to the ignition. I'll have to wait until my wife gets home from work to attempt to jump it.

As for the original problem of raw fuel pouring out of the vent hose, I now believe it is because the plastic bulb had come off the metal hose that is on the filler assembly and gas was siphoning out. That has been remedied by re-installing the bulb.

Even though the bike has only 12k miles on it, it is 17 years old and there is a lot of corrosion on the metal pieces of the pump bracket and the hoses look pretty bad, too. When I do this again, I will need a new bracket and hoses.
 
As for the original problem of raw fuel pouring out of the vent hose, I now believe it is because the plastic bulb had come off the metal hose that is on the filler assembly and gas was siphoning out.
.

Good to hear you figured it out. While I was at the Y I finally remembered what the little float was for.

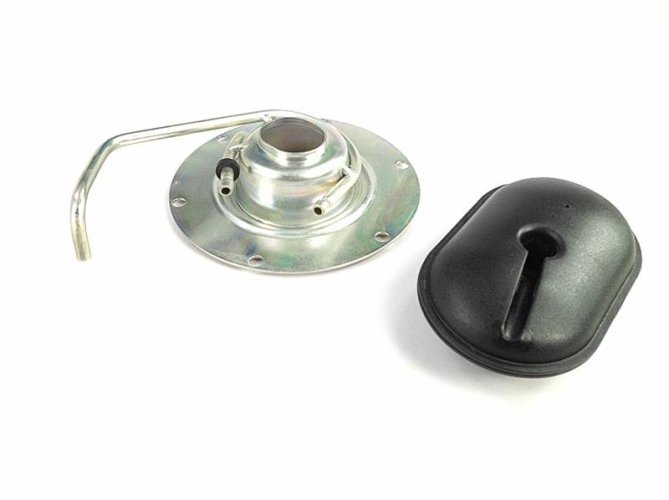
Here's pictures of the underside of the filler neck so others can see it.

16112309124_1_B.jpg

16112309124_4_B.jpg
 
As for the original problem of raw fuel pouring out of the vent hose, I now believe it is because the plastic bulb had come off the metal hose that is on the filler assembly and gas was siphoning out. That has been remedied by re-installing the bulb.

Glad to hear you got it reassembled and working!

Fuel coming from the biscuit should normally end up going into the charcoal canister, eventually turning the charcoal into a lump and creating other problems. If the tank is overfilled, or filled full with cold gas then parked in the sun on a hot day, then fuel can be forced into the biscuit and down to the canister. If fuel was draining from the biscuit directly to ground then your evap emission and drain hose may have been misconnected (criss-crossed) before you started the project. Good on ya for getting it sorted out properly!
:thumb
Best,
DG
 
It runs and revs to redline!

I finally got it put back together today and jumped it from the car. I had to crank it a long time for it to finally start. After it warmed up, I twisted the throttle and, for the first time since I've owned it, revved it over 6000 RPM. In fact, it easily went to redline. Looks like it was a clogged fuel filter.
 
I got it up to around 8000 in 2nd and there was still a hint of a stumble, though nothing near what it was before the fuel and air filters were changed. It pulls strong at the lower RPMs.
 
I got it up to around 8000 in 2nd and there was still a hint of a stumble, though nothing near what it was before the fuel and air filters were changed. It pulls strong at the lower RPMs.

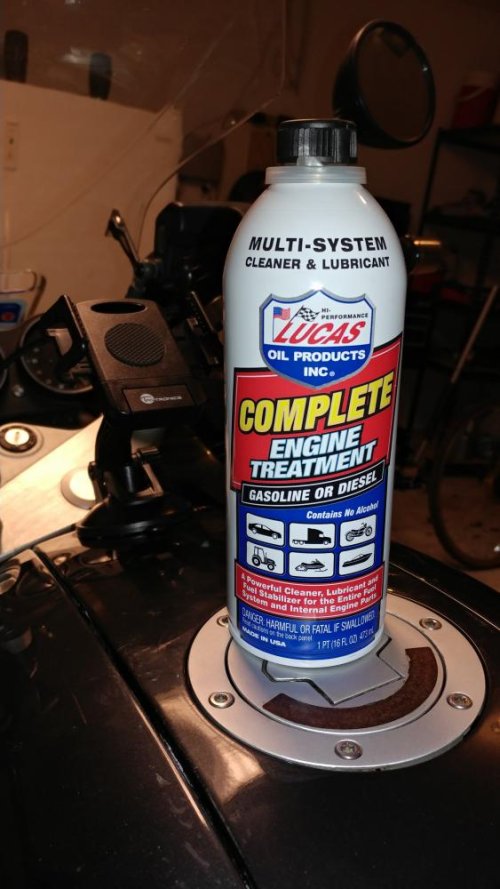
Next time you’re ready to take the bike out for a long run and run the tank from top to bottom, stop at a Napa store and pick up a can of BG44 fuel treatment. Add the proper dose to the tank per label instructions and put the rest in a sealed container for the next 12k service. Then ride the bike like you stole it, for that tankful.

Yes, BG44 is expensive and there are cheaper injector cleaners, but BG is the shizz.
:)
Best,
DG
 
Back
Top