jimvonbaden
Kool Aid Dispenser!
This process is identical for either the brake or the clutch. It takes almost no time to get the engagement point either closer, or further away from the grip.
NOTE: I have aftermarket levers, but they use the stock plungers. There is no difference in the process.
First, you need to remove the T-25 Torx that holds the inside point on your hand guards. (Not needed on the RT/RS/R.)
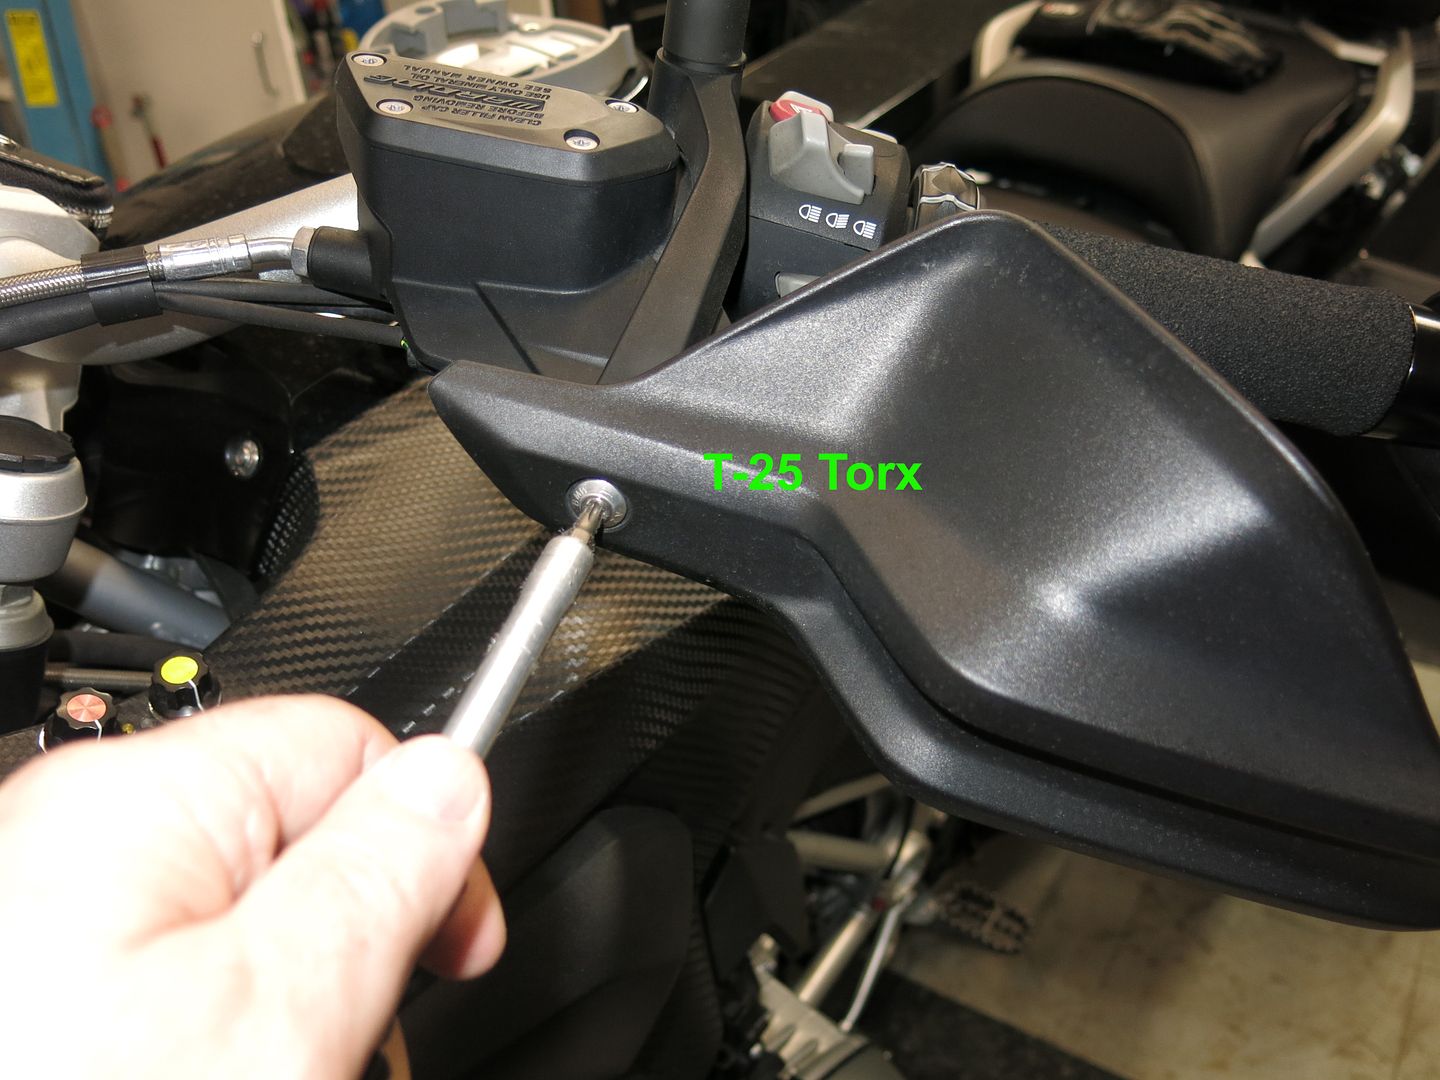
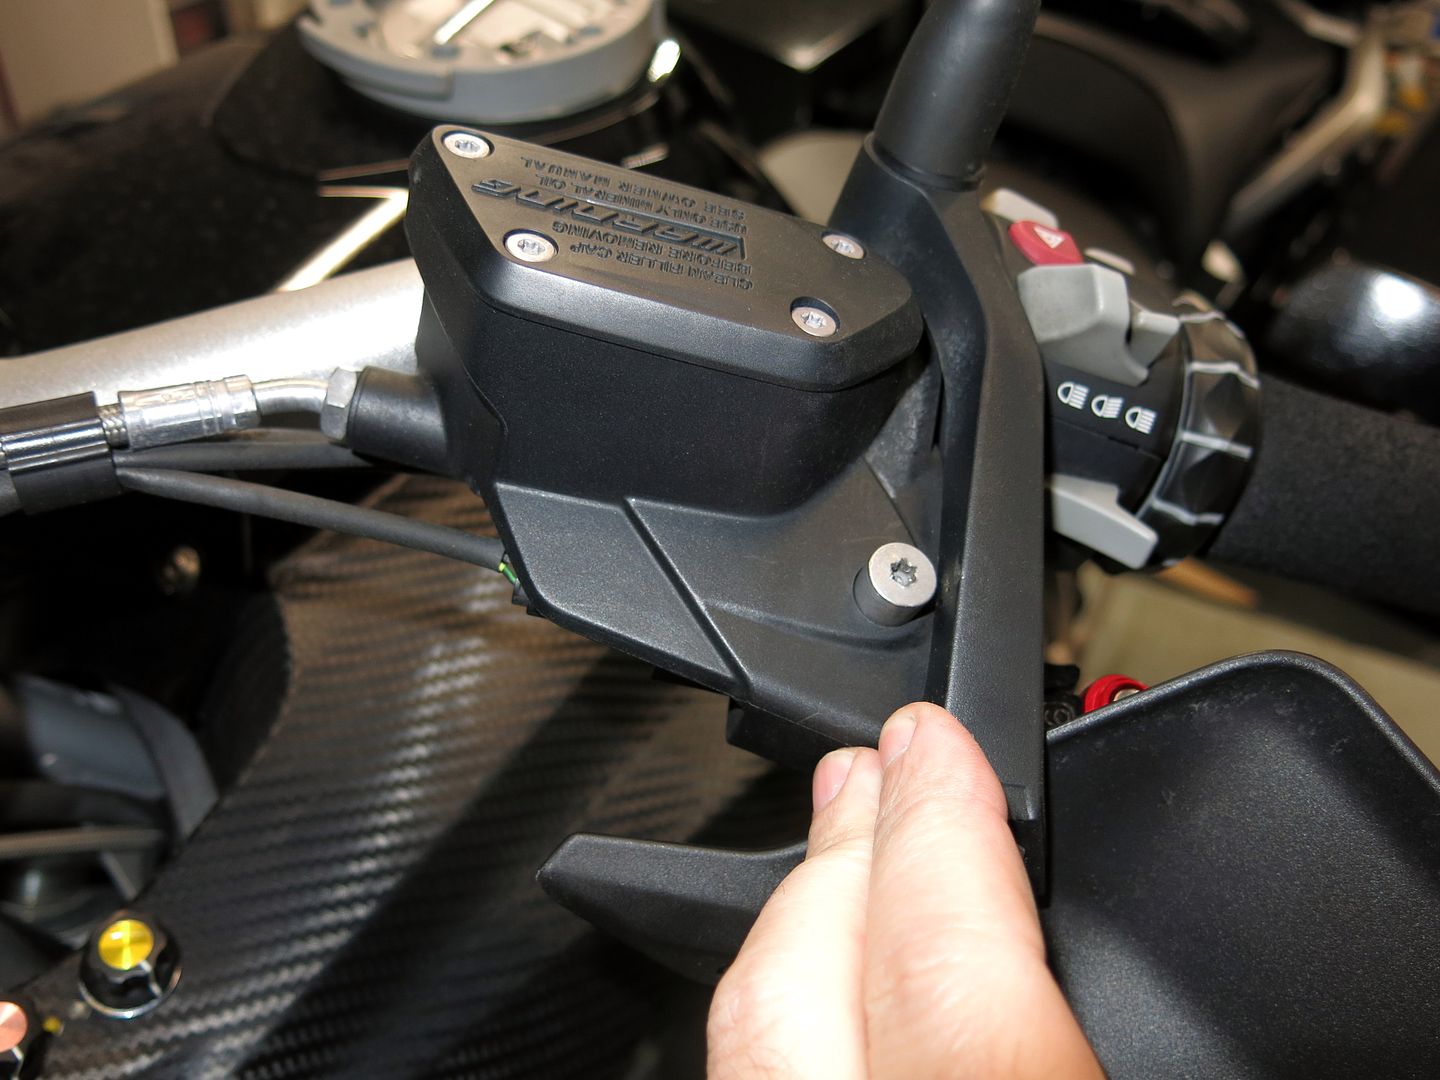
Move the hand guard out of the way.
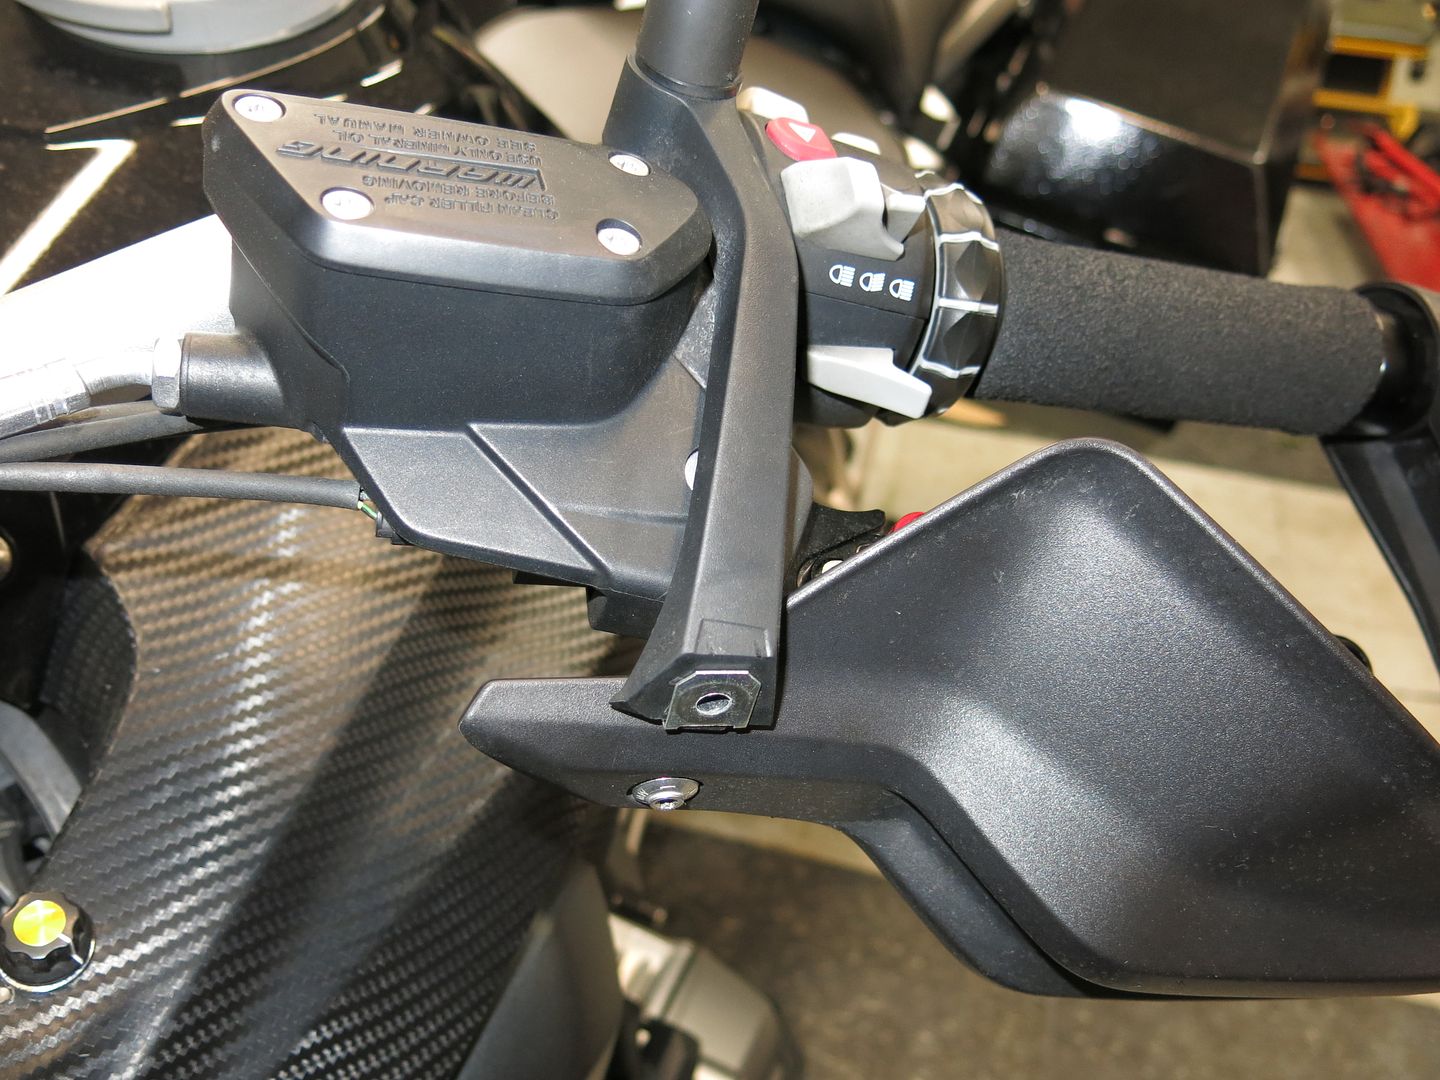
Push the hand guard mount to the right to clear the lever mount bolt.
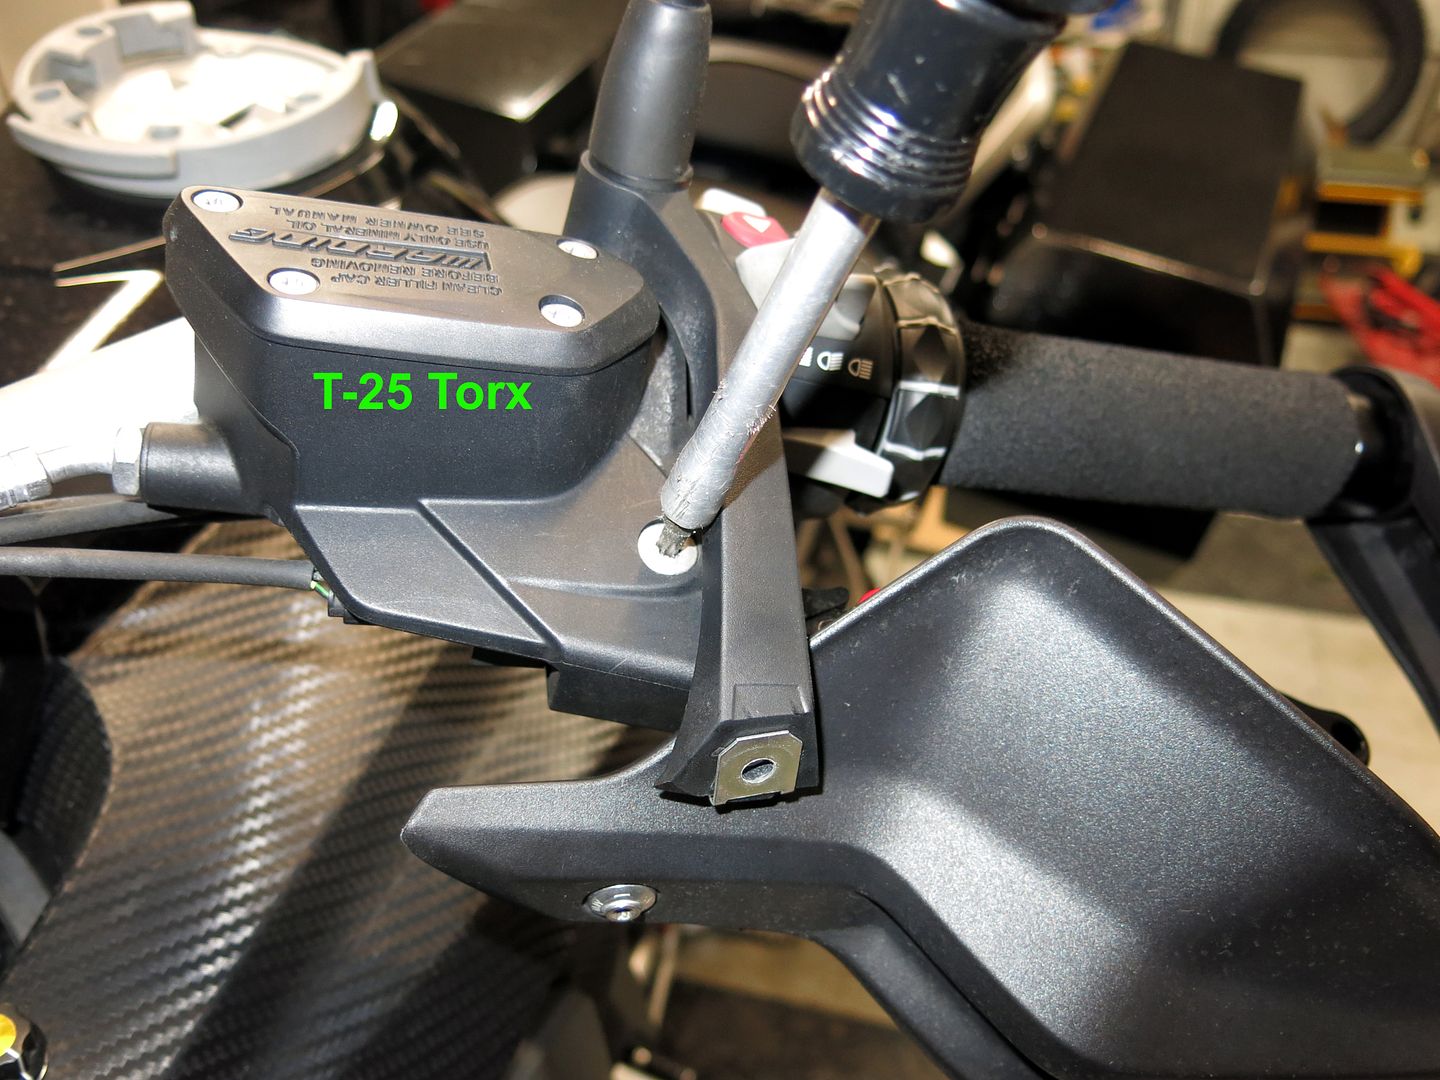
Use the T-25 Torx to turn the mount bolr.
On the bottom is an 8mm nut that you need to hold.
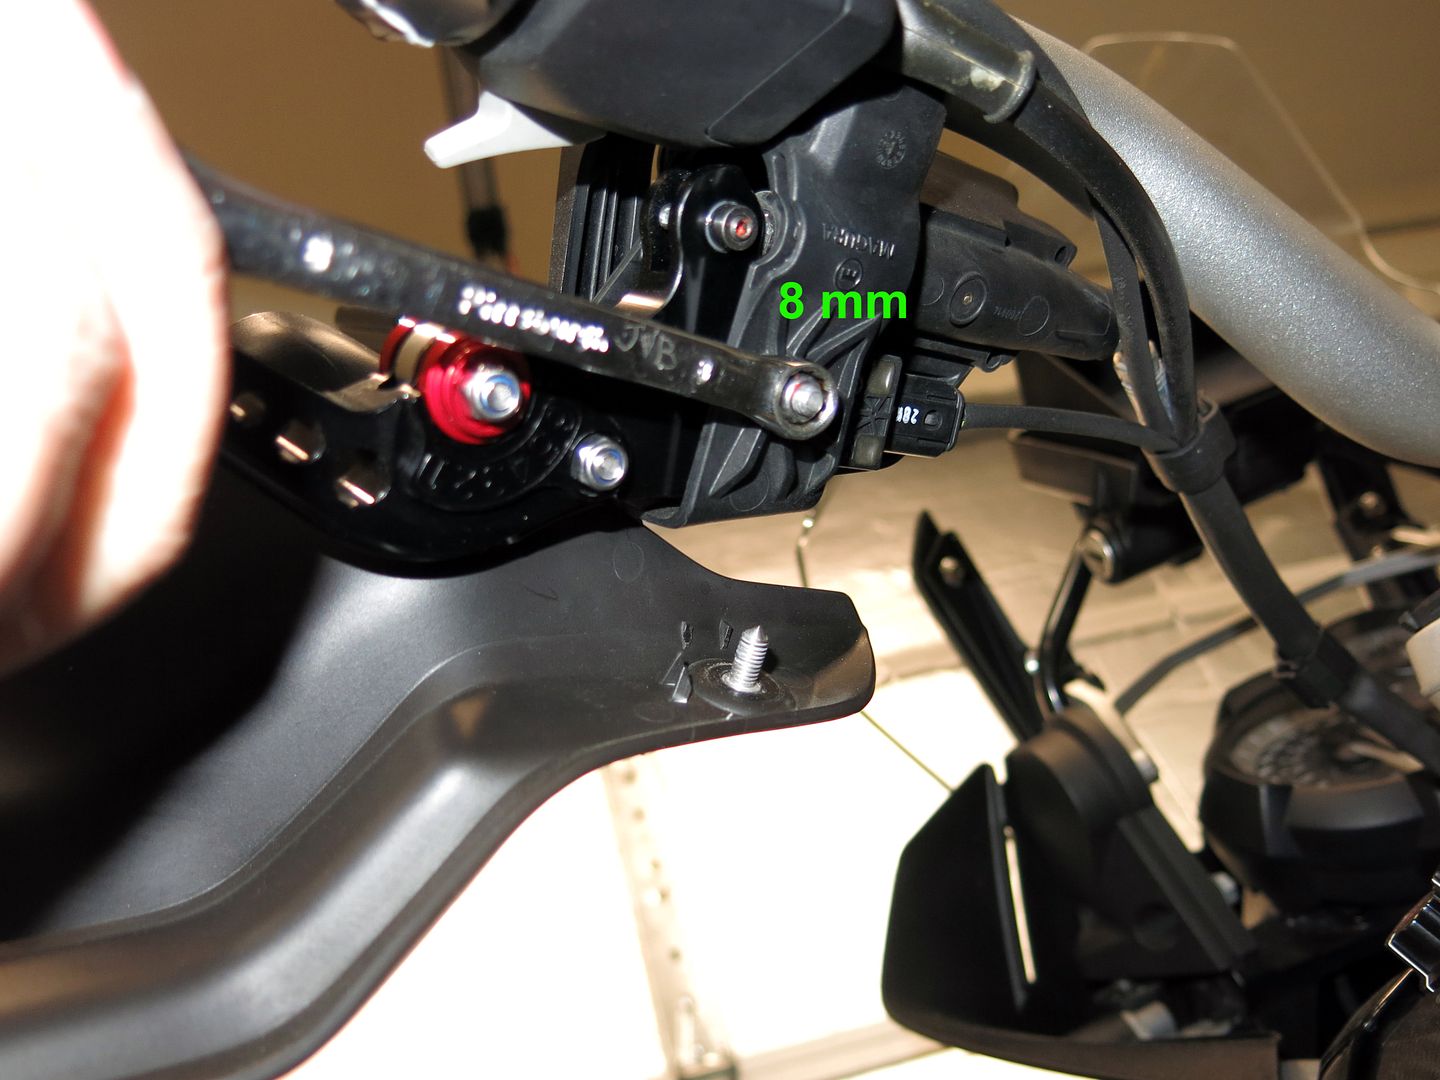
Once the nut is off, push up the bolt until you can grab it and pull it all the way out.

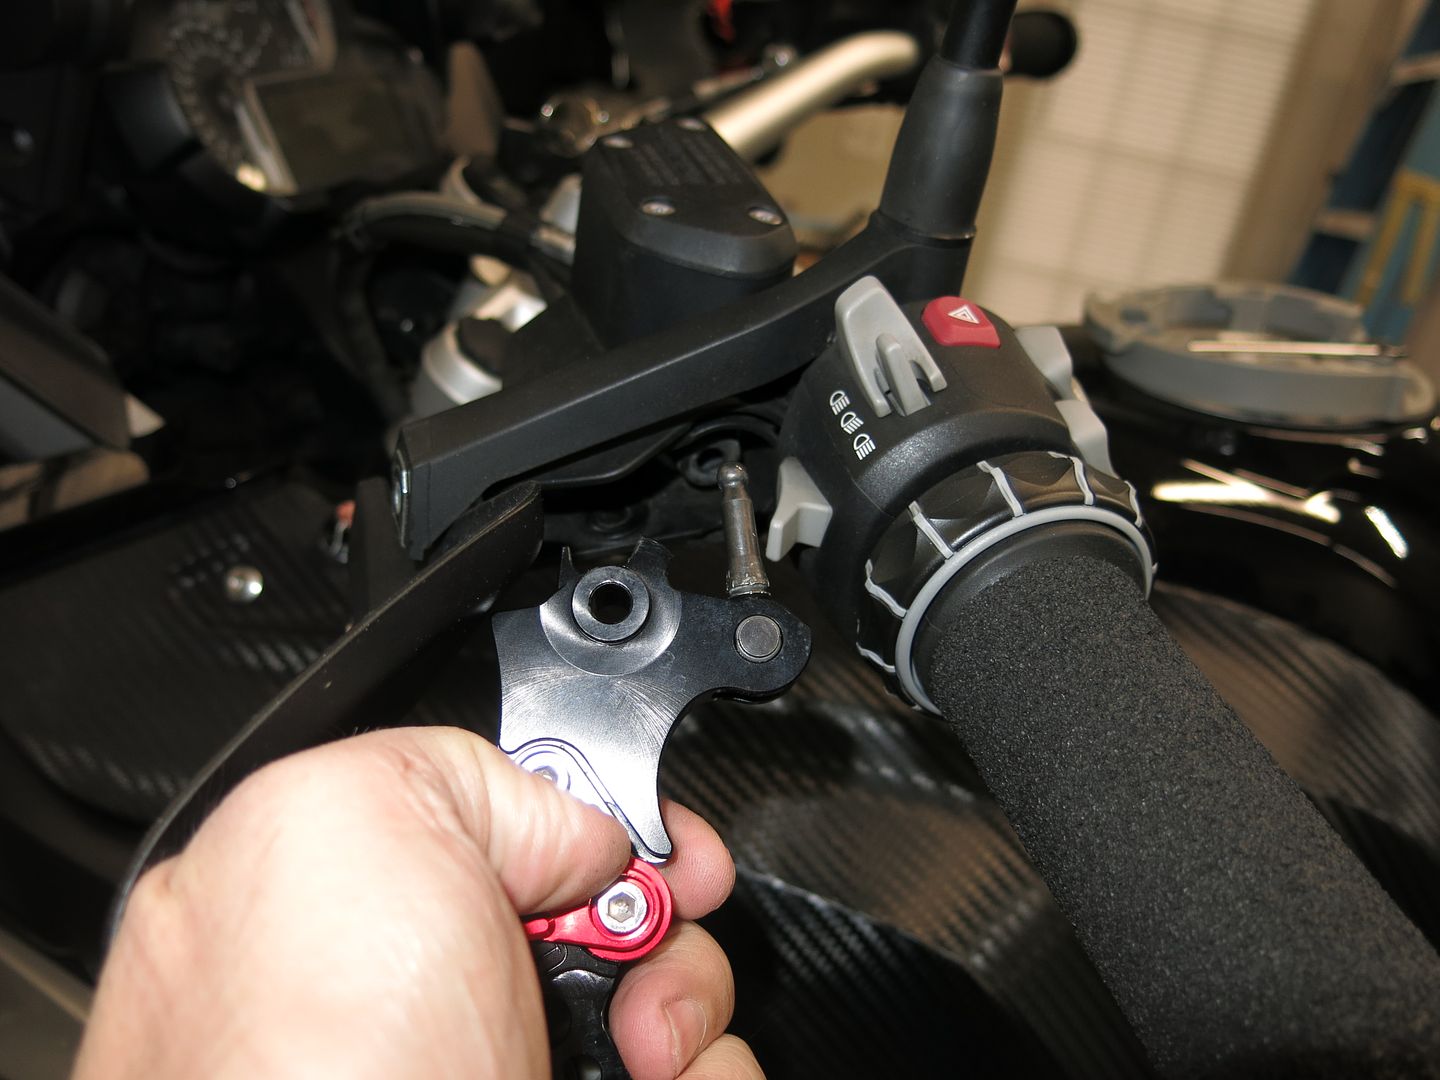
Once the bolt is out, simply pull the lever until the plunger pops out.
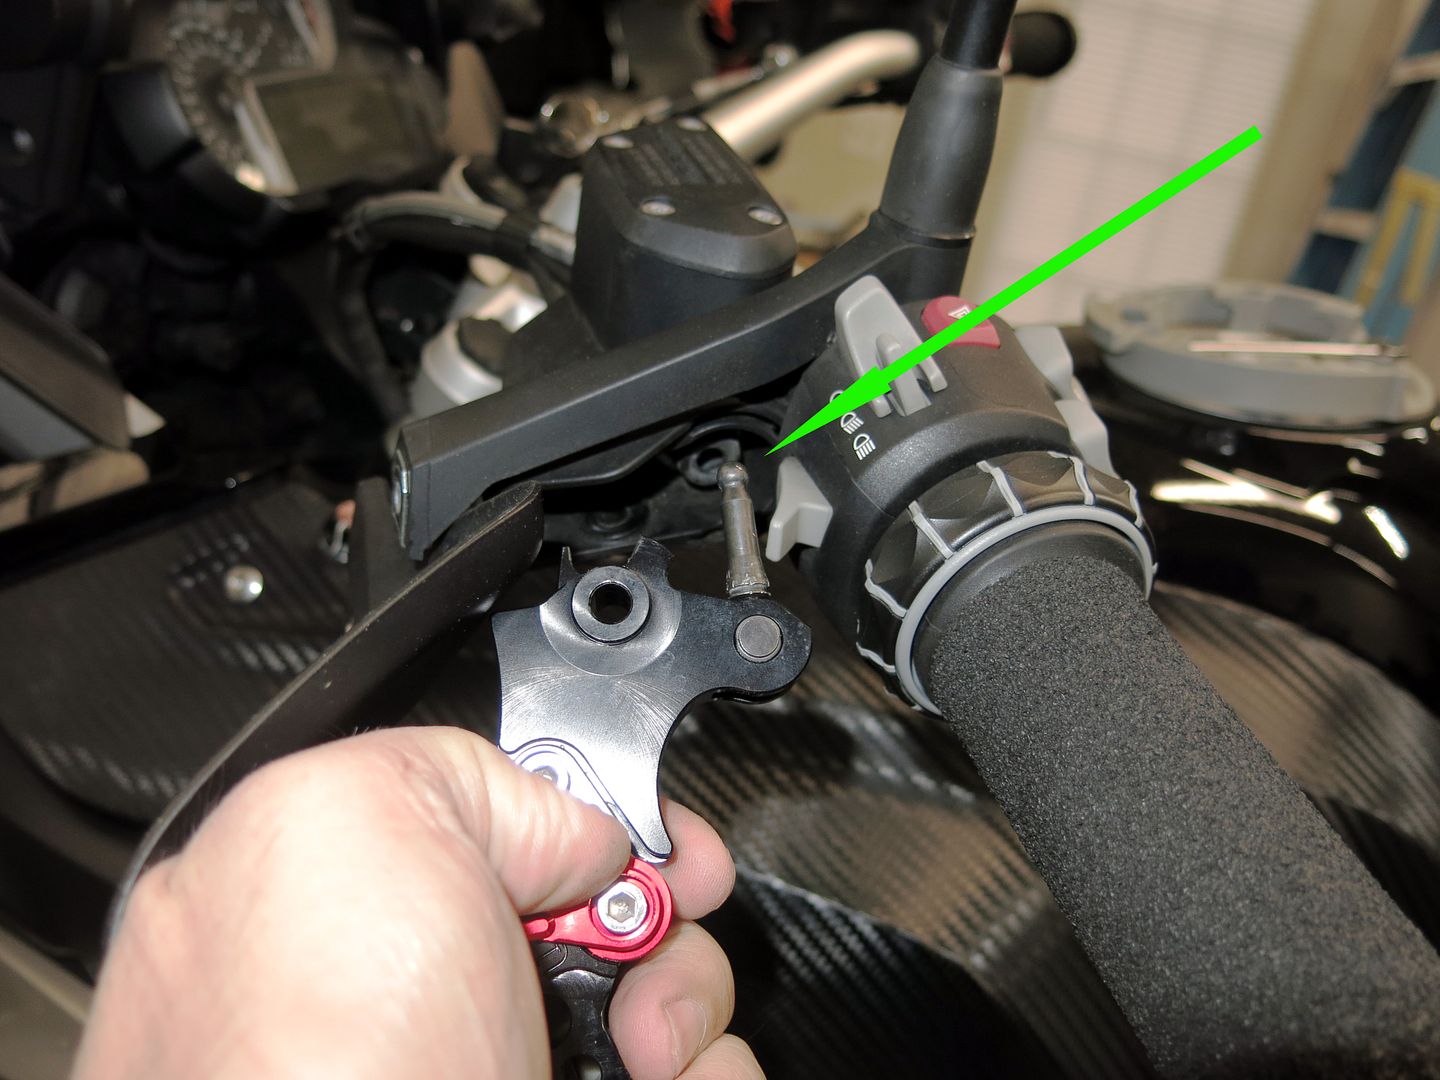
Now you can see the plunger. This is the part you adjust.
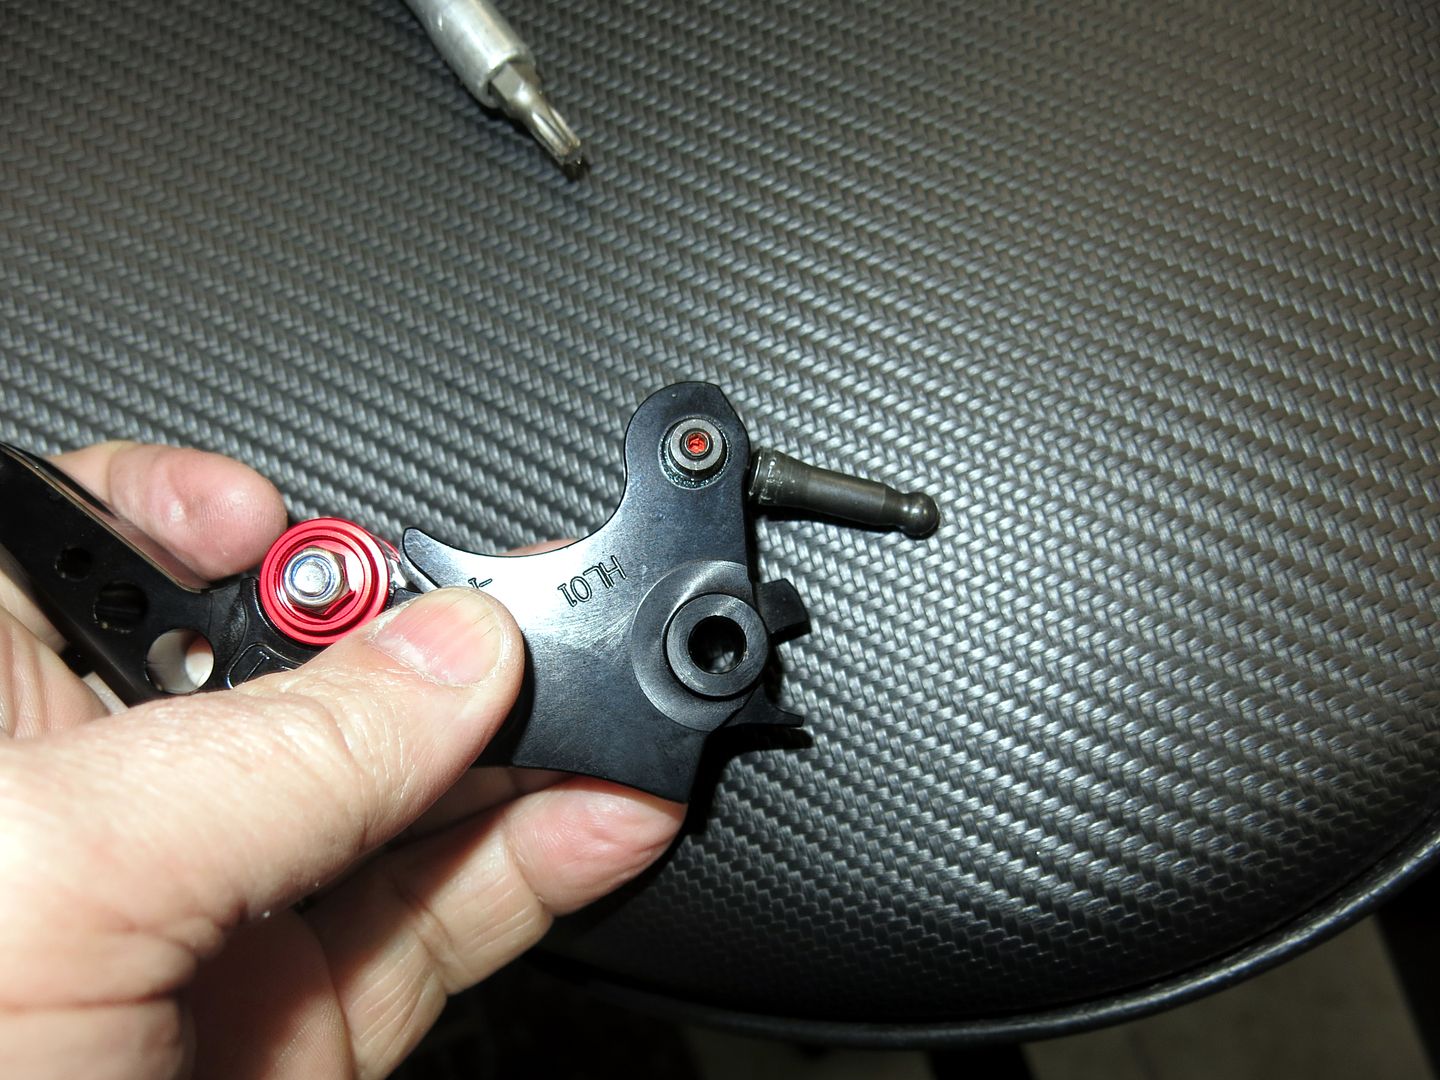
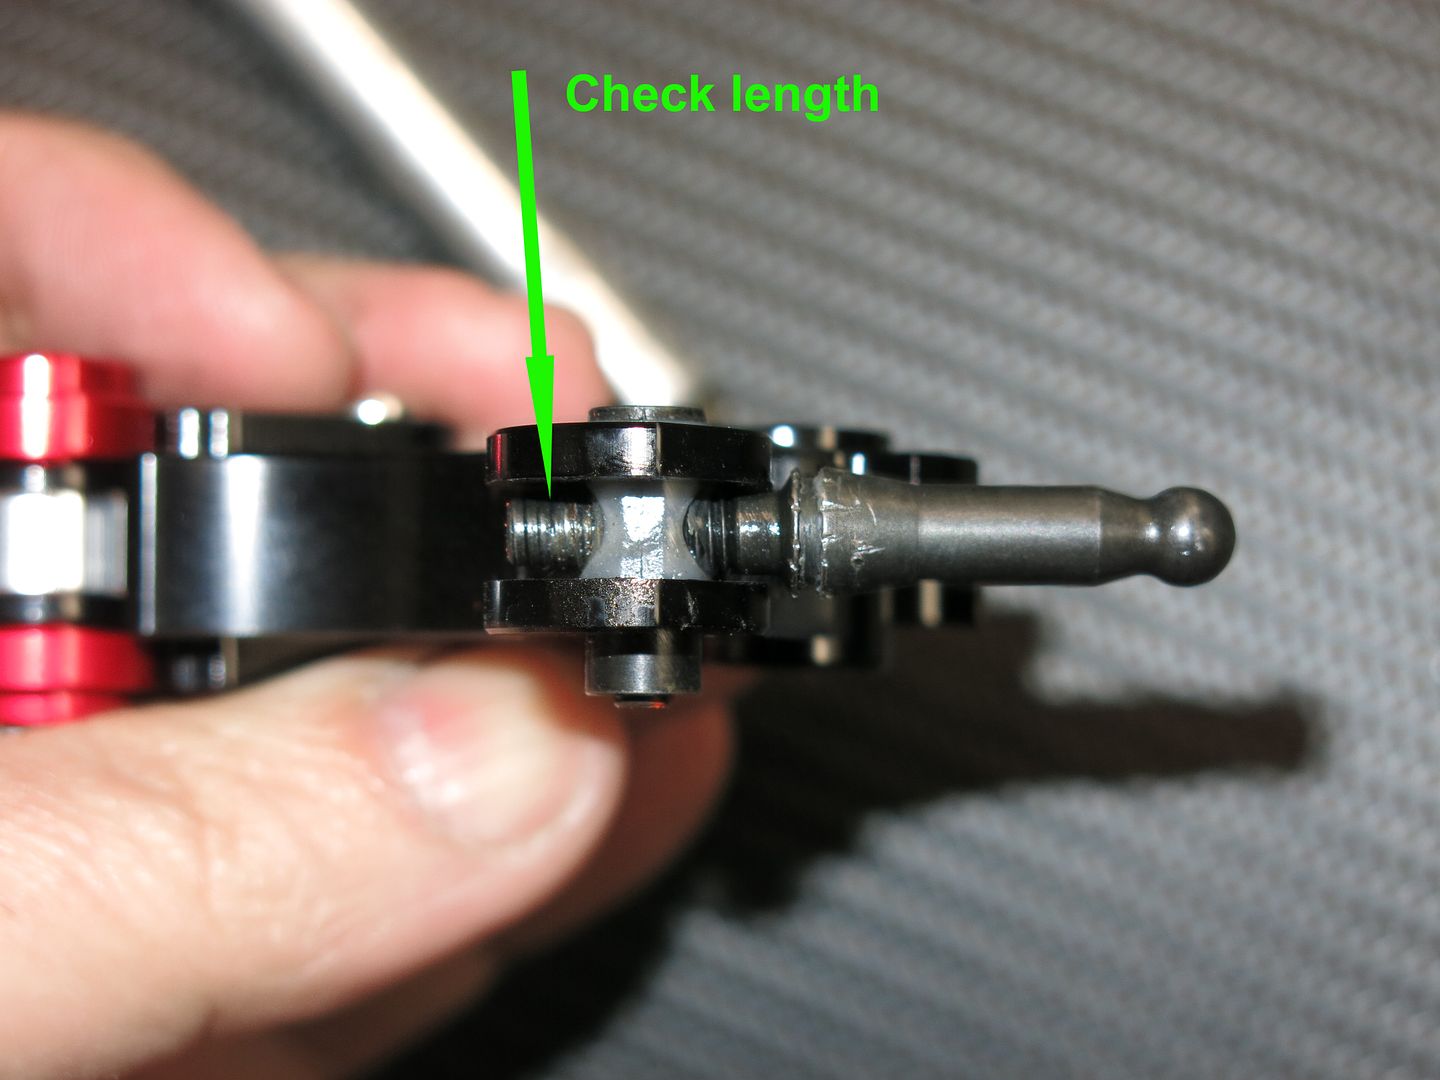
Before you start, not the number of exposed threads so you can bring it bact to where it was if you need to later.
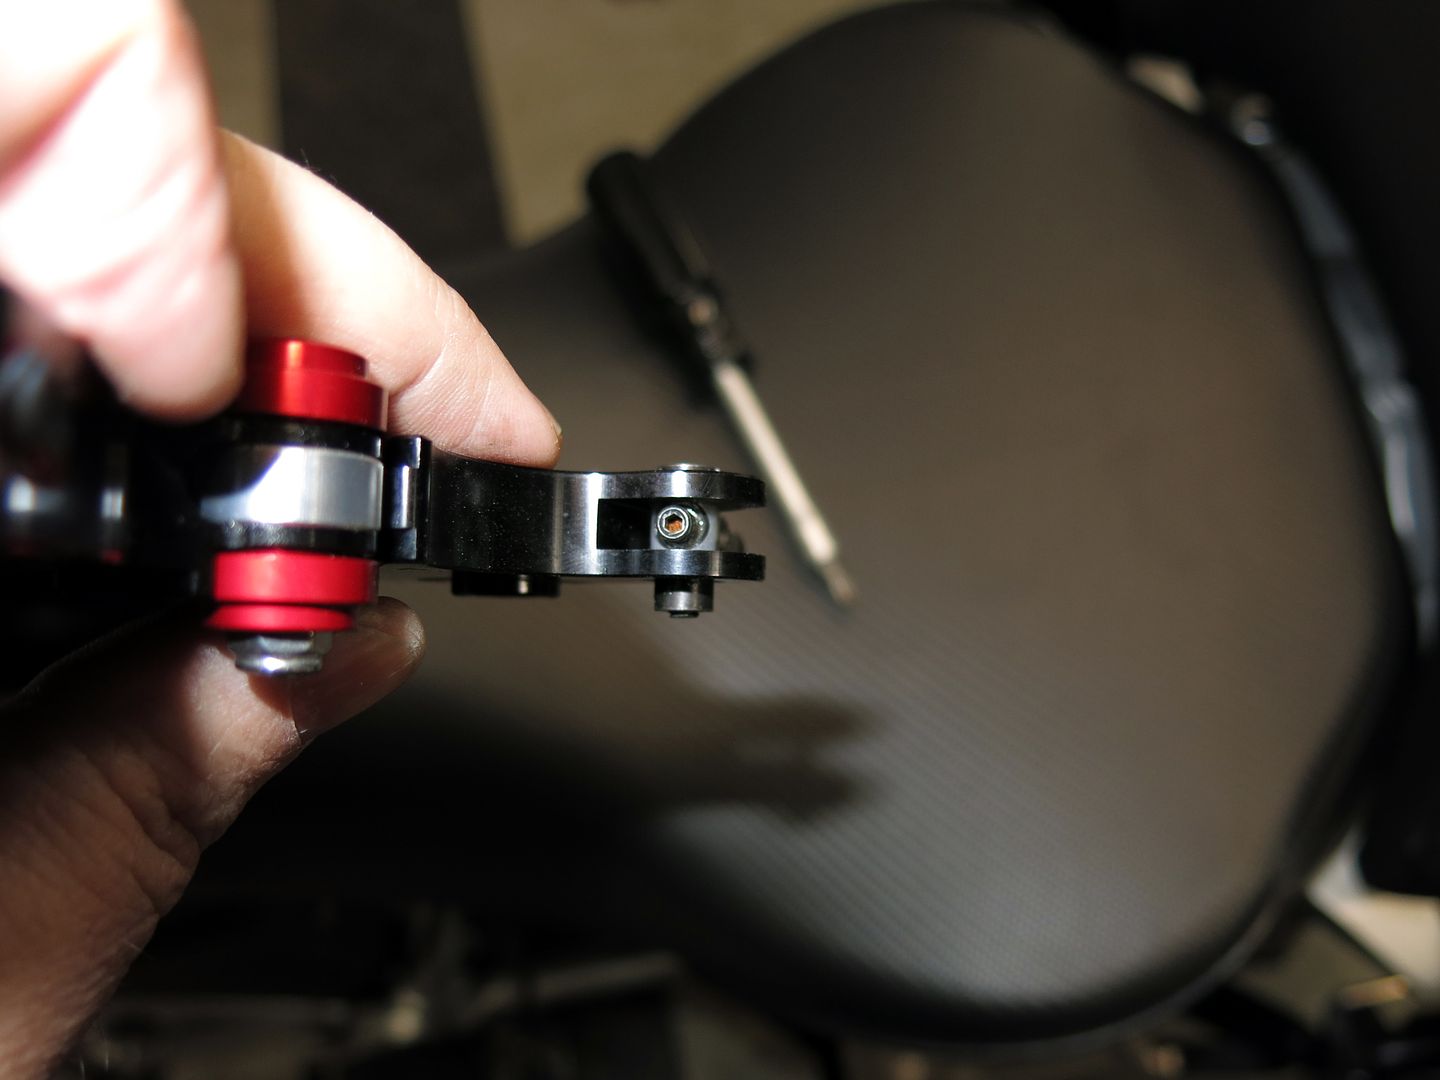
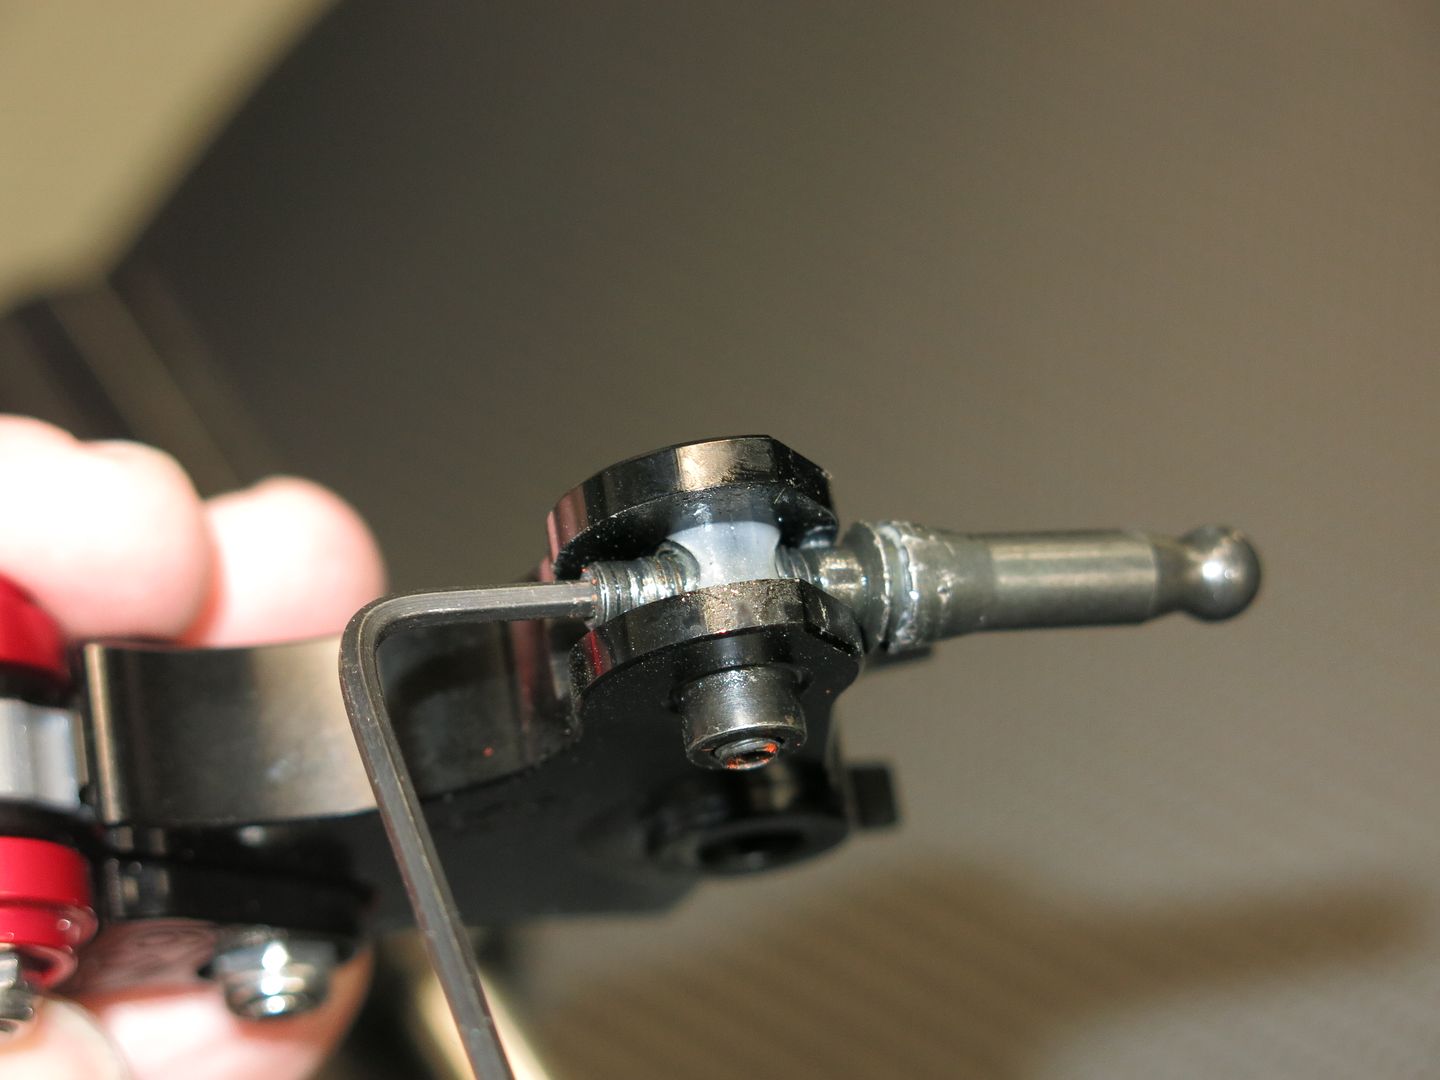
It takes a 2mm Allen to loosen the set screw. You will have to first clean out the pain to get the Allen to go in the hole to loosen it.
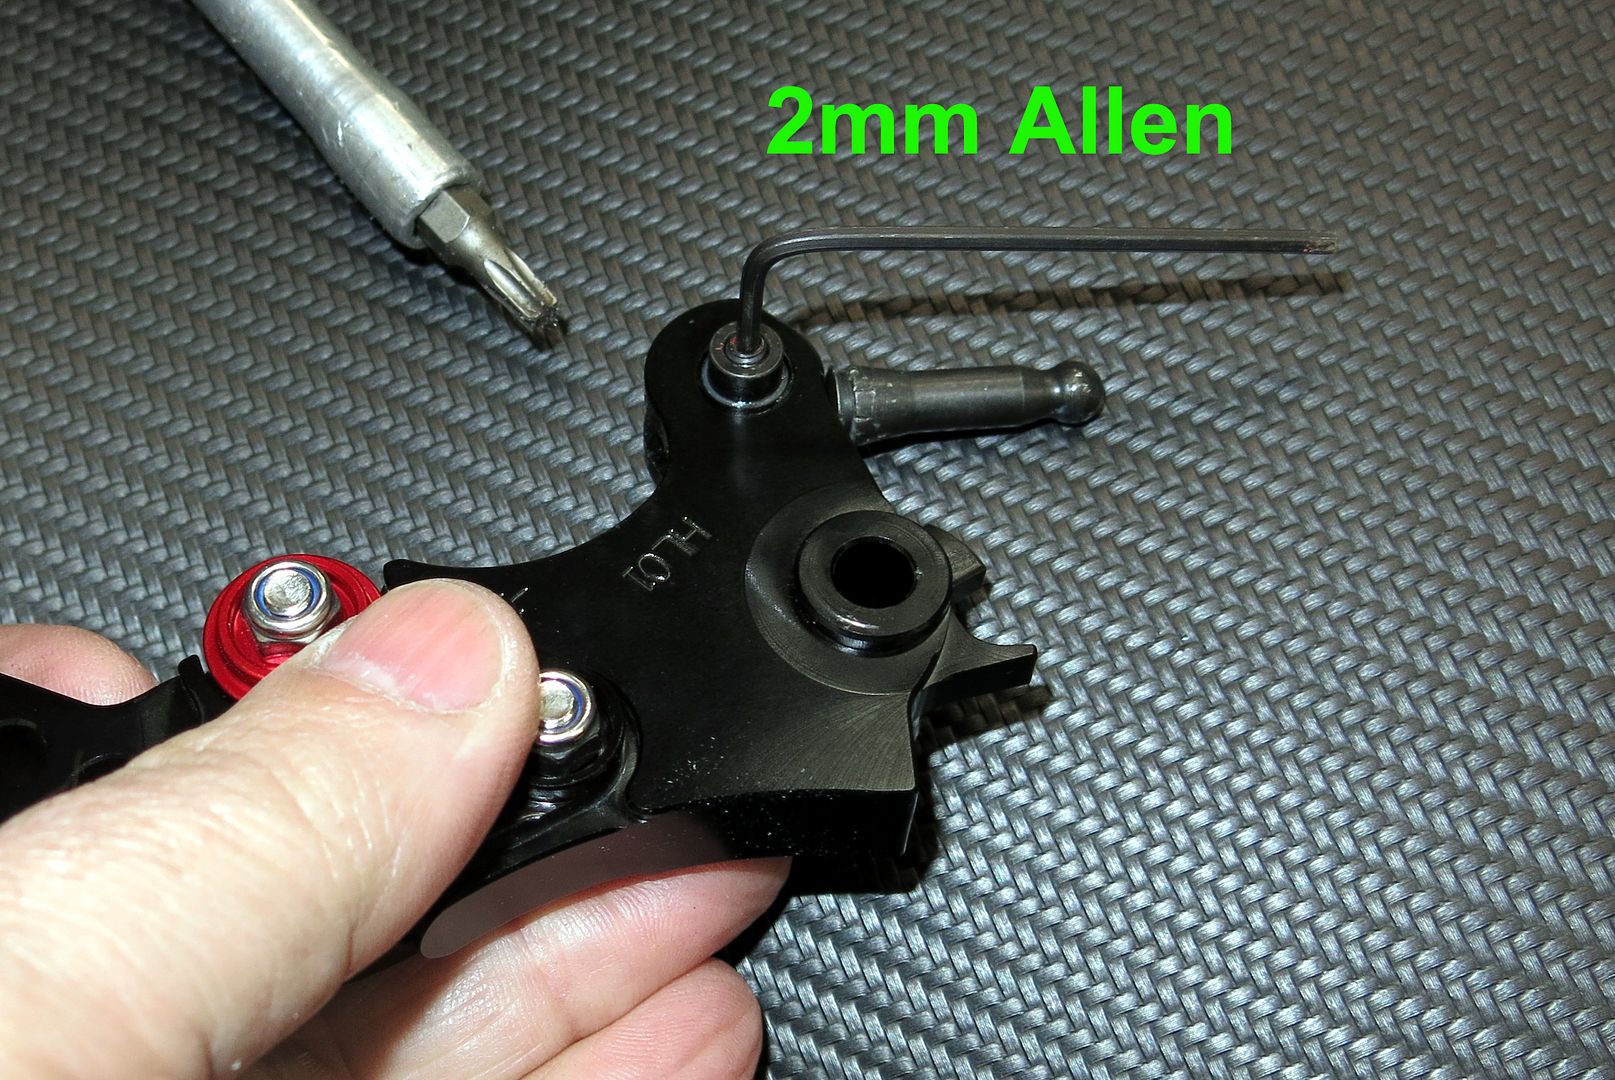
Once the set screw is loose, you use the 2mm Allen to adjust the distance the plunger goes into the master cylinder. The more it goes in the sooner you will get engagement. Turn it in Clockwise from the perspective of the plunger) to bring the lever closer to the grip when engagement starts, and turn it out (counterclockwise) to move engagement away from the grip. I suggest moving it only one turn at a time at most. Reinstall and test.
Once adjusted, tighten the set screw to 4Nm, or just lightly snug.
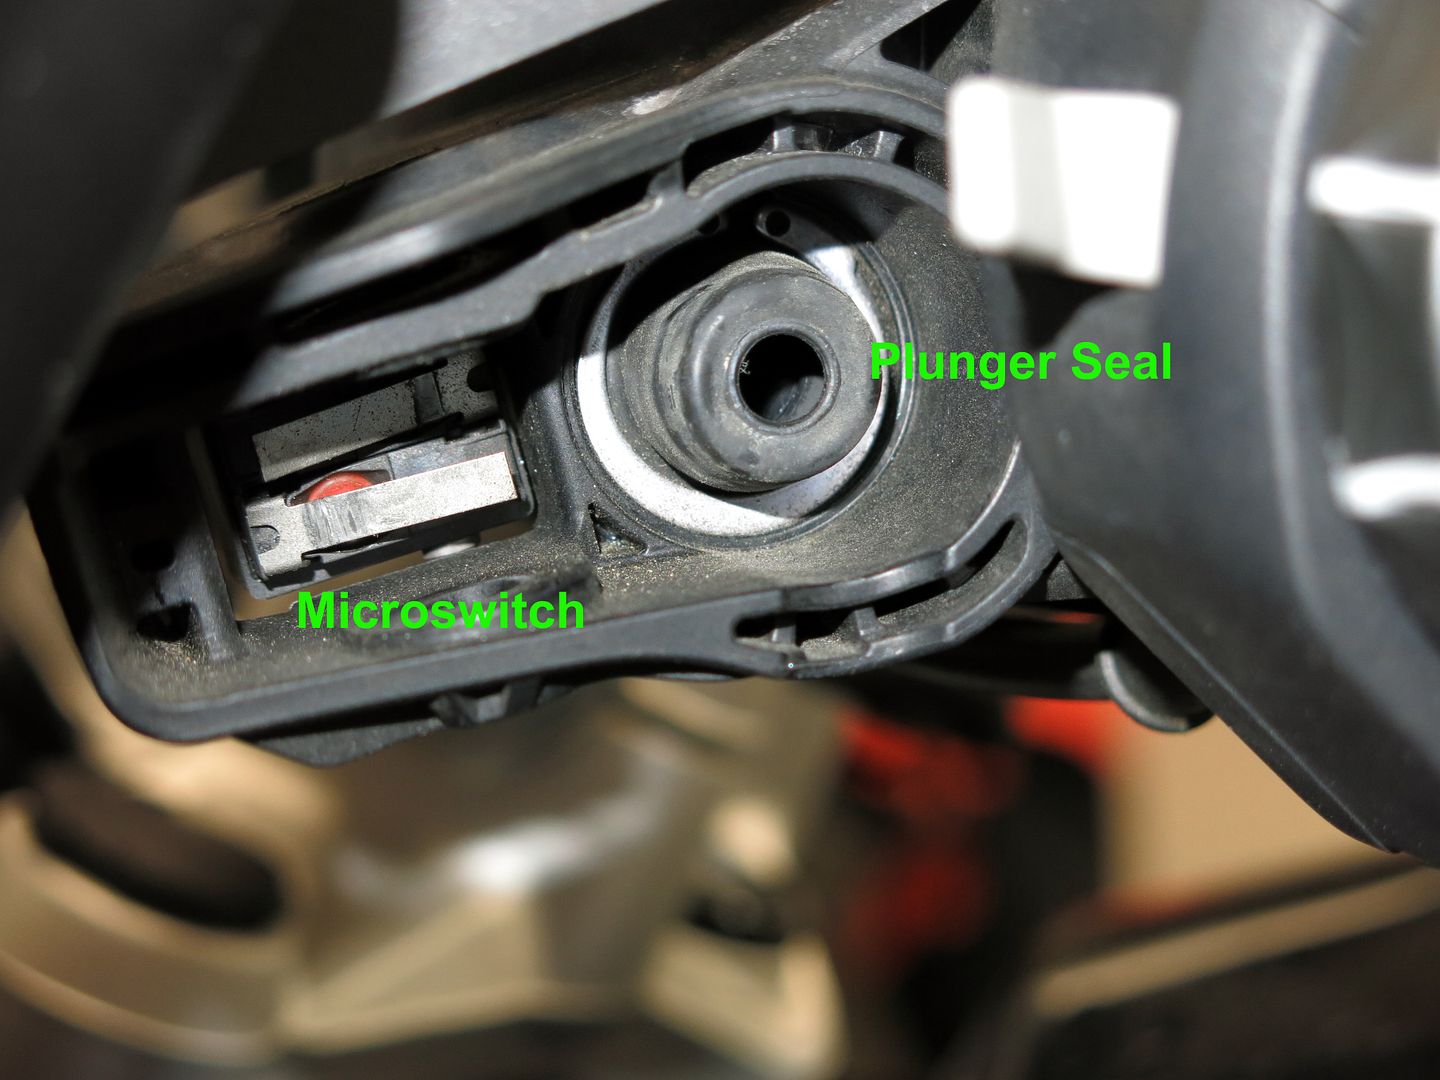
Install the lever and plunger by pushing it into the master cylinder rubber seal. Make sure you push it directly into the hole or the rubber will be pushed out of shape. You will feel it pop into place.
Put the lever retaining bolt back in, but not the 8mm nut. This is the time to test the engagement point. On the clutch you need it running and in gear to test it.
If it is good, install the 8mm nut and snug down to 8Nm. It bottoms on the shoulder of the bolt, and is a locking nut, so no need to gorilla it.
Now put the T-25 Torx back in and you are good to go.
Remember, this process is the same for the brake or clutch.
Jim
NOTE: I have aftermarket levers, but they use the stock plungers. There is no difference in the process.
First, you need to remove the T-25 Torx that holds the inside point on your hand guards. (Not needed on the RT/RS/R.)
Move the hand guard out of the way.
Push the hand guard mount to the right to clear the lever mount bolt.
Use the T-25 Torx to turn the mount bolr.
On the bottom is an 8mm nut that you need to hold.
Once the nut is off, push up the bolt until you can grab it and pull it all the way out.
Once the bolt is out, simply pull the lever until the plunger pops out.
Now you can see the plunger. This is the part you adjust.
Before you start, not the number of exposed threads so you can bring it bact to where it was if you need to later.
It takes a 2mm Allen to loosen the set screw. You will have to first clean out the pain to get the Allen to go in the hole to loosen it.
Once the set screw is loose, you use the 2mm Allen to adjust the distance the plunger goes into the master cylinder. The more it goes in the sooner you will get engagement. Turn it in Clockwise from the perspective of the plunger) to bring the lever closer to the grip when engagement starts, and turn it out (counterclockwise) to move engagement away from the grip. I suggest moving it only one turn at a time at most. Reinstall and test.
Once adjusted, tighten the set screw to 4Nm, or just lightly snug.
Install the lever and plunger by pushing it into the master cylinder rubber seal. Make sure you push it directly into the hole or the rubber will be pushed out of shape. You will feel it pop into place.
Put the lever retaining bolt back in, but not the 8mm nut. This is the time to test the engagement point. On the clutch you need it running and in gear to test it.
If it is good, install the 8mm nut and snug down to 8Nm. It bottoms on the shoulder of the bolt, and is a locking nut, so no need to gorilla it.
Now put the T-25 Torx back in and you are good to go.
Remember, this process is the same for the brake or clutch.
Jim


 or just the small knurled knob.