b25bsaboy
New member
Stuck Fillister Head Alternator Head Screw
Good afternoon,
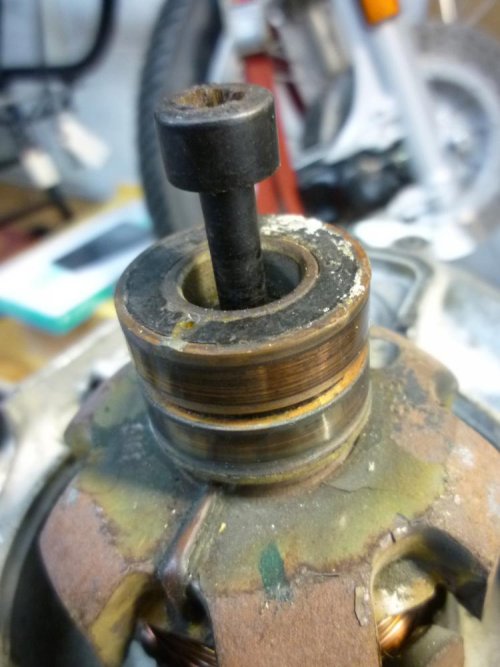
Just in from the shop and have taken everything apart in the timing and alternator chest. The Fillster Head Screw part # 12 31 8 002 348 which comes part way and that is as far as it wants to go. I don't want to start forcing it out for fear of damaging something internally. Is there something I am missing in removing this, as I have the Jacking Screw ready to go in to remove the rotor.
Good afternoon,
Just in from the shop and have taken everything apart in the timing and alternator chest. The Fillster Head Screw part # 12 31 8 002 348 which comes part way and that is as far as it wants to go. I don't want to start forcing it out for fear of damaging something internally. Is there something I am missing in removing this, as I have the Jacking Screw ready to go in to remove the rotor.
Attachments
Last edited:


")


