Navigation
Install the app
How to install the app on iOS
Follow along with the video below to see how to install our site as a web app on your home screen.
Note: This feature may not be available in some browsers.
More options
-
Welcome, Guest! We hope you enjoy the excellent technical knowledge, event information and discussions that the BMW MOA forum provides. Some forum content will be hidden from you if you remain logged out. If you want to view all content, please click the 'Log in' button above and enter your BMW MOA username and password. If you are not an MOA member, why not take the time to join the club, so you can enjoy posting on the forum, the BMW Owners News magazine, and all of the discounts and benefits the BMW MOA offers?
-
Beginning April 1st, and running through April 30th, there is a new 2024 BMW MOA Election discussion area within The Club section of the forum. Within this forum area is also a sticky post that provides the ground rules for participating in the Election forum area. Also, the candidates statements are provided. Please read before joining the conversation, because the rules are very specific to maintain civility.
The Election forum is here: Election Forum
You are using an out of date browser. It may not display this or other websites correctly.
You should upgrade or use an alternative browser.
You should upgrade or use an alternative browser.
Mid-South ride, eat, and meet
- Thread starter barryg
- Start date
bobs98
Hey Chromehead !
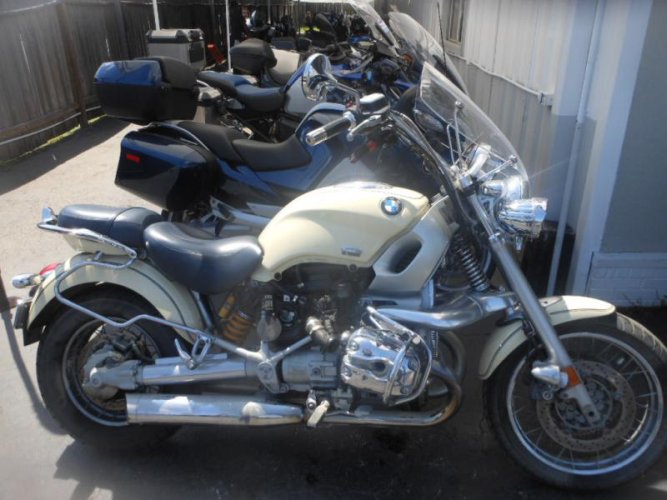
View attachment 56314
Saw this Cruiser sitting there a little ragged looking. A diamond in the rough. Just seems like a couple of years ago they were new bikes and were costaring in a James Bond movie.
Looks like it could be brought back without too much effort. But I am slightly biased.

Yes, You are correct. I was a little too harsh. I apologize to all offended parties.  I test rode one of these back in late '97 or early '98. A buddy and I were at the old BMW Motorad in St. Louis. We were there to pick up a EML sidecar to attach to a K100RT. While their we were invited to test ride the new BMW Cruiser. Liked it mostly. Was really interested in what the bike was going to evolve into. Mainly a updated more powerful engine. Didn't happen, then the whole project was abandoned. Kinda sad. Yes, this bike only needs a small amout of work to bring it back to it's new bike luster. Thx for the honest comment; you have a good eye.

Perry's Old School Machine Shop
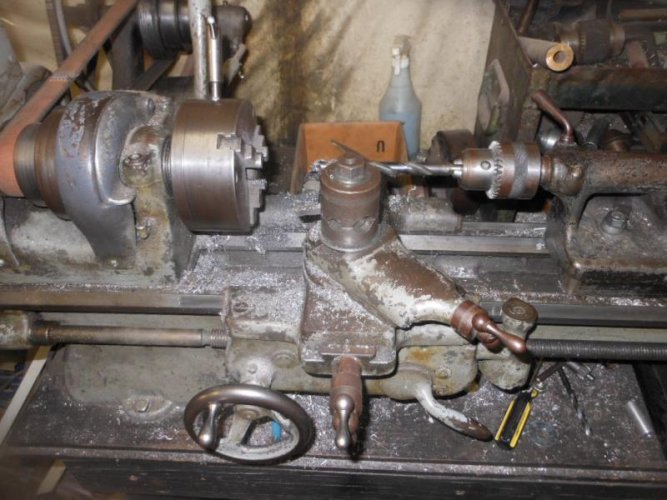
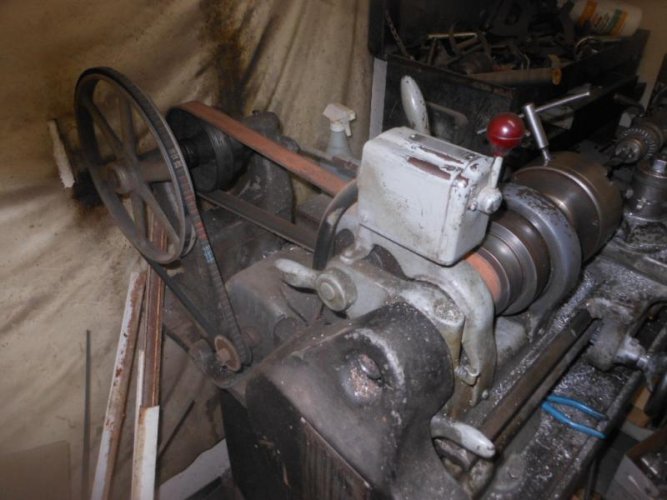
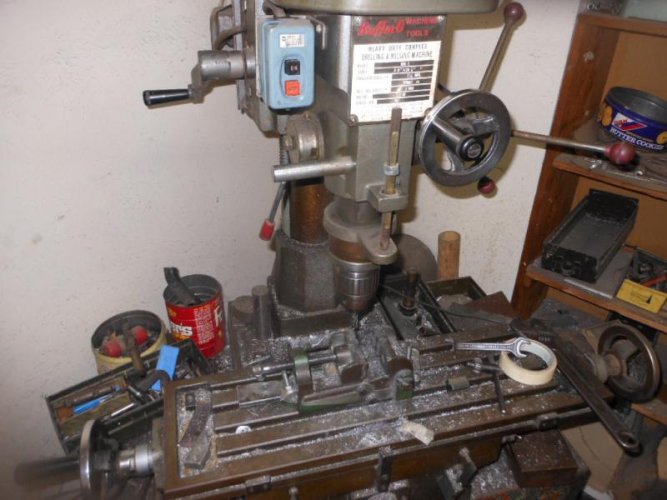
Ran equipment like this 40 years ago. Simple, strong, durable, effective. Still good after all these years. Sounds like an old song; how'ed it go. 'Still Crazy After All These Years.' Something like that, anyway. Open belts and pullies, head stocks, tail stocks, tool posts, 3 jaw chucks. Chips in the ways, bed and on the floor. Mahine shop class 101. Yes open pully's and belts are unsafe. Did you notice the T handle in the chuck. That's 10 demerits on your next machine shop class project. Sorry Mr. Craig, 'I won't let it happen again.' Ok which one of you knuckle heads turned me in. I'm giving U a knuckle sandwich after school. Ah, the good old days.


Ran equipment like this 40 years ago. Simple, strong, durable, effective. Still good after all these years. Sounds like an old song; how'ed it go. 'Still Crazy After All These Years.' Something like that, anyway. Open belts and pullies, head stocks, tail stocks, tool posts, 3 jaw chucks. Chips in the ways, bed and on the floor. Mahine shop class 101. Yes open pully's and belts are unsafe. Did you notice the T handle in the chuck. That's 10 demerits on your next machine shop class project. Sorry Mr. Craig, 'I won't let it happen again.' Ok which one of you knuckle heads turned me in. I'm giving U a knuckle sandwich after school. Ah, the good old days.
mikegalbicka
Back in the saddle again
Wow, thanks for the memories. Ran that same type of equipment myself 40 years ago. What fun it was to manufacture parts with such simple machines.
BMW Head Repair
If you like old school machine shops and equipment, you might like this. Some tools, jigs and stuff I machined to fix exhaust port threads on airhead heads.
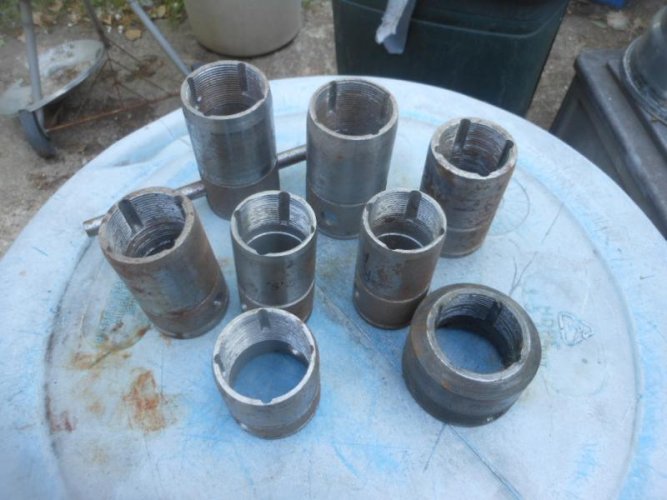
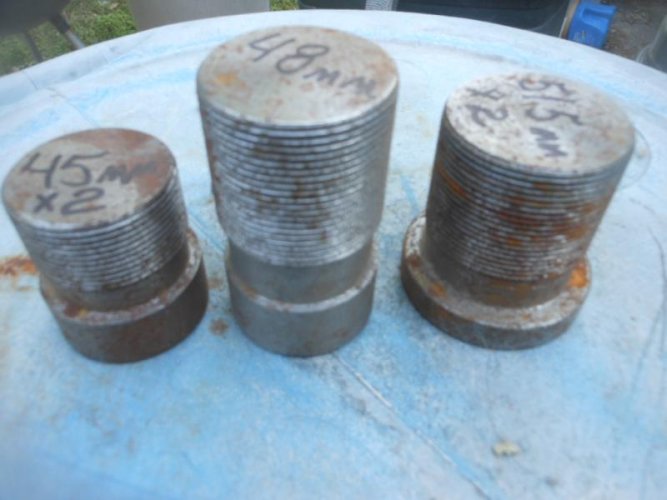
Dies I machined to clean up and repair the exhaust port threads. Worked really good on a lot of heads. Quik easy fix. Looking a little rough. Need to clean them up. It's just a little surface rust.
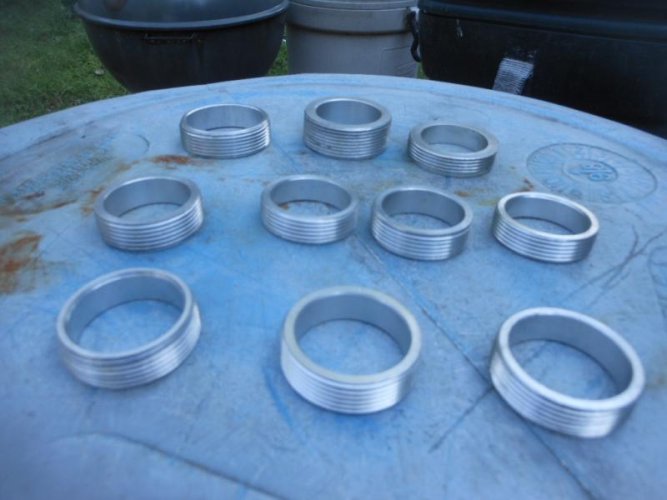
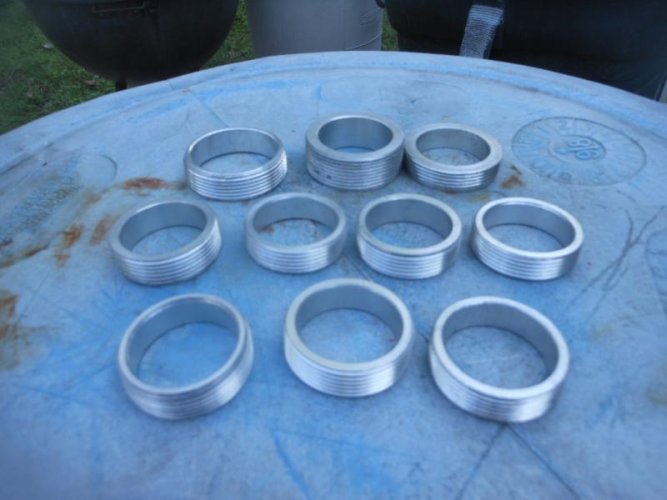
sometimes the threads were so bad, I machined off the threads and attached these threaded rings. worked really good. I had a lot of success with these.
If you like old school machine shops and equipment, you might like this. Some tools, jigs and stuff I machined to fix exhaust port threads on airhead heads.

Dies I machined to clean up and repair the exhaust port threads. Worked really good on a lot of heads. Quik easy fix. Looking a little rough. Need to clean them up. It's just a little surface rust.

sometimes the threads were so bad, I machined off the threads and attached these threaded rings. worked really good. I had a lot of success with these.
Attachments
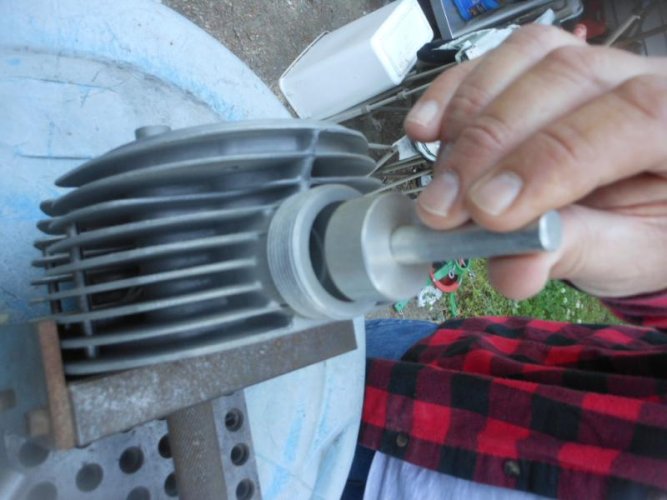
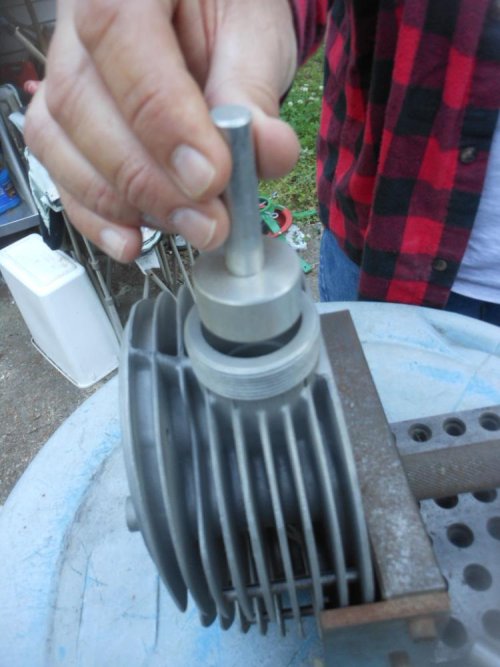
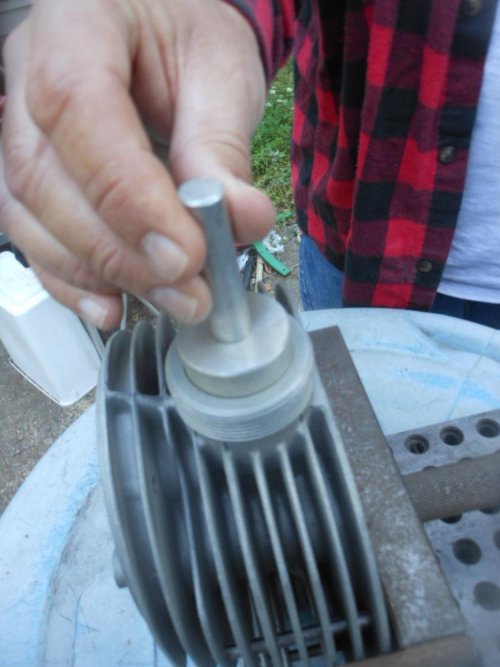
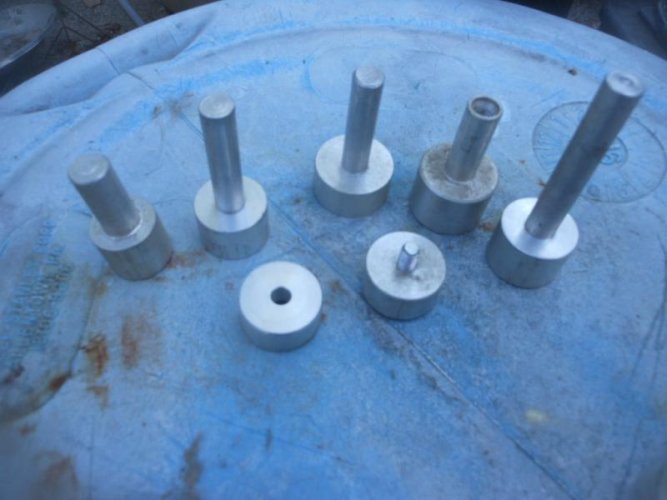
I would set the head up in an angle plate and slightly clamp them down. The threadsd exhaust port up. At first I would run an indicator in the throut. The port is casted in the manufactoring process. I finally decided a mchined standard attached to the milling head in a chuck was close enough. so I made up the different sizes, if I remember it was three.

Attachments
Back when I first started this, I thought I needed some exact size threaded ports made of metal to work with, so i made some standards to do the simple developmental work. A little over kill, but it worked.
Need to clean them up and oil them down and put them back to storage.
I miss doing simple machine shop jobs. It is nice to be able to fix stuff as needed.

Need to clean them up and oil them down and put them back to storage.
I miss doing simple machine shop jobs. It is nice to be able to fix stuff as needed.
mikegalbicka
Back in the saddle again
Great job.


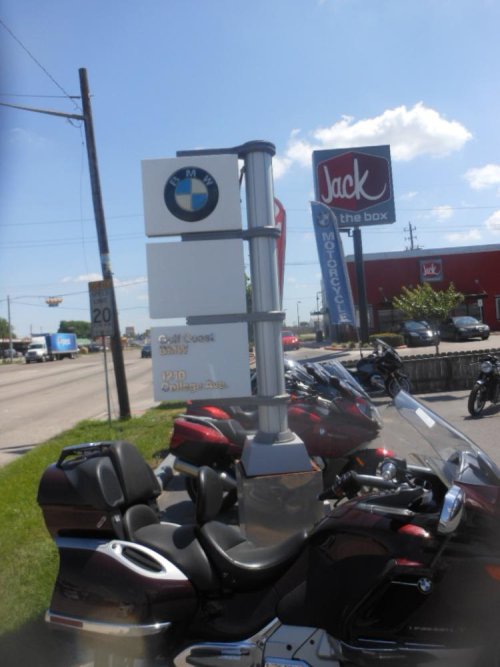

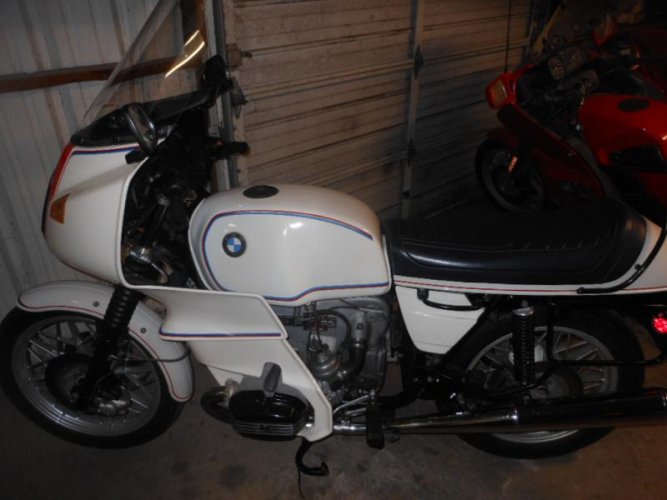
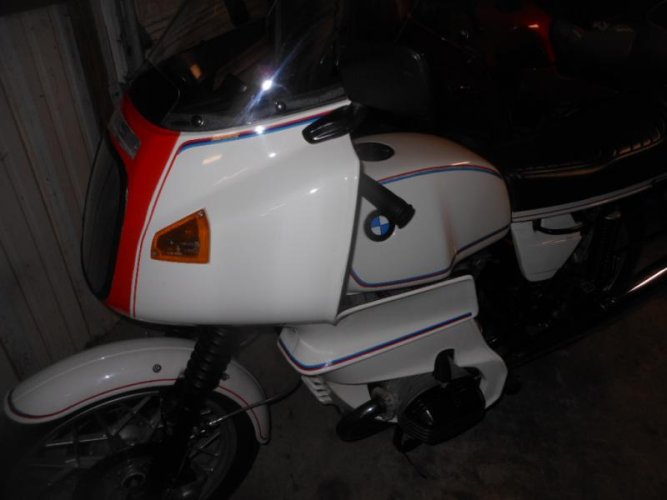
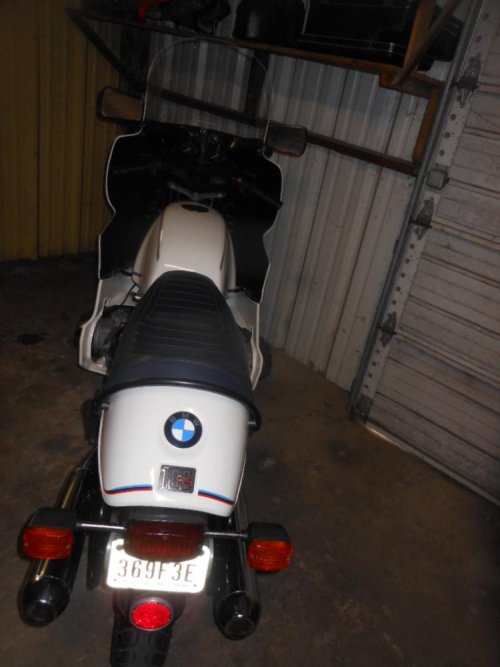
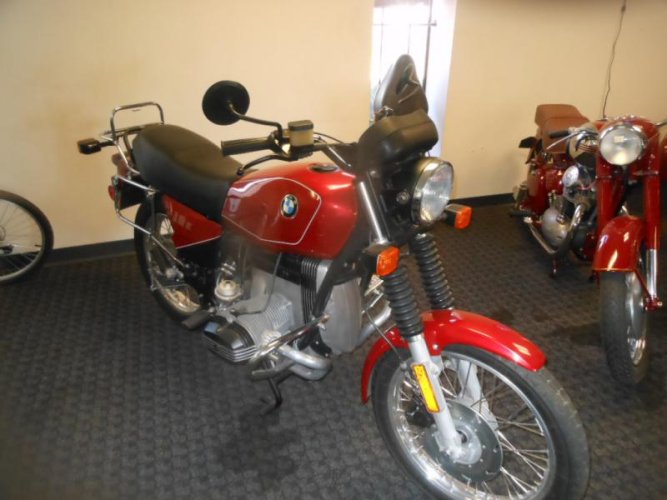
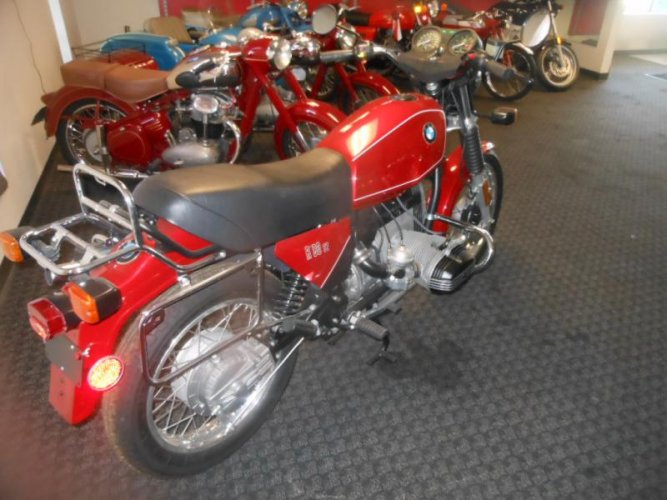
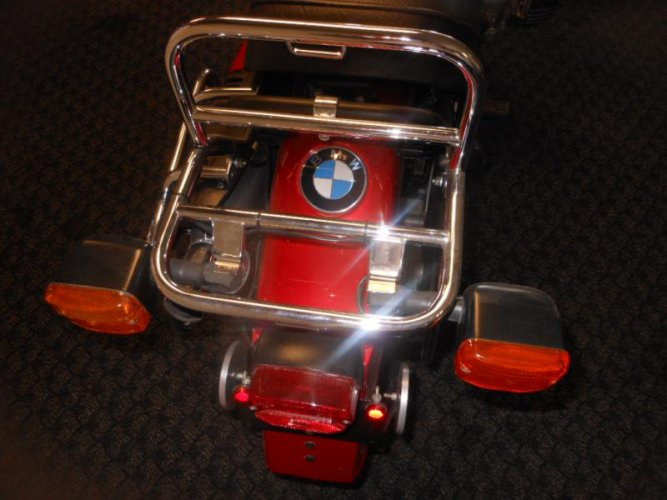
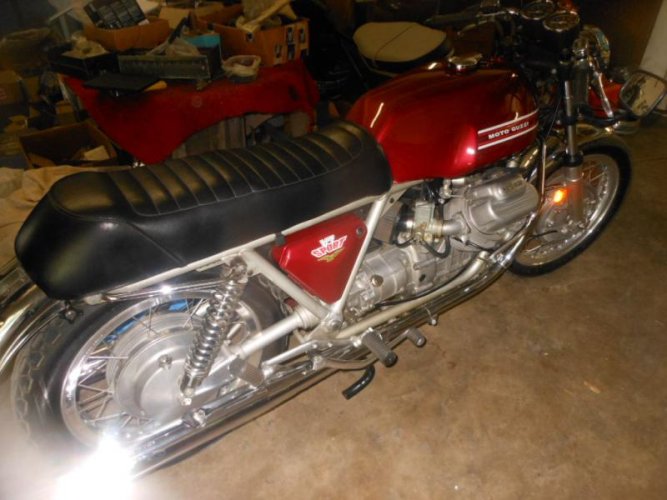
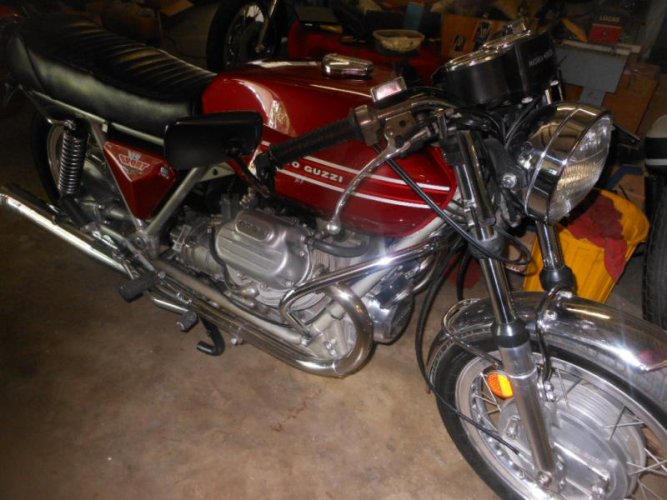
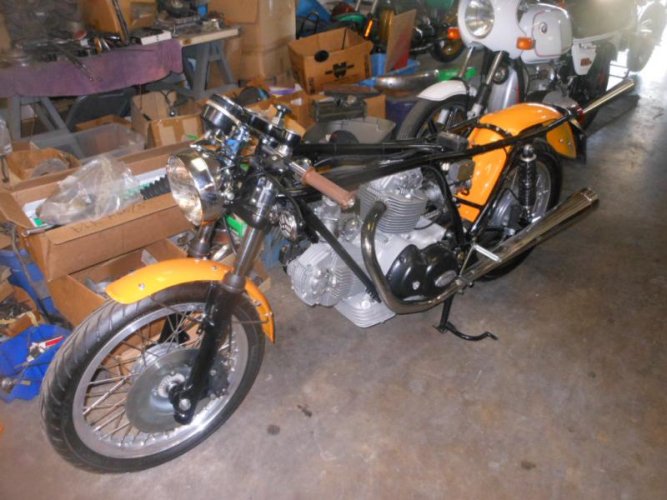
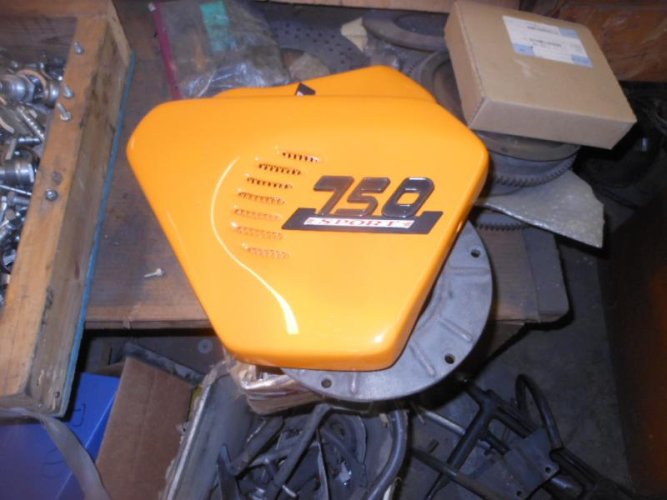
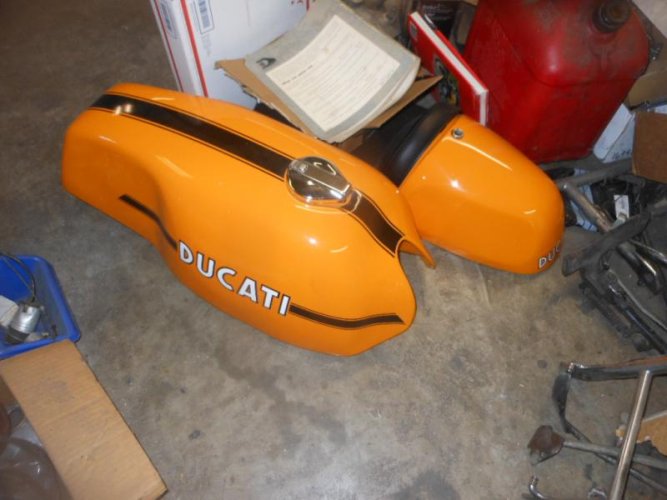
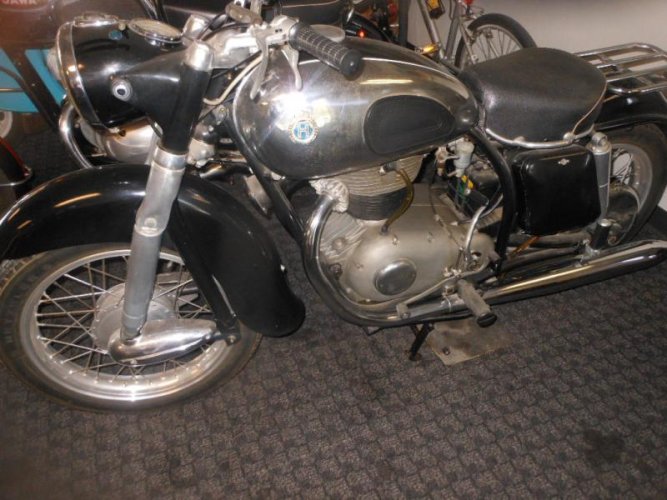
 It's cool what ever it is.