• Welcome, Guest! We hope you enjoy the excellent technical knowledge, event information and discussions that the BMW MOA forum provides. Some forum content will be hidden from you if you remain logged out. If you want to view all content, please click the 'Log in' button above and enter your BMW MOA username and password.

    If you are not an MOA member, why not take the time to join the club, so you can enjoy posting on the forum, the BMW Owners News magazine, and all of the discounts and benefits the BMW MOA offers?

  • Beginning April 1st, and running through April 30th, there is a new 2024 BMW MOA Election discussion area within The Club section of the forum. Within this forum area is also a sticky post that provides the ground rules for participating in the Election forum area. Also, the candidates statements are provided. Please read before joining the conversation, because the rules are very specific to maintain civility.

    The Election forum is here: Election Forum

HID Low Beam Install on R1200RT

S

swilson143

Guest
I finally finished my HID low beam install today. Came out great! I bought my HID kits from http://www.cqlight.ca/ Ive purchased from them 3 times now and many friends have bought their kits as well good company.

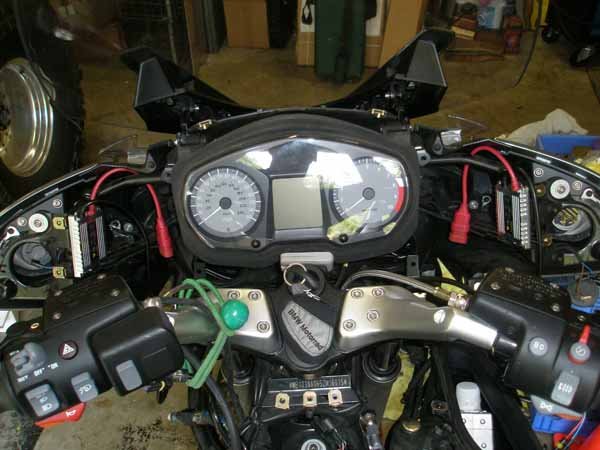
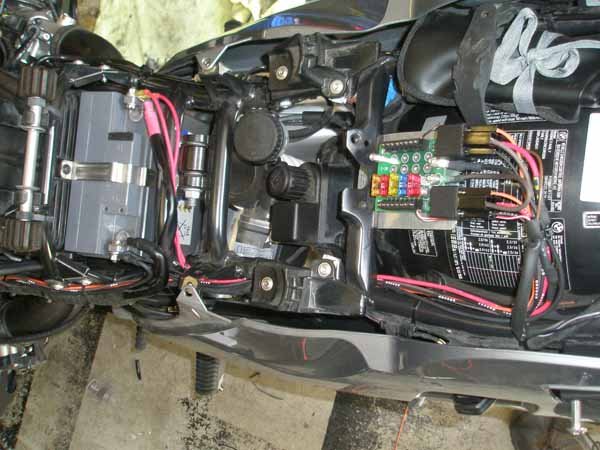
Most of what you see in this photo I completed a couple weeks ago. I created an aluminum bracket to hold the Centech fuse block in place using a couple of existing screws. The bracket also holds two 70A relays. One powers the fuse block when the key is on. The other was dedicated to the HID low beams.
centech.jpg
 
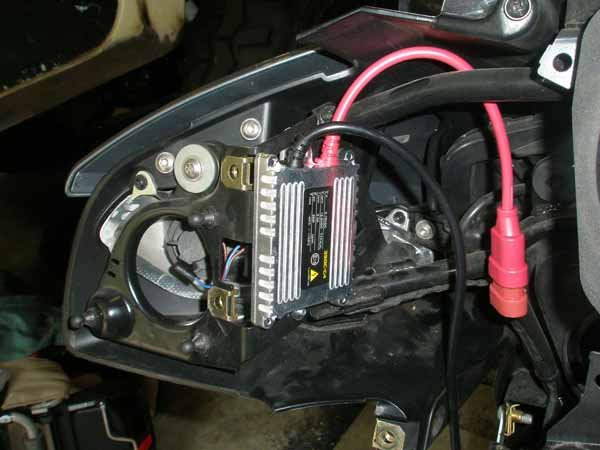
My bike doesnÔÇÖt have the speakers, so I had a ton of room behind the dash to mount the HID ballasts. I mounted them opposite each other on the mirror supports.

hid5.jpg
 
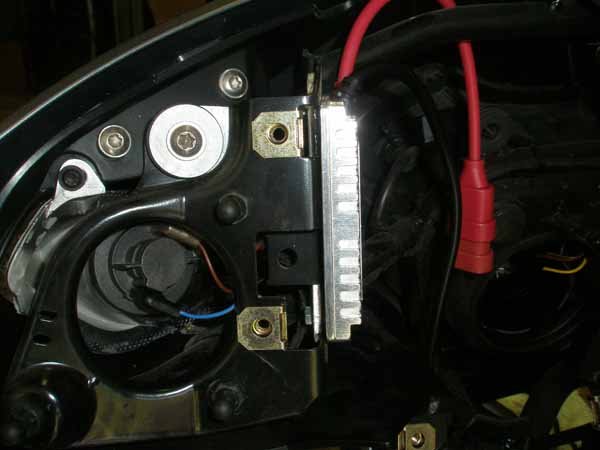
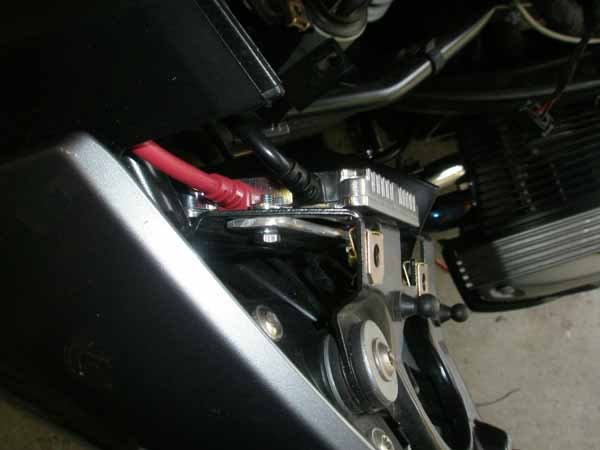
I cut a piece of aluminum and drilled holes though it help my mount the ballast. It sandwiches part of the mirror support and holds the ballast rigidly in place with no holes drilled into my bike. For info if you buy your kit from CQLight I can tell you screws needed to fit the pre-threaded holes in the ballast housing are M4 0.7 pitch. I used 4 of them.

hid3.jpg
 
From researching on the web I knew many people are getting Bulb Error warnings on their dash when installing HID kits because CANBUS is looking for the correct resistance from the filament in the light bulb to know that the bulb isn’t burnt out… since the HID kits don’t have the correct resistance (I have heard certain kits have been designed to now have the correct resistance, but don’t know who might be selling them) CANBUS thinks the bulb has burnt out and displays an error.

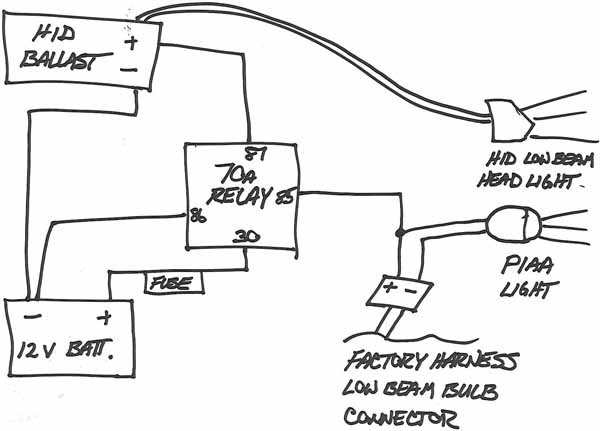
Some people have fooled CANBUS by adding resistors to their wiring setups. I went another route. I used my factory low beam wiring to power a set of PIAA 004XT lights I added under the oil cooler. Since CANBUS sees a bulb at the end of the wiring you get no errors! Here is a wiring diagram of what I did. The rating on the relay is so high because I used it to power both HID low beams.

diagram.jpg
 
Last edited:
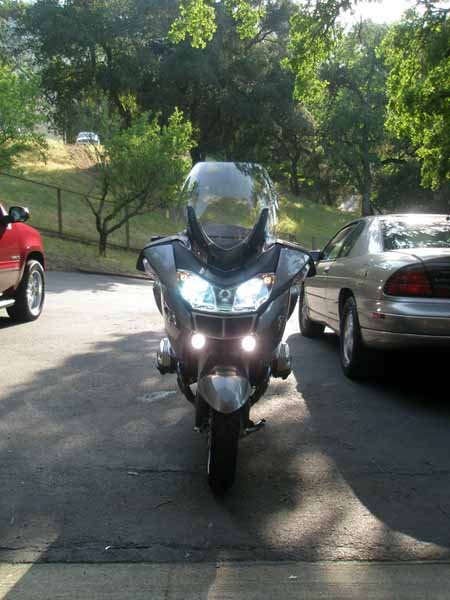
Here is the finished product. Sure makes those side marker lights look yellow is there an LED replacement that doesnt cause CANBUS errors?

hid6.jpg
 
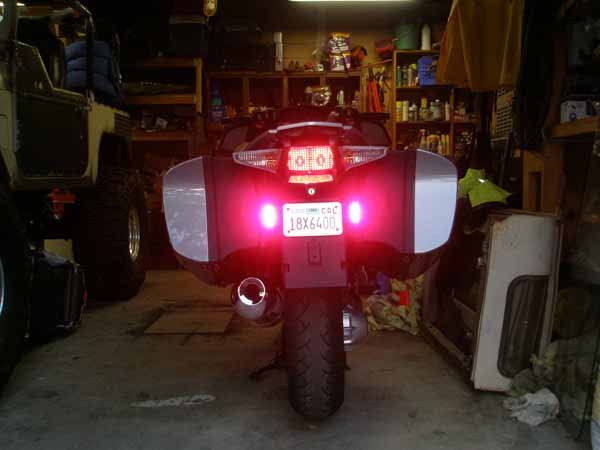
While I was in there mucking around I installed some Hyperlites. They rock. I just wish someone would also come out with an LED bulb replacement for the stock brake light housing that is CANBUS compatible.

hyperlites.jpg
 
Plug and Play HID

Looking at the work involved in your installation, it doesn't appear the HID conversion is exactly "Plug and Play" as the manufacturer of my HID suggests. Did you have to do any alteration, such as cutting a spacer to make the HID bulbs work when you swapped out the H7' lamps on your bike? Did you have to drill a hole in the dust covers on the back of the lights? I just want to get an idea of how deep of a project this will be before I start drilling and cutting. Thanks. Your lights look great, BTW
 
Your wiring choice is a bit novel but the end result is pretty similar to what others have done by other wiring (independent) setups. Looks good.

There are quite a few kits that don't trigger CANbus warnings on these bikes- I use DDM ones on a couple BMWs and they don't. for example.

Re cutting, the better lits need only drilling or cutting a single hole in the rear cover of whatever type headlight the bike has,

Most do not use your more elegant approach of fabricating metal brackets for the ballasts and simply zip tie them to the bar in front. There is indeed plenty of room back there to fit them.
 
Very clean install

Thanks for posting and including the great pictures and schematic. I learn something every time someone takes the time to do this - without bruising my knuckles. ;)
 
Back
Top