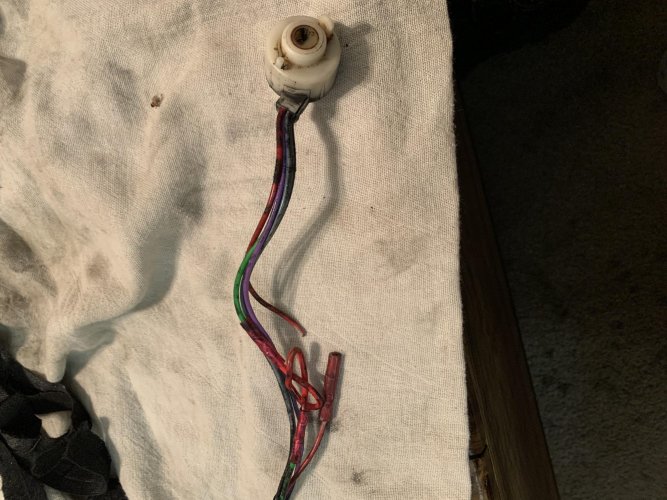
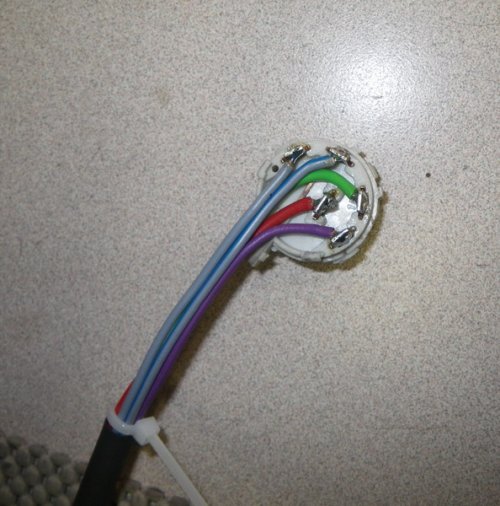
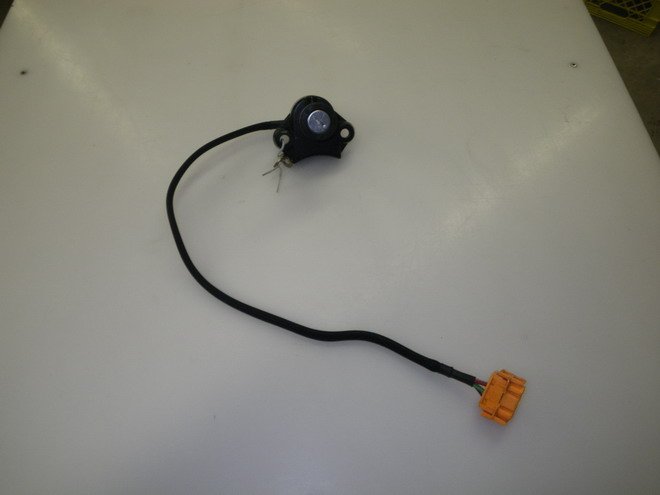
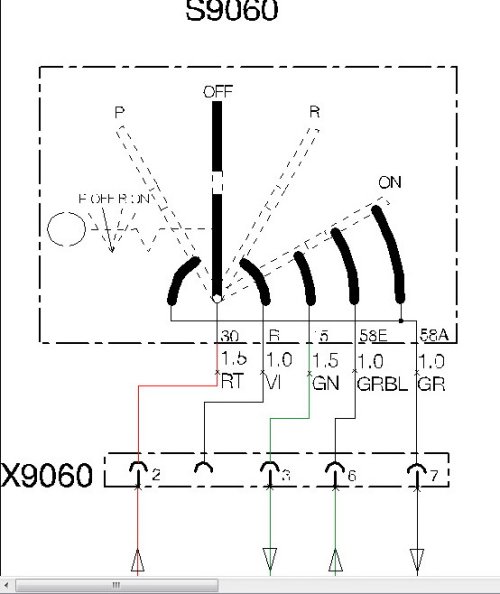
Obscure question for the hive mind - 1150GS 2002 - I have an intermittent short that I have traced to the ignition switch leads. After 20 years of flexing it seems to be almost done. I need to get the switch out and have found the grub screw on the RH side of the ignition housing. After digging out the paint covering it, I can’t get a good feel with any metric hex wrench - does anyone know what size wrench this tiny screw takes?
Much obliged, happy new year and all that
Much obliged, happy new year and all that