roborider
God? What god?
My ESA stock shocks were shot after 65k miles. Well, likely they were shot sometime before that! I noticed that they were very stiff, with little bounce. Much stiffer than they would normally be on "sport" mode. And the damping never changed when the settings were changed.
I got the Yacugar shocks from Ted Porter's Beemer Shop. Installation was work, but not necessarily difficult.
The bike rides great now. I don't know if it is better than with new stock shocks, but it's certainly as good or better than new. I notice it most on downhill twisties. The bike responds much better to dips/bumps and the tires are glued to the road.
I'm still playing with the settings, but just out of the box the performance is fantastic.
Installation:
Here is the rear shock. Remove the wheel (hence the muffler as well), the lower mud guard (two screws), and the shock is right there. One lower bolt, one upper bolt. Both were easier to remove with a good dose of heat from the heat gun. New shock goes right in, with Locktite on the threads. The hardest part was unplugging the old ESA wire connections!
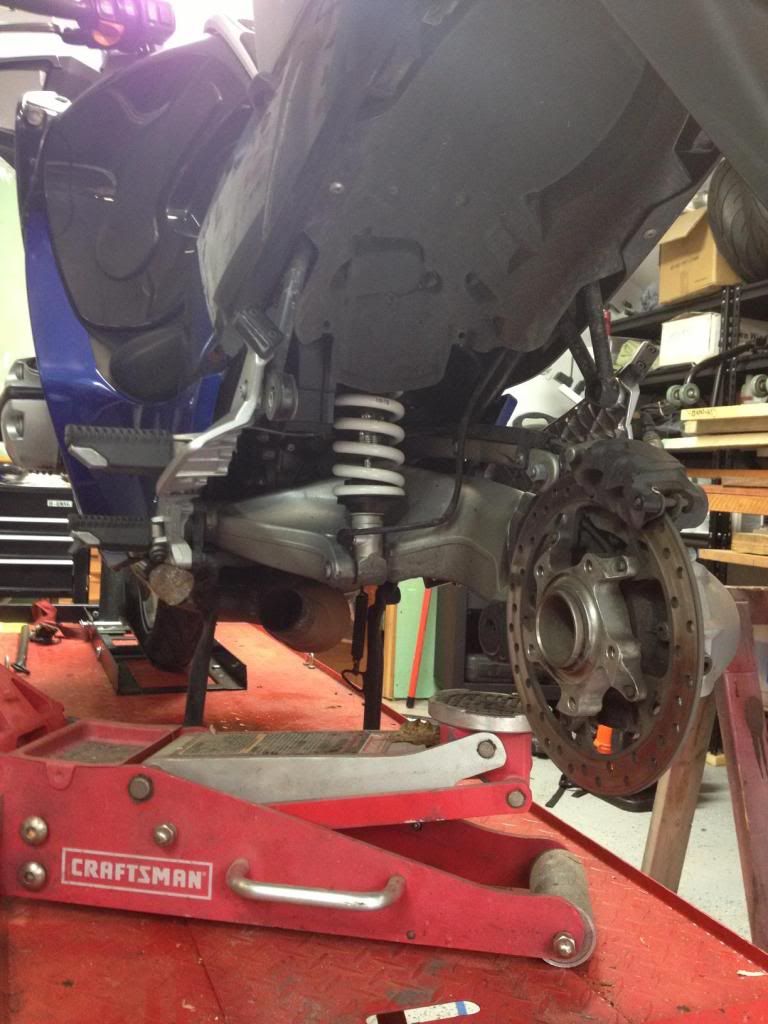
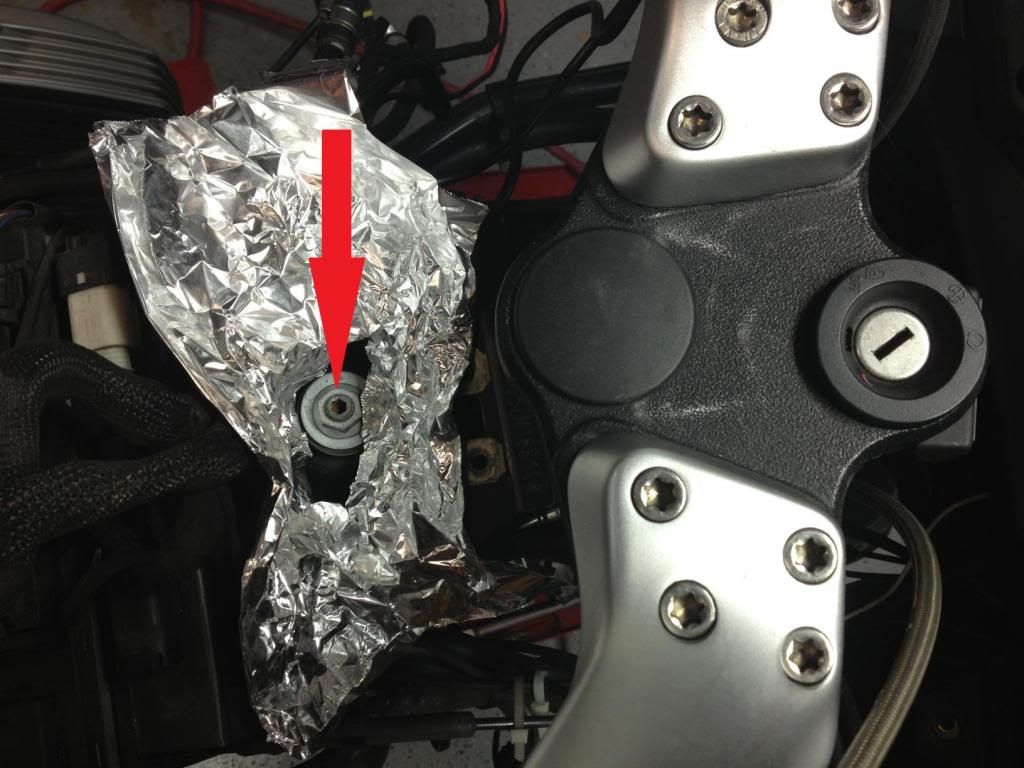
Front shock is more work. Removing the front wheel gives access to the lower mounting bolt. Definitely needed a heat gun to melt the thread lock, then it came out easily. The upper part of the shock is a stud, and is attached with a nut to the stud. The nut is under the gas tank. So, off comes the body panels and gas tank. This is not really difficult, but takes a bit of time. Normally I would flush the ABS brake fluid since you need to remove the tank for this, too, but I just did it in December. Once the tank is off, the nut is accessible. It also is very tight and needed heat to loosen it. I made a foil heat shield so the heat gun would not melt the wires that are near the nut.
Once the nut is off, the shock seems like it will come out, but it won't. Removing the front alternator belt cover (about 6 screws) gives you the space you need to drop it out. New one goes right in.
Again, finding and removing the ESA connections took some time.
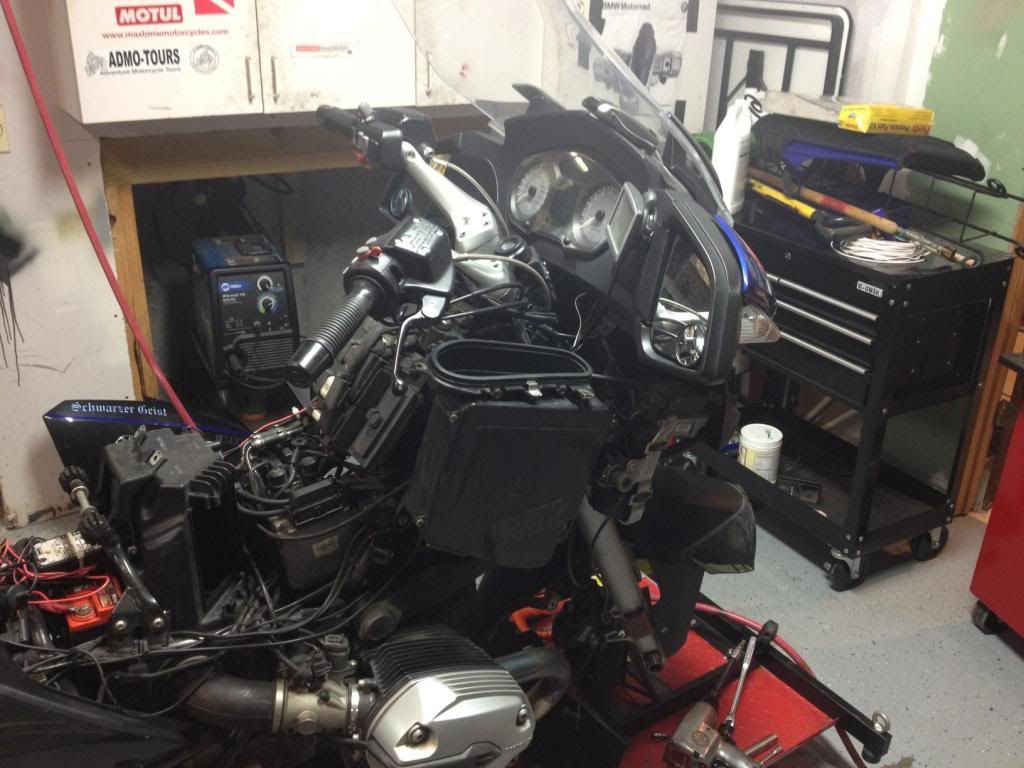
Here she is, almost ready. I still need to remove the large glove box for easier access:
.
.
Here is the top bolt -I had to remove the gas tank to get access to it. Note the foil heat shield for heat gun:
.
.
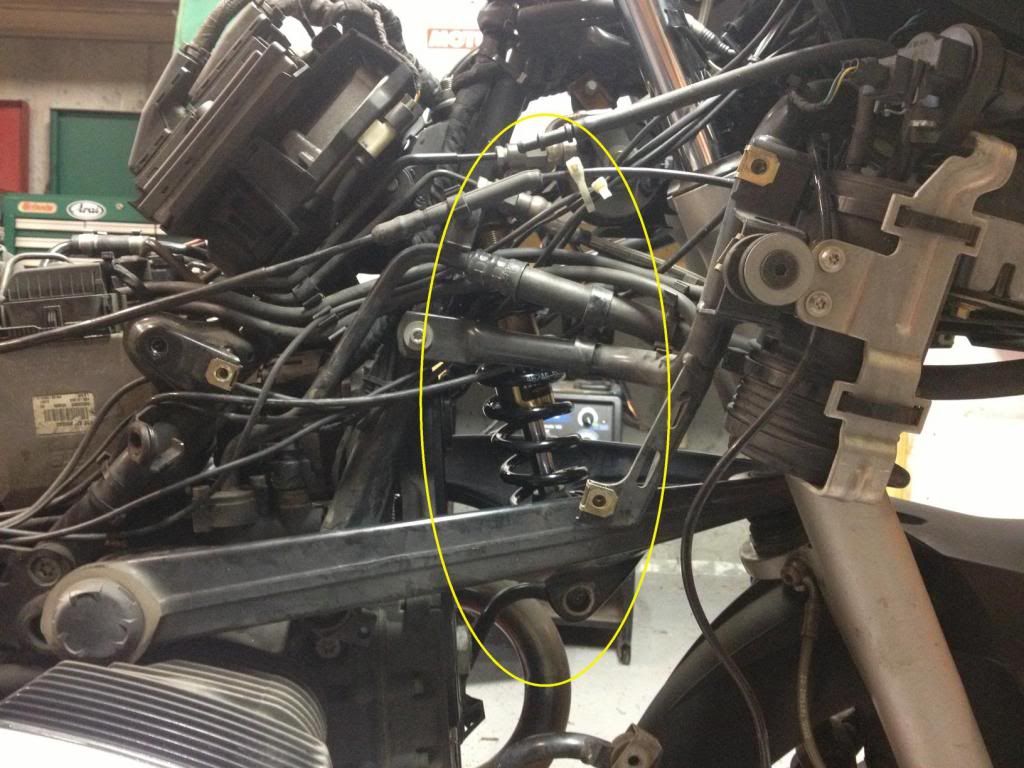
Here's a view of the shock in place. You can see the mounting bolt on the bottom. If you know what you are looking at you can see the alternator belt cover is not in place:
.
.
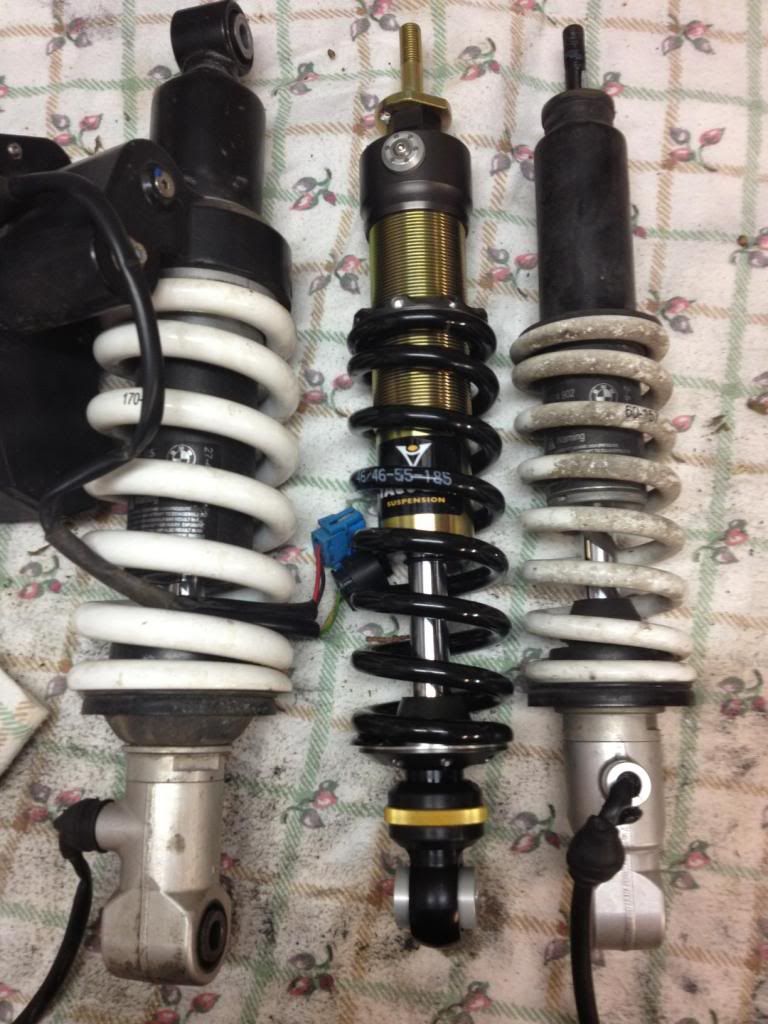
Here's my old shocks (white spring) and one new shock:
.
.
Entire job took about 3 or 4 hours at a relaxed multi-day pace. Again, not difficult, but a lot of steps.
I got the Yacugar shocks from Ted Porter's Beemer Shop. Installation was work, but not necessarily difficult.
The bike rides great now. I don't know if it is better than with new stock shocks, but it's certainly as good or better than new. I notice it most on downhill twisties. The bike responds much better to dips/bumps and the tires are glued to the road.
I'm still playing with the settings, but just out of the box the performance is fantastic.
Installation:
Here is the rear shock. Remove the wheel (hence the muffler as well), the lower mud guard (two screws), and the shock is right there. One lower bolt, one upper bolt. Both were easier to remove with a good dose of heat from the heat gun. New shock goes right in, with Locktite on the threads. The hardest part was unplugging the old ESA wire connections!

Front shock is more work. Removing the front wheel gives access to the lower mounting bolt. Definitely needed a heat gun to melt the thread lock, then it came out easily. The upper part of the shock is a stud, and is attached with a nut to the stud. The nut is under the gas tank. So, off comes the body panels and gas tank. This is not really difficult, but takes a bit of time. Normally I would flush the ABS brake fluid since you need to remove the tank for this, too, but I just did it in December. Once the tank is off, the nut is accessible. It also is very tight and needed heat to loosen it. I made a foil heat shield so the heat gun would not melt the wires that are near the nut.
Once the nut is off, the shock seems like it will come out, but it won't. Removing the front alternator belt cover (about 6 screws) gives you the space you need to drop it out. New one goes right in.
Again, finding and removing the ESA connections took some time.
Here she is, almost ready. I still need to remove the large glove box for easier access:

.
.
Here is the top bolt -I had to remove the gas tank to get access to it. Note the foil heat shield for heat gun:

.
.
Here's a view of the shock in place. You can see the mounting bolt on the bottom. If you know what you are looking at you can see the alternator belt cover is not in place:

.
.
Here's my old shocks (white spring) and one new shock:

.
.
Entire job took about 3 or 4 hours at a relaxed multi-day pace. Again, not difficult, but a lot of steps.