Stig
Tame Racing Driver
To Revive This Thread...
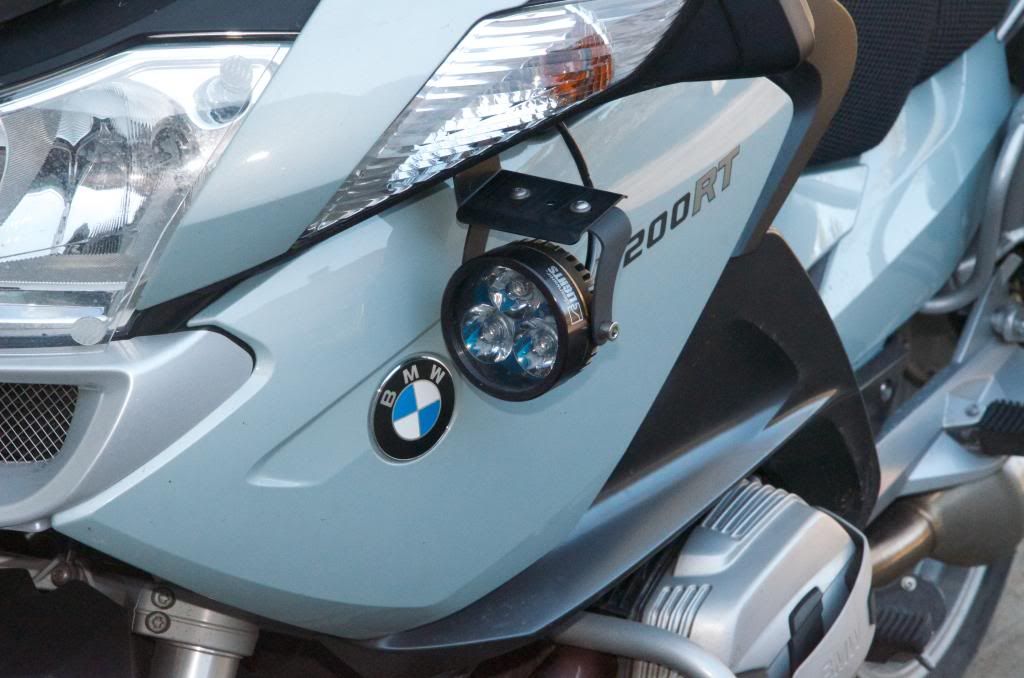
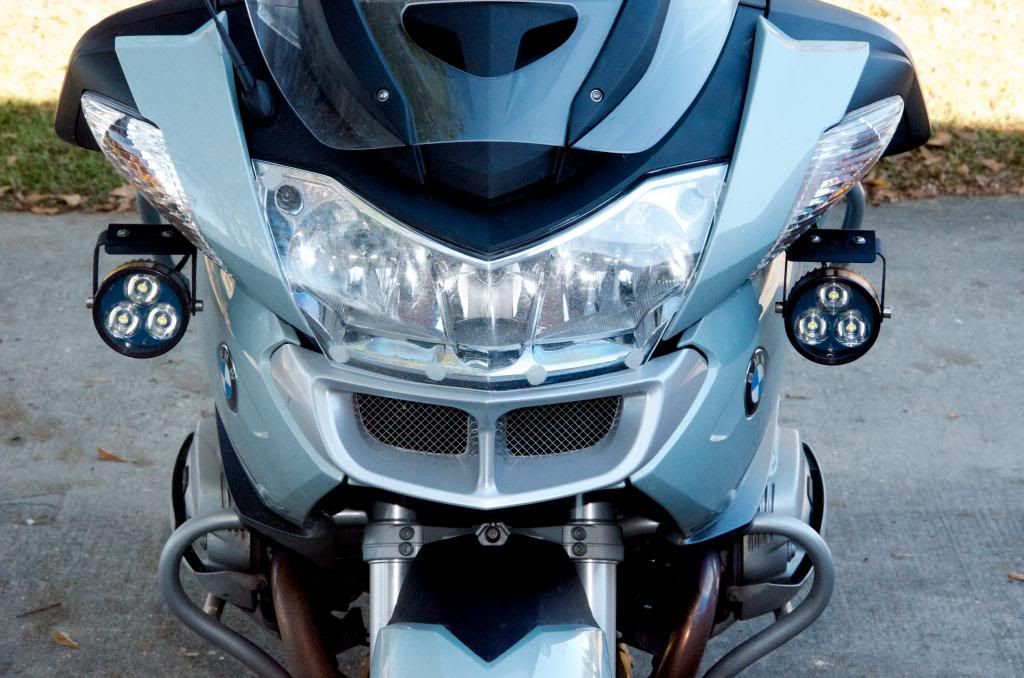
Time to revive this thread and answer your question... they in fact work great! I added a set of LED Denali D2 lights from Twisted Throttle using the RT-P brackets. I am pleased with the amount of light that they put out for both conspicuity and night driving. I have found that they basically wash out the standard H7 low beams and produce light that is just slightly blue... I think they're rated at about 5000k which makes sense. They don't quite have the throw of the H7 high beam, but definitely make a big difference at night. I've had a few cars flash their lights at me, but hey, that means they saw me, right? I try to run them on secondary roadways and will shut them off when in traffic to be courteous to the cars that I am behind.
If you want to do this type of install, here is what you will need:
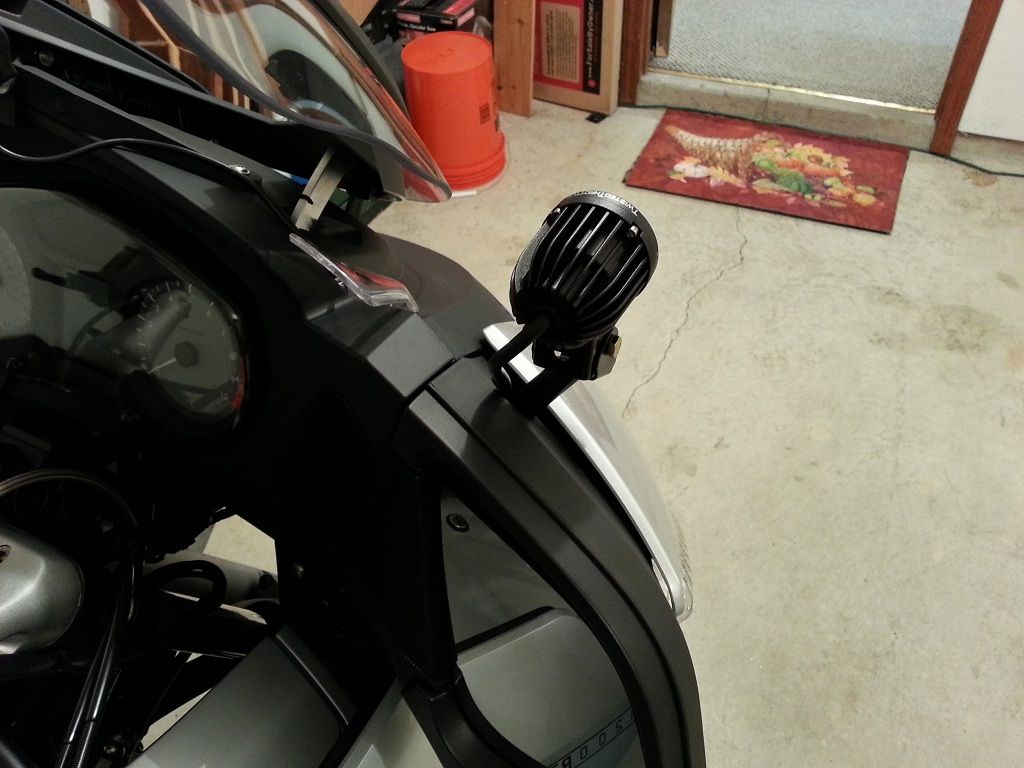
Lights - again, these are Denali D2 LEDs, but you could use anything that is compatible with the U-shaped bracket of the RT-P mounts. You can see in the photo looking down from behind the light that I used the supplied U mount as a spacer inside the RT-P bracket. As it worked out, using the bracket as a spacer also prevents the lights from ever pointing up past the horizontal position (you can still tip them down a bit).
RT-P Upper Light Brackets - 51 16 7 693 207 & 208
M5x16 Screws & M5 Washers - 07 12 9 905 120 and 46 63 7 658 638 (4x each)
Mirror Housings - The light bracket pops up through the outer mirror housing. You can solve this by using your existing housings and using a Dremel tool to open up a hole for each mount, or you can replace your standard housings with RT-P housings, which come from Das Motherland with the holes already cut I wanted my set-up to look factory so I used the RT-P housings:
46 63 7 714 537 for the left, 51 16 7 714 538 for the right. All you need is a Phillips head screwdriver to make the swap and a little hand strength to separate the housing from the rest of the mirror.
Wiring the lights is very easy. Follow the plastic removal and nacelle removal in the Hexhead Tech Subforum. I ended up taking off all of the plastic which makes running the wires easy.
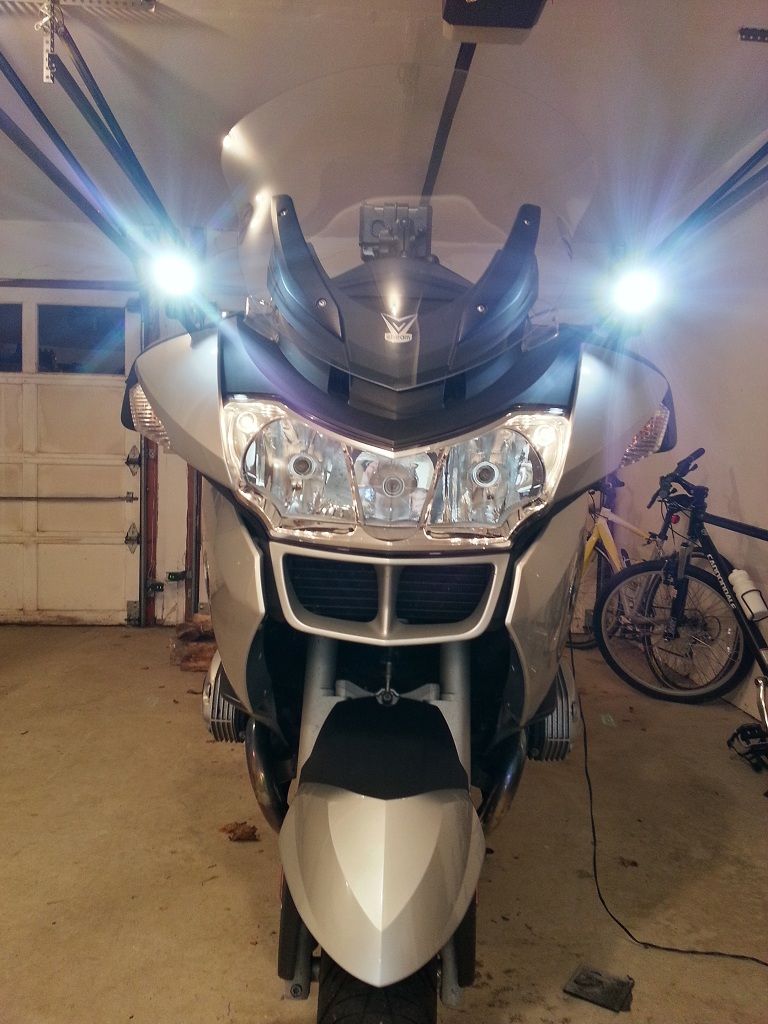
The Denali lights come with a push button switch that I mounted on the audio control blank just above the 12V power outlet on the clutch side. It's easy to drop your left hand from the left grip to hit the switch when needed in this position. Here's the final product:

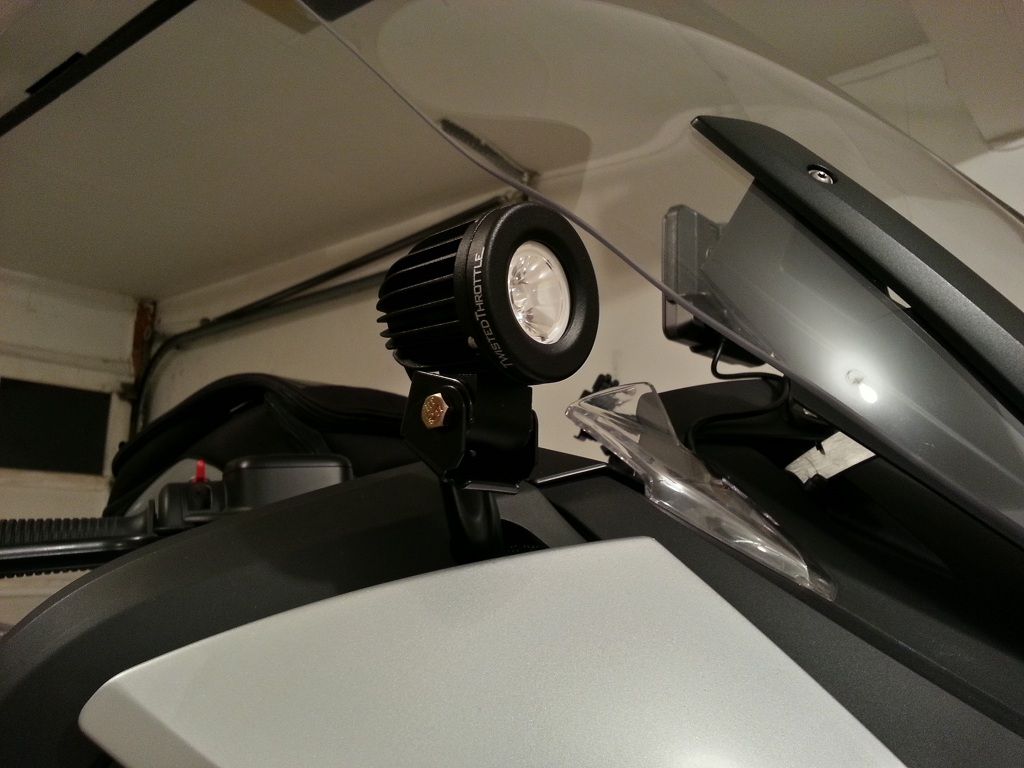
Oh yeah, they're kinda bright") My three 100W garage lights are on and the parking lights are on just for reference.
My three 100W garage lights are on and the parking lights are on just for reference.
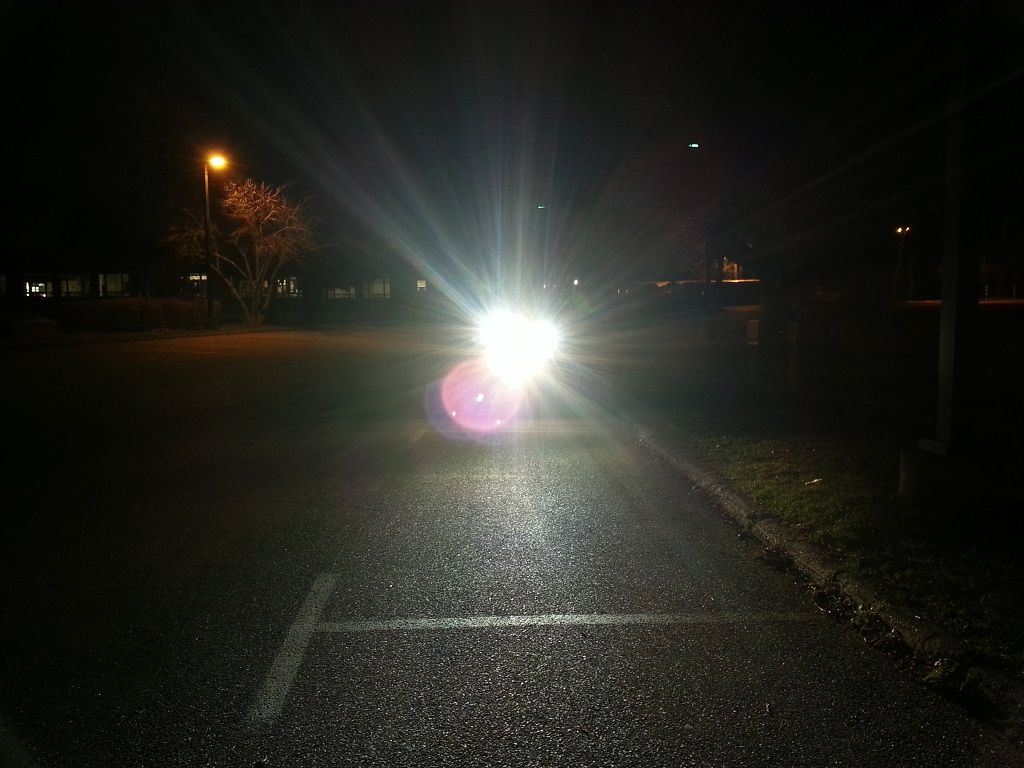
In a local school parking lot during their maiden voyage. My cell phone camera doesn't do them justice.
Hope this helps anyone who has been following this thread since it's beginning.
No pics on the thread yet. Does that mean the rtp brackets did NOT work?
Time to revive this thread and answer your question... they in fact work great! I added a set of LED Denali D2 lights from Twisted Throttle using the RT-P brackets. I am pleased with the amount of light that they put out for both conspicuity and night driving. I have found that they basically wash out the standard H7 low beams and produce light that is just slightly blue... I think they're rated at about 5000k which makes sense. They don't quite have the throw of the H7 high beam, but definitely make a big difference at night. I've had a few cars flash their lights at me, but hey, that means they saw me, right? I try to run them on secondary roadways and will shut them off when in traffic to be courteous to the cars that I am behind.
If you want to do this type of install, here is what you will need:
Lights - again, these are Denali D2 LEDs, but you could use anything that is compatible with the U-shaped bracket of the RT-P mounts. You can see in the photo looking down from behind the light that I used the supplied U mount as a spacer inside the RT-P bracket. As it worked out, using the bracket as a spacer also prevents the lights from ever pointing up past the horizontal position (you can still tip them down a bit).
RT-P Upper Light Brackets - 51 16 7 693 207 & 208
M5x16 Screws & M5 Washers - 07 12 9 905 120 and 46 63 7 658 638 (4x each)
Mirror Housings - The light bracket pops up through the outer mirror housing. You can solve this by using your existing housings and using a Dremel tool to open up a hole for each mount, or you can replace your standard housings with RT-P housings, which come from Das Motherland with the holes already cut
I wanted my set-up to look factory so I used the RT-P housings:46 63 7 714 537 for the left, 51 16 7 714 538 for the right. All you need is a Phillips head screwdriver to make the swap and a little hand strength to separate the housing from the rest of the mirror.
Wiring the lights is very easy. Follow the plastic removal and nacelle removal in the Hexhead Tech Subforum. I ended up taking off all of the plastic which makes running the wires easy.
The Denali lights come with a push button switch that I mounted on the audio control blank just above the 12V power outlet on the clutch side. It's easy to drop your left hand from the left grip to hit the switch when needed in this position. Here's the final product:
Oh yeah, they're kinda bright
My three 100W garage lights are on and the parking lights are on just for reference.
In a local school parking lot during their maiden voyage. My cell phone camera doesn't do them justice.
Hope this helps anyone who has been following this thread since it's beginning.
Last edited: