• Welcome, Guest! We hope you enjoy the excellent technical knowledge, event information and discussions that the BMW MOA forum provides. Some forum content will be hidden from you if you remain logged out. If you want to view all content, please click the 'Log in' button above and enter your BMW MOA username and password.

    If you are not an MOA member, why not take the time to join the club, so you can enjoy posting on the forum, the BMW Owners News magazine, and all of the discounts and benefits the BMW MOA offers?

  • Beginning April 1st, and running through April 30th, there is a new 2024 BMW MOA Election discussion area within The Club section of the forum. Within this forum area is also a sticky post that provides the ground rules for participating in the Election forum area. Also, the candidates statements are provided. Please read before joining the conversation, because the rules are very specific to maintain civility.

    The Election forum is here: Election Forum

Offenbach Exhaust for the R1200GS a review.

jimvonbaden

Kool Aid Dispenser!
A while back I was contacted by Ken Faire, President of Cee Bailey's Aircraft Plastics, Inc. about testing a new exhaust pipe they are selling. It is on their site at http://www.offenbachusa.com/ .

We would like to get feedback on the installation instructions, ease of fit and installation for the average rider, performance of the bike, functionality, noise (with and without the baffle) of the exhaust. We have done testing on our GS, and with a couple bikes out here in the west, but we need some real feedback with everyday riders.

A couple of tidbits about the exhaust. The canister is of thicker stainless than any muffler for the GS currently, and we did this to add to the longevity of the pipe. The batting can be repacked, and we estimate this to be every 15-20k miles, depending on riding conditions. The subframe bracket is reinforced with a doubler on the inside of the pipe, and adds to the rigidity of the attachment point. The pipe will not wiggle as a strapped pipe would. The internal baffle can be removed for a bit more performance, we have the dyno curves on our site.

We didn't set out to be the least expensive pipe out there, we wanted a more robust product that would stand the abuse and years of wear and tear that some folks will put on their GS.

Also, these pipes were made specifically for the 05, 06 GS, but they will fit the 07's as well. The small difference is these pipes have the center stand rubber stop bracket, which is welded and attached to the pipe. The 07's eliminated this bracket. We are working on the 07 model now, but we will not see production until another 60 days.

While I am an average rider, I am generally an outspoken critic of the value of an aftermarket exhaust, and always dislike loud exhausts. So I agreed to do this test, and was very careful to try to keep an open mind.

A few days later the pipe arrived at my door very well packed:

01New-Pipe-box-wrapped.jpg

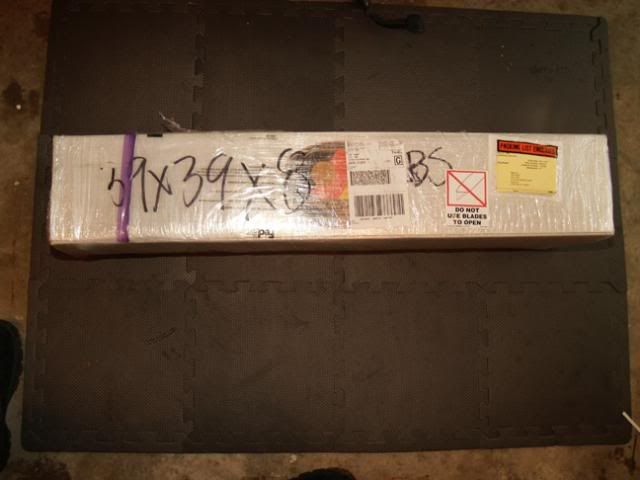
In the plastic wrap.

02New-Pipe-box.jpg

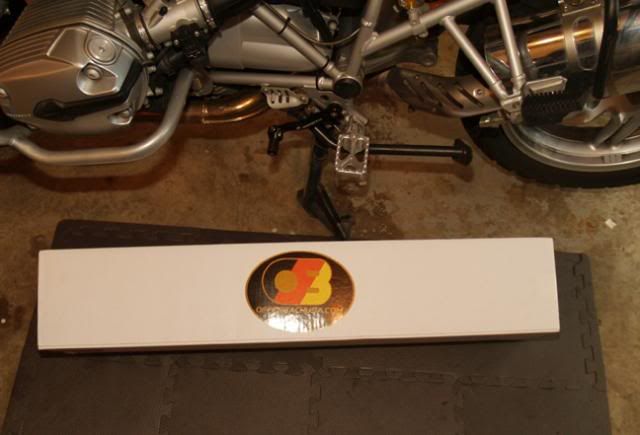
In a nice box packed with foam peanuts.

03New-Pipe.jpg

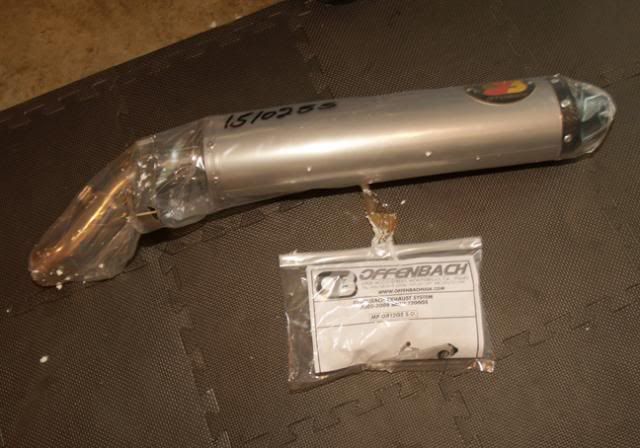
And in a sealed plastic wrap with parts in a separate bag.

04New-Pipe-parts.jpg

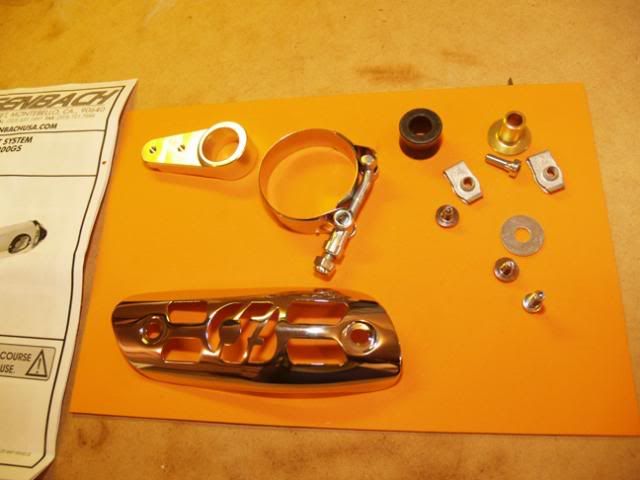
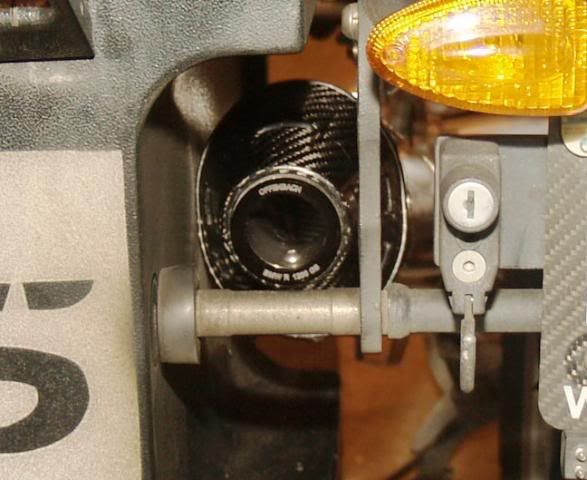
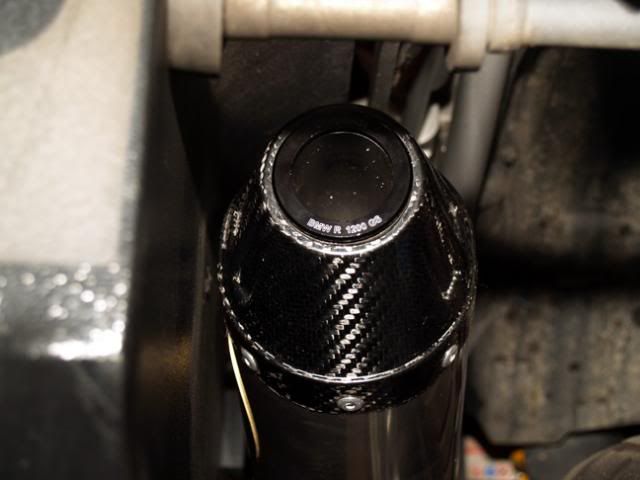
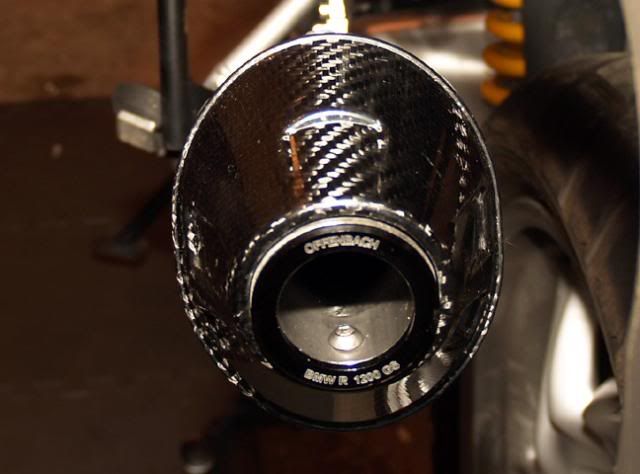
The parts, and the pipe are very nice looking, with a high quality finish.

05New-Pipe-pre-assemble.jpg

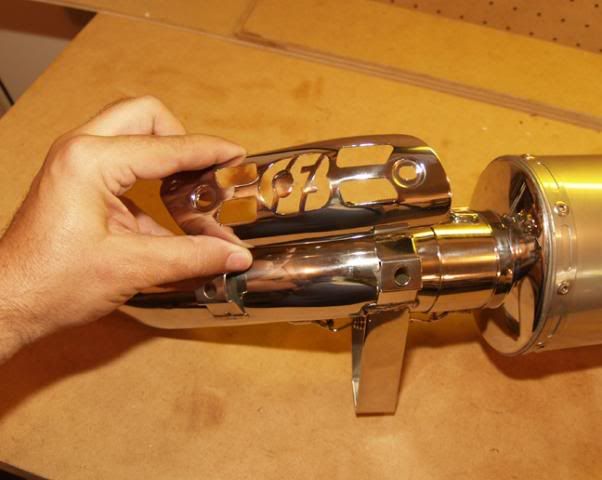
I decided to preassemble the pipe for installation.

06New-Pipe-assemble.jpg

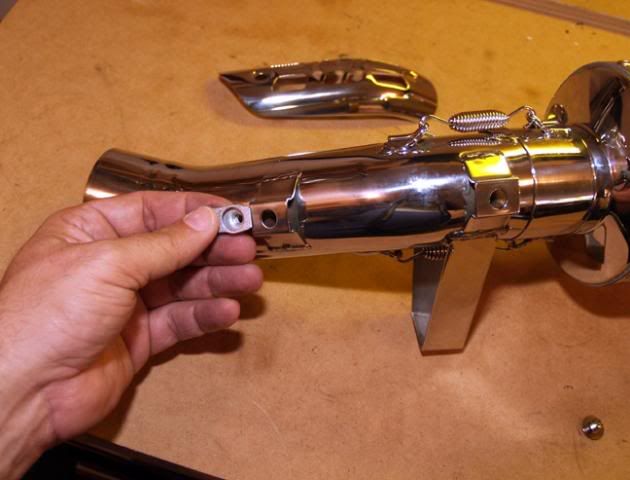
Adding the heat shield for the elbow pipe.

07New-Pipe-assemble-mount.jpg

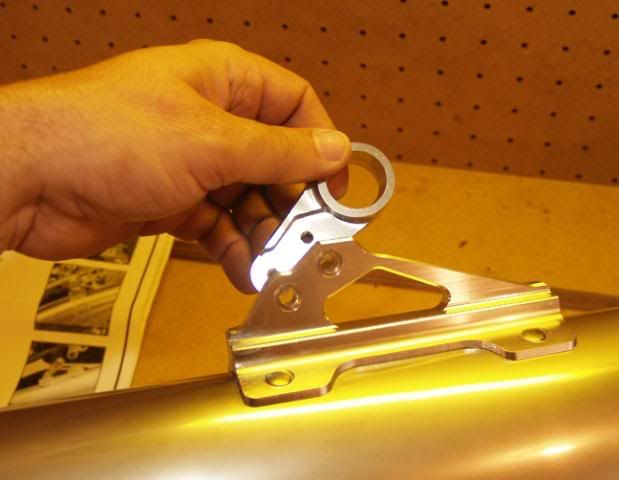
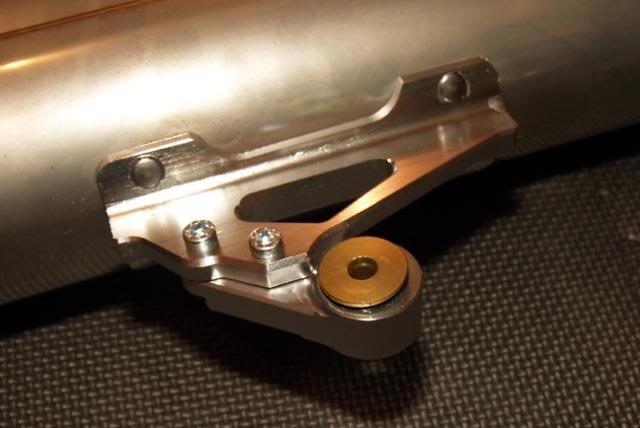
Added the adapter to fit the R1200GS. These parts are very clean, and beautifully machined.

08Loosen-nut.jpg

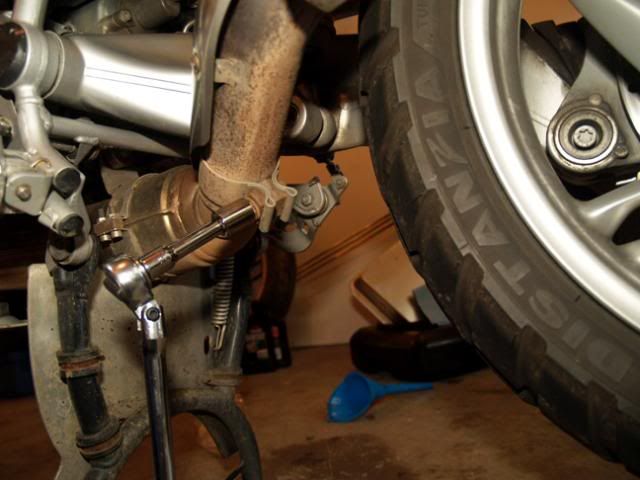
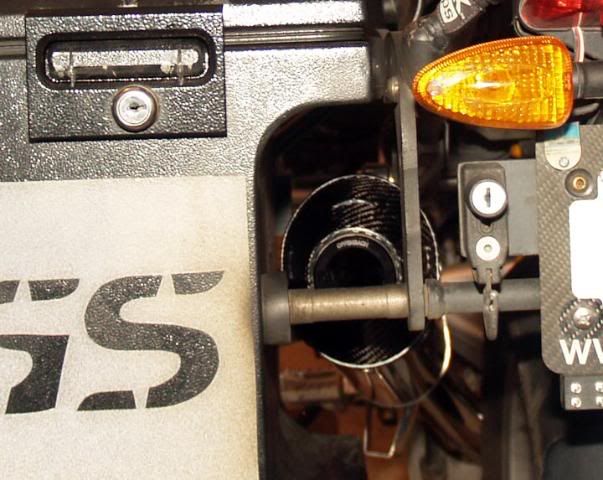
Then I began to remove the stock pipe by loosening the 14mm bolt holding the main clamp. Mine was a bit rusty and sticky. But it came loose pretty easily.

09Loose-nut.jpg

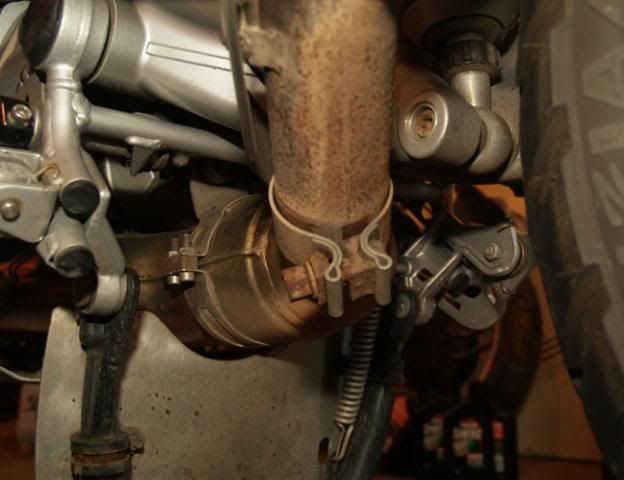
This is all the looser you need to make it.

09aJesse-Mount-original-pipe.jpg

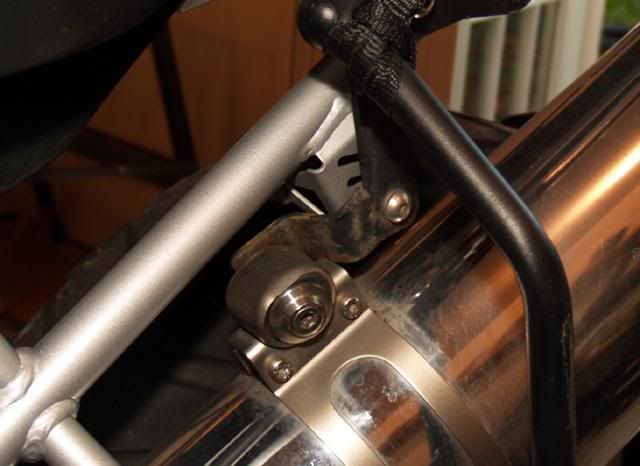
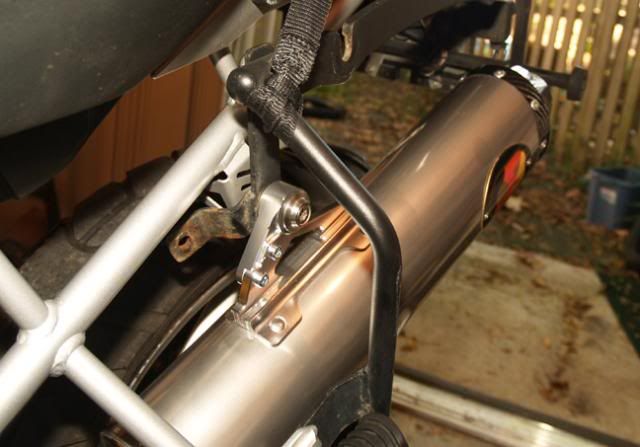
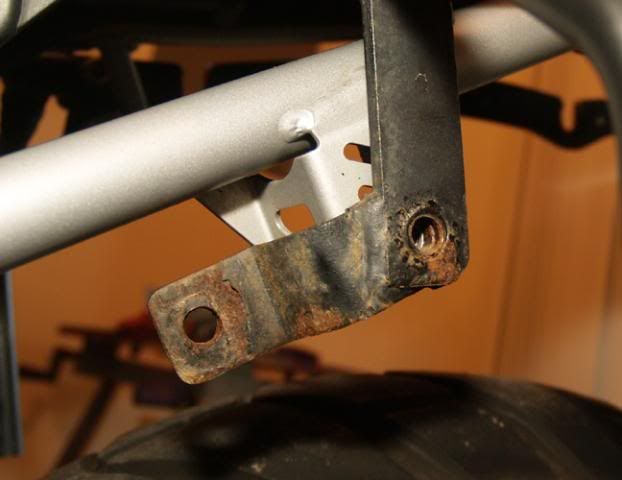
Here is the upper strap mount. It never fit as cleanly as I would have liked on the Jesse mount, but always held fine.

09bJesse-Mount-original-pipe-r.jpg

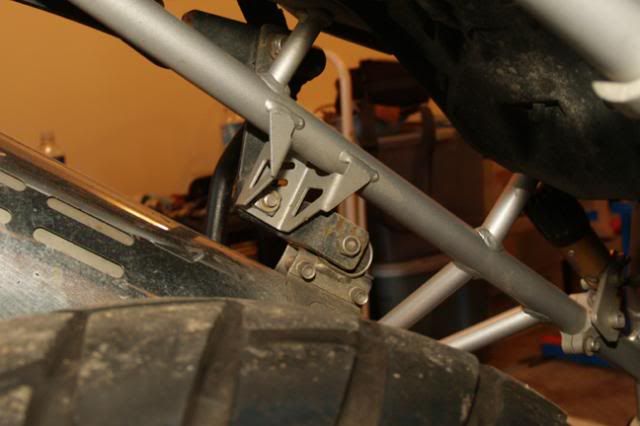
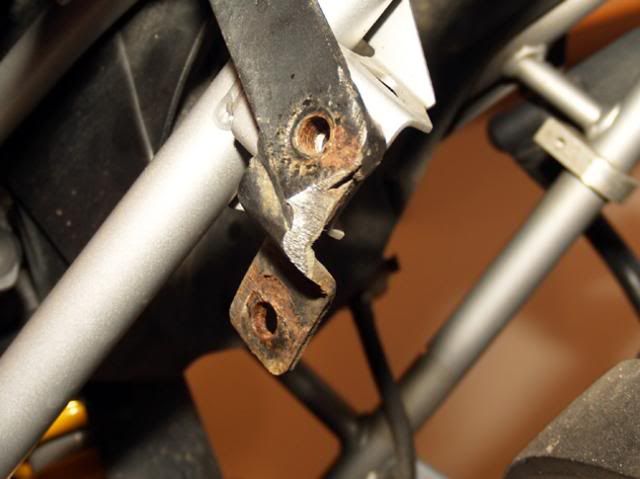
Here is a view of the back side of the Jesse mount.

10New-Pipe-mounted-ratchet.jpg

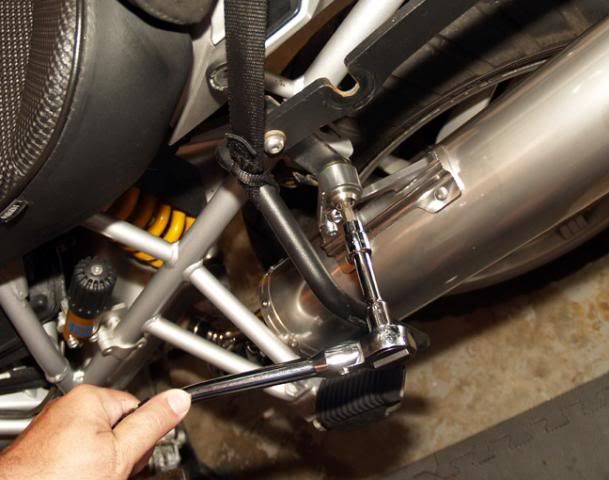
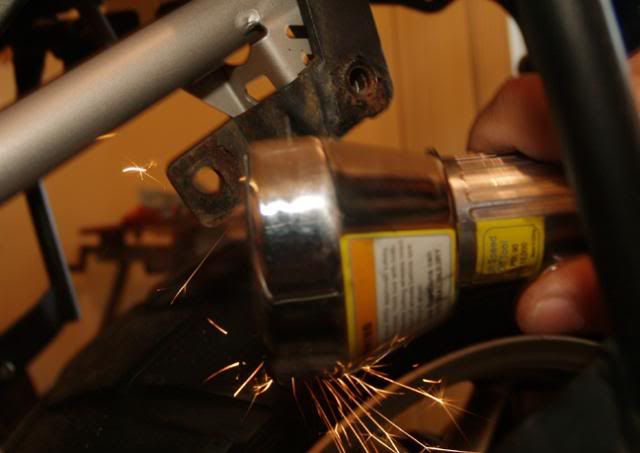
I cheated here, this is me ÔÇ£removingÔÇØ the Jesse bolt to the ÔÇ£stockÔÇØ muffler.

10aOld-pipe-removed.jpg

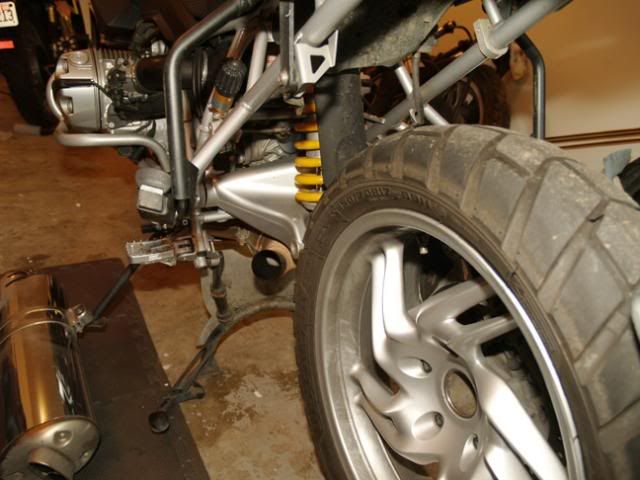
Then you simply twist and wiggle the old pipe off. Mine came off easily.

11old-and-new-pipes.jpg

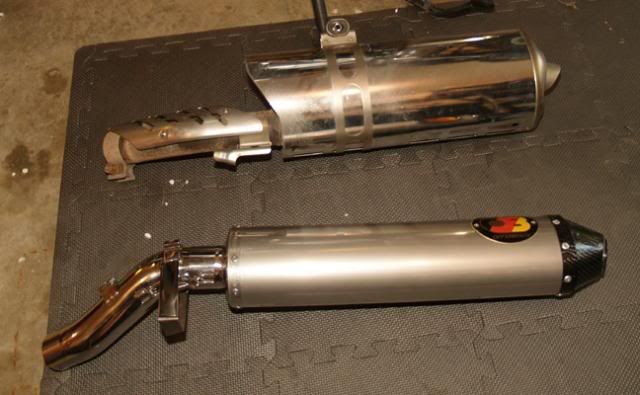
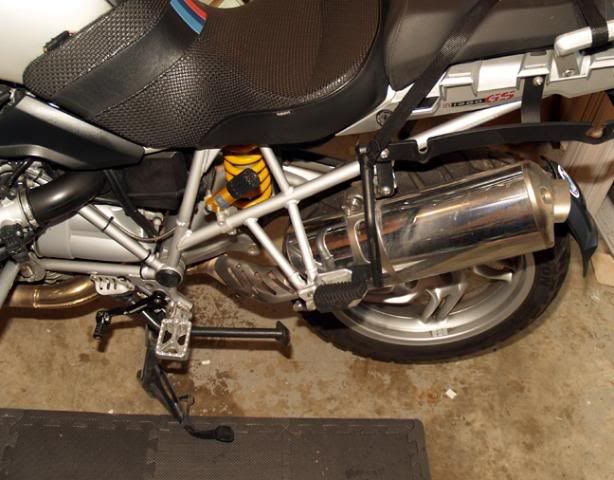
Here are both pipes next to each other. The Offenbach is obviously smaller and sleeker. I was told it is about 7 pounds lighter, and it felt like it to me.

12New-Pipe-mounted-ratchet.jpg

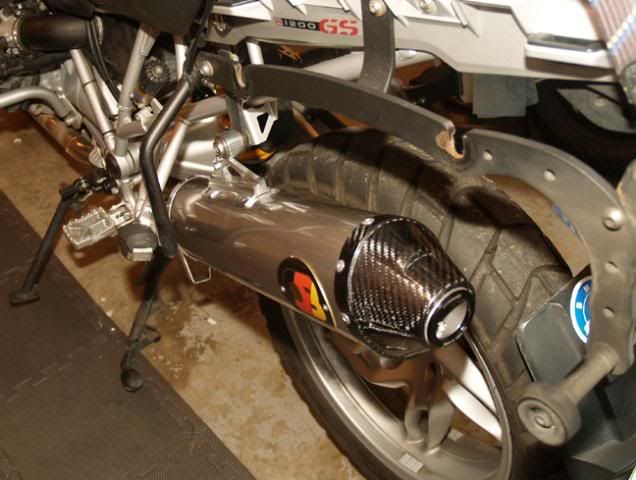
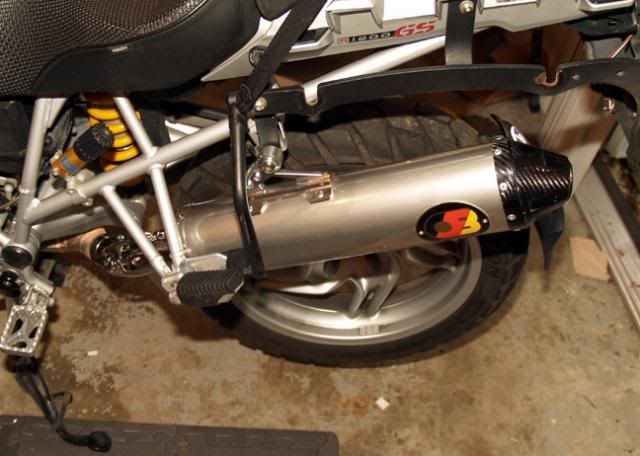
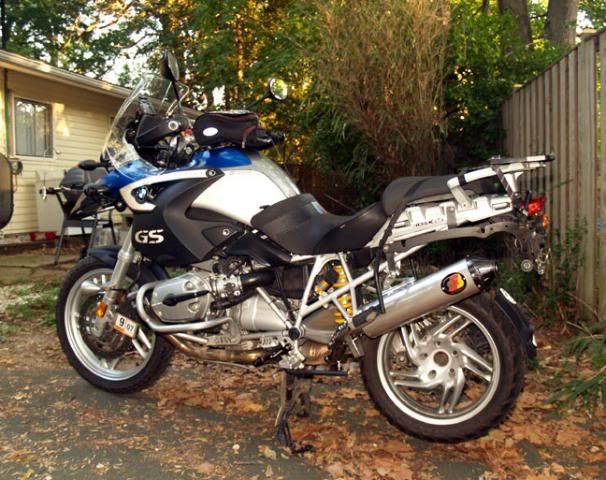
Then I simply slid the new exhaust on, tightened the upper and lower bolts in the mount, and it was done!

Continued...
 
The following shots are what it will look like on the average bike. Very clean, and sleak mounting.

13New-Pipe-mounted-3-4-mount.jpg

14New-Pipe-mounted-3-4.jpg

14New-Pipe-mounted-mount.jpg

15OB-Tail-Pipe-Jesse-Clear-2.jpg

Unfortunately, there was a problem with my Jesse bag. The old lack of clearance issues came back because the upper mount is spaced out about 3/8ÔÇØ from the Jesse mount. This caused the end of the pipe to contact the Jesse bag. Obviously this is not going to work in the as-supplied configuration.
Not wanting to mess up the beautiful mount, I realized that if I switch the upper adapter to the other side, it would space it over.

16Jesse-mount-alternative.jpg

So I flipped over the adapter bracket and bolted it on. It was a close fit, but it tightened down smoothly.

17Jesse-mount-before.jpg

The problem was that the OB mount flipped over not didnÔÇÖt completely clear the Jesse bag exhaust mount. Not wanting to trim the OB mount, and wanting to be able to reinstall the stock exhaust, I elected to do a little modification to the Jesse bracket.

18Jesse-mount-grind-sparks.jpg

Please be careful with power tools!

19Jesse-mount-grind.jpg

Here it is with about 1/8ÔÇØ ground off. I could have removed a little more, but it looked like enough to me.
20Jesse-mount-after-clearance.jpg

Here you can see the clearance is still tight, but now nothing hits.

21Jesse-mount-after-pipe.jpg

I bolted everything back up and installed my Jesse bag, and found about ??ÔÇØ clearance, and felt that would do for now.

23new-tail-pipe.jpg

Here is the end pipe of the OB exhaust. Nice detail work.

Note: the coating changes from black to gold in a few hours of running on the tip, which is also the DB baffle. It still looked very nice.

24Old-Pipe.jpg

Old pipe.

25OB-Tail-Pipe-ON.jpg

New Pipe.

26Old-Pipe-rear.jpg

Rear of old pipe.

27OB-Tail-Pipe-Jesse-Clearanc.jpg

Rear of new pipe.

28tools.jpg


Here are all the tools I needed for installation, though if you donÔÇÖt need to mod, which you should not on any bike except if you have Jesse bags, you will only need a couple tools.

Now for the good part:

I installed the Offenbach pipe a few days before the weekend, and managed to put on about 100 miles. I was initially a little dismayed by the idle and just off idle blatty sound, a little like a throaty two-stroke. If you blipped the throttle it was a bit unpleasant. Remember I donÔÇÖt like loud exhausts.

However, if you open the throttle smoothly, it has a nice mellow, near stock sound, that only gets deep and throaty under load and heavy throttle, just where most like it.

So at first I was a little skeptical about it. Loud and rough sounding blipping the throttle, not that I do that much, and a slightly louder idle. But as I rode the bike I noticed that you really canÔÇÖt hear the exhaust at cruising, but open the throttle and a pleasant rumble comes to ear. Never loud, but noticeable, even with earplug speakers.

I was OK with it, and though I doubt I could feel the claimed HP and torque increase, I did feel like it revved a bit faster, though that might be a placebo effect since the sound was growing on me.

On Saturday morning Tina and I headed from Northern VA to Ohio to pick up GwenÔÇÖs banner. The trip was 300 miles on Saturday, and 410 miles on Sunday. This was to be the real test.

We rode a beautifully twisty road, Route 50 through WV, for 300 miles of great twists. I found myself roaring out of the apexes just to hear the bike rumble. I think I now kinda get why some love louder pipes. It was intoxicating, and a lot of fun, but definitely not loud. Tina rode behind me most of the way and commented that with the OB pipe she could just hear me accelerate out of the corners. She liked it.

The next morning we stopped in Moundsville to pick up the banner from Gonzo (Bob), and then headed back. Due to an unfortunate flat in BobÔÇÖs rear tire, he was about 2.5 hours late, so we decided to slab it back part way to save time.

On the slab the OB exhaust became completely invisible. I motored along at speeds up to 100 mph without any noticeable increase in noise, or vibration.

Conclusions so far:

The positives:

  • I love the look and quality of the Offenbach muffler.
  • I am pleasantly surprised at the minimal increase in noise, but pleasant increase in sound quality. I have not removed the sound baffle yet, but I will.
  • The initial ÔÇ£blattyÔÇØ sound at idle has mellowed, as has the sound when blipping the throttle.
  • I does ÔÇ£feelÔÇØ like there might be a bit more umph, though it is very hard to feel even though I have 38K miles on my bike with the stock set-up. It definitely feels like it revs quicker though.
  • I really like the look and quality of the pipe.

Concerns:

Just one:
  • I ride 20-30K miles a year, and the packing on the mufflers is good for about 15-20K, so I will have to repack the muffler every 8-10 months at least, and it requires drilling out the rivets, adding new packing, and re-riveting with SS rivets and tools. Offenbach has noted that they will do this for us for about $50, or sell a kit for about $35.

In the future I will be testing the exhaust on a dyno with runs back to front with the stock pipe to see if what my butt is telling me is true or not.

Overall I think I am convinced that the Offenbach Exhaust pipe is a worthy investment at $600 for those looking for a little nicer sound, quality look, and possibly a bit more power. Ultimately, I believe I will keep it, and that says a lot from a guy well known for lamenting wasting money on exhaust.

Jim :brow
 
Back
Top