jimvonbaden
Kool Aid Dispenser!
I documented the installation of my new Ohlins shocks. There were few surprises, but the end result came out very nice!
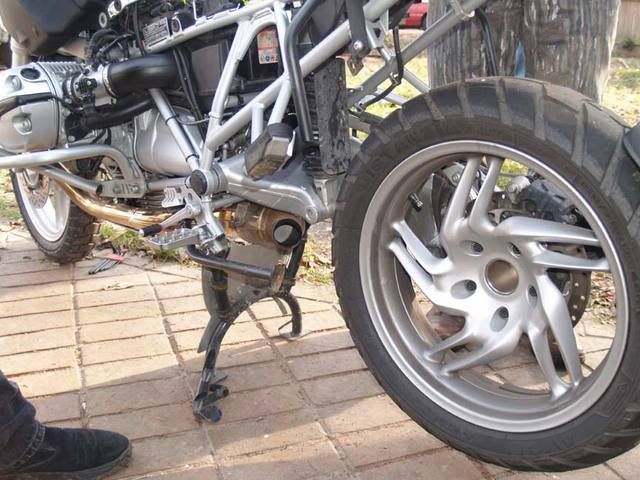
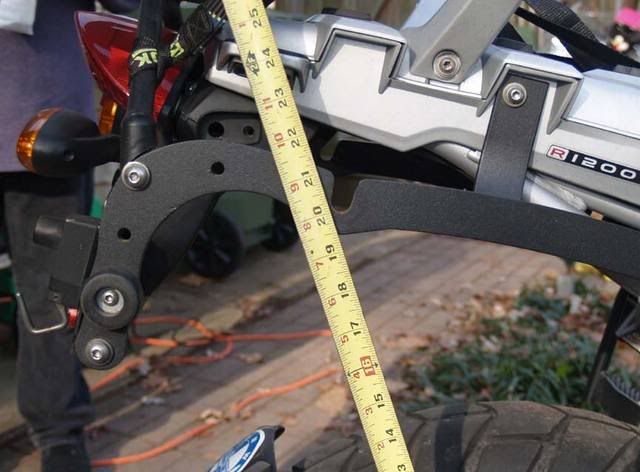
We took a few measurements of the bike before making any changes.
Rear no load.
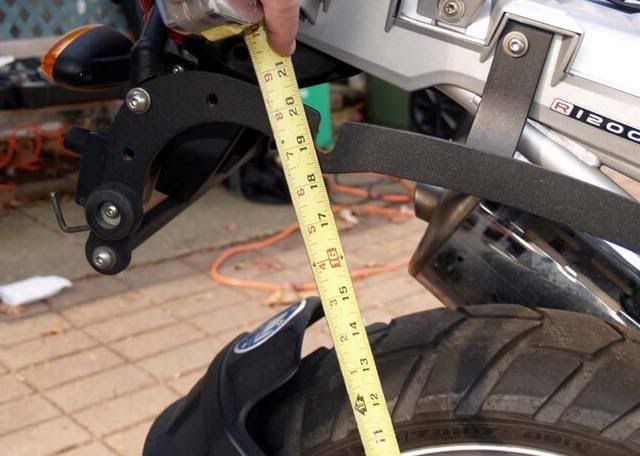
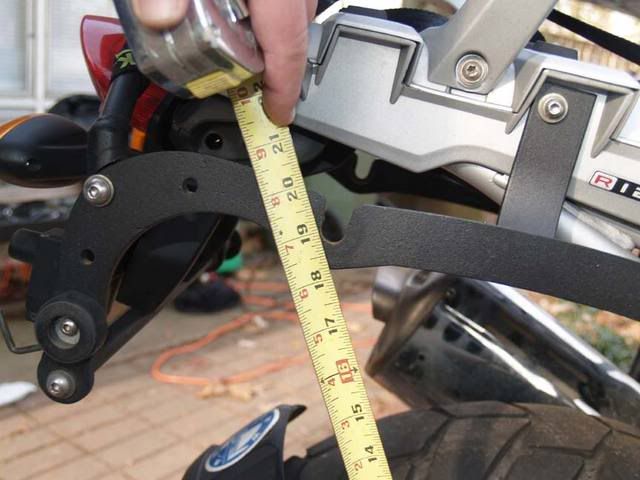
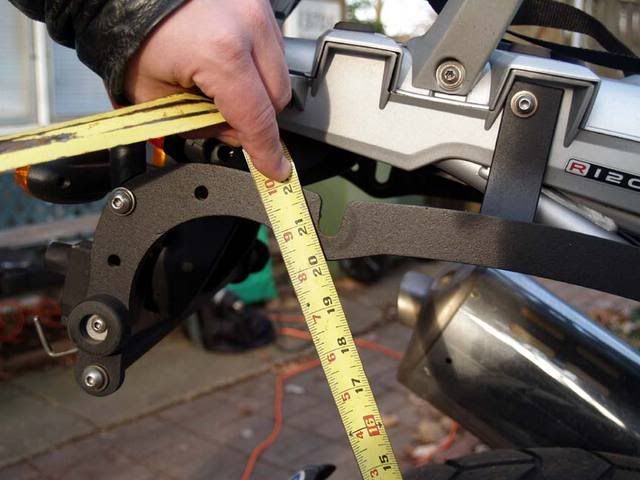
Rear loaded.
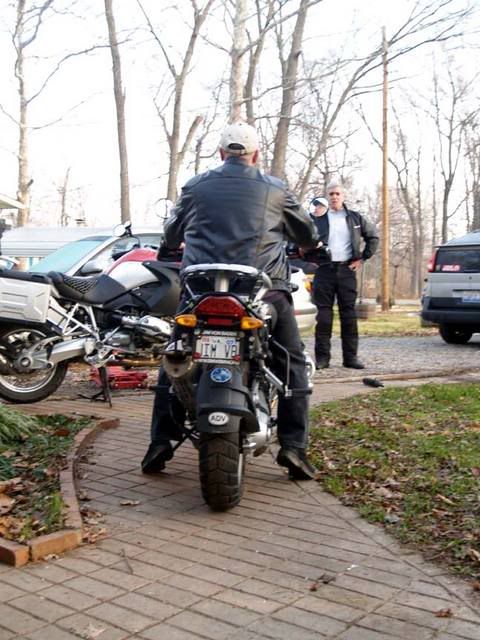
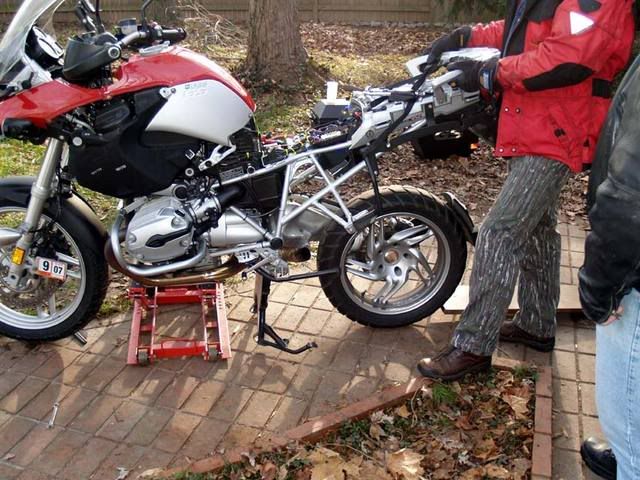
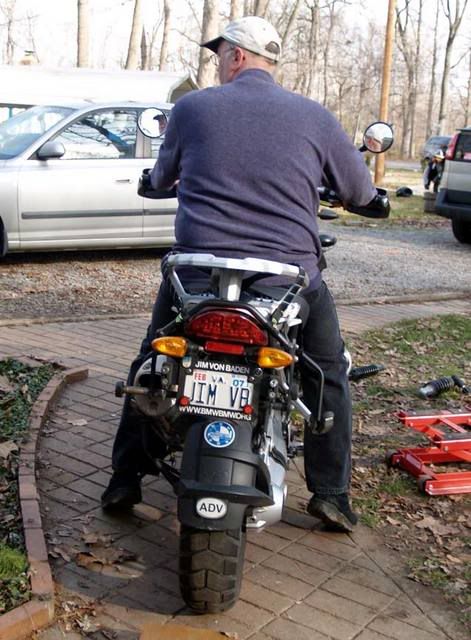
Me on it, showing what a 28ÔÇØ inseam looks like.
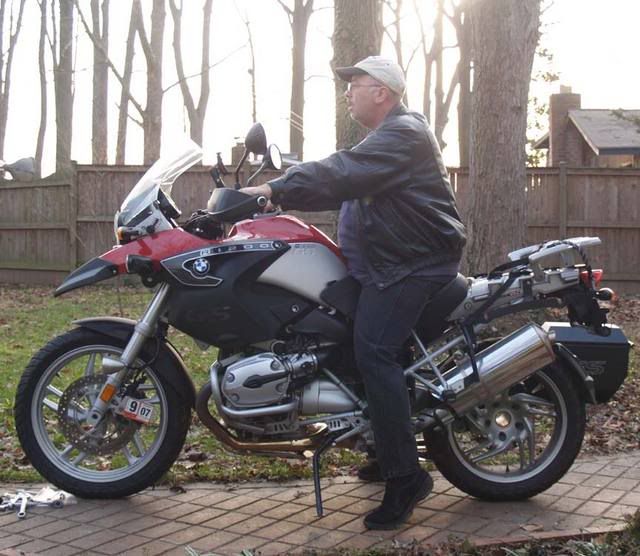
Fron the side. I am a short FF, arenÔÇÖt I?
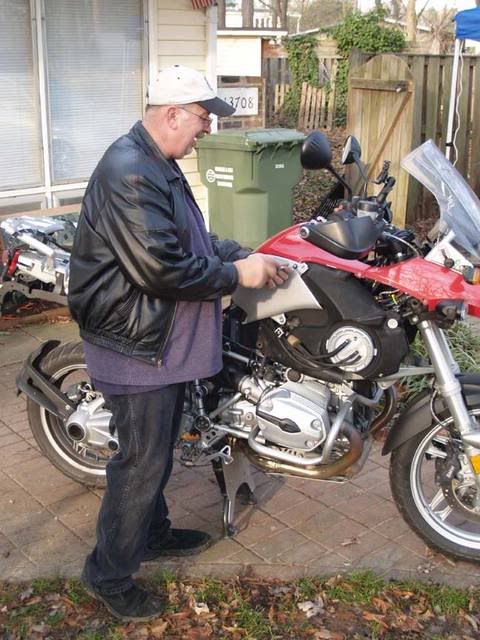
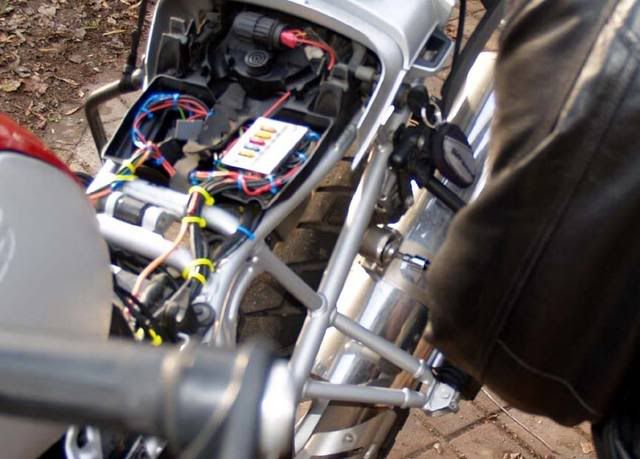
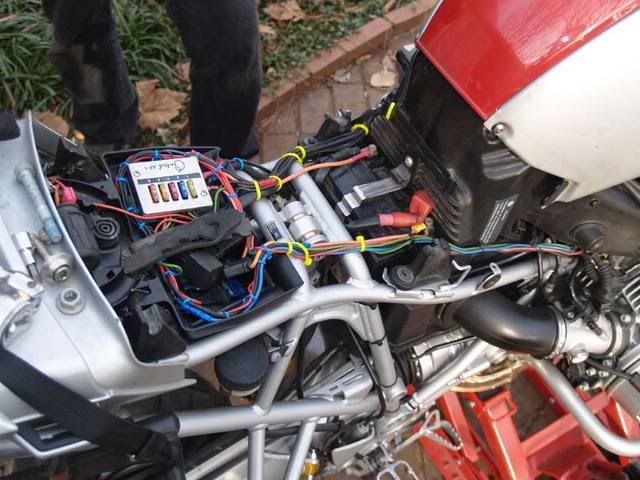
First remove the bags and side covers.
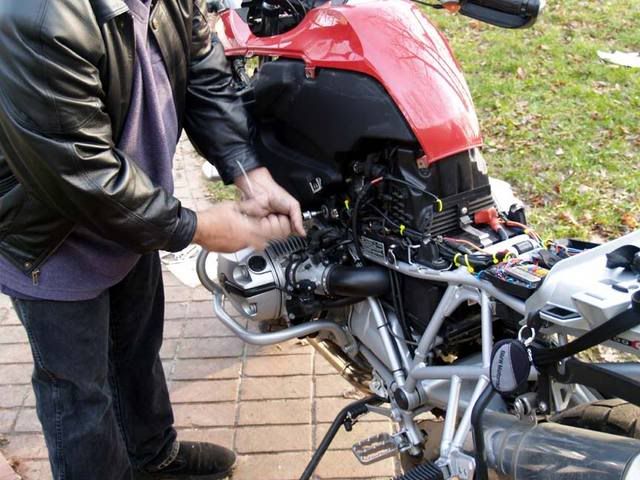
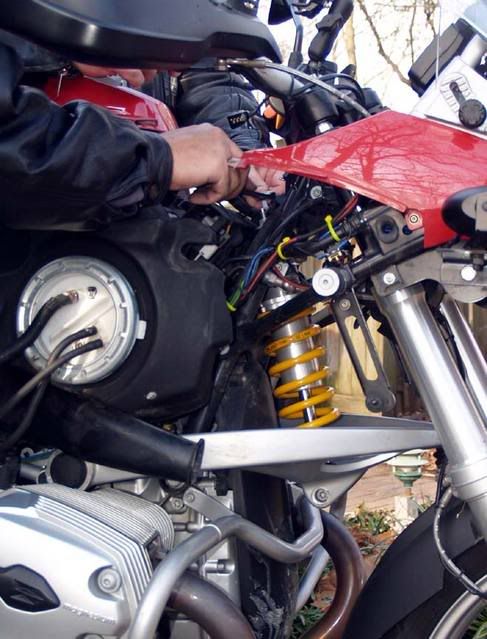
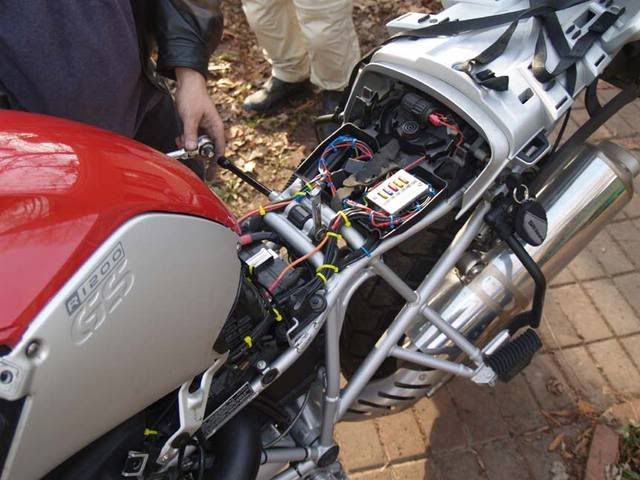
Next remove the tank bolts, and slide the tank back about 5-6ÔÇØ. No need to disconnect any hoses or wires.

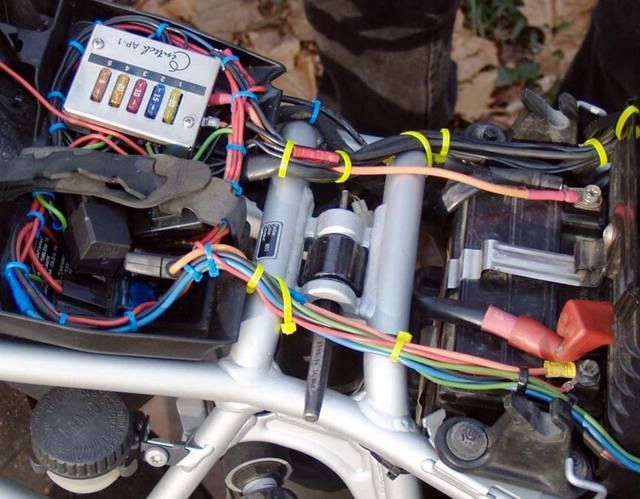
Using a 15mm wrench and a 5mm Allen, remove the top nut.
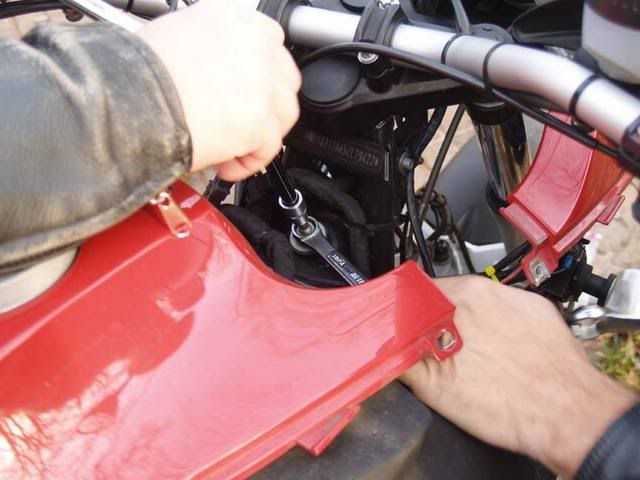
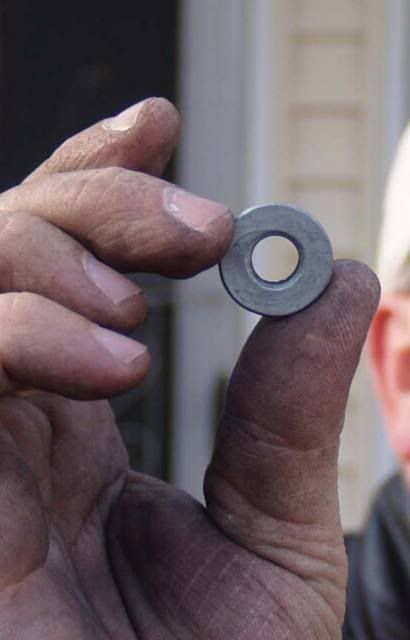
Removing the top nut. You can leave the rubber washer, and steel sleeve in place.
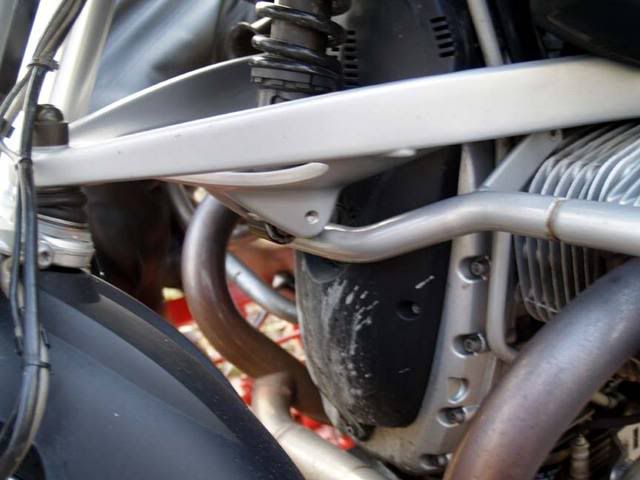
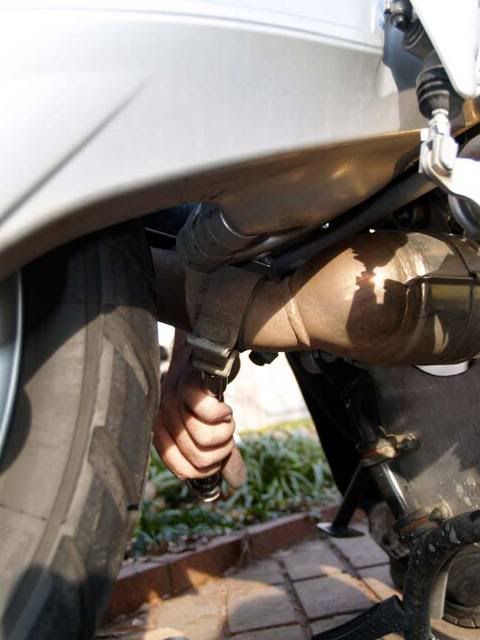
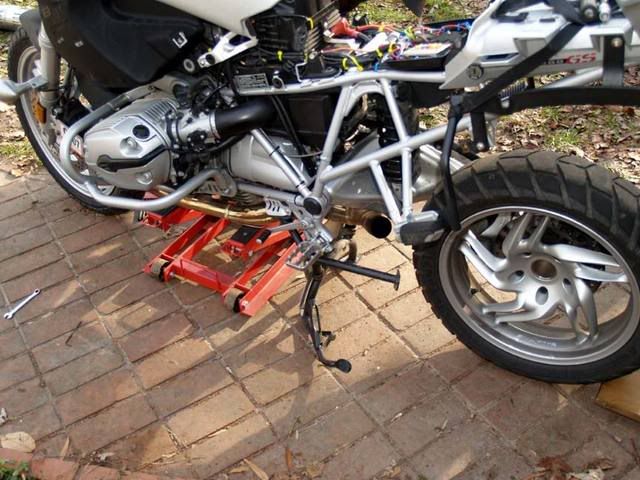
I found the crash bar, H&B or BMW, removal or moving was necessary to allow the Telelever to drop down enough.
I left the rear bottom bolts loose, but in place, and dropped the bars down forward.
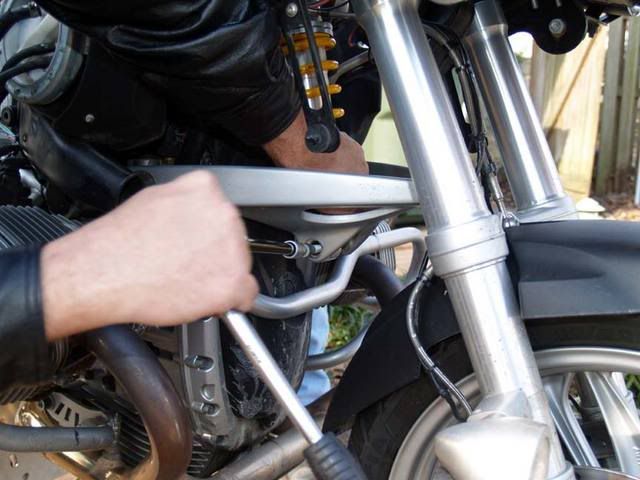
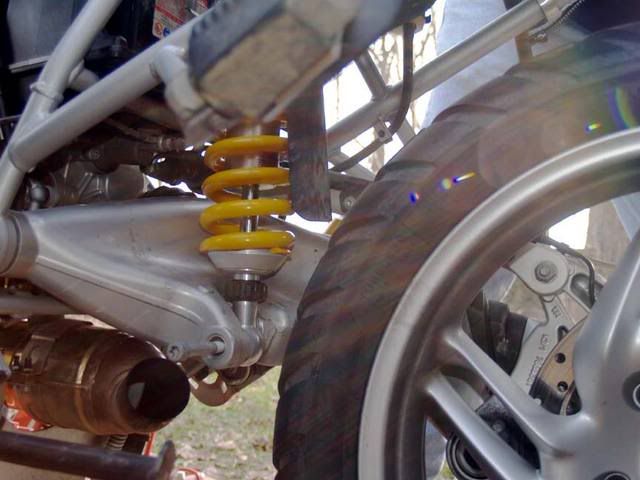
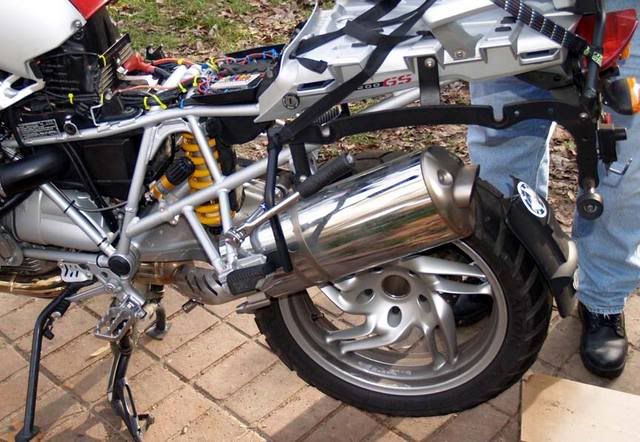
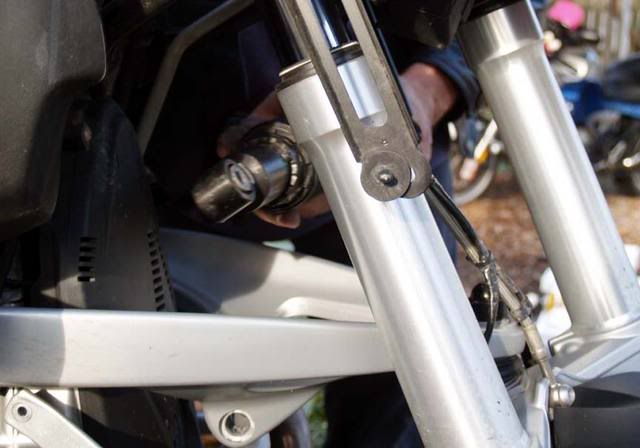
Remove the lower shock bolt. Looked like it had a dry anti-seize on it, but no heat needed.

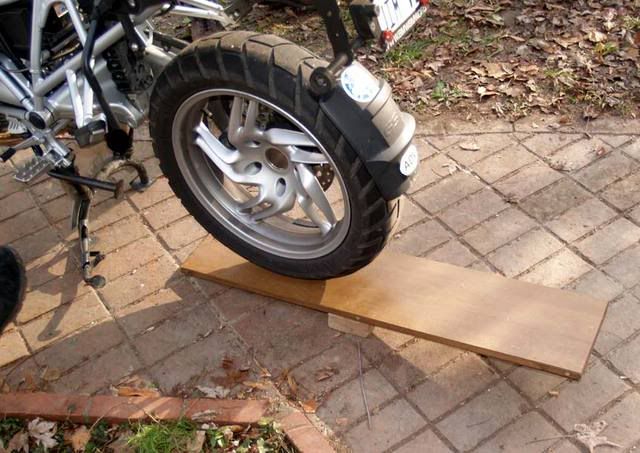
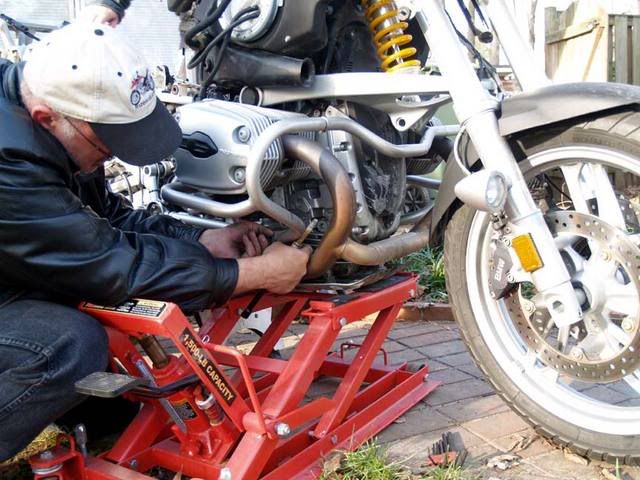
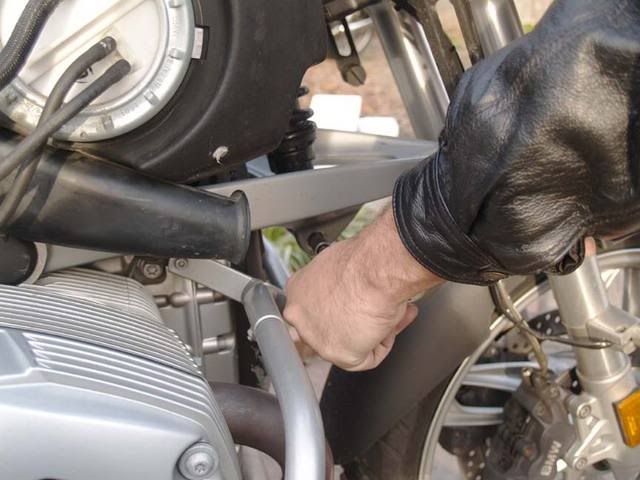
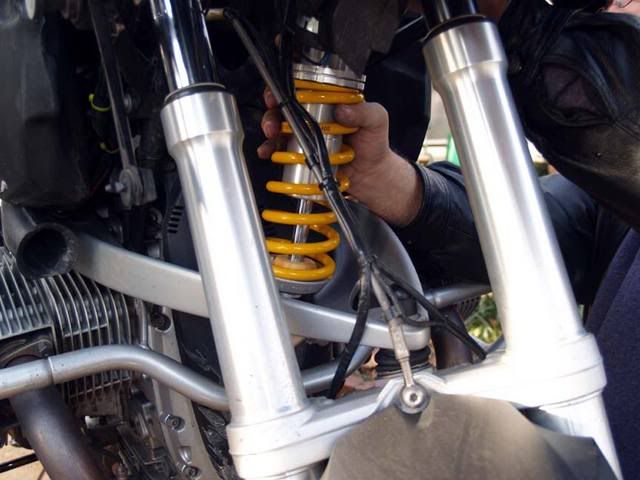
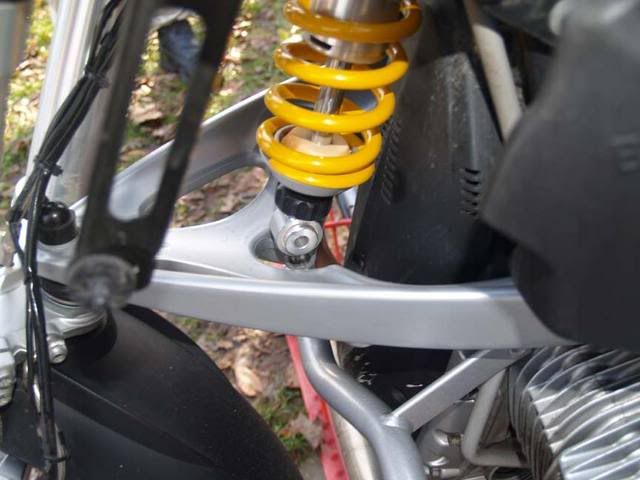
This shows the front shock loose, but in place. You need to jack the front of the bike a little, put your foot on the rim, and pull up on the frame near the beak to make the Telelever droop enough to get the shock off. (Note, the crash bars had not been moved in this picture)
It is tight, but the front shock will come out past the hoses and wires. Just be gentle and careful.
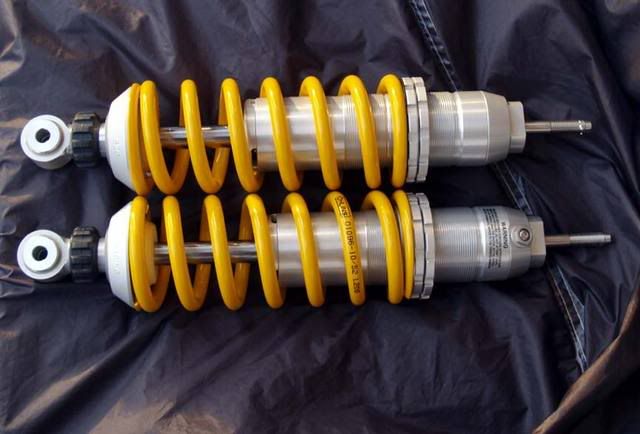
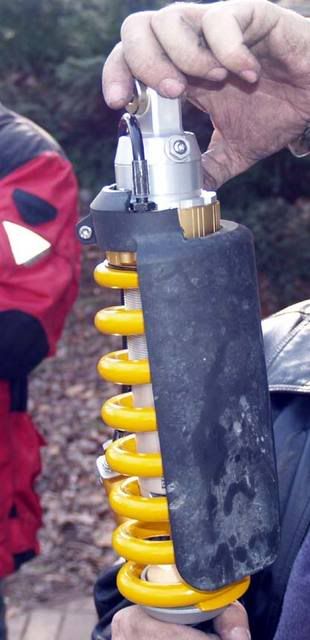
Since we were doing two bikes, we were able to compare the front .5ÔÇØ lower (top), to a stock height Ohlins. It looked like the same shock, just moved along the threads to make it lower.
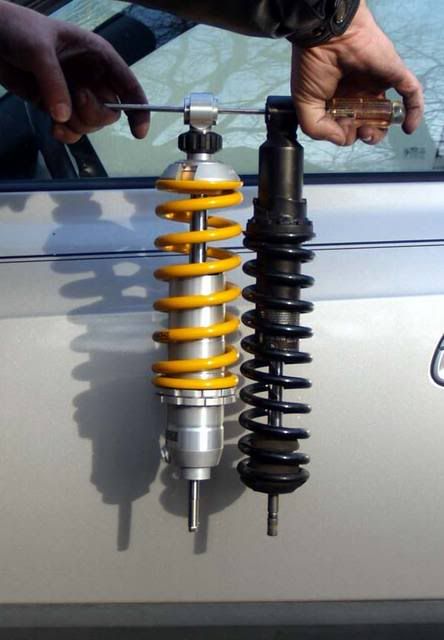
See how the adjusters are moved? The numbers on the shocks were the same, but, of course, different weight springs.
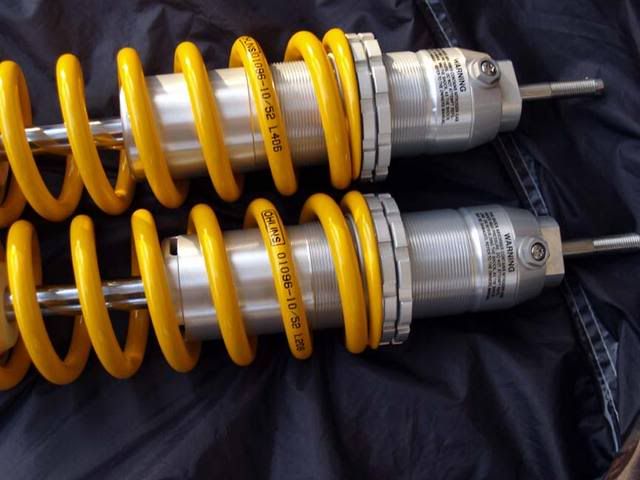
Another view.
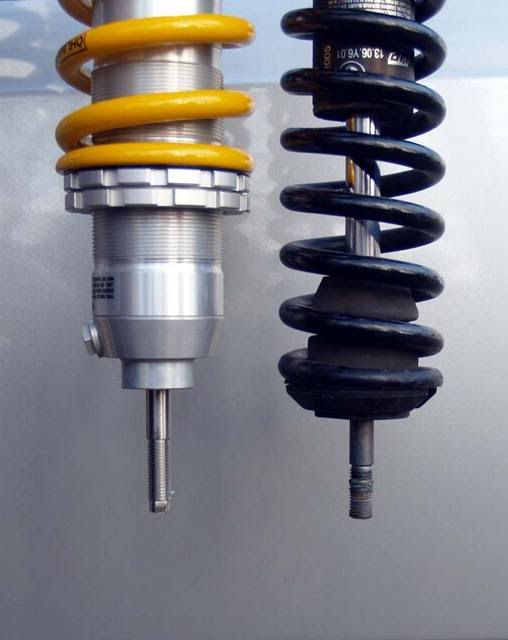
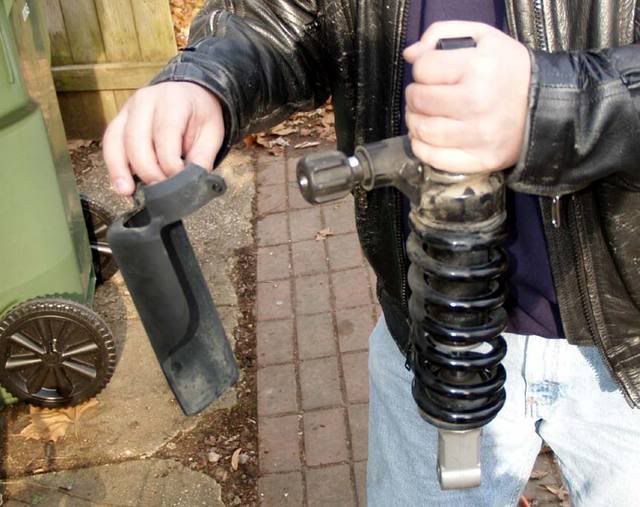
Comparred to a stock WP shock. It is definitely shorter.
Might be able to see the differences better here.
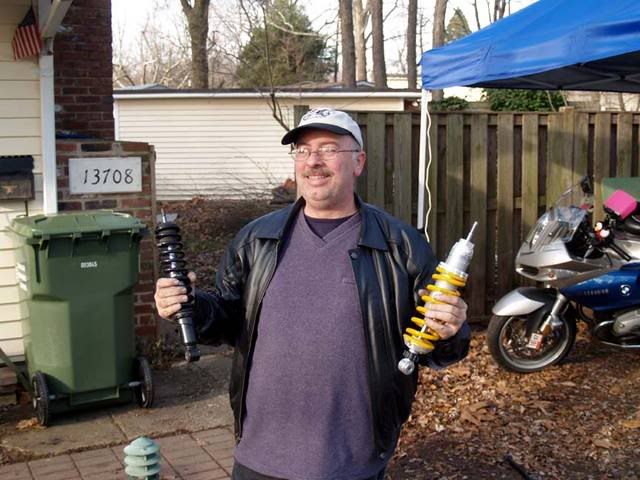
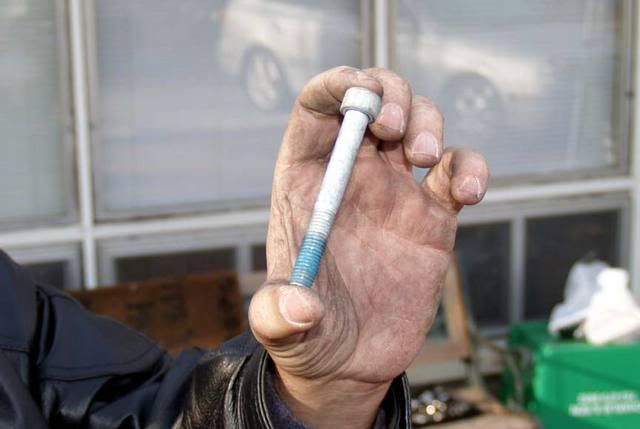
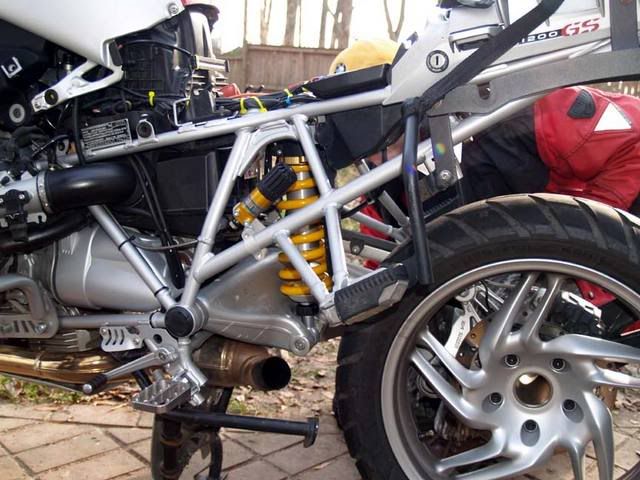
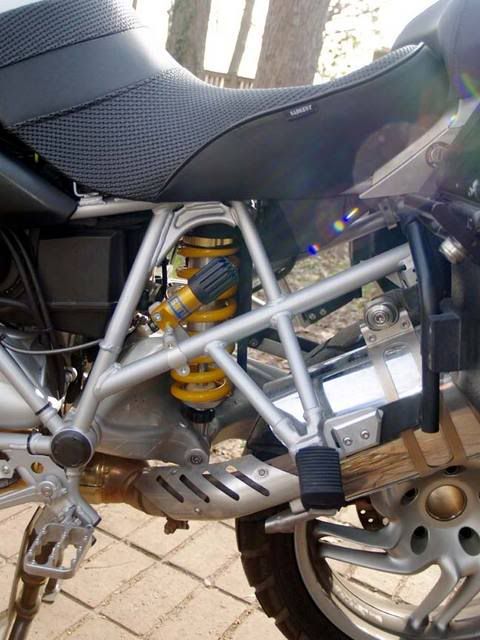
Look what I caught!
Carefully thread the shock past the wires and hoses. Note that the springs are larger around, and it makes it tight, but it fits. On the first bike we removed the belt cover to get clearance, but realized on mine that it wasnÔÇÖt necessary.
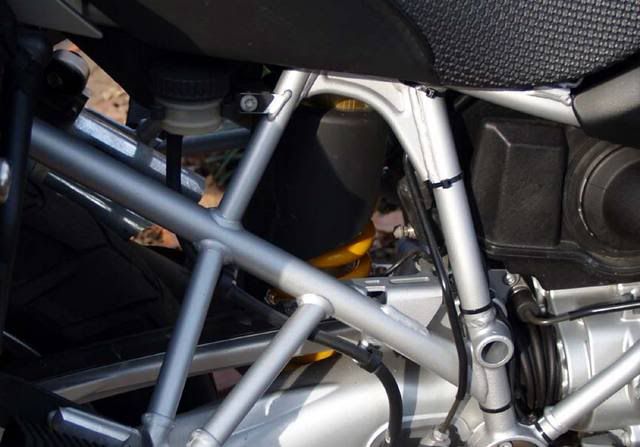
I put the top nut on first, and it left a gap.
To get the bottom in we ended up having to take the bike off the centerstand and push the forks down hard until they unstuck, sticktion? Not sure if it is because we pulled them up too far, or what, but it didnÔÇÖt hurt anything.
Continued...
We took a few measurements of the bike before making any changes.
Rear no load.
Rear loaded.
Me on it, showing what a 28ÔÇØ inseam looks like.
Fron the side. I am a short FF, arenÔÇÖt I?
First remove the bags and side covers.
Next remove the tank bolts, and slide the tank back about 5-6ÔÇØ. No need to disconnect any hoses or wires.
Using a 15mm wrench and a 5mm Allen, remove the top nut.
Removing the top nut. You can leave the rubber washer, and steel sleeve in place.
I found the crash bar, H&B or BMW, removal or moving was necessary to allow the Telelever to drop down enough.
I left the rear bottom bolts loose, but in place, and dropped the bars down forward.
Remove the lower shock bolt. Looked like it had a dry anti-seize on it, but no heat needed.
This shows the front shock loose, but in place. You need to jack the front of the bike a little, put your foot on the rim, and pull up on the frame near the beak to make the Telelever droop enough to get the shock off. (Note, the crash bars had not been moved in this picture)
It is tight, but the front shock will come out past the hoses and wires. Just be gentle and careful.
Since we were doing two bikes, we were able to compare the front .5ÔÇØ lower (top), to a stock height Ohlins. It looked like the same shock, just moved along the threads to make it lower.
See how the adjusters are moved? The numbers on the shocks were the same, but, of course, different weight springs.
Another view.
Comparred to a stock WP shock. It is definitely shorter.
Might be able to see the differences better here.
Look what I caught!
Carefully thread the shock past the wires and hoses. Note that the springs are larger around, and it makes it tight, but it fits. On the first bike we removed the belt cover to get clearance, but realized on mine that it wasnÔÇÖt necessary.
I put the top nut on first, and it left a gap.
To get the bottom in we ended up having to take the bike off the centerstand and push the forks down hard until they unstuck, sticktion? Not sure if it is because we pulled them up too far, or what, but it didnÔÇÖt hurt anything.
Continued...