jimvonbaden
Kool Aid Dispenser!
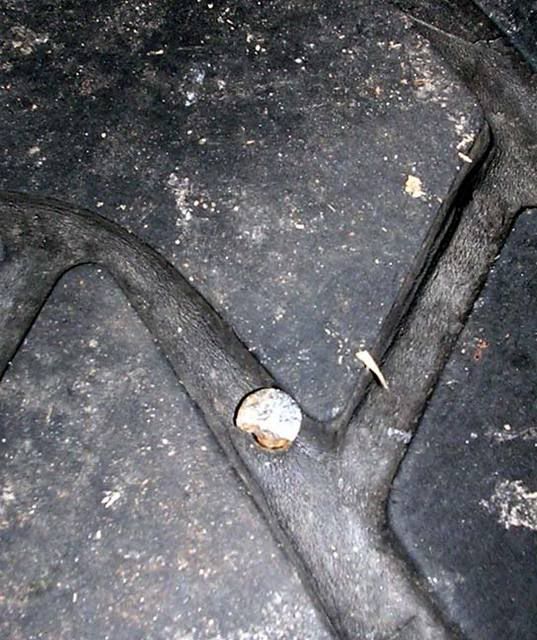
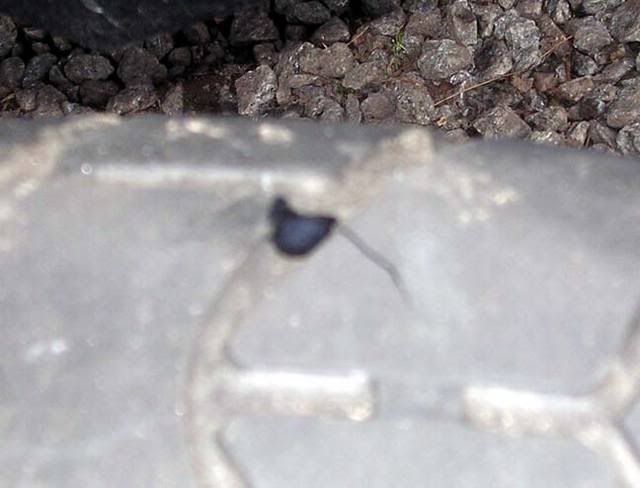
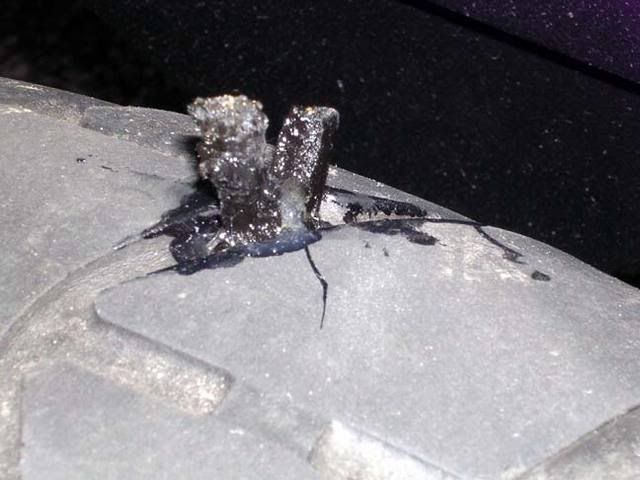
Today while preparing to go for a cool ride, it was 30??, I found this!
I was pissed, but not too bad. The tire was close to gone anyhow.
Then I figured this would be a good time to demonstrate how to plug a tire. I am replacing this soon anyhow, the tires are on order, but I refuse to not ride just for something like this.
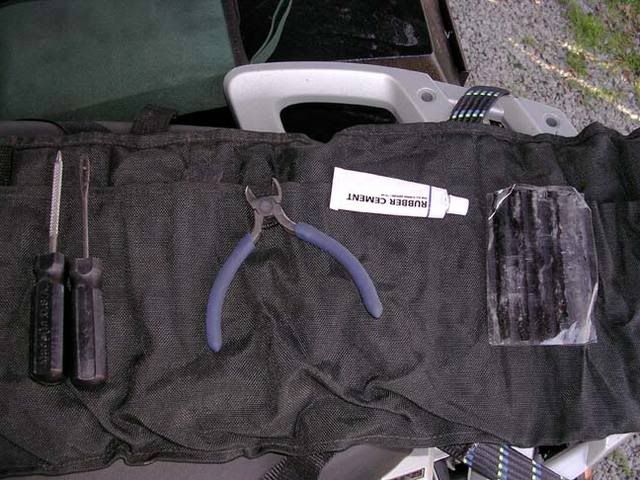
So I whip out my tools. It doesnÔÇÖt take much, and I carry them all the time. Missing is the razor blade I use later.
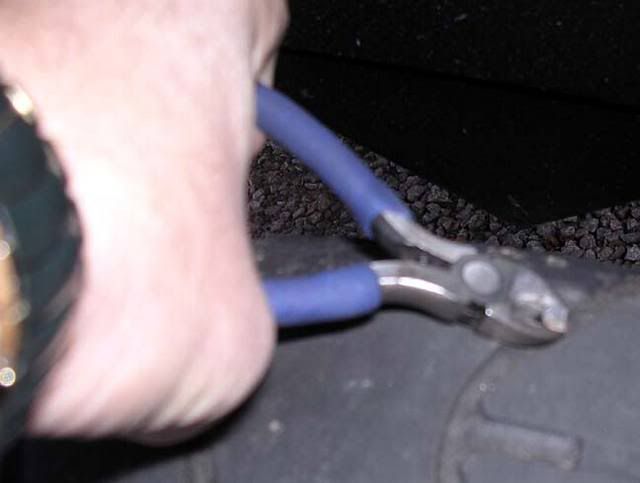
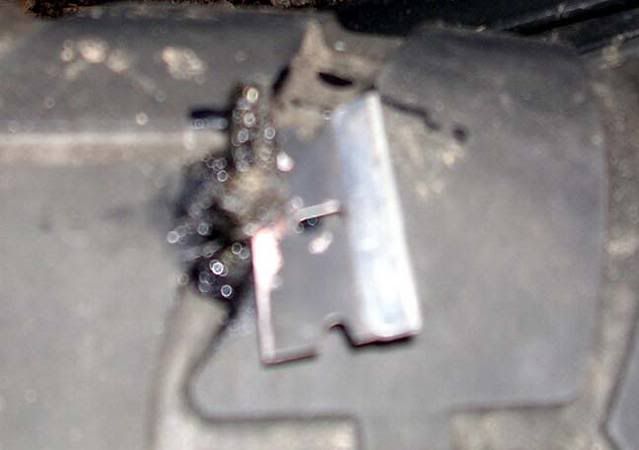
I use the small wire cutters to remove the nail, hoping it was just a very short one, but no luck.
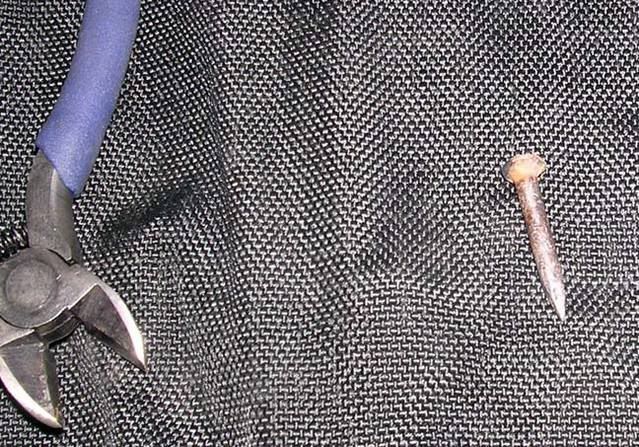
You can see the nail is plenty long enough to go all the way through, and in fact when it was pulled out allowed all the air to leak out quickly. Funny, there was no air leak prior to pulling it out.

After pulling the nail, I use the reamer tool to make the hole ready for the plug by enlarging it slightly, and roughing up the sides of the hole.
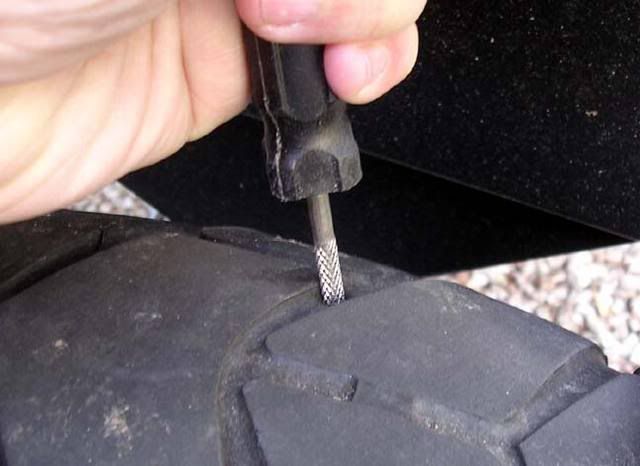
Here is the reamer all the way in. I had to push pretty hard, and I also twist it back and forth as I push it in and pull it out. I gave it 5 strokes.

Squish the string plug flat and insert it into the tool. I used the cutters to pull it through since it can be stubborn. There are different types of installer tools, and some have an opening that makes installing the string easier.
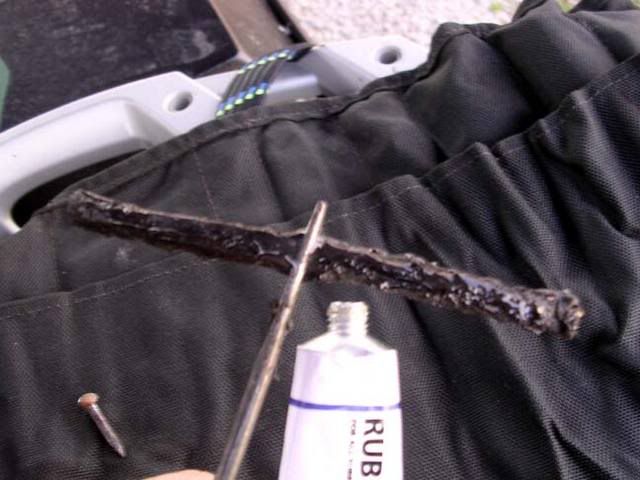
Then I put glue on the string and tool. This not only halps make a more permanent seal, but lubricates it for easier installation.
I also put a little glue on the hole for the same reasons. Sorry for the fuzzy picture.
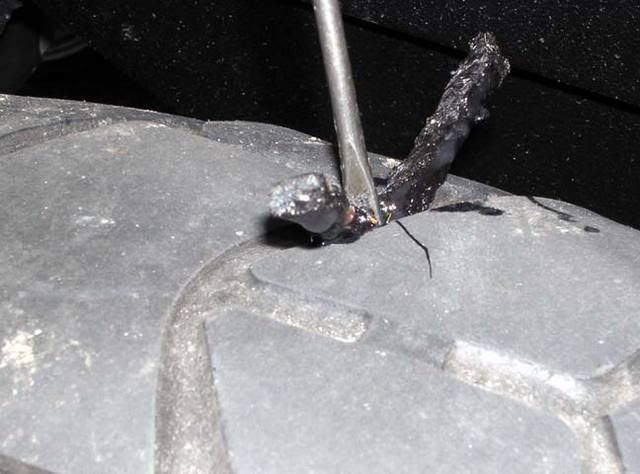
I start pushing in the plug. It is pretty hard to get in, as it should be for a good seal.

When you get it in this far you stop. Pull the tool straight out as firmly as you can. No twisting. The tool comes out easier than it goes in.
Here is the plug all the way in. Note, make sure you leave at least half an inch. You do this to ensure you donÔÇÖt accidentally push the plug all the way through, and so both sides of the plug remain above the tread.
Use a razor blade, or similar tool, to cut the plug level with the tread. DonÔÇÖt let it be higher than the tread or it could pull itself out when riding.
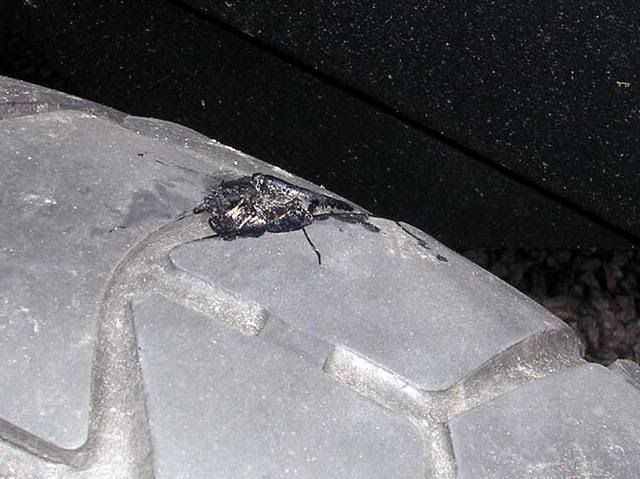
Here is the trimmed down plug. Note that it doesnÔÇÖt have to look good, just be trimmed flush as much as possible.
I let the tire sit for 5 minutes with no air in it before I start inflating. This allows the glue to set up some.

I added a Gerbing style plug to my pump to make it easier to use without removing the seat. I also start the motor before using the pump to ensure I donÔÇÖt run the battery down too much to start it when I am done. I also use my throttle lock to up the RPMs to 2000 to give it a bit more charge. I donÔÇÖt know if this is necessary, but it canÔÇÖt hurt. (NOTE: Do not do this on a bike with a fairing around the exhaust!)
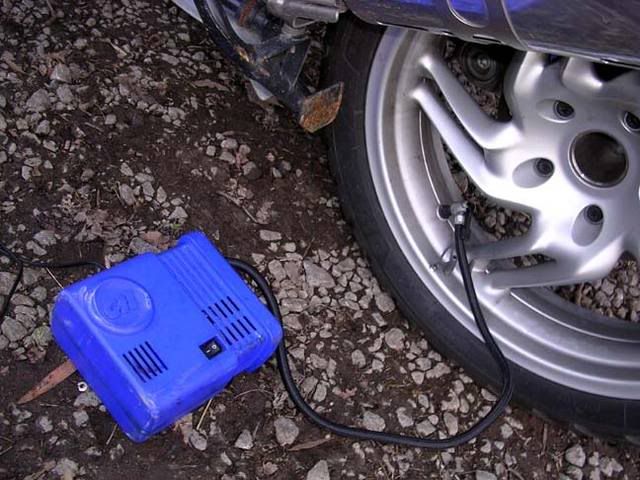
I plug the tire pump into the tire and turn it on. Five minutes later the tire is full.
I know it takes a while, but it gives you a chance to clean up the tools anyhow.
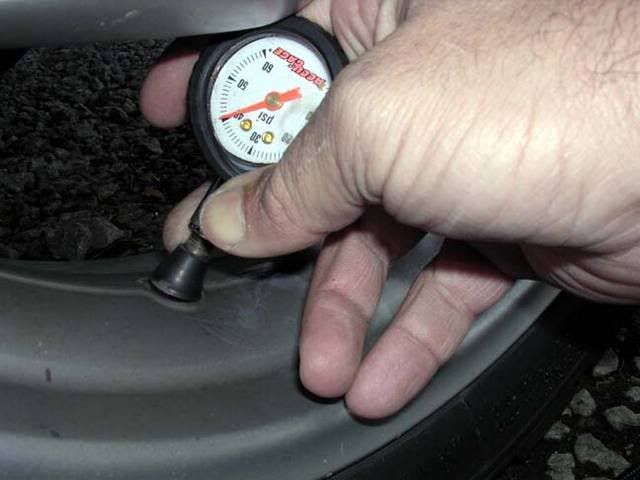
Check the tire pressure.
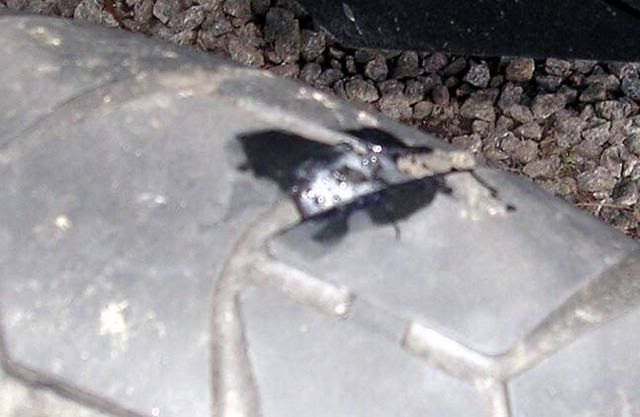
Test the tire for leaks. I used spit, so it looks bubbly, but it isnÔÇÖt, and you can easily see that there are no leaks.
I also like to wait another 10-15 minutes to let the glue set before riding.
Test your tire pressure often, and watch the plug to ensure it stays.
Lastly, those of you with the factory BMW kit might want to look at the string plugs. In my experience the rubber plugs, BMW and others, donÔÇÖt hold up to steel belted tires too well. The belts tend to cut the plugs. Also I would suggest a tire pump over the CO2 cartridges. It would take 6 or more cartridges to get 20 psi, and the three might not even get you ten.
I will ride this tire for at least a thousand miles before I have a chance to install new tires, and have complete confidence that the plug will hold! YMMV!
Jim
I was pissed, but not too bad. The tire was close to gone anyhow.
Then I figured this would be a good time to demonstrate how to plug a tire. I am replacing this soon anyhow, the tires are on order, but I refuse to not ride just for something like this.
So I whip out my tools. It doesnÔÇÖt take much, and I carry them all the time. Missing is the razor blade I use later.
I use the small wire cutters to remove the nail, hoping it was just a very short one, but no luck.
You can see the nail is plenty long enough to go all the way through, and in fact when it was pulled out allowed all the air to leak out quickly. Funny, there was no air leak prior to pulling it out.
After pulling the nail, I use the reamer tool to make the hole ready for the plug by enlarging it slightly, and roughing up the sides of the hole.
Here is the reamer all the way in. I had to push pretty hard, and I also twist it back and forth as I push it in and pull it out. I gave it 5 strokes.
Squish the string plug flat and insert it into the tool. I used the cutters to pull it through since it can be stubborn. There are different types of installer tools, and some have an opening that makes installing the string easier.
Then I put glue on the string and tool. This not only halps make a more permanent seal, but lubricates it for easier installation.
I also put a little glue on the hole for the same reasons. Sorry for the fuzzy picture.
I start pushing in the plug. It is pretty hard to get in, as it should be for a good seal.
When you get it in this far you stop. Pull the tool straight out as firmly as you can. No twisting. The tool comes out easier than it goes in.
Here is the plug all the way in. Note, make sure you leave at least half an inch. You do this to ensure you donÔÇÖt accidentally push the plug all the way through, and so both sides of the plug remain above the tread.
Use a razor blade, or similar tool, to cut the plug level with the tread. DonÔÇÖt let it be higher than the tread or it could pull itself out when riding.
Here is the trimmed down plug. Note that it doesnÔÇÖt have to look good, just be trimmed flush as much as possible.
I let the tire sit for 5 minutes with no air in it before I start inflating. This allows the glue to set up some.
I added a Gerbing style plug to my pump to make it easier to use without removing the seat. I also start the motor before using the pump to ensure I donÔÇÖt run the battery down too much to start it when I am done. I also use my throttle lock to up the RPMs to 2000 to give it a bit more charge. I donÔÇÖt know if this is necessary, but it canÔÇÖt hurt. (NOTE: Do not do this on a bike with a fairing around the exhaust!)
I plug the tire pump into the tire and turn it on. Five minutes later the tire is full.
I know it takes a while, but it gives you a chance to clean up the tools anyhow.
Check the tire pressure.
Test the tire for leaks. I used spit, so it looks bubbly, but it isnÔÇÖt, and you can easily see that there are no leaks.
I also like to wait another 10-15 minutes to let the glue set before riding.
Test your tire pressure often, and watch the plug to ensure it stays.
Lastly, those of you with the factory BMW kit might want to look at the string plugs. In my experience the rubber plugs, BMW and others, donÔÇÖt hold up to steel belted tires too well. The belts tend to cut the plugs. Also I would suggest a tire pump over the CO2 cartridges. It would take 6 or more cartridges to get 20 psi, and the three might not even get you ten.
I will ride this tire for at least a thousand miles before I have a chance to install new tires, and have complete confidence that the plug will hold! YMMV!
Jim
")
